
I started off today by pulling the peel ply and cleaning up the 1-ply BID layup on the right strake pilot air vent structure aft wall.
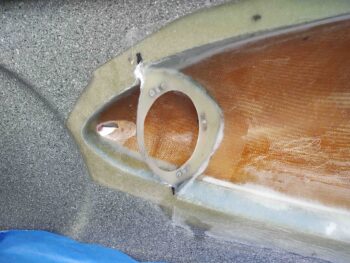
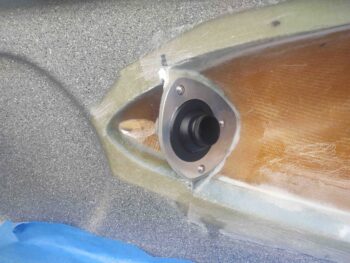
Of course I couldn’t resist test-fitting the actual eyeball vent + mounting plate. I’ve very pleased with the position and look of this setup. Over the next few days I’ll dig out some of the foam in the vent entry hole and fill with micro and peel ply. I’m sure I’ll work the hole shape and design more, but I want to get the exposed foam cleaned up while I have access to the hole. The last step will be to fill in the interior side of the vent structure wall to finalize the vent construction. I guess actually the very final step, along with the rest of the cockpit, will be the final paint.
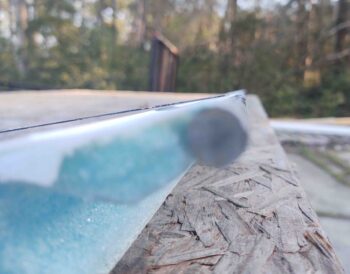
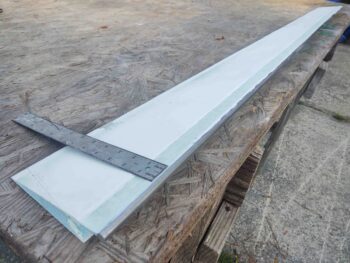
I then got to work on the right aileron mass counter-balance leading edge. CP #26 notes that the bottom of the aileron leading edge at this weight/rod needs to be round, without any sharp edge, to prevent any “early airflow separation on the up-deflected aileron” which will reduce roll power.
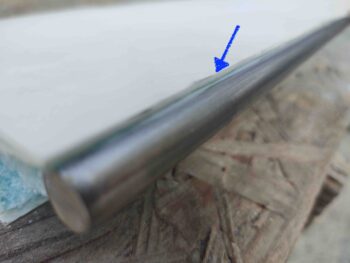
Using my handy Dremel Tool I then removed the sharp edge of the glass to produce the nice rounded edge required by CP #26. Yes, a bit blurry but you can see what I’m on about.
Then came yet another round of humbling for sins of the past. As I’ve explained before, I reordered my build in Germany to maximize use of a massive amount of MGS I was able to purchase there in bulk for a significant cost savings. Since I couldn’t ship it back to the states I needed to use as much possible as soon as possible. This meant building the wings fairly early on in the build. Not a huge deal, but clearly we are better builders towards the end of the build and the wings are the biggest part of this build. Oh, what I would have done differently building them now vs then.
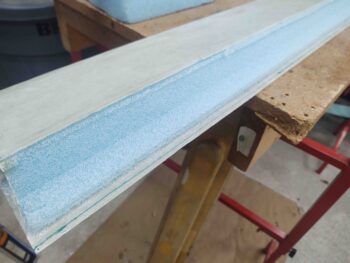
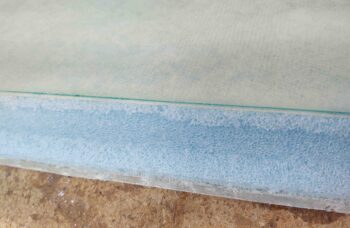
I was given some advice by one of the old guard builders to save time by slathering up the surfaces of the build with micro as soon as the glass was in the “green state” (not fully cured) and this would eliminate the need for prepping the glass surface. I decided to try that out on the bottom of the right wing… between my inexperience and this just not being a great idea, I regretted it ever since. No huge deal, but in the area of working the aileron, it definitely had a slight impact.
Fast forward years later, and I now have to remove a 1″ strip of that micro on the bottom leading edge for the upcoming 1-ply BID layup that will finish off the primary skin of the aileron…. each end will still need to be glassed as well, of course. All in all it took about 10 minutes and wasn’t a big deal.
I was then ready to glass the right aileron, but I had another slight issue: not enough BID! To be clear: not enough BID to layup one ply with NO overlapping seams.
Not too long ago I placed an order for 5 yards and thought that would be plenty for the rest of the build… yeah, right! The myriad of BID tapes alone required for the strake build really ate into that stock of BID. I did place an order for another 10 yards a few days ago, but with 2 weekends involved in that timeline and it being shipped from ACS’s California store, it will still be a another few days before it gets here.
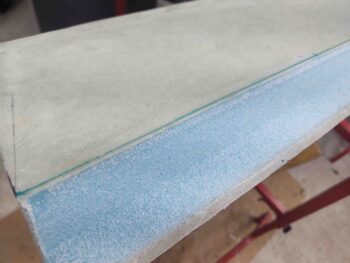
Thus I went to work on the left aileron. Just like the right side I trimmed back 7/16″ of foam from the bottom leading edge to allow mounting of the 7/16″ stainless steel rod mass counter-balance weight. I then marked half of the exposed glass and trimmed it off.
With the bottom leading edge prepped, and almost another hour of peel ply removal ensuing… I then marked the left aileron top leading edge for trimming. Again, this is just like the right side where my aileron top glass overhangs the foam core just shy of 0.1″. Of course this narrows the width of the top of my aileron by a hair, but I’d rather have that then to have to add in a bunch of micro and deal with a much more difficult and less elegant layup as I’d be fighting that edge the whole time.
It was late and dark, and I like to trim and sand as much as I can outdoors. And quite frankly after fighting old, dead peel ply for an hour I was ready to take a break. So I called it for the night.