
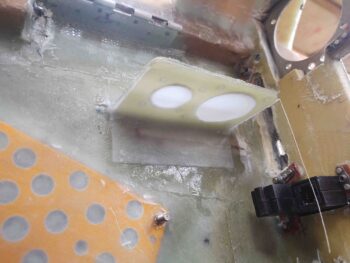
I started off today laying up 1 ply of BID on the underside of the avionics bay electrical connector bracket. I then peel plied the layup.
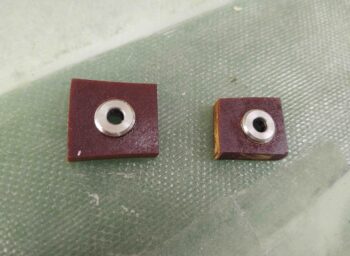
I then floxed in the 2 SkyBolt threaded receptacles into their respective phenolic blocks. Here’s the front (outboard) sides.
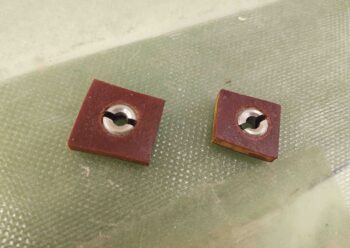
And here’s the back (inboard) sides.
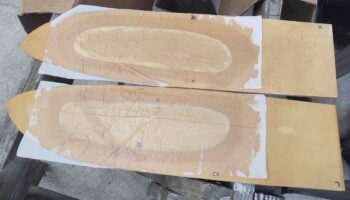
I then traced out the holes in the strake OD ribs onto 3/8″ thick foam and made plugs for the holes.
I had planned on immediately glassing these ribs to get them curing when I realized my new (bought within the last year) jug of EZ-Poxy hardener was essentially a big brick. I work with MGS all the time and am not used to having to cook my hardener after a long period of non-use (or NO use in this case, since it was new and never opened).
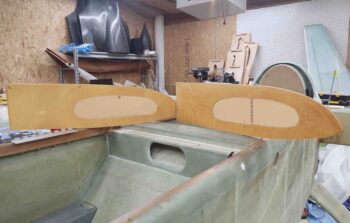
While my EZ-Poxy hardener was taking a steam bath, I got busy mocking up the GIB area side panels. I don’t really like side panels back here but do need a place to mount stuff.
To minimize their footprint as best possible, I angled them so that the inboard edge was down/forward. This helps only a skooch, but I’ll take what I can get.
Here’s the left side GIB sub-panel, replete with an eyeball vent and a couple of chargers (USB and cigarette style):
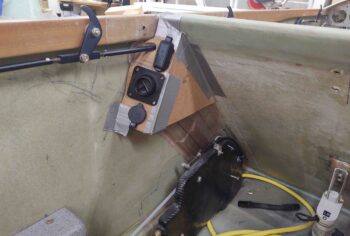
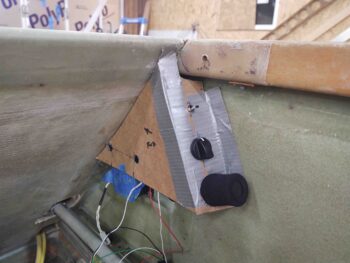
And here’s the right side, with a switch for red or white colored lights, and rotary selector for floor lights, reading/map light, or both. Finally, we have a storage spot for the control stick handle, although it will be bit further into the sub-panel face than is shown here.
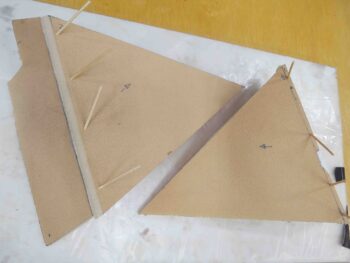
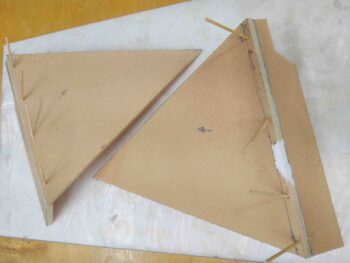
Here’s a shot of both GIB sub-panel mockups.

By this point my EZ-Poxy hardener had finished cooking, so I put it to work. I micro’d the edges and the center area of the strake OD rib plugs, then laid up a ply of BID (wet) and peel plied it (wet).
I then spent a good bit of time cutting 1/4″ thick foam to make up the left and right GIB sub-panel basic structures. I then micro’d the respective faces to the respective sides and secured the pieces together with toothpicks… leaving them to cure overnight.
Tomorrow I plan on glassing these and will try to get them installed as well.