
Today I actually started out updating my control stick electrical diagram and connector pinout doc… it took me a while because there was a logic hurdle I just couldn’t get past with the new configuration –knowing that it worked because I tested it! But after I drew it out I realized what was going on and was able to finish. Whew… I felt like I was back in college doing higher level math!
I then went to the shop and dove into testing a myriad of hinge configurations, placements, spacings, etc. for well over an hour before finally getting to the task of cutting out the aft nose/avionics cover hinge mounting brackets out of 1/4″ thick Birch plywood (same as the firewall). Which also took well over an hour cutting and dialing in the bracket fit and hinge geometry.
These brackets are a bit tricky because they have an “ogee” type curve from front to back, but also a side-to-side angle on top to match the curve of the upper inside nose.
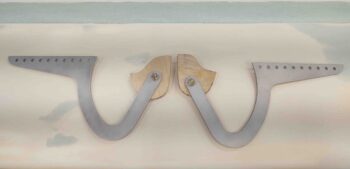
Thankfully I had the foresight to test out the fit of the hinges with the NG30 cover before I did the final mount of these hinge brackets.
I had them placed where they are below at the outset, but then moved them a good 1.5″ inboard on each side. However, the right hand hinge (left in pic) would have been slamming into the cable bundle that will run along the upper right side of the NG30 cover, the visible bracket being part of the bundle [seriously, a ton of the wires in that cable bundle will be what is currently in that rats nest on the nose floor]. I then had to move the hinges back outboard to my original targeted spot to provide the required clearance. I think it will also make it easier to get the NG30 cover in and out when required, which won’t be often (hopefully!).
I then set each hinge bracket with 5 min glue with the hinge actually installed on the bracket. I taped a speed square to the canard to help ensure I kept each hinge and bracket vertical, or at least acceptably close.
I then glassed each side of each hinge bracket with 3 plies of BID. If you look closely, you can see multiple hinge pin holes that I drilled as I was dialing in the hinge geometry. I simply filled all but the correct hole in with flox just prior to laying up the glass.
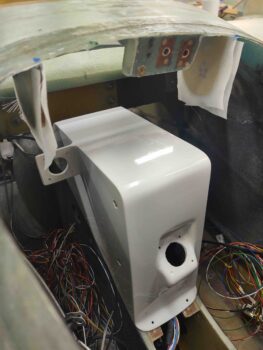
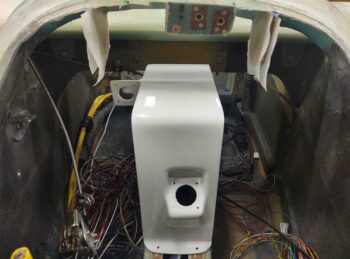
Here’s another shot of the aft nose/avionics cover hinge brackets from the aft side, just over the canard.
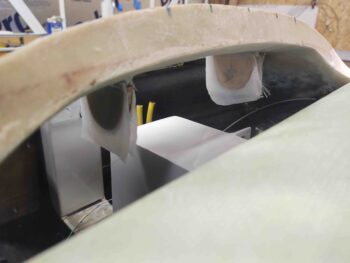
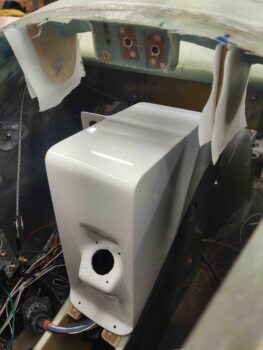
And a final side shot of the hinge brackets.
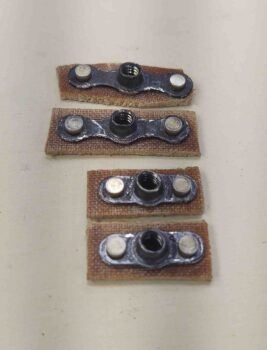
 My final task of the evening was making up 4 each #6 nutplate assemblies for mounting the HXr EFIS to the panel.
Tomorrow I have some errands to run, which will make a dent in my build day. But I will try to do what I can on the continued push to finish the aft nose/avionics cover install.