
Yep, the PROBLEM CHILD FROM HELL is gone!!! Yeah!
Of course I’m talking about the Tool Box Lid. Ah, yes, I will regale you with that story in a bit, but first . . .
After updating a few more electrical diagrams this morning I went on a quest to find a reamer to rework the pitch trim actuator assembly arm attachment to the elevator control tube. I was taking some Meguiar’s cutting compound back to Harbor Freight for a refund since I found it for $7 cheaper at Walmart. I was also hoping that maybe Harbor Freight might have reamers, but alas, they did not. But I did pick up some more supplies, mainly for buffing out the paint on my painted nose components.
I also ended up going to Walmart, but I didn’t pick up the exact Meguiar’s (Ultra-cut Compound #105) that I had returned at Harbor Freight. I had heard good reports on Meguiar’s Ultimate Compound, which Walmart had in stock and for a way lower price I was willing to give a try. I then tried big Blue and big Orange for reamers … nada. I even took a long detour on my way home and gave Sears a try. Zilch. Ok, look out Internet! I’m coming back to you to order a friggin’ reamer…. (sigh).
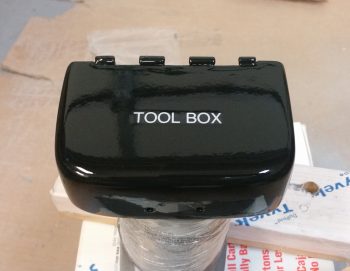
Back at the house I only had a few hours of shop life in me, so I decided to put my newly acquired toys to good use and see how well they would perform. I started by wet sanding the tool box body with 500 grit, then 1000 grit, and finished with 1200 grit. I could have gone to a higher grit, but I wanted to see if the 1200 wet-sanded surface would buff out nicely.
Well, I have to say I think it did! Now, I could have used a dual action electric buffer but I really didn’t want to end up cutting through the paint (Rust-Oleum is a bit soft as paints go) so I used the old fashioned elbow grease method on this puppy (or, maybe that’s shoulder grease method because that’s what hurts the most!!) It took me about an hour total as I worked each section (side, front, corners) with good overlap in-between. I used a basic wax applicator pad to apply the cutting compound, and a microfiber cloth to remove it.
After I got it all buffed out, I then switched to a new applicator and cloth to finish out the process with a couple of applications of Meguiar’s Ultimate Polish. I have to say, for what was essentially an experiment this was certainly a success in my book!
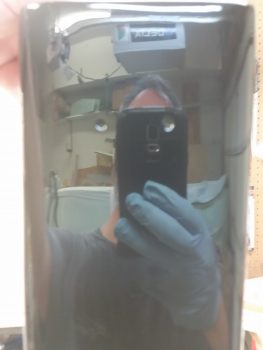
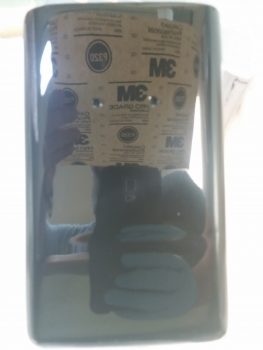
Here’s another shot of me doing the ‘ol “can I read the print in the finish?” trick. Obviously you can, and I am of course very happy with how this buffed out. I will say that it’s actually difficult in the pics to get the black color to show up. In person you can really see the black color first, and then the nice shiny reflection in the color.
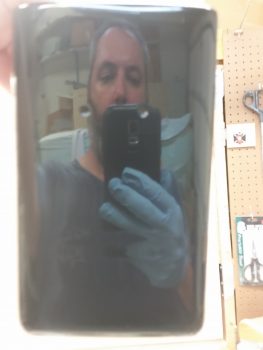
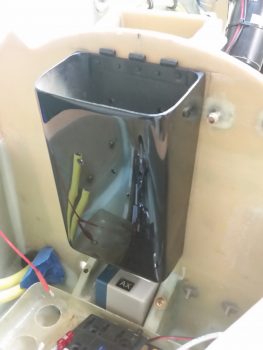
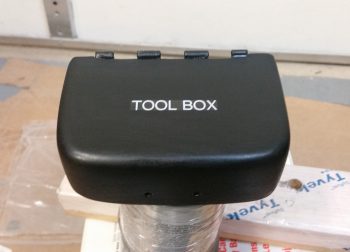
I then mounted the tool box and grabbed another shot of it, hoping to get more of the black color to show up. I think it did just a bit more here vs. the pics above.
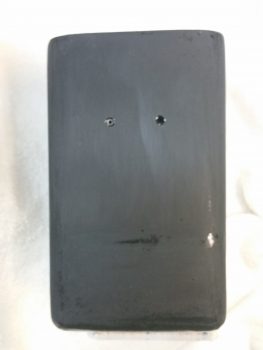
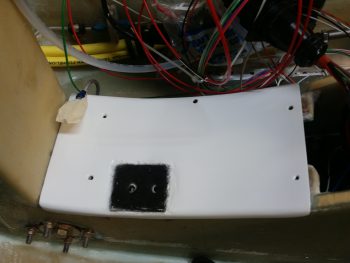
I then repeated the buffing process for the forward NG30 cover, except since I didn’t clear coat this piece I very lightly wet sanded it with 500 grit before almost immediately jumping to 1000 grit. I then finished up again with 1200 grit.
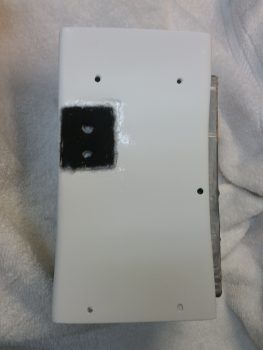
Between the white color and this piece not having been clear coated, you can see that the final shine is not nearly as stunning on the forward NG30 cover as it is on the tool box. No worries at all since this piece still came out very nice, and since it will be down at the bottom of the nose well it really won’t be a centerpiece item or noticed as much.
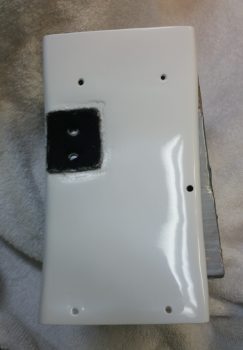
Also, this finish on the forward NG30 cover does tell me though that I will be wet sanding and clear coating the aft NG30 cover before it gets installed back in place. Here’s another shot of the forward NG30 cover after I buffed it out.
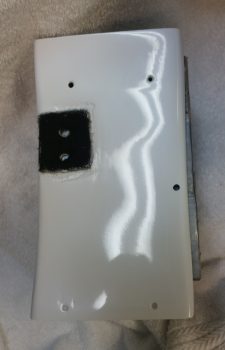
And one of the forward NG30 cover set in place where it will get installed.
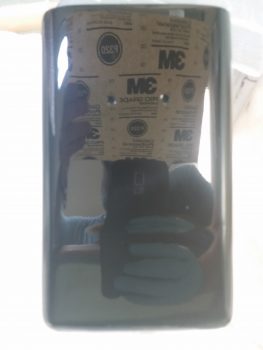
Ok . . . then came the crowning moment of the entire last couple of weeks!!! I finally was able to get a good wet sanding accomplished on the nose tool box lid! I then carefully cut and placed the label on the top after measuring it out to ensure it was centered. I then quickly wiped down the entire lid with some Acetone to ensure I didn’t get a repeat of the mysterious contamination I had last time.
I then grabbed the can of Gloss Clear Coat, shook the living crap out of it, and started with a very light mist coat over the top of the tool box lid to give the clear something to grip to on the slick label surface. I waited a little over a minute than hit it with just another, very slightly thicker mist coat. I then waited about 2 minutes before hitting it with its first real coat of clear. After that, I gave it 3 more good coats for a total of 4 coats of clear, with about 4 minute intervals in between. Normally I would go with 2 coats of clear, but with the label on top I wanted a little bit higher build for wet-sanding before buffing it out.
I thought I’d leave you with a final before & after shot of the tool box body. I really am very pleased with how well it turned out.

So, although I didn’t find my reamer (I’ve resorted to ordering it online), I’ll mark today down in the book as a good build day!