
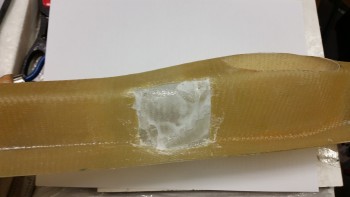
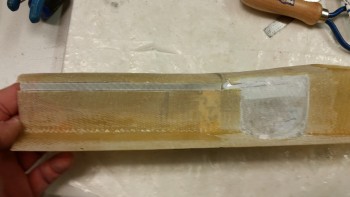
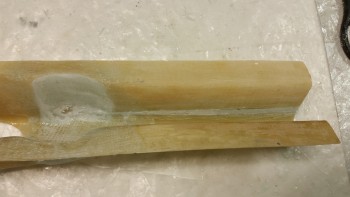
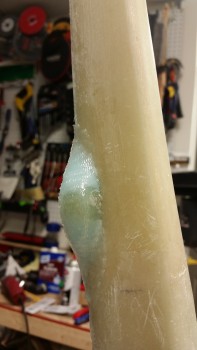
I started off today by cleaning up the strut cover inside 1-ply BID layup on each side. Below is the left side before I started cleaning up the layup.
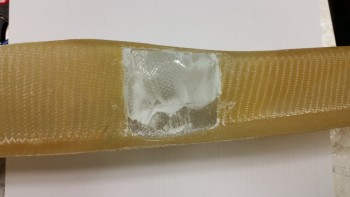
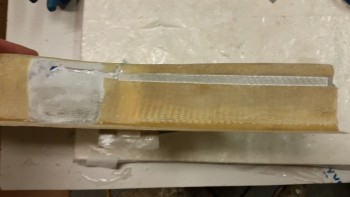
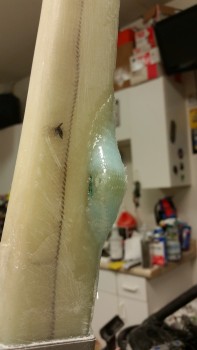
And here’s the right side of the strut before it was cleaned up. Before I started sanding down the layups, I sanded all the mating surfaces of the strut cover, which just in itself took a good half hour.
One thing I noticed when I was test-fitting the strut cover in the NG30 nose gear box last night was that the aft right side of the strut cover was set too far inboard. I listed a task for myself to shave that right side edge of the strut cover flange to get the center channel to move outboard.
And then the second, third & fourth order effect stuff started kicking in. By moving one side of the strut cover outboard, the bottom of the strut cover moved down (technically up with the fuselage upside down) causing the strut to rest against the strut cover. This is something that we of course clarify as not good. I messed around with it for a bit, and then resigned myself to the fact that I had to increase the depth of the aft strut cover.
First, I figured out my cut lines knowing that I would be adding a 1/4″ to the depth. After looking at what I figured was the best (or least bad) geometry, I cut each side with the Fein saw.
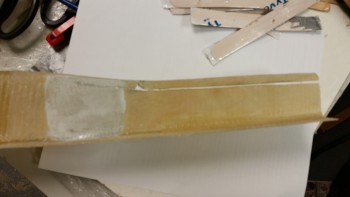
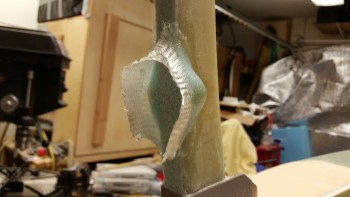
Here’s the aft right side after I cut it.
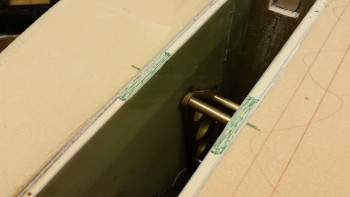
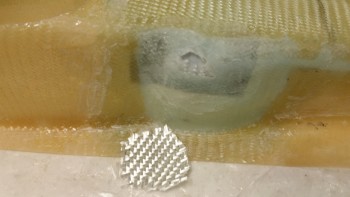
I went to my standby glass source, the Ooops glass, and sliced off 2 strips 1/4″ wide and 6.2″ long. I then taped the Ooops glass strips in place with duct tape on the inside of the strut cover. Here’s the aft right side with the Ooops glass strip in place.
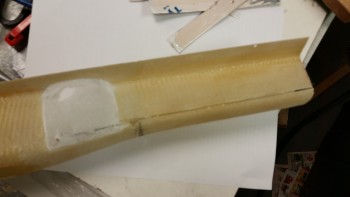
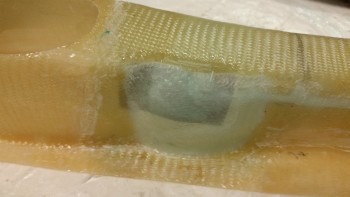
And the aft left side strut cover with the 1/4″ Ooops glass inserted in place.
After cutting a couple of pieces of BID, I mixed up some epoxy with fast hardener, floxed in the holes and divots on the strut cover, and then wetted out the areas where the BID would be laid up.
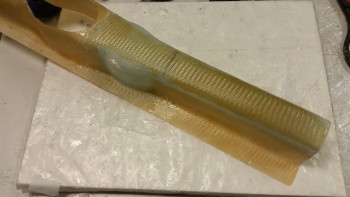
I then laid up the 2 plies of BID. Here’s a shot of left side…

… and the right side.
With the strut cover curing, I started working on the gear strut fairing mounting tabs. I decided that I would start the glassing process by glassing the bottom sides of the mounting tabs that I floxed last night. I started off by sanding down all the flox on the tabs, and then laid up 1 ply of BID on each mounting tab.
Here’s a shot of the left side fairing mounting tabs. with the BID laid up on each tab.
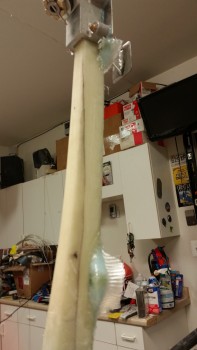
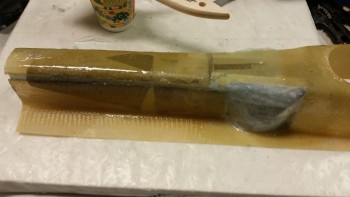
After a short break, I came back and pulled the strut cover out from under the heat lamp, and cleaned up the glass, which was about 90% cured.
I broke out the Dremel tool with a sanding drum and cleaned up the gunky chunks of flox on the inside strut cover channel.
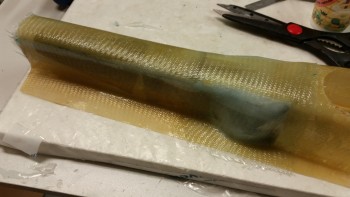
Here’s another shot of the inboard strut cover channel. I’ll glass the inside of the Ooops glass strips all in one shot when I glass the bottom of the nose & overlap the glass down over the strut cover edge & onto the strips.
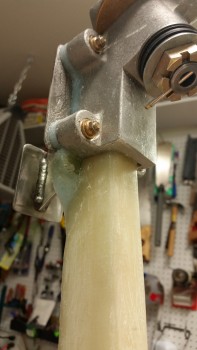
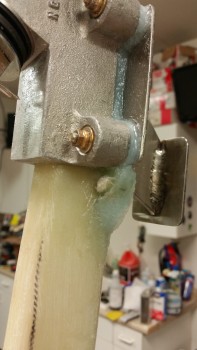
I then test fitted the strut cover, but quickly realized that I had to trim the aft upper edge of the strut cover for it to fit. I then tested the fit of the nose gear strut with its newly glassed & floxed mounting tabs. To get the gear strut to fully seat into the strut cover, I had to shave a hair off front side of the nose gear well. After all the trimming, the gear strut fit fine.
One thing I saw that I added to my to-do list was to sand depressions into the NG30 bottom edges to allow for the added width of the strut cover where the 2-plies of BID were added.
After messing around with the strut cover, I razor cut the BID that I laid up on the strut fairing mounting tabs.
Here’s a couple shots of the fairing upper mounting tabs.
And here’s a couple shots of the fairing lower mounting tabs.
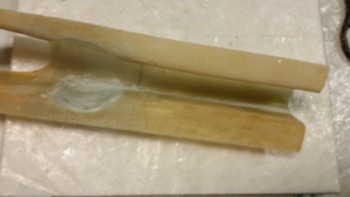
After razor trimming the fairing mounting tabs, I then cut some BID to patch a hole I made in the side of one of the bump-outs that I just added to the strut cover. I had broken through the initial inboard one ply of BID layup when I cleaned up that layup, so with the glass already thinner I then made another hole by a little over-aggressive sanding.
Here’s the same area with the BID patch laid up.
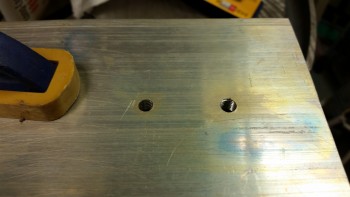
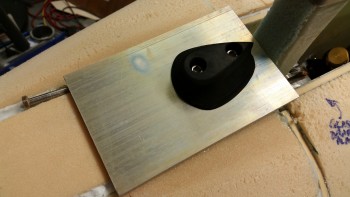
It was late when I finished all the above, so I didn’t want to make a lot of noise. I decided to get one more item checked off the list by tapping the 1/4″ 2024 aluminum nose skid plate bolt holes. Below you can see that I tapped the first hole (the aft hole, right in the pic below).
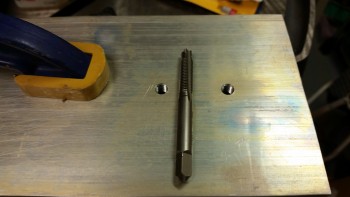
I then tapped the second (forward) hole.
I then mounted the nose bumper to the skid plate to see how it fit & looked. Very nice!
Tomorrow I’ll continue to work to finish the prerequisite tasks required before glassing the nose. For example, as well as some sanding on the NG30s to allow the modified strut cover to fit, with the top of the cover sitting higher now, I’ll also need to cut the F22 & fuselage floor gear strut channel about a 1/4″ deeper to match… at least at the front end. Still, with all the minor stuff that needs to get done, the glassing of the nose is drawing very, very near.