
Com’n guys! . . . picking blog titles can really tax your creativity! ha!
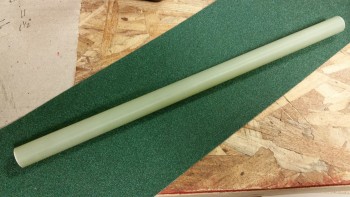
I started off today working on a 5/8″ solid G10 rod that I ordered from McMaster-Carr. Today I’ll be making the mounting tabs for the die spring stabilized nose gear fairing.
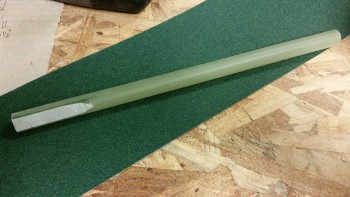
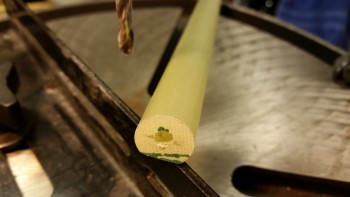
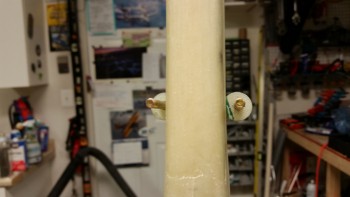
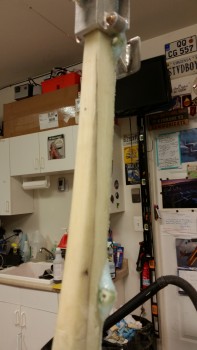
Since these mounting tabs (aka “nubbies”) will be mounted to the side of the nose gear strut, I’m going to create a flat on one side of the G10 tube to 5-min glue to the gear strut. I used my hard sanding board with 36 grit paper to make the flat area on the tube as pictured below.
Once the flat edge was created, I then marked close to the middle point of the G10 for the drilling point.
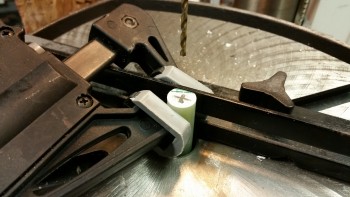
Started with a starter hole.
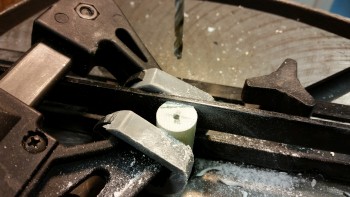
Then finished off with a 3/16″ hole.
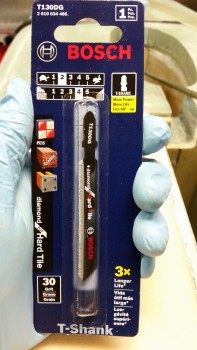
It was then time to cut the mounting tabs from the shaped & drilled G10. On the way home from my meetings today, I stopped by Lowe’s to pick up a diamond blade for either the table saw or the chop saw. However, I saw this diamond blade for the jig saw and since it was only $9, I cheaped out again and bought it instead of the significantly more expensive round saw blades.
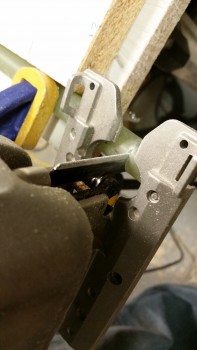
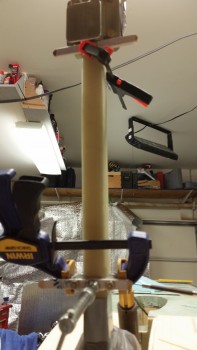
Here I am midway through a cut on the G10 tube/rod. I took it a little slow, but the blade worked great and it was just like cutting a piece of wood.
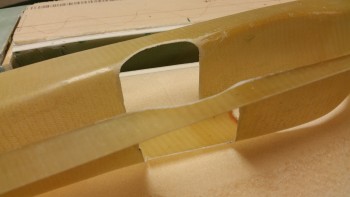
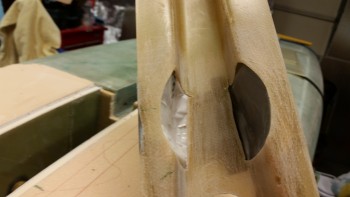
After I cut off the first two mounting nubbies, which will get mounted up closer to NG3/NG4, I then sanded another flat edge 90° to the side of the original flat edge. This 90° corner will be on the next & last two mounting tabs that I’ll make, and the right angle will allow the nubbies to nestle into the corner between the gear strut and the NG15 wheel bracket assembly. You can see pics below of how this plays out.
I whipped up some 5 min glue and quick-mounted the tabs in place.
Here’s a shot of the upper gear fairing mounting tabs.

And a shot of the lower ones just above, and butted against, the NG15 nose wheel bracket assembly.
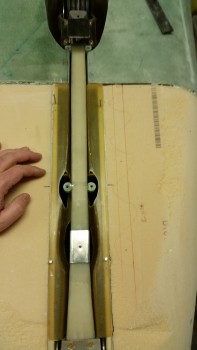
This is about an hour later after the mounting tabs cured. I installed bolts (even though CS screws will actually be used) to see how my drilled mounting tabs were working so far.
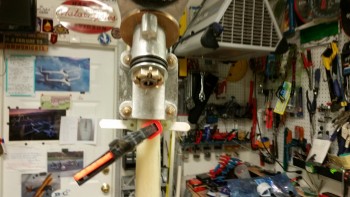
Here’s a closeup shot of the lower gear fairing mounting tabs.
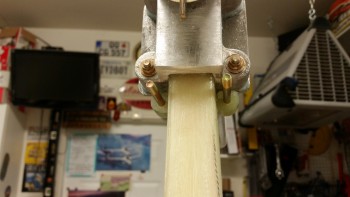
And the upper ones (upper & lower being reversed in these pics due to the inverted fuselage).
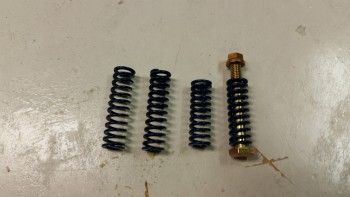
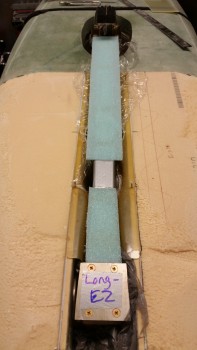
Below is a shot of the die springs I’ll be using to mount the strut fairing to the front of the gear strut. There will be 4 countersunk screws that will go through the face of the fairing, then through the mounting tabs, and then these die springs on the bottom side of the mounting tabs. When pressure is put on the aft face of the fairing, as when then gear is going up into the gear well, then the spring loaded fairing will be kept tight against the bottom of the fuselage by these springs. BTW, unless testing dictates otherwise (or another set of springs…) the top of the gear fairing will be hard mounted to the NG5 plate since there’s very little movement at the pivot point.
I then checked the fit & clearance of these freshly attached mounting tabs.

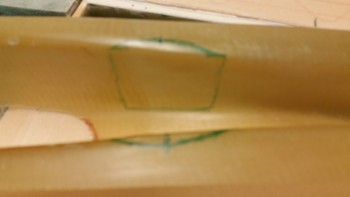
I then installed the strut cover (SC) and did the same thing, only of course the gear could not settle into the strut cover with the upper mounting tabs in place. I marked the SC in the spots that would require modifying to allow the nose gear strut to settle into place in the strut cover. If you were wondering why I was paying so much attention to the nose gear strut, now you know why. It’s not the gear strut that is really important here at this time, it’s the fact that I have to modify the strut cover before I can install it. And I have to install it before I can glass the nose!
I finalized the mod markings on the SC.
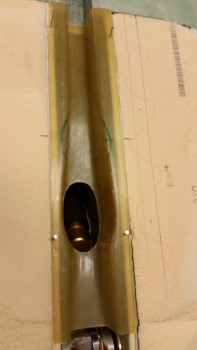
And then cut them out.

I then rechecked the fit of the gear strut to ensure the mounting tabs had clearance, and it all fit just fine in the freshly cut strut cover (SC).
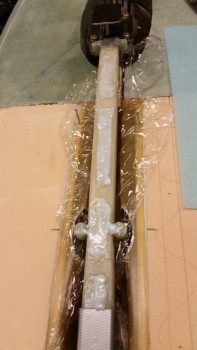
It was then time to add a thin 3/16″ foam spacer to the front of the gear strut to level out the entire front surface face of the gear strut. I mixed up some flox with fast hardener, and applied it to the front gear strut. Since I would be checking things out & working with the gear strut vertically, I added a few spots of 5-min glue to help secure the spacer in place.
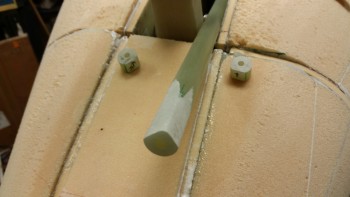
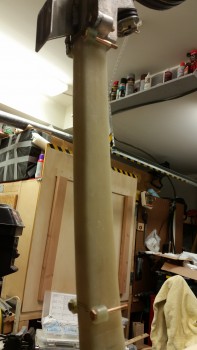
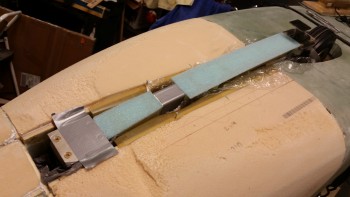
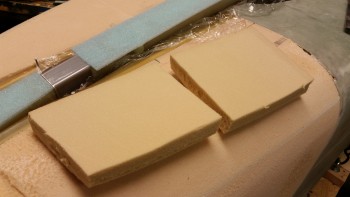
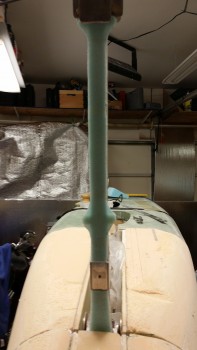
Here’s a shot of blue foam spacers in place. After they cure, I’ll sand them down even with the top of the NG5 & NG3/4 brackets. These will be the base for the nose gear fairing.
I felt it was time to add a fancy label to my NG5 like my buddy Marco did! haha! (If you haven’t seen it, his is CNC’d and very nice…)
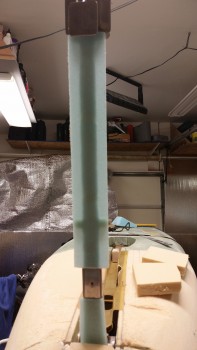
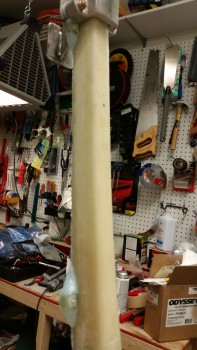
This is jumping ahead a bit, but this shot below is when the flox was almost cured so I had the gear strut in the up position.
I then went into the bowels of my garage to pull a nasty substance! Urethane foam! I used this to make up the molded plugs for the strut cover mod.
Before making the molds for the SC, I sanded all around the mod area for the eventual one ply of BID that will get laid up
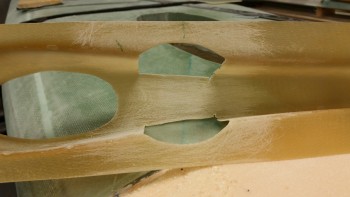
It may be a little hard to see, but the plugs/molds are completed & installed in the strut cover.
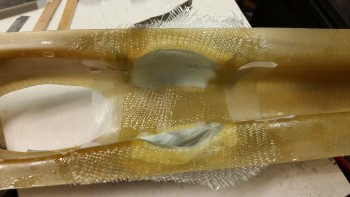
This shot is about 1-1/2 hours after I glassed it with 1 ply if BID & had it under the heat lamp. I didn’t peel ply the top side edges like I had originally intended because I needed to constantly keep checking the top edge glass since the top “ridge” corners were really a tight angle, which resulted in the top glass lifting up here & there.
While the SC BID layup was curing, I trimmed the blue foam that I had floxed to the gear strut. I also sanded down the foam from about 3/16″ to 1/16″.
I was thinking that I was going to glass the nose gear fairing spacer & tabs tonight, but I decided to simply add flox into the corners of the mounting tabs and fair them into the sides of the gear strut. This was another reason I mounted this blue foam onto the nose gear strut, to have an initial “backer” for the addition of flox around the mounting tabs.
Tomorrow I’m really going to try to finish up everything to do with the nose gear strut, fairing and cover. I’ll prep & glass the outside of the strut cover (SC) and layup 2 plies of BID as early as possible, to enable me to flox the strut cover into place later tomorrow night. With the strut cover in place, the prep list will be relatively short until this nose gets glassed!