
Today in many ways was a planning day. Now that I have the fuselage flipped over, I had to double check, research, plan & refine my build tasks and build step sequences.
Case in point was the skid plate reinforcement glass. I had a general idea of the number of plies & what type of glass I was going to use, but since there’s no plan for this anywhere, I had to measure the nose to make up my own glass schedule. As you can see below, I came up with 2 plies of Kevlar that will cover just the skid plate and serve as a base for the shaped hockey puck. Covering the 2 plies of Kevlar will be 3 plies of BID. Finally, for those not aware of this layup, it’s essentially a failsafe in case of a gear up landing which could unfortunately result in the nose puck getting ground down to less than a nub.
Once I got the dimensions figured out, I cut the 2 plies of Kevlar and the 3 plies of BID. I threw the Kevlar cutting scissors that I picked up at SteinAir in the pic. These things worked fantastically and cut the Kevlar like butter!

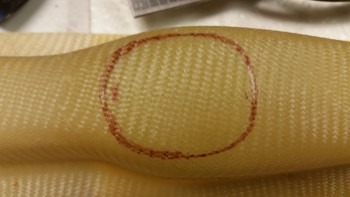
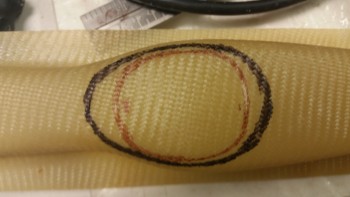
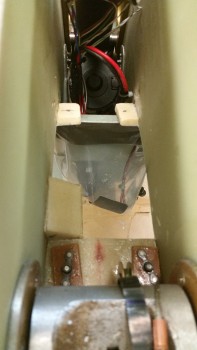
I marked up the gear strut cover (SC) to cut out the hole for the gear actuator extension arm to traverse through the strut cover. I actually just started to touch the strut cover with the Fein saw when I stopped to go upstairs and do a quick crosscheck of some other builders’ sites to get a good starting point for the size of the hole. As you can see by the lower pic, I decided to make the hole a little bit bigger from the get go.
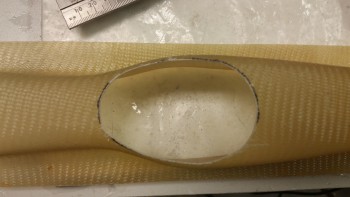
Here you can see the initial actuator arm access hole that I cut out of the strut cover.
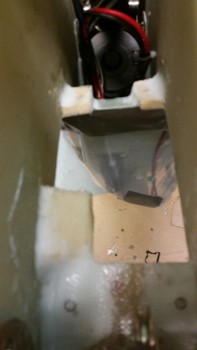
I then started the trial & error process of dialing in the fitting of the gear strut cover which took an amazingly long amount of time. After a few hours, and a couple phone calls to be fair, I finally got the cover fitting set. However, although the initial fitting is good, I still need to make a couple of mods that will allow the gear strut fairing die spring mounts (that I still have to glass) to fit into the gear strut cover.
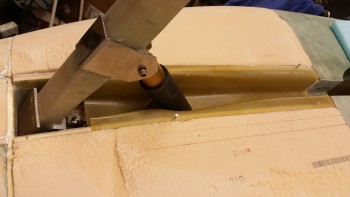
Before I permanently flox in the strut cover I needed to glass the underside of the front NG30 cover nutplates. In the pic below you can see 4 NG30 nutplate assemblies as well as the foam triangular wedge under the parking brake valve double nutplate assembly (lower left of pic). I cleaned up & sanded the bottom side of the nutplate assemblies in preparation for micro & BID.
I then had to run out for a few hours and when I returned I cleaned up the nutplate assembly layups.
Tomorrow I have some work meetings, but my goal is to get the gear strut cover (SC) floxed into place. Once the SC is in place I’ll finish shaping the bottom nose foam shape as well.