
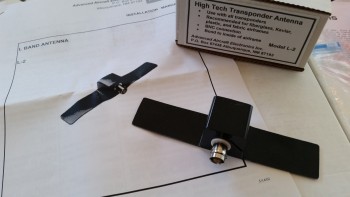
I started off this morning with a visit from the UPS guy delivering my Christmas present: an L-2 Transponder Antenna. I decided I wanted one of these vs the old standard transponder antenna after I talked with Nate Mullens about his installed L-2 antenna & he highly recommended it.
It was a good day in the shop. I slayed 3 major tasks using my epoxy stir stick as a weapon! ha!
- Gear strut BID cover glassed
- Lower draft plate glassed in place (and bottom side of upper draft plate glassed)
- Strut Cover (SC) installed with flox
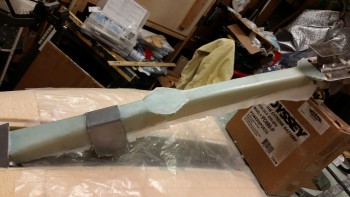
First, I started on the gear strut. I sanded down the foam one final time to prep it for a ply of BID.
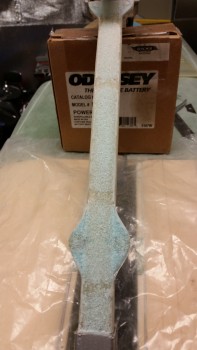
I started out by micro’ing the foam.
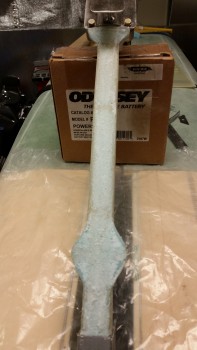
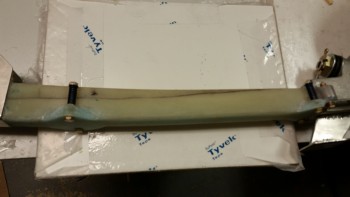
I laid up 1-ply of BID on the bottom section of the gear strut and 2 plies on the top side. I then peel plied the BID.
Here’s another shot of the peel plied glass.
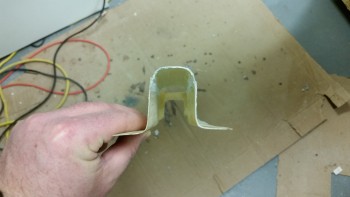
When I mocked up my strut cover after adding a 1/4″ depth I noticed that it was noticeably skewed to one side.
I hit it with the heat gun for a bit and then formed it so that it was somewhat better aligned. I did this a few times over, and although it didn’t make it perfect It definitely improved it a lot.
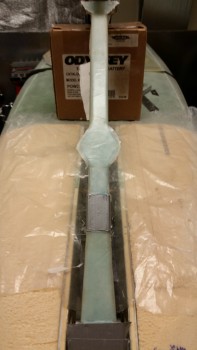
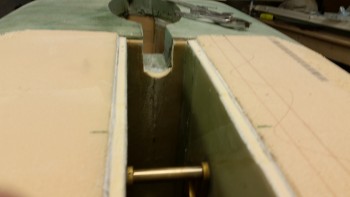
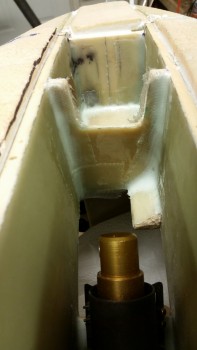
After messing around with the strut cover, I put the gear strut in the down position (up in pic) to work on the gear strut channel.

I started on the gear strut channel by using the Dremel tool to make the depressions along the edge of each NG30 to allow for 2-ply BID layups on the strut cover to fit correctly in the NG30 channel. I Dremeled depressions in the NG30 bottom edges because I couldn’t really sand the strut cover flanges since the only way to have gotten the strut cover flanges to sit flat would obviously be to sand off most, if not all, of the glass. In the pic below you can also see the marking on the F22 strut channel to match the deepened strut cover.
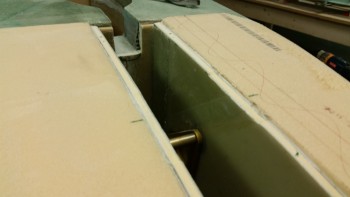
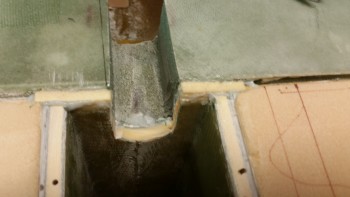
I then deepened the strut channel in F22 to match the depth modification of the strut cover.
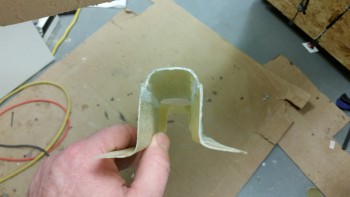
I pulled the nose gear strut to gain access to both the upper & lower draft plates. I shaped the lower draft plate into a tuning fork shape to allow the strut cover to seat into the draft plate’s groove.
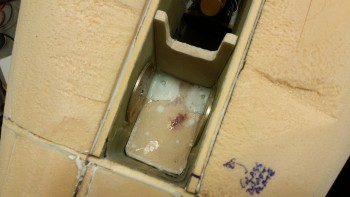
I then laid up BID tapes over micro’d corners for both the bottom of the upper draft plate & the micro’d in place lower draft plate.
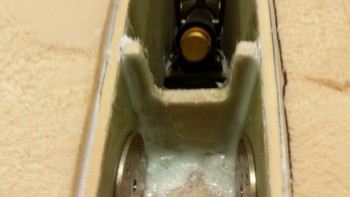
Here are a couple more shots of the draft plates.
I also cut 2 thin H250 foam spacers & floxed them in place in the groove created by my not sanding down the 1.75″ thick fuselage bottom foam to match the F22 that was originally designed for a 1.6″ thick foam fuselage bottom.
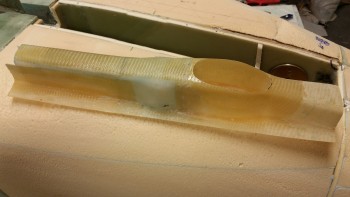
I then did a final check on the strut cover. Notice that I sanded down the right side to prep it for flox attachment to the lower draft plate.
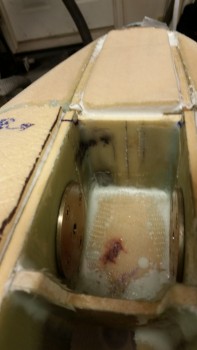
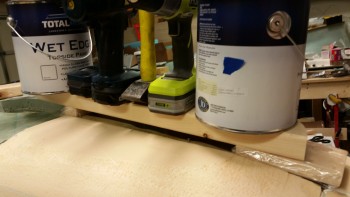
I mixed up some flox using epoxy with fast hardener & lined the NG30 edges where the strut cover would mate to it.
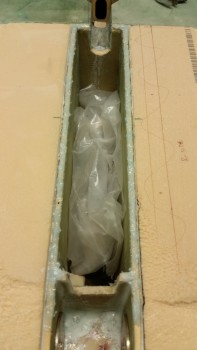
After inserting the guide nails, I immediately weighed down the strut cover by placing a wood block spacer at each end of the strut cover and then placing a piece of 2x wood over the spacers. I then added paint cans & drills on top of long piece of wood to weigh down both spacers, and thus both ends of the strut cover.
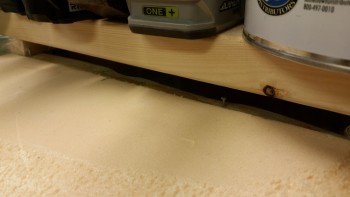
Here’s a shot from the other side.

With the strut cover curing, I then turned my sights back to the nose gear strut that had been camping out under the heat lamp. I pulled the peel ply from each side & cleaned up the glass.
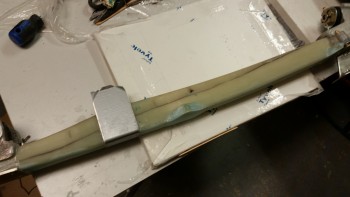
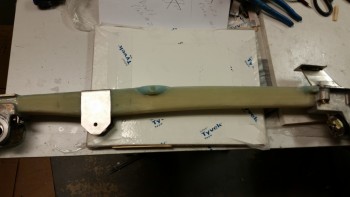
I then drilled the bolt holes for the upper and lower fairing mounts.
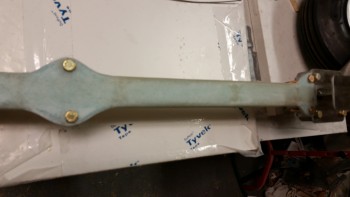
And tested the fit of a couple of the die springs. Looking good… my eevill plan is coming together!
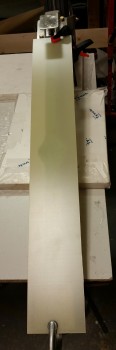
I then mocked up the strut fairing. I’m very happy with how it’s looking so far.
With the strut cover installed, I’ll focus next on shaping the lower nose foam & embedding the 1/4″ 2024 aluminum skid plate into the nose. In addition, I’ll be working to do a final prep on the foam surrounding & embedding the nose landing light. I really do think that within the next day or two that I’ll finally get to glassing the nose.