
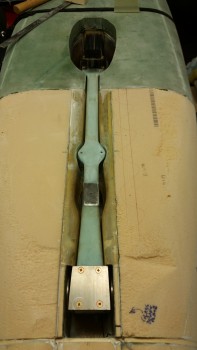
I started off today by cleaning up the strut cover install… the dead & overflowing flox & micro. I then installed the strut to do a quick check on the alignment & clearance between the strut & the strut cover. All was good.
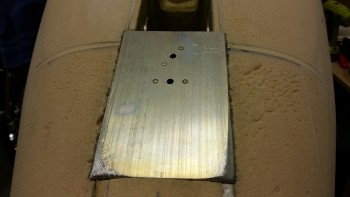
After a discussion with my buddy Marco I decided to add a couple of nutplates to the skid plate as a little added insurance against the nose bumper ripping out (or worse, falling off in flight… that’s what really got my attention as to adding nutplates!)
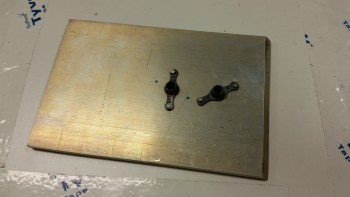
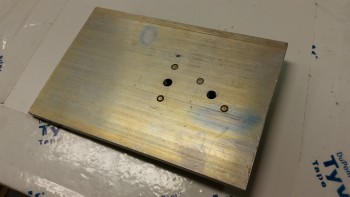
Since I already tapped holes in the 2024 aluminum plate, I needed to align the nutplates so that the threads were matched as close to a continuation of the original threads as possible. The first, angled nutplate was still matched to the threads, but when I started on the forward nutplate the threads aligned much better with the nutplate aligned straight across the skid plate. So, yes, once again I’ve installed nutplates at differing angles…. I know! It’s so wrong and I should be banned from installing them! ha!
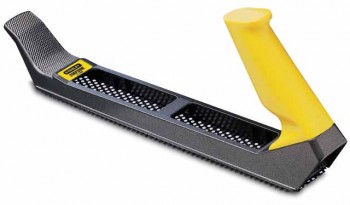
I then started on the final sanding of the nose. For the first round of sanding I started with the Stanley Surform plane.
Here’s the final rough stage of nose shaping.

I then used the long board with 36 grit sandpaper for the final shaping of the nose.
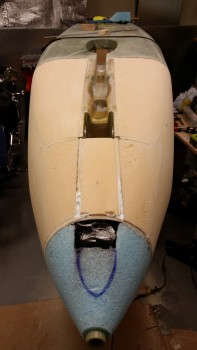
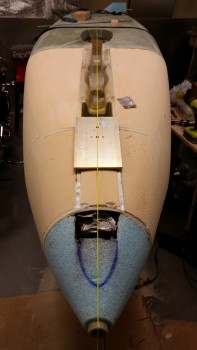
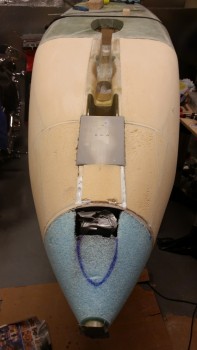
I then started on the installation of the 1/4″ 2024 aluminum skid plate. I ran a string down the fuselage CL to dial in the nose bumper mounting bolts alignment.
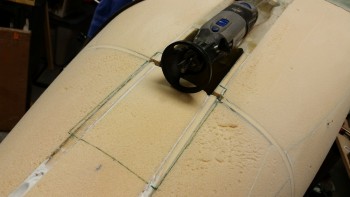
After marking the outline of the skid plate, I prepped the Dremel tool to router out the skid plate mounting depression/notch in the H100 foam, NG30s, and BC1s.
After a few rounds of the Dremel tool and sanding, I then test-fitted the skid plate.
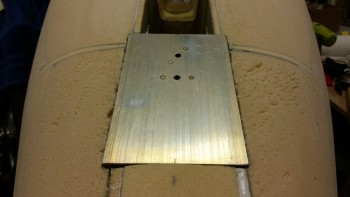
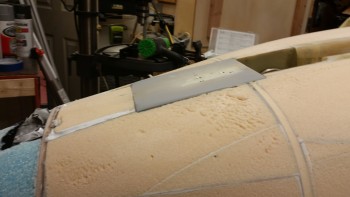
I had figured that since I was installing a sharp-edged/cornered plate in a sloping, rounded area that I would need to shape the corners to prevent shredding the glass when I lay it up. I mounted a mini-sanding drum on the Dremel and shaped the corners, in conjunction with using the hard sanding board.
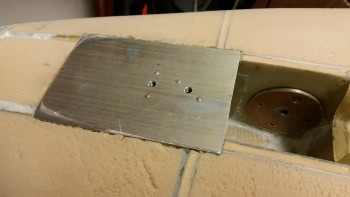
Here’s a side shot of the edge-shaped skid plate. I’m not sure if I’ve pointed this out before, but the aft edge of the skid plate is angled at 45° for clearance of the NG5 plate that secures the gear strut to the NG6B pivot. The skid plate overhang extending aft past the F1-3 bulkhead (“Napster”) also serves to cover the gap between the bulkhead & gear strut pivot point (NG6B, NG5 & the strut). Normally this function would be handled by a curved foam wedge glassed into this space, but clearly I’m substituting that piece with the skid plate.
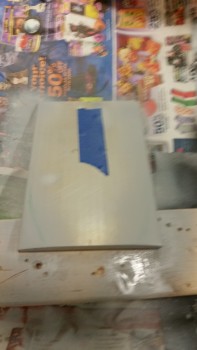
By grounding down the edges & the corners of the skid plate I removed the protection of the Alodine. I really don’t like having bare metal installed in the aircraft, even aluminum, so I hit the freshly bared metal spots with a shot of gray primer.
I then mixed up some wet flox and also a little thicker flox paste and applied it to the skid plate installation notch I made in the nose.
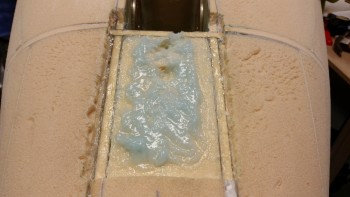
I then installed the skid plate and very carefully weighed it down. I taped up the wood block to ensure it didn’t slide off since the angle at the front of the nose is so steep.
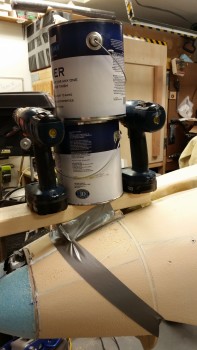
I took a break to grab something to eat & update my notes. I had the TV on and was working away when at some point I simply fell asleep! I woke up a few hours later & checked the flox in the cup, which was almost completely cured. Not wanting to tempt fate, I took the gallon paint cans down and removed the weight from the skid plate.
The skid plate install looked great.
I took the shots above and then went back to bed.
Tomorrow I plan on working first thing on adding blue foam to the nose around the landing light. After that, I’ll move into the myriad of prep actions for glassing the nose. I then plan on glassing the nose!