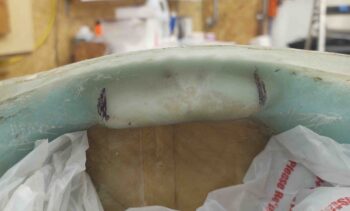
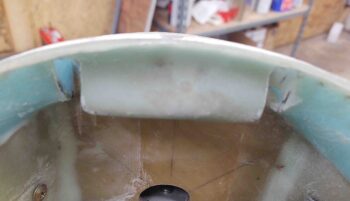
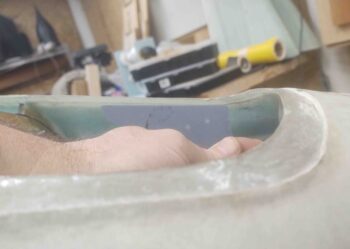
Today I started off by marking the edges of the glassed-over block of H250 foam I buried in the front of the nose, right at the top aft side of the furthest forward bulkhead. I placed this block of uber dense foam here to mount the nose hatch door hinge bracket assembly to, although I never had a concrete plan as to exactly how that would look…. until now.
I then used my Fein saw and trimmed about a 1/4″ wide channel –going forward– at each mark.
These slots are where the hinge pins will protrude out each side, left and right, of the hinge bracket assembly. Then the hinges will mount inside the slots on each side of the bracket.
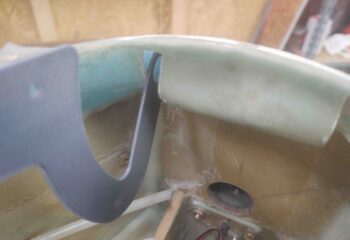
I tested the original hinge configuration and grabbed a shot of it here. As you can see, if I raised up the top mounting edge of the hinge (the front edge is elevated enough to touch the hatch door already) to be parallel with the door line, it would literally protrude through the top of the door.
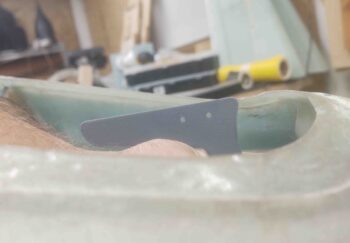
Here we have the new modified hinge with the pivot point in nearly the exact same spot as above, but as you can see the top portion of the hinge that will mount to the door is about parallel with the line of the door…. much better!
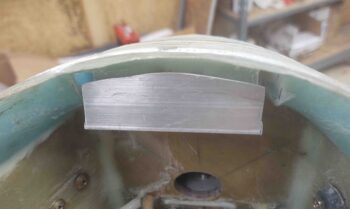
I then trimmed the 1/16″ thick by 1″ x 1″ angled aluminum to serve as the main body for the bracket. My band saw isn’t the most robust so it got a little wavy on the left top edge, but since this will buried under the nose I’ll just file it down a bit and call it good…. function over perfection!
I will note the ends will be capped each with a piece of 1/8″ aluminum that I’ll weld into place. Sticking out of each end will be a 1/4″ long x nearly a 1/4″ in diameter nub that will serve as pivot points (ala “axels”) for the hinges. The hinges will be secured to these nubs either by E-clips or cotter pins.
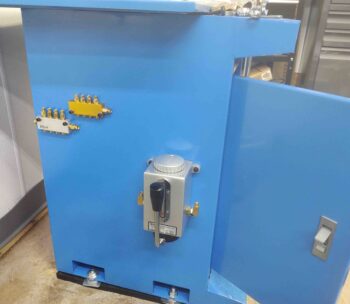
I’ll warn you now, the rest of this blog post is all about reassembling the milling machine. I started off with mounting the One-shot oil reservoir and 2 each 4-port manifolds. These will feed oil, via plastic tubing, to 8 oil ports on the milling machine.
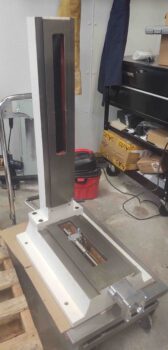
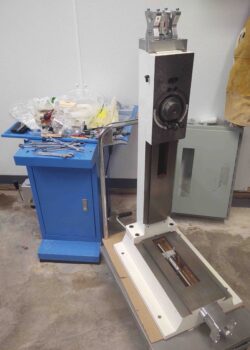
I then got busy reassembling the milling machine. I mounted the column back on top of the base.
I then turned the mill column and base assembly on its side.
Why? To mount the air spring back into place at the very bottom of the base, protruding all the way up into the column.
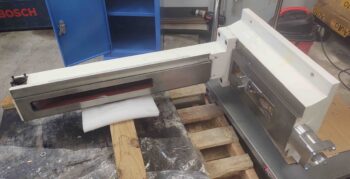
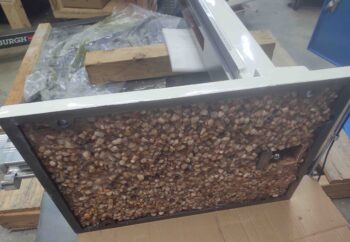
A wider angle shot of the bottom of the mill base, with the epoxy granite in place.
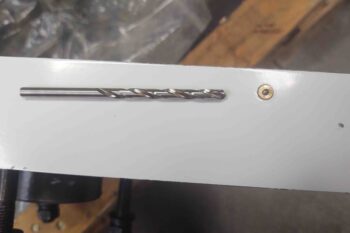
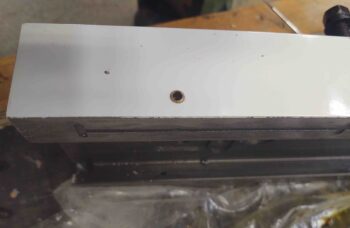
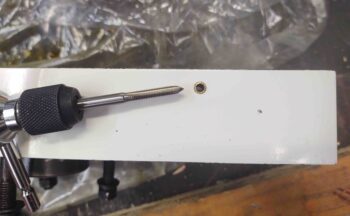
I then got to work drilling out the ball oilers to convert them to tubing push-adapters.
I first drilled it out with a #19 drill to tap M5 threads (too big IMO, so I reduced it to #21 and worked much better).
I then tapped the remaining brass of the oiler with M5 threads.
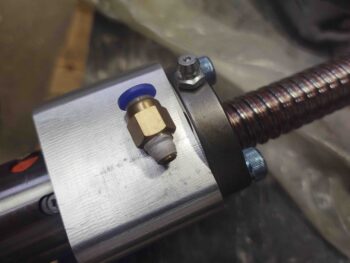
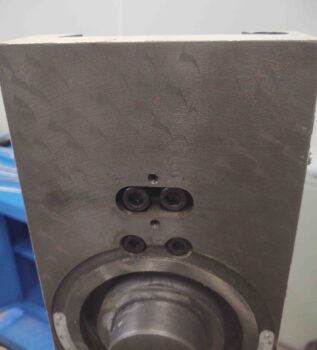
There were a couple of things that happened next that distracted me from getting a close-in shot of the tubing push-to-fit adapters I was mounting in the converted ball oilers, but you can see a shot of one on each side of the Z-slide (column) in the last 2 pics.
First, I wanted to replace the standard grease fitting on the Z-axis ball nut because there is no physical way that I can get to it when the Z-axis ball screw is mounted in the column. I had some tubing push-to-fit adapters that are actually for 3D printers, but a guy I follow on YouTube (Franco) converted his PM-25 milling machine to have full-time remote greasing capability of the ball screws using these fittings.
So I mounted one here (to be clear, I’ll be using oil on the X and Y axis ball screws because they are more prone to getting chips and debris thrown their way, whereas the Z-axis ball screw is hidden away in the column).
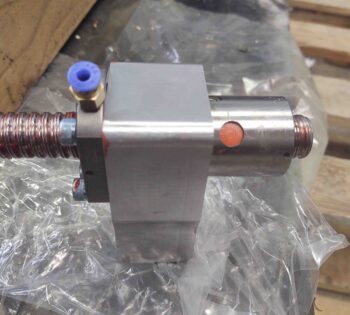
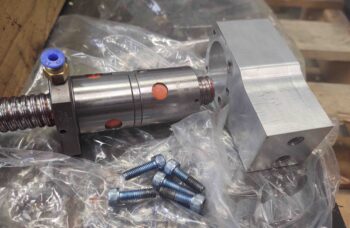
After trying a few times to bend space and time with my mind to get the Z-axis ball screw down into the column, I realized I was going to have to remove the Z-axis ball nut-to-Z-slide bracket (R, pic below) to then mount the bracket first, followed by the Z-axis ball nut (and attached ball screw/motor mount).
I’ll take a moment to remind anybody reading this that I do not have any instructions on how to do this…
I then installed the Z-axis ball nut-to-Z-slide bracket. Here you can see the 2 big 10mm hex head screws (top) that attach the Z-slide to the bracket.
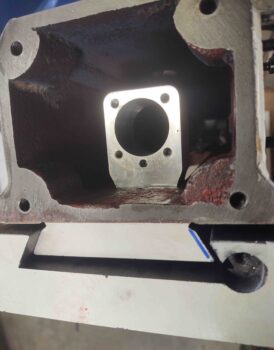
And a peak down into the column to see the bracket attached in the center of the column.
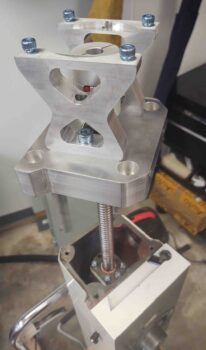
I then attached the Z-axis ball nut, ball screw and stepper motor mount to the Z-axis ball nut-to-Z-slide bracket.
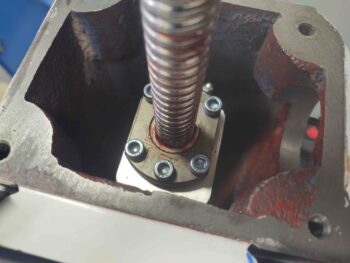
Then threaded in and tightened all 5 bolts.
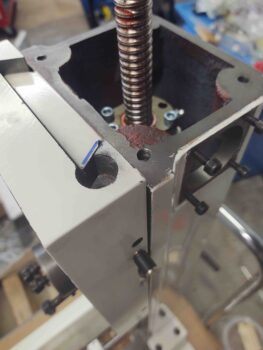
If you look closely you’ll see the original grease fitting back in place. Why? Mainly as a dust cover really… since the space is too tight to use the tubing adapter I had to punt on that idea. So in the future I’ll simply be putting the tip of my oil can through the opening on the right and using oil to lubricate the Z-axis ball screw. Oh well . . . live and learn!
Just another shot of the Z-slide (left) and the Z-axis ball nut (blue bolts securing) and the Z-axis ball screw (covered in red aircraft grade grease). Note the oil line adapter threaded into the tapped old ball oiler (center bottom).
I then seated and bolted the motor mount to the top of the column with 4 large bolts (Again, note oil line adapter on side of Z-slide).
Tomorrow I plan on getting a whole lot more done on the nose, and perhaps a bit more on the mill as well.

