
I had a fair amount of running around today so I didn’t get much done. I started by clearing out the foam from the inside front face of the NG30 aft cover. My main concern was clearing the foam off the inside of the surface where the phenolic plate insert will go for reinforcing the glass when the gear actuator P1 connector is installed.
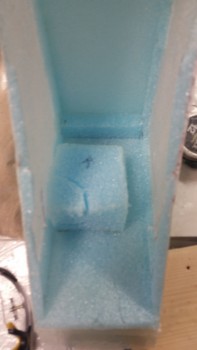
I sunk my razor knife into the foam when it hit me that I had not yet taken a pic of the inside of the cover with the added foam plug that allowed me to make the female side depression in the face of the cover for the P1 connector. So I took a pic.
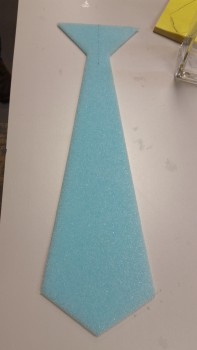
Just as I started in on my plane-building tasks my buddy Greg stopped by for a visit, and to also ask for my help in assisting him in making a Christmas tie in an attempt to win the “Best Christmas Tie” award at his work’s annual holiday party. Last year we made it out of wood, so this year I though it would be cool to make it out of spare blue foam and glass it. This burned up a few hours, along with just visiting & BS’ing in general.
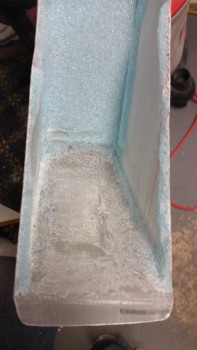
Back to airplane stuff, I was able to clean out the foam & clean up the inside of the front face of the NG30 cover.
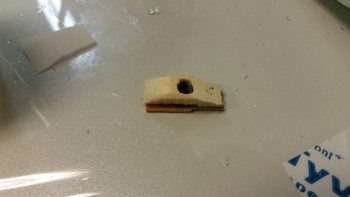
I then cut out the 1/16″ thick phenolic insert to embed in the layup to add strength to P1 connector mount.
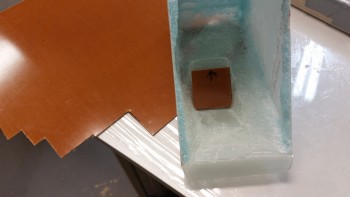
I lightly sanded the phenolic plate on each side. Once I got the phenolic insert ready to go, I then took a few minutes to prep a nutplate by embedding it into some H250 foam.
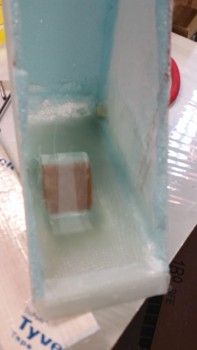
I laid up a small piece of BID just big enough to cover the phenolic insert after floxing the insert into place. I then covered that small ply of BID and the rest of the inside front face with another large 1-ply of BID. I overlapped the final ply of BID onto the side walls by a good 1-1/2″.
I then floxed the nutplate into the foam, and the entire nutplate assembly io the upper right side corner of the NG30 cover (lower right as the pic is situated here). The large 1-ply BID just missed where I floxed in the nutplate, so I used a small patch of BID to cover the nutplate assembly and overlapped it about a half inch on the big BID piece that I had just laid up inside the NG30 cover.
I then peel plied the face of the glass covering the phenolic insert, and the very front of the BID play at the bottom lip of the front face (pardon the blurry pic).
I then cut 4 pieces of BID on the cutting table to layup on the cover sides tomorrow after I clean up this layup.
Tomorrow I’ll also install another 2-3 nutplate assemblies on the inside of the cover, all on the right side –at least for now– all for wire-containing Adel clamps. I also have to work the glass on the cover sides to enable mounting the cover to the NG30s.