
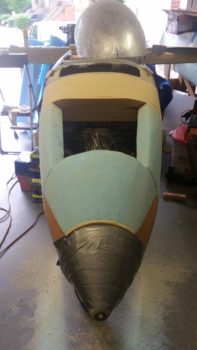
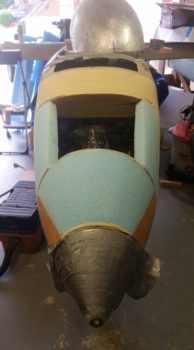
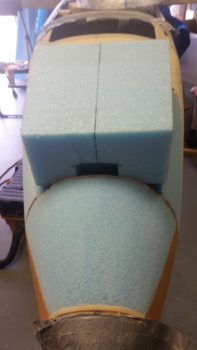
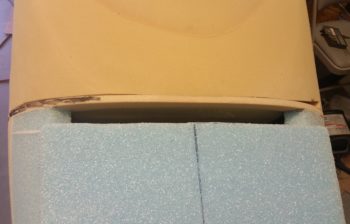
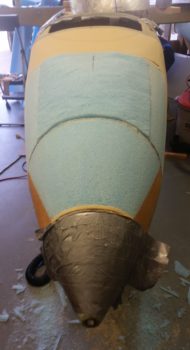
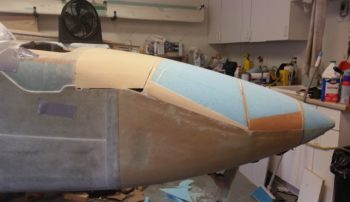
I started out today by initially sanding down the shape of the nose in pic #1 on the left, then did round 2 as shown in the pic on the right. As you can probably tell I spent a fair bit of time sanding on the intermediate bulkhead’s “shoulders.”
After some quick thought I decided that to fill in the gaping hole in the middle of the nose I would use one big plug. Yes, I would account for the differences in the forward and aft angles, but I would start with 1 big foam plug.
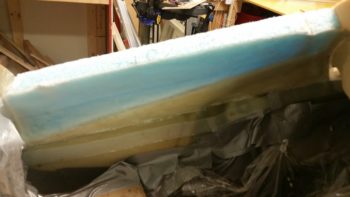
I grabbed a good candidate piece of blue foam and marked a centerline on it.
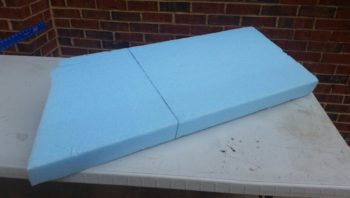
I had just made up a cardboard template for both the front and aft sides of the hole I was attempting to fill. I then pinned the templates in place to the foam plug with nails.
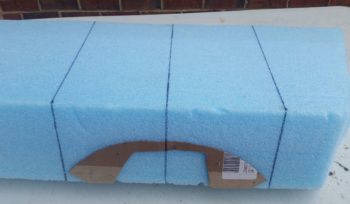
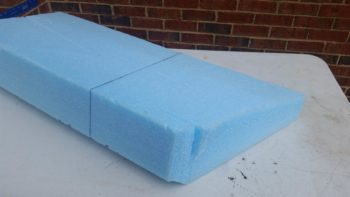
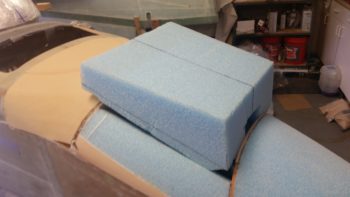
I then cut the sides of my foam plug which gave me a big block of blue foam to start my adventures with!
I then did a test fit and realized that this might take a while. Plus I was thinking, “Do I really want to go this route . . . eh, what the heck, let’s give ‘er a try!”
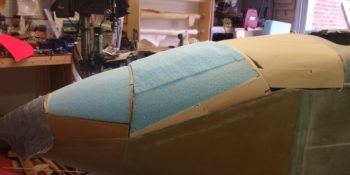
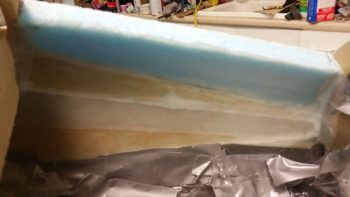
A side shot after a bit more finagling and a lot of cutting and sanding.
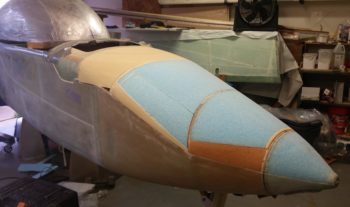
Looking a little bit better . . . at least it’s not so proud.
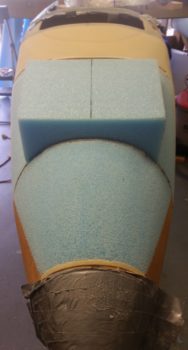
Ahhh, now we’re getting somewhere!
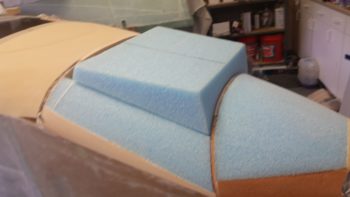
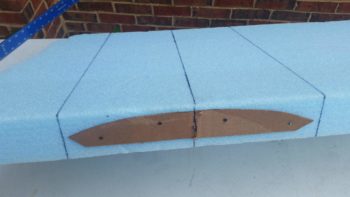
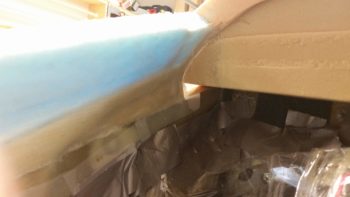
Now, as I mentioned yesterday, with these angles there needs to be some relief somewhere, so I had about a 1.5″ strip on the back side that I would then simply fill in with another strip of foam.
Which is exactly what I did!
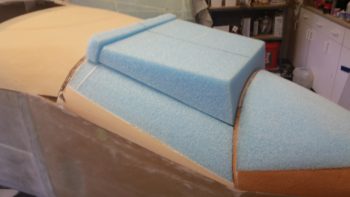
Here you can see the main plug and the smaller gap filler piece in the back.
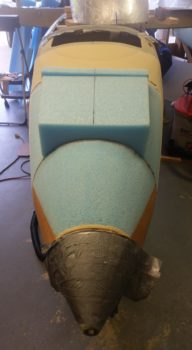
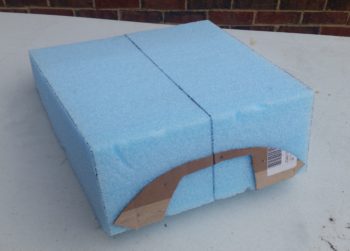
With all the dimensions, angles and fit looking pretty good on my foam filler plug pieces, I then set them in place and started hacking away with a wood saw.
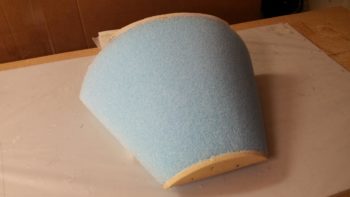
Here’s the final result of my Neanderthal shenanigans with the wood saw.
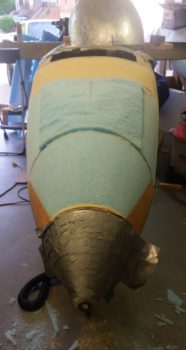
I then got serious and used the long board to get a final shape of my nose! hoo-ah!
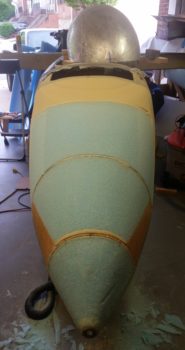
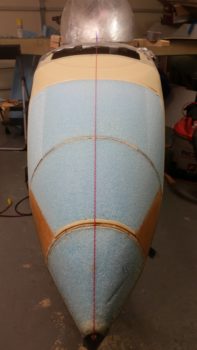
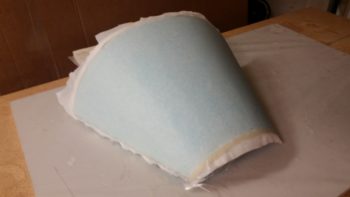
Here’s a couple profile pics of my new nose job!
And a more formal pic after I cleaned up the shop and straightened the canopy (ahem!) up.

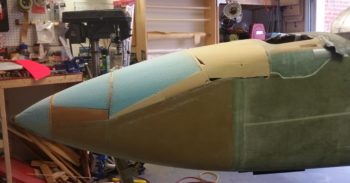
And a quarter angle shot. You might notice where it tends to flatten out just a hair around the Napster bulkhead. Minor variances like this will of course be mitigated during the surface micro finishing process.
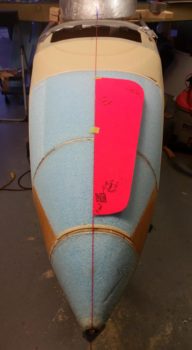
I then grabbed a line to quickly lay out the nose center line.
And then set the nose hatch template half in place. I think this will be a great size and shape for the nose hatch.
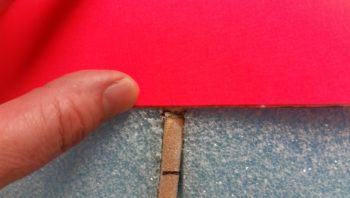
And AFTER I set it in the position I wanted from front to back, I checked the notch on Napster to see if I had determined it correctly (remember, it’s a bit tricky since the bulkhead is curved!)…. but I was well within 0.1″ on each side. Not bad!
After I spent a little bit of time sanding the surface of the battery compartment foam nose piece just a bit to ensure a ply of UNI would bring it back up to level with the rest of the nose, I then removed it from the nose and vacuumed it for a layup.
I then micro slurried the foam and laid up 1 ply of UNI with the threads going from side to side. I then peel plied the layup.
I laid up a ply of glass on this piece because I will actually carve it out and glass the interior sidewalls before mounting it onto the nose for good. Then when I create the nose hatch I can just lay up BID tapes on the inside to secure this foam piece in place as far as internal layups are concerned.
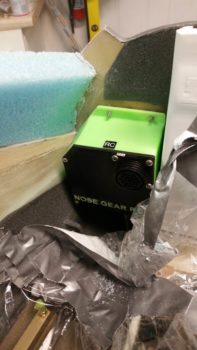
I then spent a little bit of time sanding the interior of the nose sidewalls that I micro’d into place. Once they were to my liking, I then vacuumed out the interior of the nose and the foam in prep for glass. I also test fitted the RCU (Nose gear Relay Control Unit) –in the box that Marco 3D printed for me– to ensure that it fit with the new sidewall in place. As you can see, it fit with room to spare. I guess I did ok on the box dimensions! (grin)
I then laid up 2 plies of BID on the right nose sidewall’s new foam, overlapping about an inch onto the existing sidewall glass on the bottom, and the same in the front corner where the glass overlapped onto the aft side of Napster.
I then peel plied a 2″ strip along the top, the front and aft edges, and an inch wide along the bottom.
I then reloaded and repeated the same process for the left side new nose sidewall foam. Both layups turned out pretty good even though the foam underneath wasn’t perfect.
Of course I’ll continue my nose building quest tomorrow.
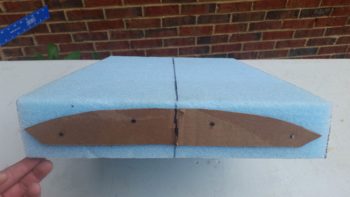
Looking really good and symmetrical! Not bad with a wood saw ;)
Thanks! Yep, pretty much the only tool you really need in your tool box… besides a hammer! haha :D