that you end up spending a ton of time on during these builds!
Today was, in fact, all about a bunch of little things. Yes, again! If you get tired of reading about ’em, trust me, I get tired posting about ’em! Ha! But, of course, the myriad of little things combined is what creates an airplane in the end.
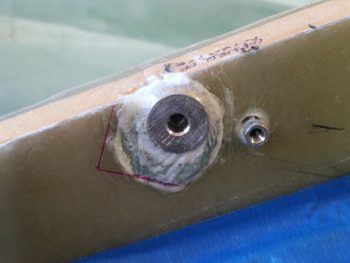
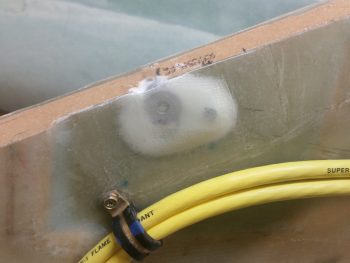
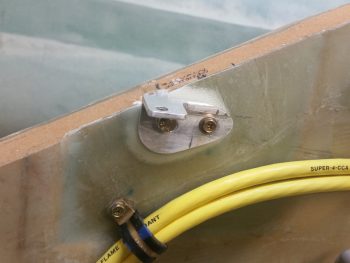
I started off by prepping the two hard points for the pitch trim actuator to be glassed over with 2 plies of BID. Here’s the before pic of how it looked when I started.
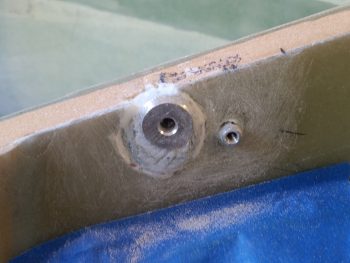
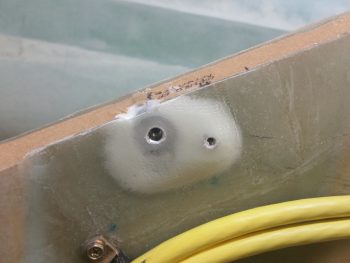
And then after a few minutes of good sanding.
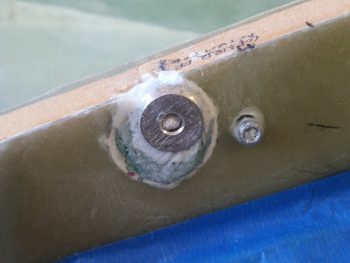
I then cleaned it up & prepped it for glassing.
I was going to use foam to fill the space in-between the two hard points and the around the aft side of the small hard point, but it turned out to be more trouble than what it was worth. At least in my opinion. So, I just made the flocro a little dryer so it wouldn’t run and used it as the filler all the way around.
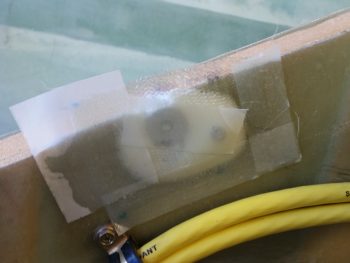
I then prepregged 2 plies of BID and laid them up. I also peel plied those areas that would easily take peel ply without a hassle.
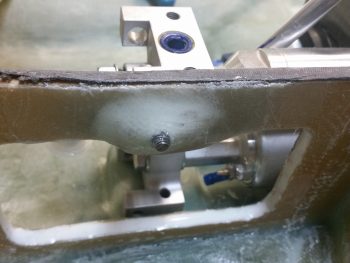
With the leftover epoxy I added a little more to the bit of flocro I had and made primarily a micro mix. I spread the micro on both the left & right side nutplate assemblies used to secure the upper fuel pump attach bolts in place. I then laid up 1 ply of scrap BID over each of the nutplate assemblies and peel plied the BID.
After I knocked out the fuel pump nutplate assemblies layups, I did do one more task (not pictured) with the leftover epoxy: I mixed it into thick flox –only flox– and sealed the parts of the bolt holes in the pitch trim bracket where I had drilled them out in search of the right position. Their latest position had each of the bolts covering about 60-75% of there own hole edges, so instead of cutting a whole new bracket, I decided to flox up the open areas of the holes and leave the bolts alone in their own holes.
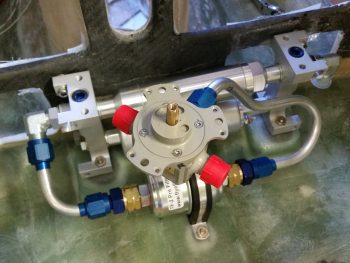
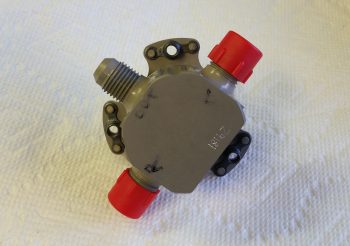
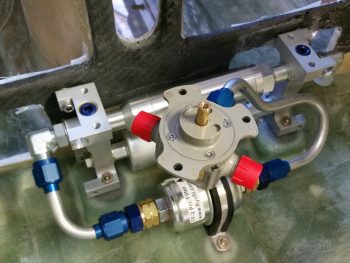
Then, while all the composite stuff cured, I set my sights back onto the Andair fuel selector valve. I took the valve lever and cover off to assess how it will get mounted to the fuel valve bracket & cover. I also wanted to double-check that the K1000-3 nutplate mounting holes were countersunk for the rivets, which they were.
I then riveted 3 each K1000-3 nutplates to the Andair fuel selector valve.
I set the fuel selector valve back in place and will assess it more fully later on.
I ran out to run some errands and when I returned all my composite tasks of the day had cured.
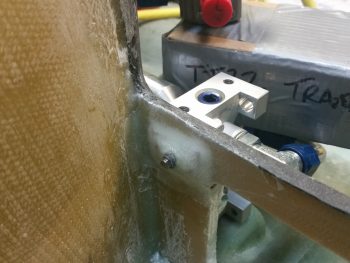
I pulled the peel ply from the pitch trim actuator mount hardpoint layup and cleaned it up a bit. I then redrilled the holes and removed the protective saran wrap I had placed in the holes to keep unwanted epoxy out. I then tweaked the glass around the holes just a bit more to allow for each respective bolt to fit back into their hole. I then test mounted the pitch trim actuator bracket back onto its new hardpoint base.
If you’re thinking 2 plies of BID might not be robust enough for the pitch trim bracket, no worries! When I glass the nose top in place these hard points, being right on the edge, will get another 2 plies of BID over them.
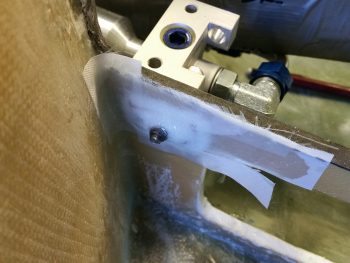
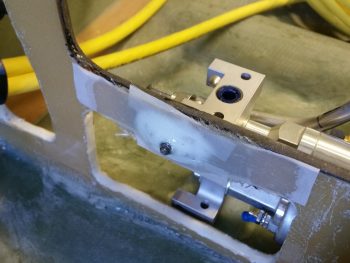
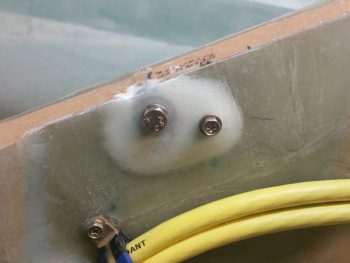
Here are both the left & right side nutplate assemblies used to secure the upper fuel pump attach bolts after their layups cured. I realize it looks like a lot of micro is covering these nutplate assemblies, but there really isn’t that much. The thickness of the phenolic combined with the back side of the nutplate, rivets, etc. makes it look like there’s a ton more micro than there really is. Admittedly, there is a bit more micro on the right side nutplate than the left.
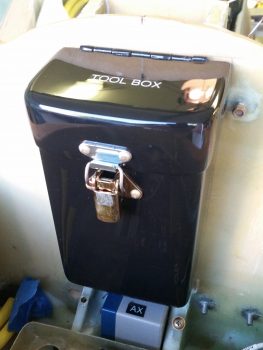
I actually assembled the tool box earlier in the day, but since I made a video showing its operation I put these tool box pics at the end of the post.
The following video discusses not only the tool box operation, but I also cover the pitch trim actuator hard points layup for a bit.
I still have number of small task items on my list, but I’ll keep pressing through to get them done. Eventually I’ll of course get back to the big stuff!

