
Today I had the goal of getting the inside & outside of the top armrest cupholder ring glassed.
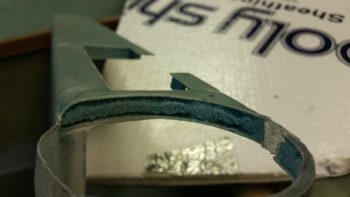
I started off by creating some mini-trenches at the top & bottom edges of the inside armrest foam where it meets the top and bottom glass. I only really did this on the aft side of the cupholder ring since this foam has some mass to it. The front side of the ring is just a narrow fragile piece of foam with a bit of glass on the top & bottom surfaces.
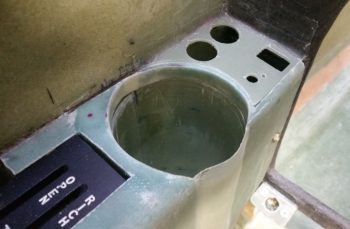
A bit later you can see that I had successfully glassed a ply of BID on the inside of the left armrest’s cupholder opening ring.
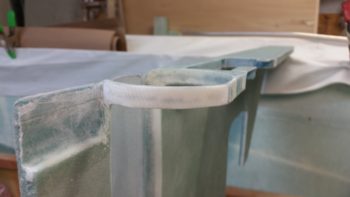
Once the internal armrest cupholder ring had cured, I glassed the front external side of the ring with 1 ply of BID where it mates with the heating switch panel. In addition, I peel plied both of these layups.
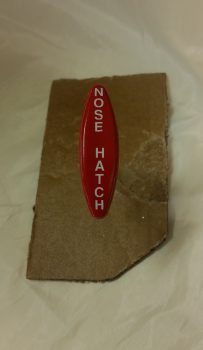
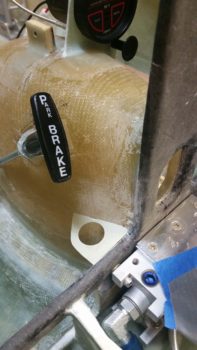
While I was waiting for one of the cupholder ring layups to cure, I quickly drilled a 3/8″ hole into the fuel vapor sensor mounting bracket to mount the handle for the nose hatch latch release. I had originally labeled and clear coated a red T-handle to use for this function (below) that I still really like, but it just doesn’t fit well on the right side and mounting it on the left presents too much of a hassle to get it mounted, and specifically to get the conduit where I need it to go over onto the right side.
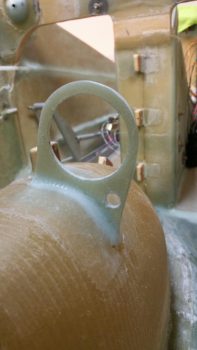
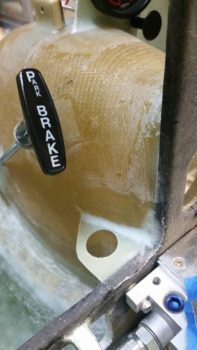
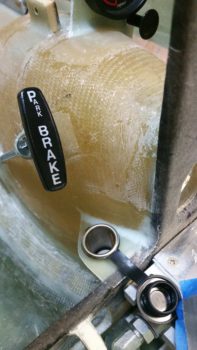
I then installed the smaller round nose hatch release handle in the fuel vapor sensor mounting bracket.
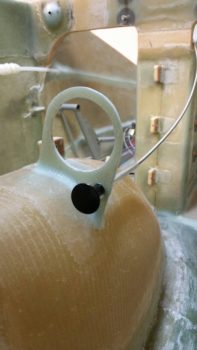
I then mounted the fuel vapor sensor to ensure there was no conflict of space. Clearly I still need to label my new nose hatch latch release handle, but I think this will work out fine.

I then got to work figuring out the size and configuration for the cigarette lighter charger bracket in the corner just forward of the lower instrument panel bulkhead and on the left side of very front edge of the nose gear cover (NB)…. all just to the left of the nose gear viewing window.
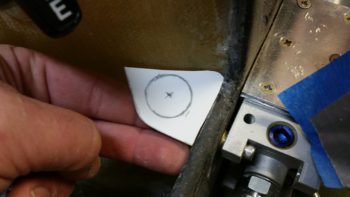
After getting a paper template made out of a 3×5 card, I then transferred the shape to a 1/16″ thick piece of G10.
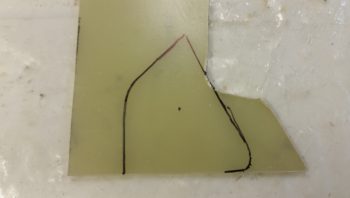
I drilled the hole first, then cut the bracket out of the G10 stock. I then test fitted my new bracket in place. It looked good, so I 5-min glued it in place. When the 5-min glue cured, I then micro-filleted the edge where it mated with NB, and glassed the top surface with 1 ply of BID.
The pic below right is after the layup had cured, and I pulled the peel ply, razor trimmed it and cleaned it up.
I then test-fitted the cigarette lighter charger into its new mounting bracket.
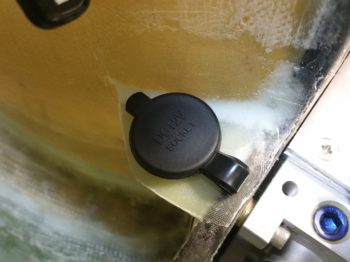
Below is another shot of the new cigarette lighter charger installed at the base of the instrument panel bulkhead. Now, the underside sleeve of this charger is actually a bit too wide in diameter to fit comfortably under the bracket, so I’m going to have to kick the hole outboard about 0.1″ to get it all to install smoothly.
I wanted the cigarette lighter charger in this location so I could use it inflight, both with the bigger old style charging adapters, and also with a USB charger insert. Another major factor for picking this spot is that I wanted easy access to this charger specifically, since it will be wired to the battery bus. Then, when I want to charge the battery, I simply just take the cigarette lighter charging adapter that I have for my charger and plug it in…. EZ PZ!
Friday I’ll be heading to NC for the Thanksgiving Holiday, so over the next couple of days I’ll be working less and less on the build. However, once I get back I plan to hit it really hard again!