
Well, the first major build stage for both wings is complete. For now I’ll be focusing on the Centersection (CS) Spar, with a brief intermission for working on the upper winglets. This intermission will be brought to us while the 3 front spar wall pieces cure (2-3 days as per plans) after they are micro’d in place on the spar box.
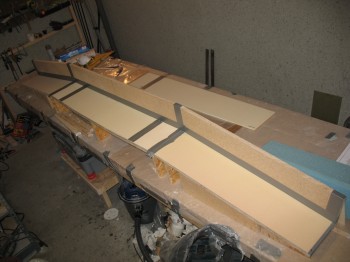
I finished cutting the top & bottom sides (remember, front & back in the jig) of the blue PVC foam.
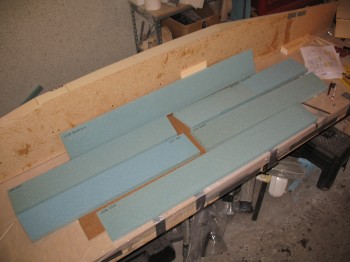
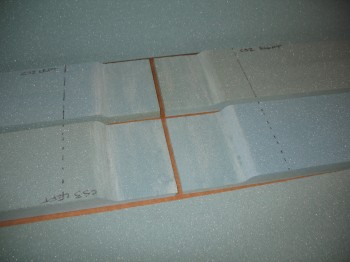
I then routered out the end channels on the blue PVC foam to leave a 0.7″ wide tab for the top & a 0.4″ wide tab on the bottom.
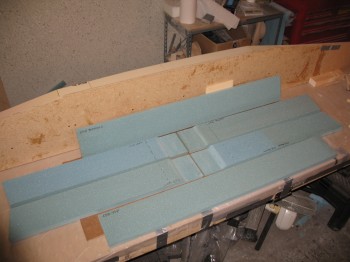
I then had to micro some smaller pieces together (blue foam) to make up the full length pieces that would be assembled & make up the top & bottom walls (front & back on jig) of the spar.
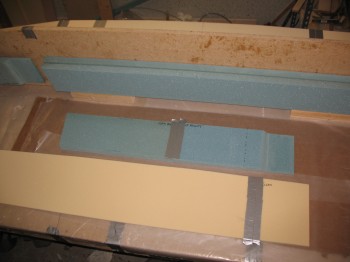
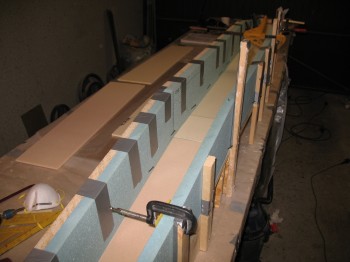
I then micro’d 3 pieces (yellow foam) together to make up the back wall (lying on the flat center shelf) & then micro’d the Left & Right outer pieces (that lie flat but slope down) that make up the entire back wall of the spar. Again, these foam pieces cover the entire duct taped shelf.
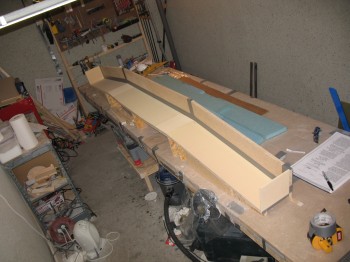
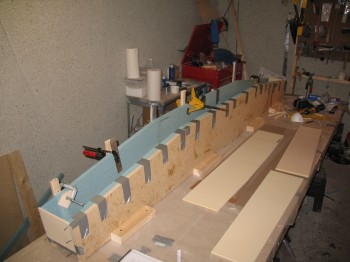
I then micro’d the the 3 blue PVC top spar pieces (back jig wall) both to each other & down onto the back wall (yellow foam lying flat on the shelf). I held the blue foam into place with nails driven at an angle into the yellow foam & strapped it to the back wall with duct tape.
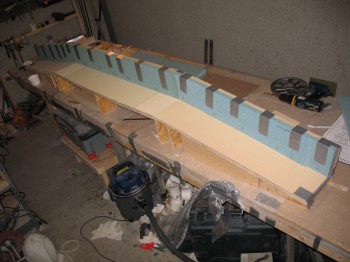
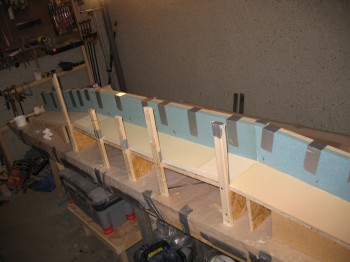
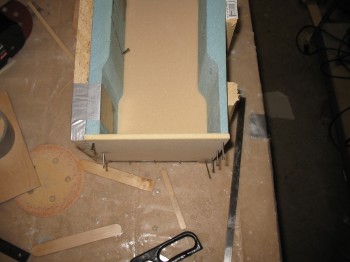
Most builders will recognize the scrap wood I used for the jig’s front wall support tabs as the same scrap that is used to protect foam shipments from Aircraft Spruce. I screwed (not bondo’d!) these wood support tabs to the front of the jig to micro the bottom center spar piece in place (bottom spar = front jig). I then added more front wood jig supports to micro the Left & Right side bottom spar blue foam pieces into place so that a 3-sided channel consisting of the top, back and bottom spar walls was created. I used finish nails, duct tape & clamps to hold the bottom PVC foam spar wall in place.
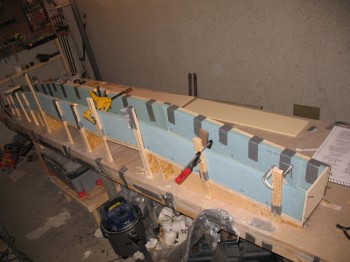
I then micro’d on the CS spar’s yellow foam end caps–actually classified as bulkheads–with nails as well.
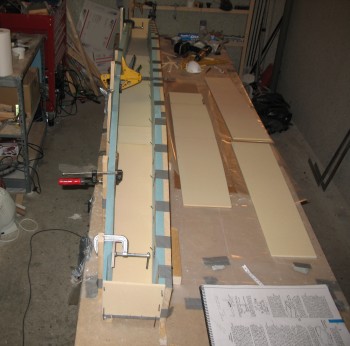
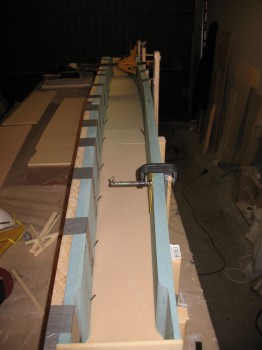
I double checked all the bonds, ensured the surfaces were all mated well together & removed all the excess micro.
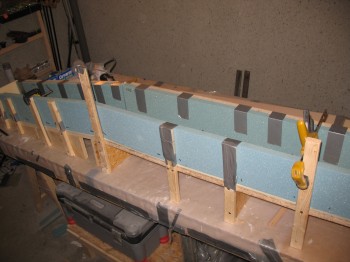
With the initial stages of the spar box assembled & curing, I called it a night.