
Today I finished the current build of the Left wing. I placed the wing on the table bottom up. I knocked the jigs off the wings & cleaned up the bondo.
 I took the wing outside & placed on the fold out work table, and then sanded all the bondo off the wing.
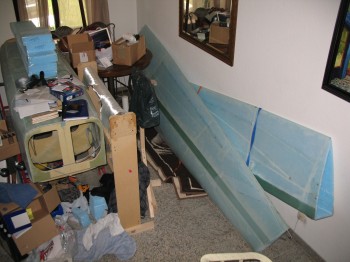
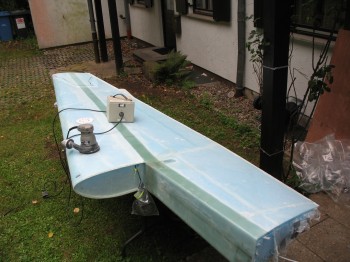 After I finished sanding the bondo off the wing & then cleaned off the wing (the rain helped with that!). I then stored the wing in my environmentally controlled storage facility (ha! yes, my dining room . . .)
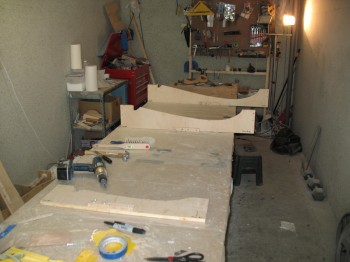
 Now, let me talk a little bit about some housekeeping items. Literally. Of course in the pic above, it’s a bit messy. Well, since I’m on quite the accelerated schedule–to be able to use all the epoxy I bought en mass–I had to choose between glassin’ & sandin’ versus keeping everything else ship-shape. Essentially, it comes down to my prioritizing the build over pretty much everything else for a few months.
The other item is an issue for the locale in which I am building: trash. Building this airplane, especially since it’s composite, produces A LOT of trash. Unfortunately for a plane builder, Germany is incredibly strict about its trash. Germany has you identify trash into five (5) different categories. Their curbside trash bins are SMALL here and they only pick up each kind of trash about every other week. Thus, I have a lot of build trash that piles up, and not much place to put it. So I get what I can out (often, if the trash isn’t sorted just right, they won’t touch it) and then continue to build. Eventually, all the trash will get out since I will stop building in mid-October for at least 6 months. Luckily, fiberglass & used peel ply doesn’t rot!
Ok, back to airplane building!
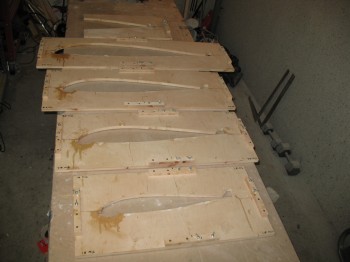
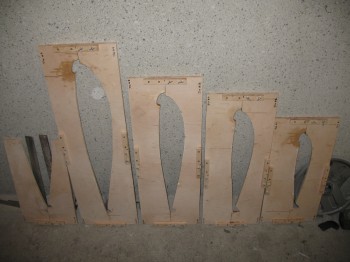
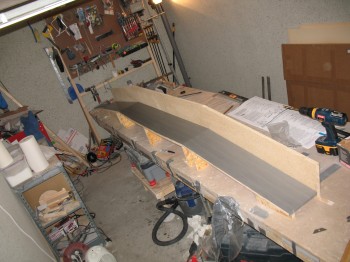
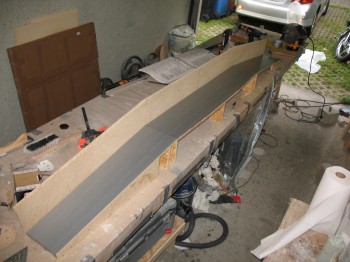
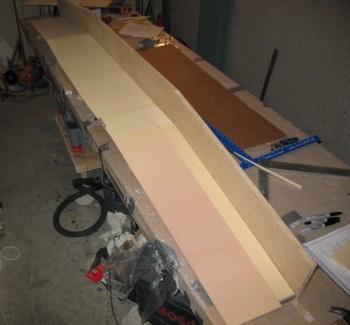
I lined up the troops one last time for some photos after their long hard slog. Although not an exact perfect fit, I was very impressed with how well the wing jigs worked. Brilliant idea & brilliant design in my opinion.
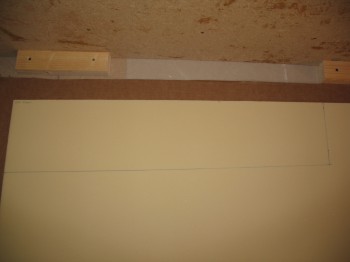
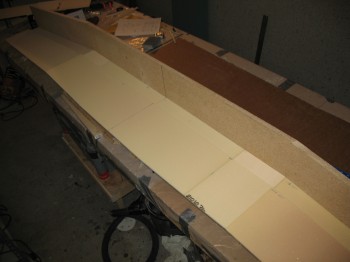
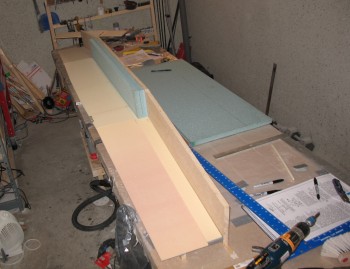
Afterwards, I started assembling the jig for the Centersection Spar. I know many may be aghast at my co-mingling of different types of wood, but I had it on hand and it will all get trashed (again, at some point) eventually. I actually shipped the long pieces of particle board here from the States specifically for this jig.
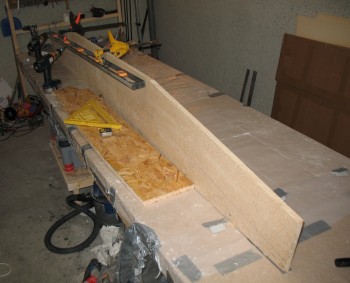
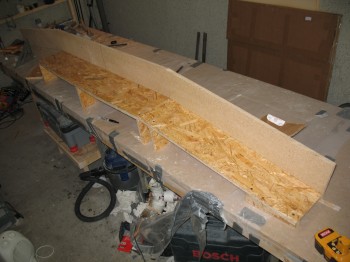
The CS Spar gets built on this jig as if the airplane were flying straight up into the air. The backboard is actually the top. The shelf that is level in the middle & curves downward on each end is the back of the CS spar.
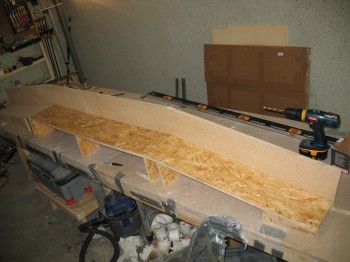
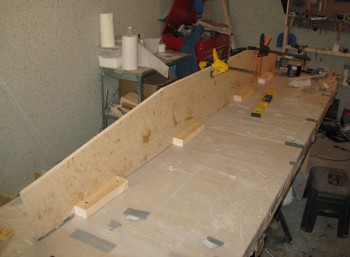
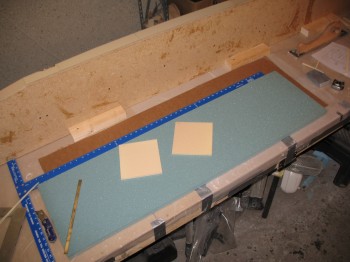
 Since foam gets micro’d on the surface of the shelf… and we prefer NOT to leave any foam chunks of our CS spar left attached to the wood, I covered the entire shelf assembly with duct tape (maybe the differences in wood types was getting to me a little as well).
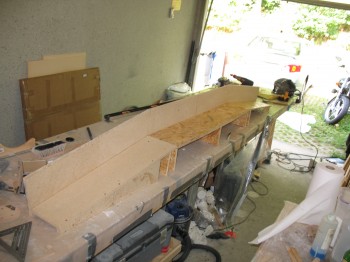
 I then took inventory of the foam & ensured it was in good shape/undamaged.
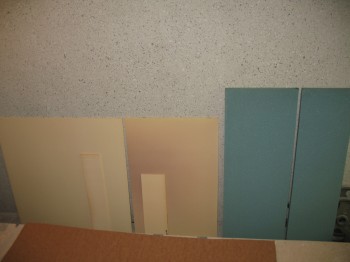
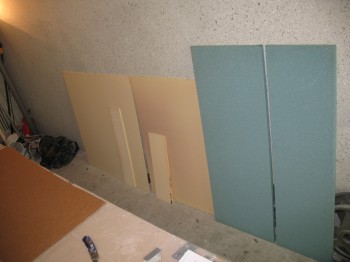 You’ll notice (if you’re a builder) that I’m using the slightly denser 3# blue PVC foam vs the 2# polyurethane. Both are fuel resistant, unlike wing foam which dissolves rapidly in fuel & other hydrocarbon-type liquids. Polyurethane is much easier to shape, but the dust is horrible and the chance of delaminations are much higher on the polyurethane. I generally use wood working tools on the foam anyway, so the blue should be ok to work with.
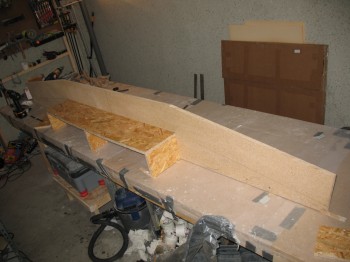
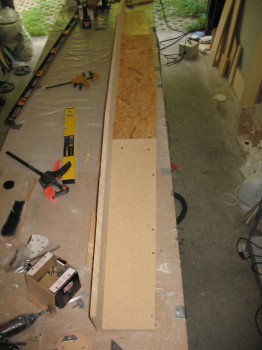
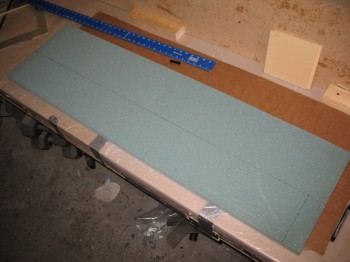
I started by cutting the 3 large front pieces (on the jig, the front is situated on top).
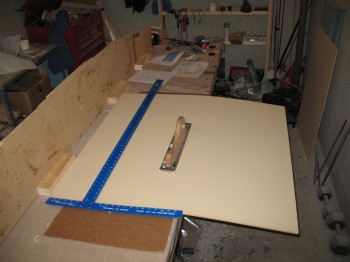
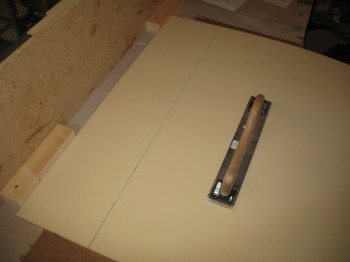
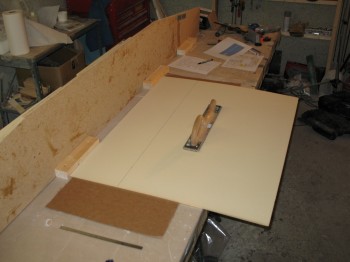
Once I got the front pieces cut, I cut the identical back pieces (which are on the bottom shelf of the jig as it gets built). The pics below have both the front & back pieces, they’re just staggered.
Then I began to cut the top & bottom blue foam pieces (the sides as it’s built).
After cutting the center top & bottom (side) pieces, I called it a night.