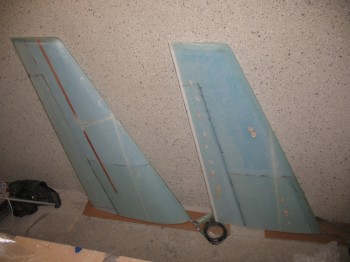
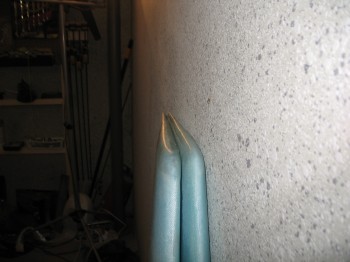
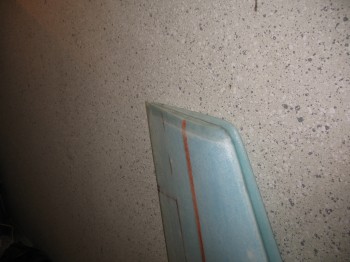
Today I pulled the peel ply from the Left winglet & took the TE clamps off.
The Right winglet still seemed just a tad tacky after a few hours. But it was only a few hours after the layup & it turned really cold, so I turned on another heater to kick the heat back up over 70° for a few hours.
I rechecked the winglet later and it looked fine… I probably laid it up just slightly on the dry side, but not too bad.
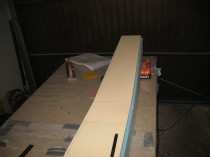
I pulled the peel ply from the Right winglet and then Fien sawed both TEs & bottom edges. I then sanded the TEs… both winglets looked good.
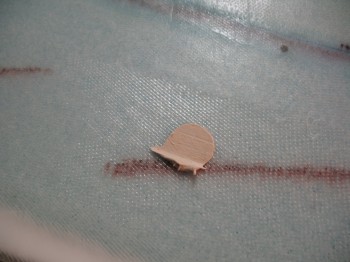
Later on I removed the bondo blobs with a hammer & chisel… often just takes one sharp whack for them to come off (It was too late to use a sander at that point).
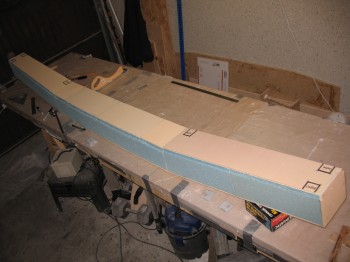
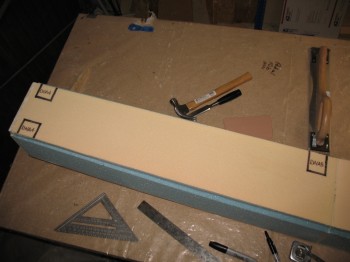
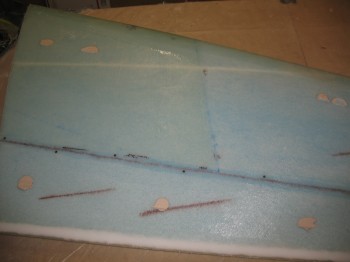
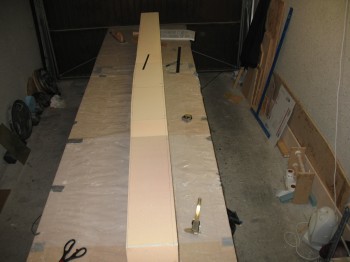
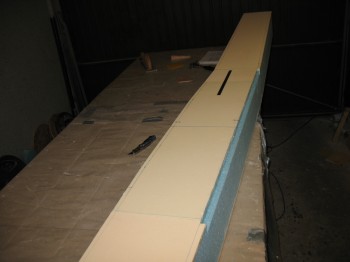
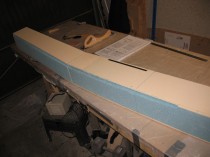
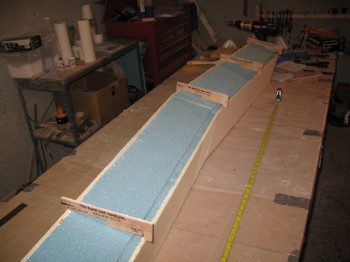
I brought the CS spar back out to the work shop and then measured & marked the lines for the spar cap trough depths.
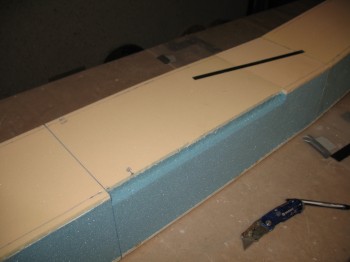
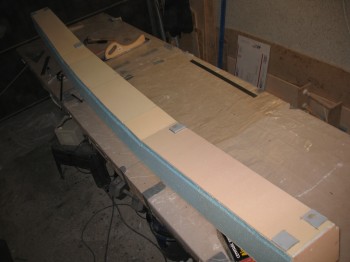
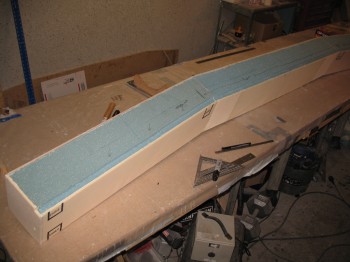
I made the initial cuts for the spar cap troughs & removed the foam.
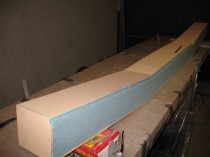

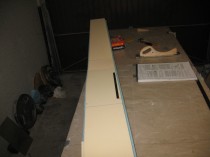
 I marked the Butt Lines (BLs) where I will use 1 of the 4 corresponding spar cap templates.
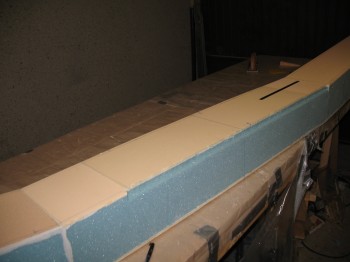
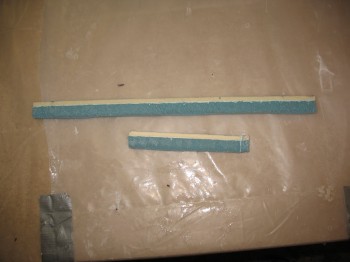
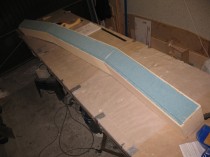
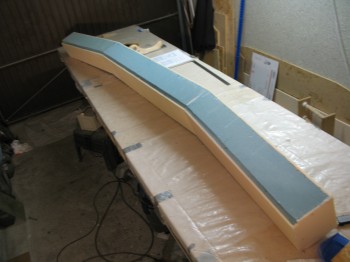
 I then measured & marked out the locations for the aluminum extrusions. The extrusions embedded into–and laid on top of–the foam will line up with both the extrusions glassed into the inside of the spar box and to the extrusions on the wings.