Before I started on the winglets today, I ginned up some 50/50 flox/micro mix to fill in some minor gaps between the foam joints on the CS spar.
I then resanded the TE & rudder on the right winglet.
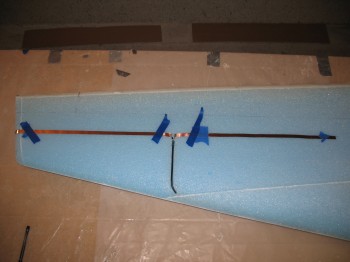
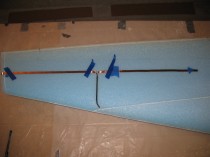
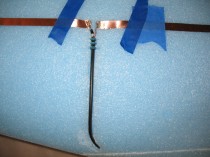
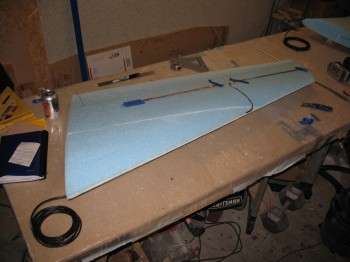
I installed the COM antennas onto the winglets . . . in the proper position this time. I of course had to drill a long channel at the LE of each winglet and then work the antenna cable lead down through it. It took a little bit of time, but it wasn’t that difficult.
I did have a minor issue with the Left antenna when actually sticking it onto the surface of the winglet: the last 1/4″ of copper foil ripped off as I was setting it into place! I simple reattached it with just a hair overlapping (maybe 0.5mm) & did a continuity check. My multi-meter rang out loud & strong so the connection was good! As long as I didn’t disturb it when laying the glass up … so it was fine.
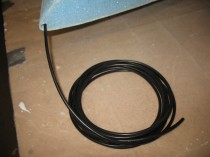
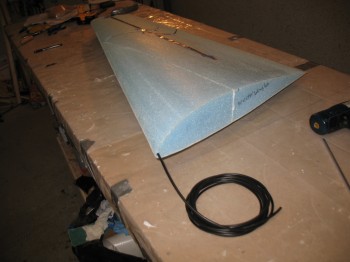
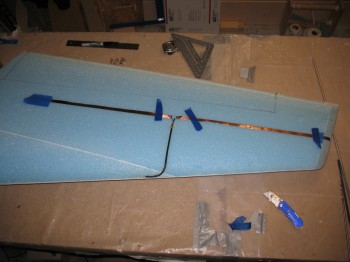
Once I got everything set up, I bagged the antenna cable leads & carefully vacuumed the entire surface of each winglet.
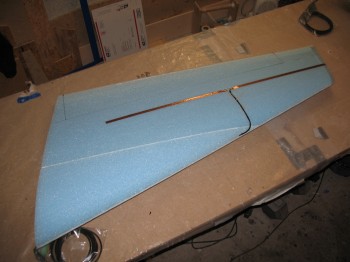
I micro’d the foam surfaces & joints, including the antenna leads & runs, and then glassed a 2-ply UNI layup crossing at approximately 30° & the 1-ply BID reinforcement for attaching the winglet to the wing. I also peel plied the BID layup & the LE overlap. This was of course on one winglet at a time.
Again, I used my lengths of aluminum angle to clamp down the TE edges so they cured straight & even.