
I started today by sanding both winglets. I then cleaned them up & put them in the living room.
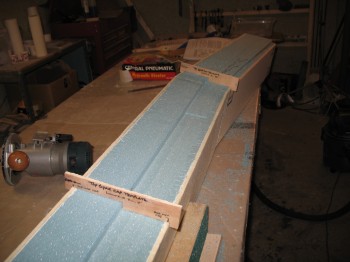
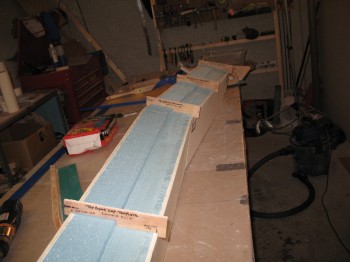
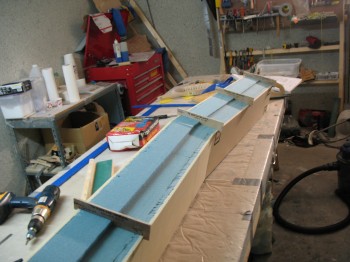
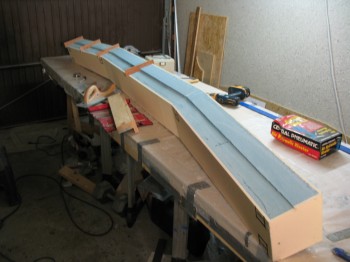
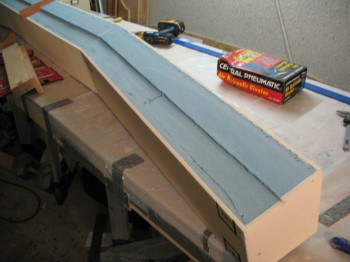
I then focused on the CS spar. I started by making a sanding board jig to sand the spar cap troughs. Before I used the sanding board though, I cut the majority of foam material away with my router.
I set my router at 0.5″ depth & routed the middle 30″ of the top spar cap trough.
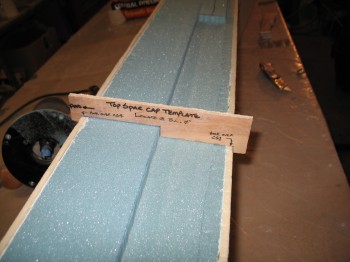
I then set the router to 0.4″ depth and routed the remainder of the spar cap channel.
Once I got most of the material out, I used the sanding board jig and other various sanding implements to carefully get the spar cap trough to the depth outlined in the plans.

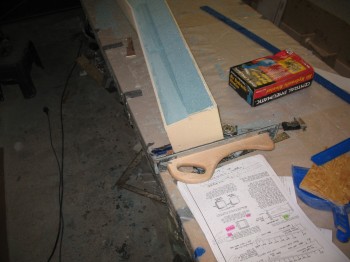
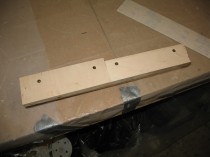
The plans have you use 4 templates to set on the top of the spar at various points (Butt Lines = “distance from center line of aircraft”). Since the BLs are the same from the center line of the spar, they can be used on each side, and then the depth set at that point to match the template.
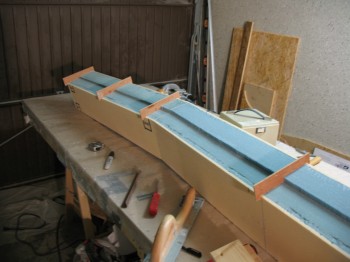
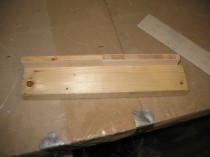
From a tip I picked up from David Orr (“Beagle”) and gang, I was fortunate enough to have built my wings before my spar [normally the wings are built later]. Since the end of the spar is nestled into the L-shaped crook of the wing, it makes sense that they should both be the same width . . . lest something (as in a lot of filler micro) must be added to make them match. This of course is not the optimized way to build the wing-to-spar interfaces.
However, having been educated by Beagle, et al, that some builders in the past had dealt with issues of the spar end being significantly thicker than the wing… enough to cause some major work, rework & consternation.
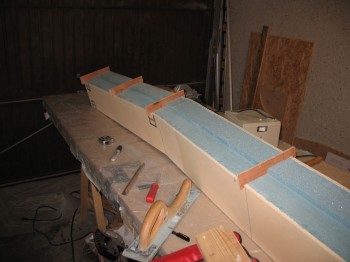
I was able to ensure that the spar end & wing “root” would match by making a template of the wing root at BL 55.5 (the jut out) and match it to the end of the spar. The end of my CS spar was, in fact, slightly thicker than my glassed wing. I taped the BL 55.5 template to each end of the spar and marked the overage with a Sharpie. Later I’ll sand it down to match the wing width, accounting for any glass layup thickness as well.
I then vacuumed up all the blue foam dust and called it a night.