
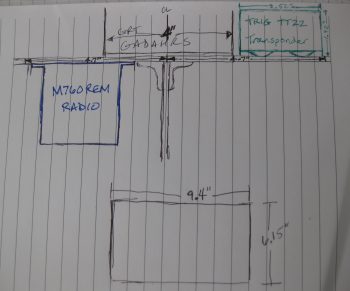
My first task of the day was to figure out the exact dimensions of the Triparagon component shelf that will primarily serve as a mounting location for the GRT GADAHRS, Trig TT22 Transponder, and the M760REM COM2 radio. To minimize space, and to allow for a smaller shelf (e.g. less weight), I decided to mount the M760REM radio on the bottom side of the Triparagon component shelf. As you can see, looking at the Triparagon from either straight aft or from the front, it looks like a big “T” . . . thus, it has three main mounting arms, which is the reason for the “Tri-” in the name. Moreover, weird names are conversation starters & keep life less boring! Right?!
I started off my shop work today by figuring out the exact dimensions & locations of the support spacers for the GIB seatbelt crossbar. The spacers will be a couple of inches from the CS spar CL on each side. Since the right side arm rest and right side horizontal part of the engine mount extrusion are both wider than their left side counterparts, I decided to skew the seatbelt straps over about a quarter of an inch to the left as well.
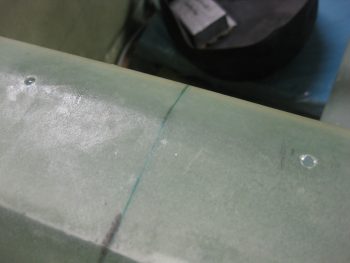
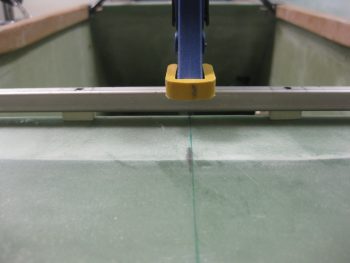
I marked the spots where the initial holes would be drilled for the eventual installation of AN3 countersunk screws.
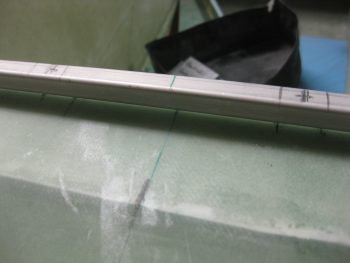
I then drilled my marks with a small 1/16″ bit through the square upper seatbelt crossbar tube and into the top of the CS spar, but not all the way through.
I then drilled a series of holes with increasingly bigger sized bits… again, only down until I felt the tip of the drill bit hit the bottom side of the upper inside CS spar skin (on the inside ceiling of the spar).
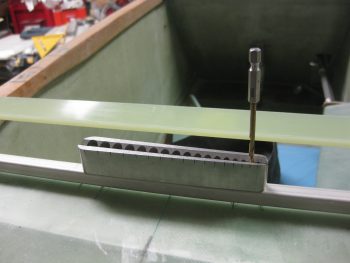
Once the holes were decent sized, with still a bit more to go for the screws to fit, I stopped drilling for the time being.
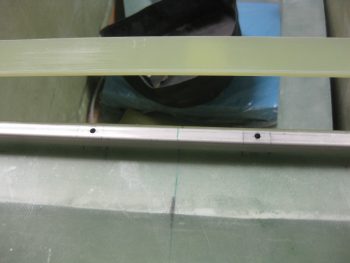
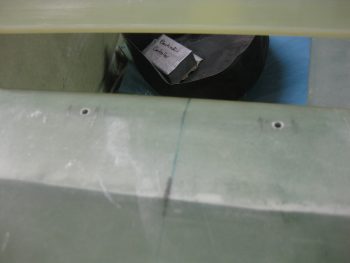
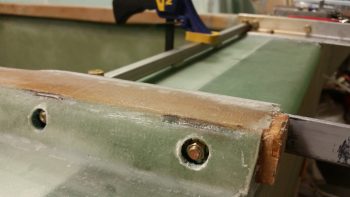
And pulled off the seatbelt crossbar to expose the holes. I then spent a good 45 minutes using a scribe to dig out the foam through these holes and shop-vac’ing the chunks out. I essentially created an open cylinder under each hole all the way down to the bottom/inside CS spar skin (remember, I DIDN’T drill all the way through). I would say the resulting air pocket I made for each hole was about .6″ to .8″ in diameter.
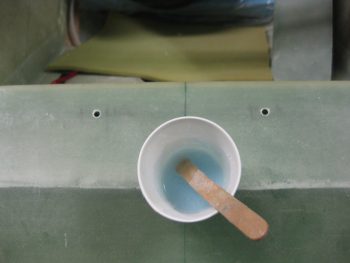
I then made up some wet flox with fast hardener and poured it into the air pockets I created under each hole in the CS spar. As you can see, I’m simply making hard points in the CS spar to secure the center GIB seatbelt cross bar screws.
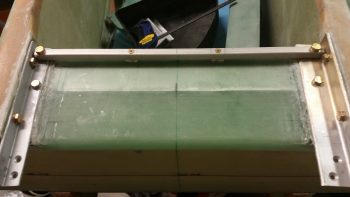
With the leftover flox I then installed the right side modified AN970-4 washers after slathering them with flox. After the washers were in place I installed the AN4 bolts. As you can see in the pic below, I have some trimming to do on some of each washer peeking out, but overall I’m very pleased with these washers and am very glad I did this mod.
Here’s the flox curing inside the GIB seatbelt crossbar inboard mounting screw holes.
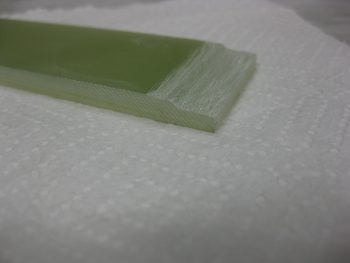
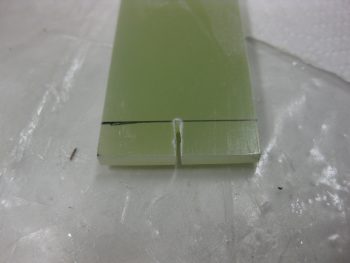
I grabbed a bar of G10 Garolite that I had on hand and sanded down one end so that it was the same thickness as between the top surface of the CS spar and the bottom side of the GIB seatbelt crossbar (approx. 0.2″).
I then flipped it over and marked it to make 2 support spacers for the inboard crossbar screws.
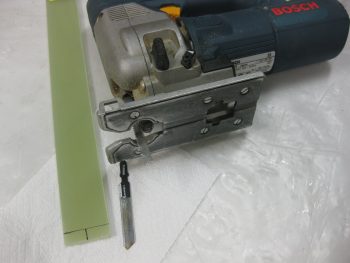
I started by making a center cut that will result in 2 x 0.75″ wide pieces.
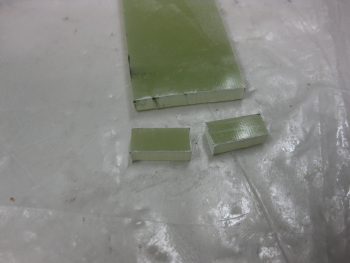
I then cut across the G10 to give me the 2 support spacers measuring 0.75″ wide x 0.4″ deep x ~0.2″ thick.
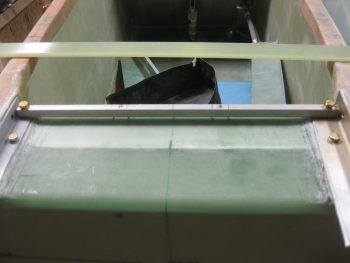
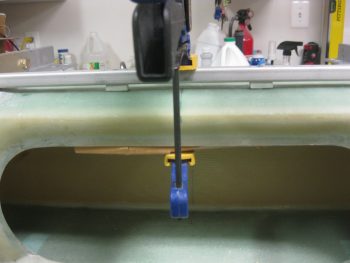
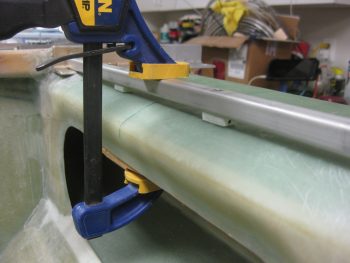
I then set the spacers in place and clamped the GIB seatbelt crossbar over them to secure them in place.
I then drilled a series of holes starting from smaller to larger both through the G10 and also down all the way through the CS spar into each of the hard points.
I then actually drilled the holes out all the way with a #12 bit to accept an AN3 screw.
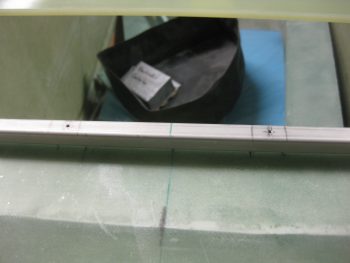
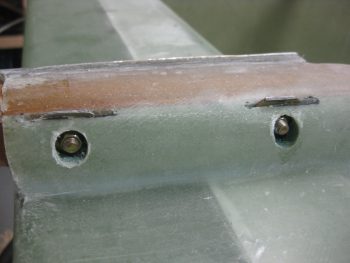
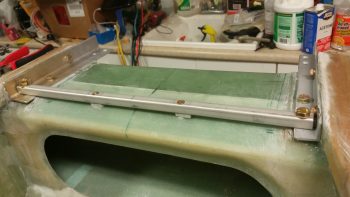
I drilled countersinks into the freshly drilled crossbar mounting holes and then installed a couple of AN3 screws into the holes. You may also note that the left side bolts are installed securing the engine mount extrusion to the longeron –utilizing the modified AN970-4 wide area washers of course!
It took a bit of fiddling about with the holes to get the screws to slide in without being “motivated,” but after a good 10 minutes everything was working fine.
Here’s one last shot of the temporarily mounted GIB seatbelt cross bar & the 6 (six) permanently mounted AN4 bolts securing the upper engine mount extrusions to the CS spar and the longerons, respectively.
Tomorrow I plan on floxing & glassing the support spacers into place for the GIB seatbelt cross bar. I’ll also be doing a fair amount of work on the Triparagon as well as prepping for starting back on the wheel pants install next week. I failed to mention that at one point today I drug the table saw out and cut the top component shelf for the Triparagon. I took a pic of it, but it was horribly blurry . . . so imagine a rectangular aluminum plate 6.1″ x 9.4″ and your minds eye will have it! ha!