
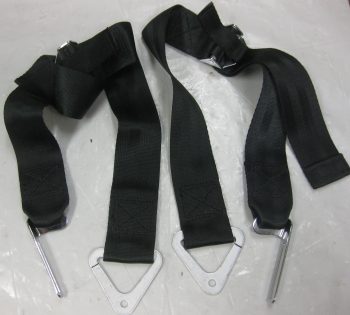
I started out today by gathering up the upper GIB seatbelt straps to modify them to work with my seatbelt cross bar configuration.
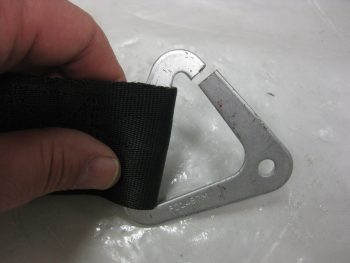
I took a big breath and marked the mounting brackets for cutting with my ‘Dremel’ tool.
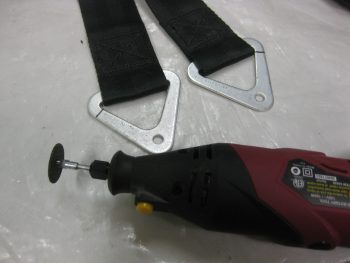
Here’s a closer shot of my cut marks on the seatbelt brackets.
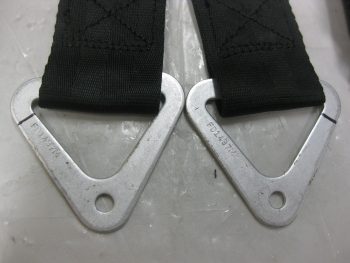
I then took an even bigger breath and cut the seatbelt mounting brackets at the lines I had marked.
These brackets are some tough metal and I really had to put some oomph into it to pry the cut sides apart to slide out the seatbelt webbing.
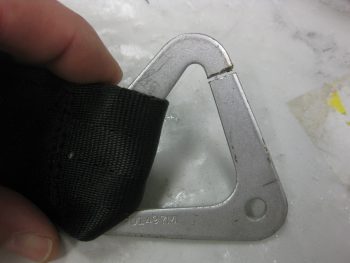
Here’s a shot immediately after I removed the seatbelt mounting bracket from the webbing.
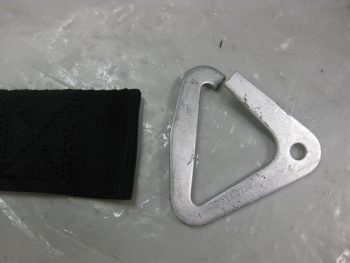
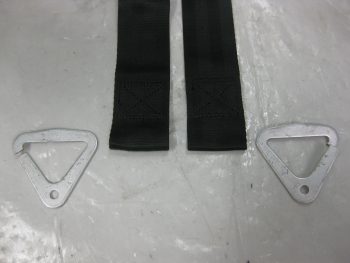
And here’s a shot of both upper GIB seatbelt web straps sans mounting brackets.
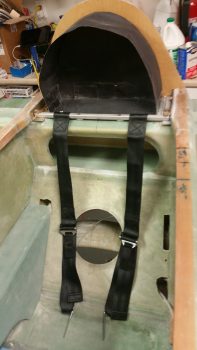
Now, obviously I had made a decision and planned on going the route of using a crossbar for the GIB upper seatbelt straps, but before I actually glassed in the support spacers, I did want to ensure that the seatbelt straps would work in their “new” (compared to plans) position. Of course everything looked & worked fine.
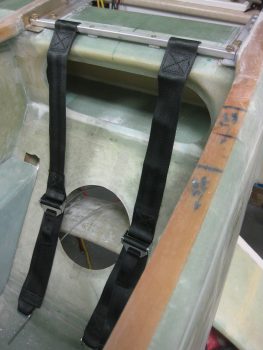
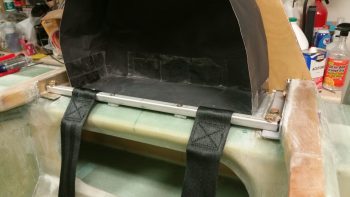
I put the firewall up & added the “Vault” (headrest & component housing) to get an idea of how it all looks and fits together.
Here’s some closer shots, essentially the same as above.
One thing that I really like about this mod is that it allows the GIB to strap in with the upper seatbelt straps up to 3″+ inboard of the stock plans strap placement. I really do think this will add a lot of comfort for the rear-seater . . . or maybe better stated: won’t add any discomfort from too-wide, off-angle upper seatbelt straps.
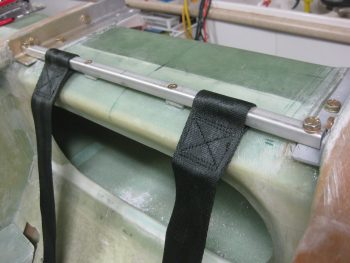
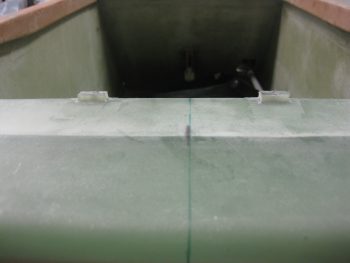
With the final hurdle cleared, the mod was a full go! Time to get the support spacers in for good. I 5-min glued the support spacers in place on top of the CS spar.
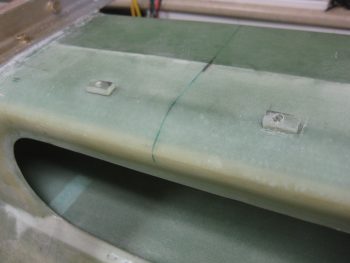
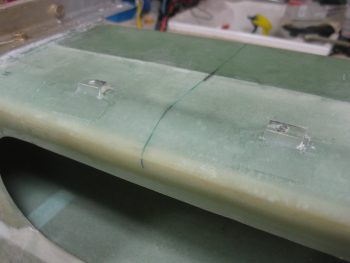
Here’s are some aft shots of the support spacers 5-min glued in place.
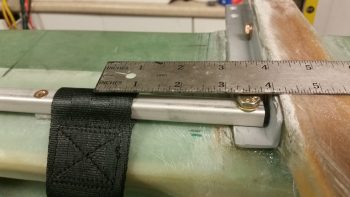
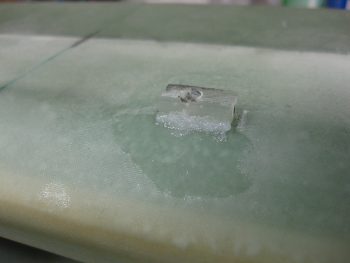
I then whipped up some epoxy & flox using fast hardener. I added a small flox fillet to the forward & aft sides of the seatbelt crossbar support spacers.
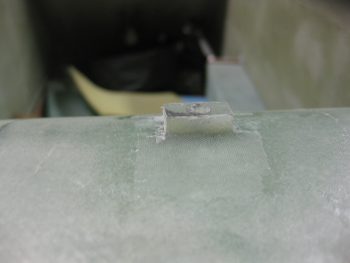
Here’s a closeup view of a flox fillet on the support spacer.
I then prepregged a 1-ply piece of scrap BID and laid up one ply on the forward and aft sides of each of the two support spacers. As you can see, I then peel plied the layups.
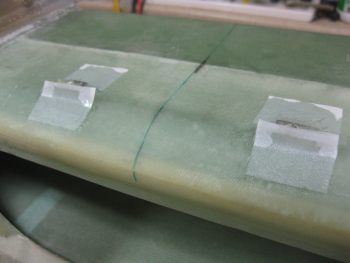
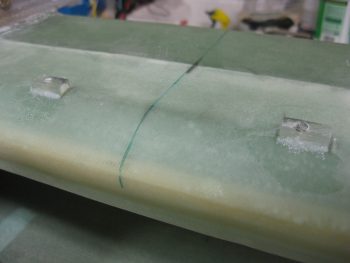
Again, here’s an aft shot of the 1-ply BID layups on the seatbelt crossbar support spacers’ layups.
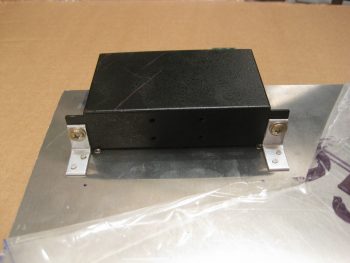
While my support spacer layups cured, I tried to accomplish something that I couldn’t do last night: find & buy a 10-32 threaded tap to allow me to bolt my stuff to the Triparagon. I looked at 5 places near my house, and none of them had one. I then went down to the Lowe’s in Potomac Mills and they had one. I snatched it up before heading out to dinner.
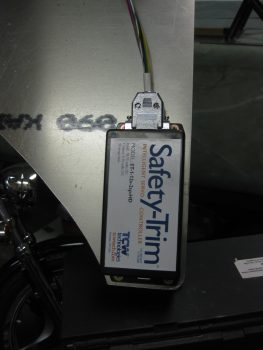
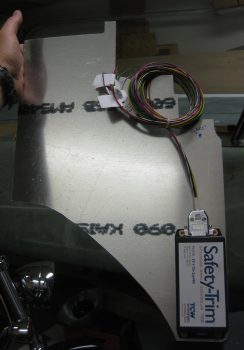
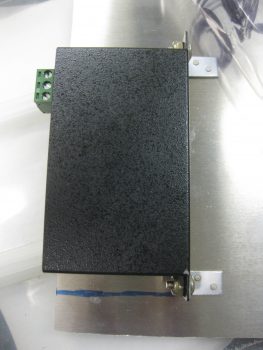
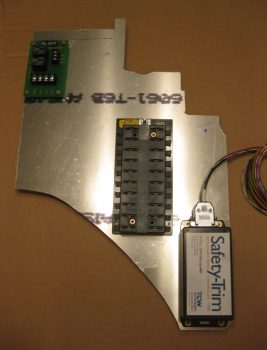
After dinner, I returned home and quickly put the tap to work. I drilled and tapped the 4 holes to mount the TCW Safety Trim module.
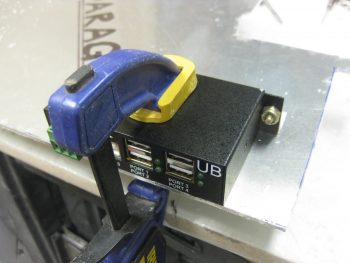
I then grabbed a 1/16″ thick piece of angled 6061T6 Aluminum and made 2 small mounting brackets for the 4-port USB hub (used for the GRT EFIS).
I drilled and mounted the L-brackets to the USB hub mounting tabs, then clamped that entire assembly to the left aft side of the Triparagon.
I then drilled 2 holes in each tab for rivets.
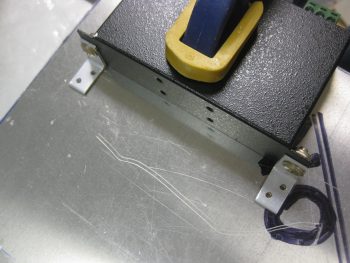
And then riveted the tabs to the Triparagon.
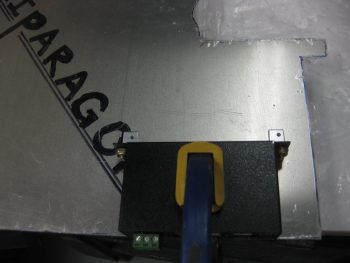
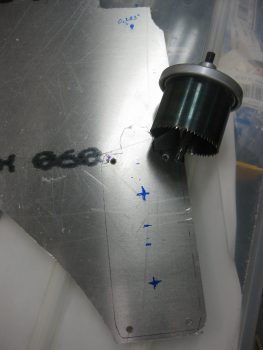
I then broke out my German hole saw to drill 2 large lightening holes under the area where the TCW Safety-Trim is mounted. I have two of these type hole saws from Germany, which is a good thing since I broke the first of those tonight. The ensuing drama at the time is why I don’t have a final pic of the lightening holes, but there is a pic later in this post with the lightening holes visible.
After messing around drilling the lightening holes underneath the Safety-Trim box, I then dropped the Triparagon stuff to clean up the cured GIB seatbelt crossbar support spacer layups.
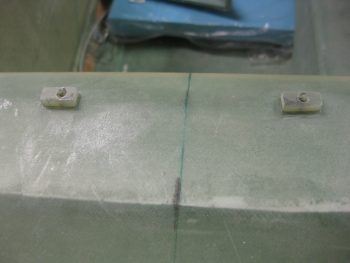
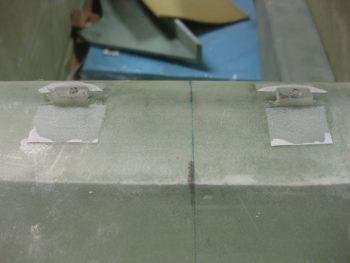
Below are pics of the cured left support spacer, and then the right, respectively.

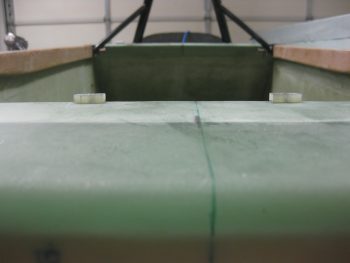
And another shot from the aft side of both seatbelt crossbar support spacers glassed in place.
After I pulled the peel ply & cleaned up the cured GIB seatbelt crossbar support spacer layups, I then drilled, tapped, and mounted the Main Power Buss and the roll trim relay board onto the right side of the Triparagon. I realize that the 2 pics are close, but one is at a slight angle, so I left it in.
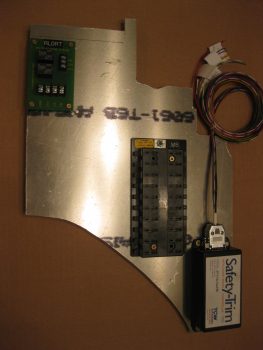
Here’s a pic of the left side Triparagon with both the 4-port USB hub and the lightening holes behind the TCW Safety-Trim box.
Here’s a shot from the aft side showing the aft profile width of all the Triparagon-mounted components thus far. The spacers under the roll trim board will be replaced with the correct size.
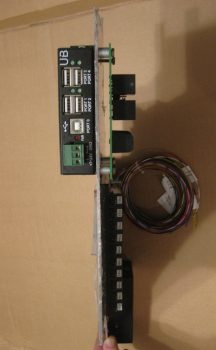
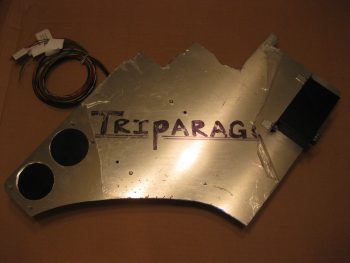
Finally, here’s one more shot of the 4-port USB hub mounting brackets riveted in place on the Triparagon.
Tomorrow will most likely be a light build day, plus I need to get back to studying some for flying next week. I’ll be working on the Triparagon a bit here & there, but next week I want to start back in on the Wheel Pants and knock those out!