Today was all about getting the lower engine mount extrusions installed.
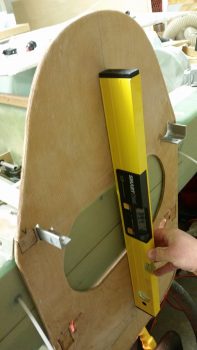
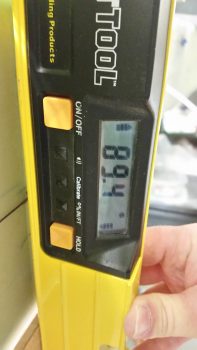
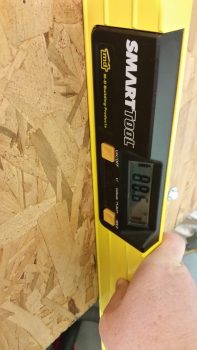
I started off by checking the firewall to see if it was 90° vertical, which of course it wasn’t.
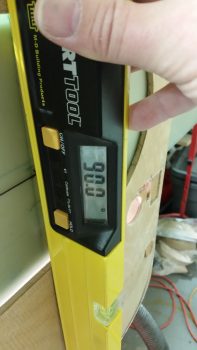
The front tire was really low, so by adding air to get if full, and adding one small piece of 3/8″ wood underneath, I got the firewall “zeroed” at 90°.
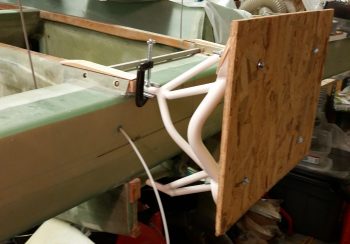
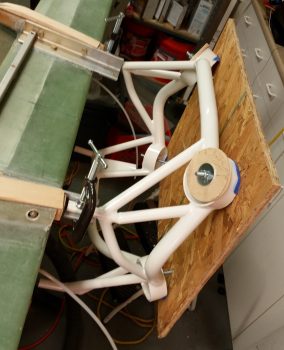
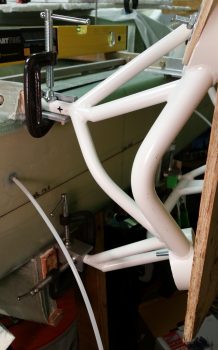
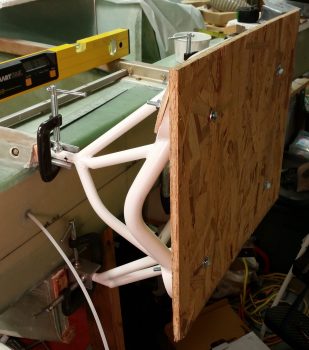
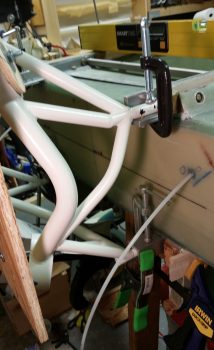
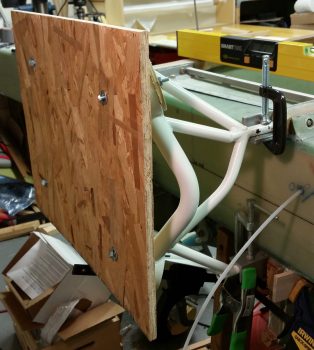
With my firewall dialed in at 90°, I then removed it and clamped the engine mount in place on the upper engine mount extrusions.
I then checked the plate that I bolted to the firewall last night. With just a scant bit of downward pressure I can get it to my targeted 1.4° slant with no real difficulty.
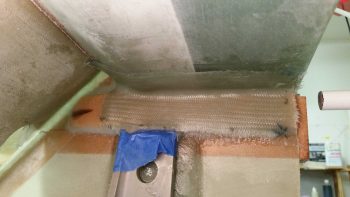
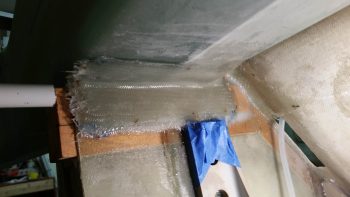
Over the next couple of hours I then floxed in the 2 WA16 Spruce wedges and covered both of those –respectively– with 2 plies of BID that covered the entire WA16 and overlapped onto the sidewall, spar and back seat.
I then added the remaining plies of BID to the lower engine mount extrusion pads, 9 plies on the left and 8 plies on the right.
Here’s a pic of the right side WA16 floxed in place with the associated BID laid up in place.
And here’s the same on the left side.
I then slathered up the just glassed BID pads with copious amounts of flox, applied fresh epoxy to the mating surfaces of the lower engine mount extrusions, and then set & clamped them into place on each side.
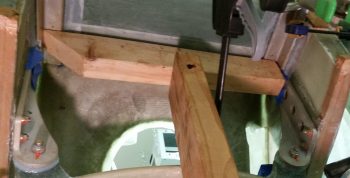
I then used a pre-cut 2×3 with a wedged 2×4 to keep the forward side of the lower engine mount extrusions pressed up tight against the BID pads.
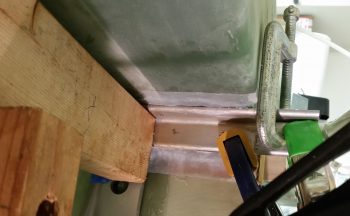
I then double-checked that all the dimensions were good. Here’s the right side lower engine mount extrusion in place.
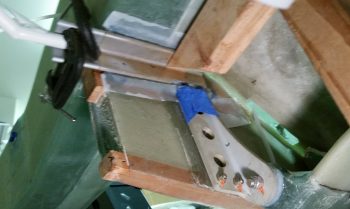
And the left. As you can see, I peel plied all the BID pad edges that were lined with flox for a nice smooth edge.
Here we have the installed lower engine mount extrusions, shown from the left side.
And the same thing again from the right. It took me about 6 hours total to finish this step.
Tomorrow I’ll drill the holes through the lower engine mount extrusions to then bolt each on to the CS spar and lower longeron piece.

