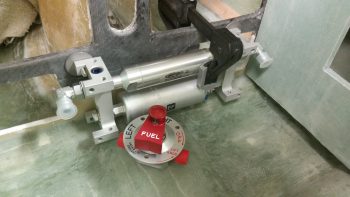
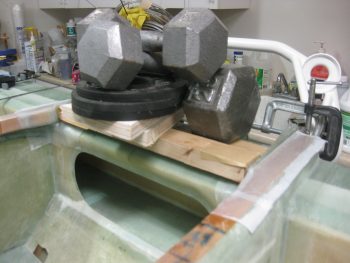
I started off today with something I was curious about, and that had nothing to do with the engine mount. I really just wanted to see where a good location was for the fuel pump, and in relation to the fuel valve. I played around with a few different locations, stopped at this one since I really like that the pump can be mounted vertically here, thus driving as much of the pump weight forward as practically possible. It also gives some nice space to the fuel valve.
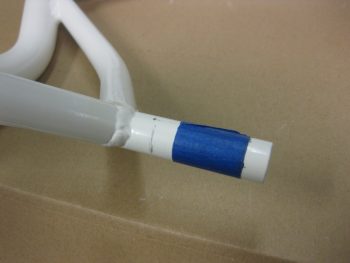
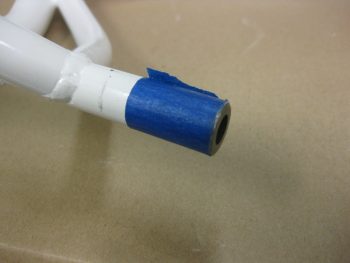
I then moved on to measuring the top engine mount posts to take 0.32″ off the end of each side.
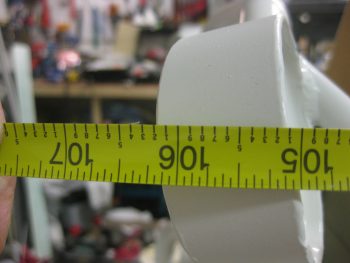
Here is one of the posts after I trimmed it 0.32″.
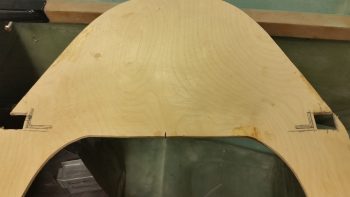
I then started marking up the firewall to cut the slots so each engine mount extrusion could transit the firewall.
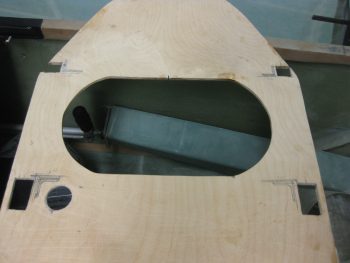
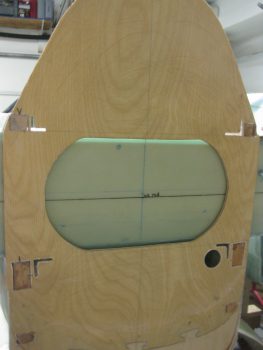
Here’s a shot with both upper and lower engine mount extrusion slots shown marked for cutting.
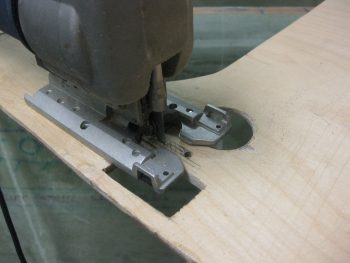
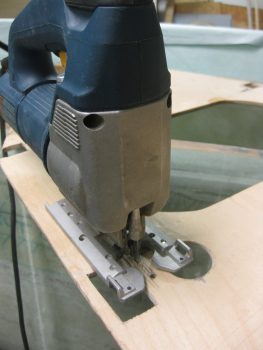
I started each extrusion slot by drilling a few 1/8″ holes for the top extrusion slots and 3/16″ holes for the bottom extrusion pass-through slots. I then transitioned to using a saber saw to finish cutting the holes.
After finishing each hole with the saber saw, I then sanded down the pass throughs with 32 grit paper.
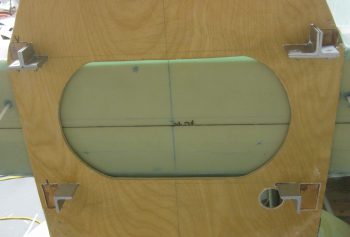
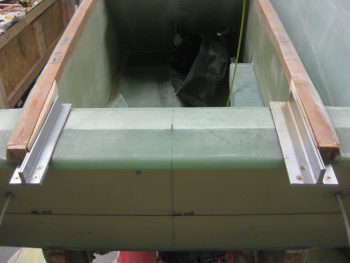
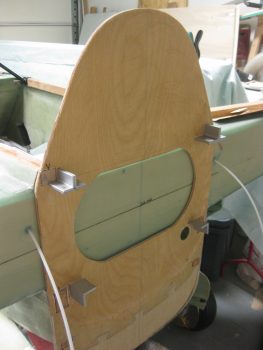
Here’s a shot of the firewall mounted with all the engine mount extrusions pass-through slots cut.
I then set the engine mount extrusions in place to see how they looked & fit.
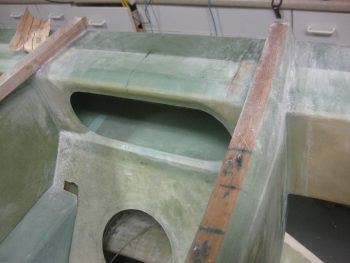
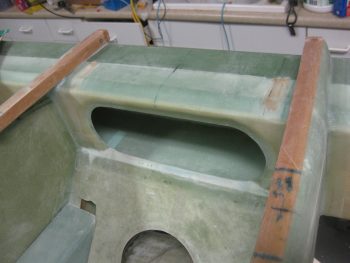
Here’s a closer shot of the engine mount extrusions.
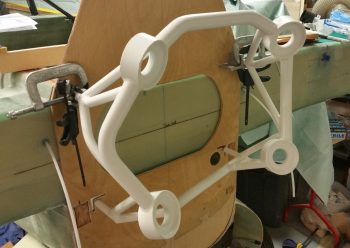
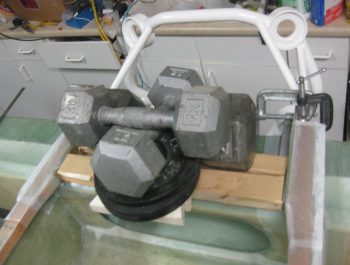
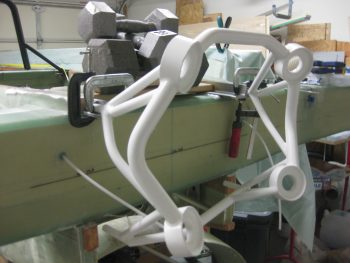
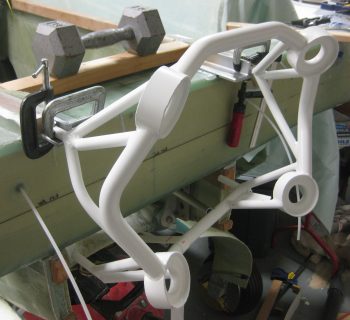
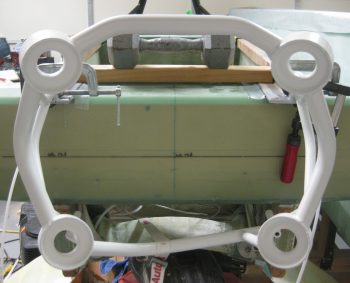
I then tested out my trimmed engine mount by clamping it in place on the upper engine mount extrusions.
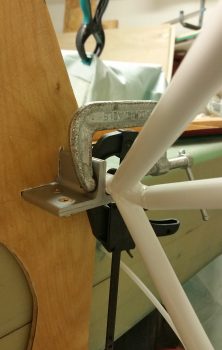
Again, here’s a closeup shot of the upper right extrusion.
Ahh, trimming the top engine mount posts did the trick. Now I can dial in the upper engine mount rings to FS 134.2 as per plans.
I then pulled the firewall off and mocked up just the upper engine mount extrusions before I glassed them in place.
After verifying that the extrusion spacing was good, I then went to town sanding the areas that will get glass during the mounting of the engine mount extrusions.
I then vacuumed up all the sanding dust.
I have to say that this is quite a detailed layup. The time lapse between the pic above and below is over 4 hours. Regardless, here are a couple of shots with the upper engine mounts glassed & floxed into place.
And a shot from the aft side , , ,
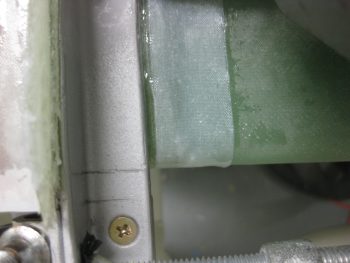
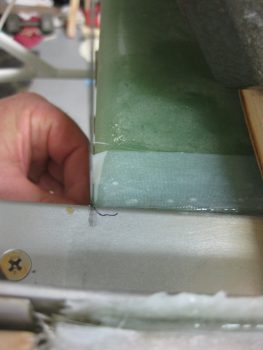
I then verified that the left side extrusion’s firewall alignment mark was good, which it wasn’t. So I spent a few minutes tweaking both side, then once I got them straight, I snapped this shot. The line at the top equates to the forward side of the firewall, while the bottom line equates to the aft side of the firewall… Thuss why I paid so much attention to getting these marks aligned properly.
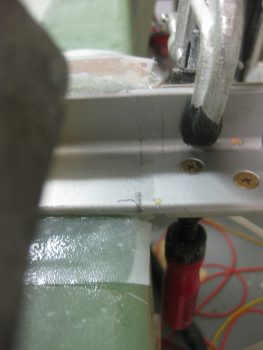
Here’s the right side extrusion firewall alignment mark. Due to the angle of the camera, the extrusion and the spar, it looks a bit off.
But if you look at it from this angle, it’s spot on.
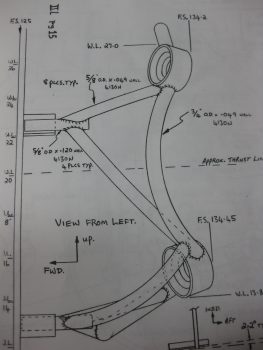
Wth my upper ending mounts aligned properly, I then wanted to better align the bottom engine mount rings. You’ll note in the pic of the plans below, the upper engine mount ring ends at FS 134.2, while the bottom engine mount ring ends at FS 134.45… 1/4″ aft of the upper engine mount ring.
I used my level and a 1/4″ block of aluminum to check the lower engine mount rings for the proper fuselage station. They were just a bit aft on the bottom side, but a slight push forward got them to the proper fuselage station.
I strapped the bottom of the engine mount to the center of the landing gear to create just a slight bit of pressure, which got the lower engine mount rings to the correct fuselage station. Since the epoxy will still a bit pliable and not cured yet (I used slow hardener for this layup), this should set up the correct fuselage stations for the top & bottom of the engine mount. At a minimum, it will get the engine mount rings very close to the required FS settings so as to minimize stress when the mount gets bolted into place.
Here’s a shot of the aft end of the fuselage with the engine mount being used to ensure the upper engine mount extrusions are set in their correct positions.
Tomorrow I’ll clean up this layup and then continue to press on to get the engine mount ready for install. I’m not sure if I’ll tackle the lower extrusions yet since I’ll have to assess the pros & cons of flipping the fuselage or using Cab-O-Sil and simply working the layups upside down.

