
With the MGS epoxy curing on the left strake top layup, I knew I needed to let it cure for AT LEAST 12 hours. Once I checked the stipple brush and epoxy cup, I knew that I needed at least another 2-3 hours beyond that before pulling the peel ply.
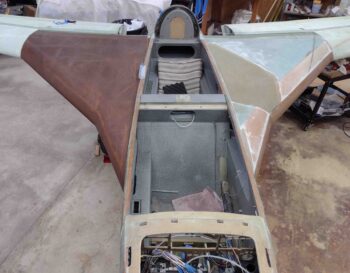
So I started out by installing the recently received AN970-4 wide washer onto the CS126 rod end where it connects to the CS128 bell crank. Note the temporary standard nut and washer that I removed sitting below.
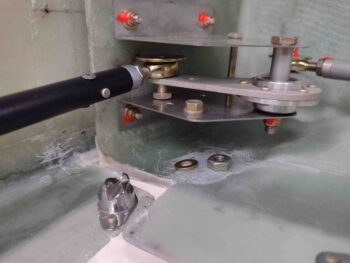
However, once I installed the AN970-4 washer, I had an issue: my right aileron was pretty much locked in its position, only moving just a hair one way or the other. Since this was the only real change I made before this issue, I checked this assembly and it looked good.

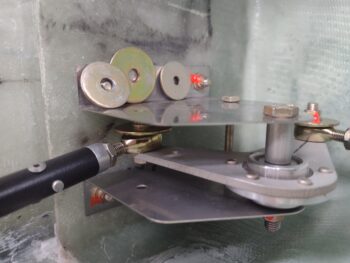
Upon further assessment, I realized my issue was the AN970-4 wide washer… its diameter is too large and its catching/jamming on the front wall of the open wing root. Ironically, the washer I had waited to be delivered was the wrong one. Remember, this whole configuration was based on AN3 bolt installs. Thus, I simply grabbed an AN970-3 washer and drilled the hole out for an AN4 (1/4″) bolt.
Although I have no pics, I spent over the next 3 hours working on the aileron control system… somehow my CS124 was off its center mark nearly 0.2″ to the left (with ailerons locked at neutral) and my left wing aileron specs were just barely good, where the night before they were looking much better. Anyway, after slowly dialing in the rod ends on the control tubes I finally got to a decent equilibrium. Here are my final numbers on the aileron trailing edge gaps:
……………..LEFT RIGHT
UP: 1.9″ 2.2″
DOWN: 2.0″ 2.1″
I’ll highlight that these gap numbers are just the end result numbers that quantify the aileron up and down travel. Factors that must be attended to during this entire dance are aileron neutral positions… i.e. you can get the left aileron gaps to let’s say match the right’s exactly, but then at neutral the left and right ailerons are NOT at 0° together. Also required to be taken under consideration is control stick neutral position and CS128 bell crank hard stops. The balance act can feel seemingly endless… but I digress.
“Perfect is the enemy of good enough.”
At this point I was ready to start pulling some peel ply off the left strake top layup, but decided to let it cure another half hour while I knocked out cutting the last 3 plies of UNI for the upcoming winglet layups.
Finally we were at a good cure point to start pulling peel ply off the left strake top layups. Here’s the initial few pulls on the inboard side.
Then quite a bit more peel ply coming off . . .
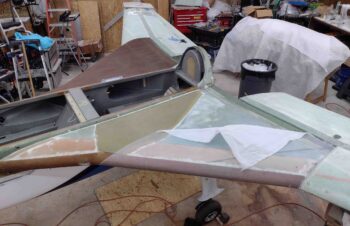
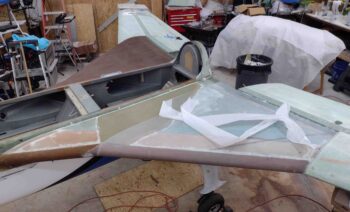
Finally, we have the left strake top glassed and peel ply pulled. I also cleaned up the surrounding tape and the strake leading edge.

Again, both strake tops are glassed. For all practical purposes Chapter 21 is now complete!
One last pic of the glassed strake tops… on to the winglet installs!
And with that folks . . . yep, I called it a night.