
This morning I had to run over to get a new muffler on my truck, which ended up taking half the day. I went to a cafe and had some coffee while I waited for the truck to get finished, and while there I made up my to-do task sheet for the day. Unfortunately, I only got the first 2 items on the list done, each of course taking a bit longer than I had anticipated. By the time early evening rolled around, I punted and simply went to dinner & a movie with a buddy of mine, so not a lot done on the actual build of the plane today.
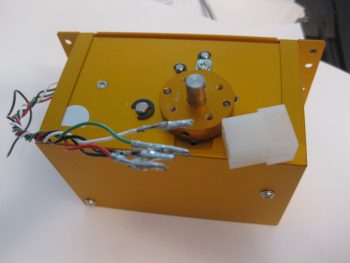
My first task was to prep the connection wiring and replace the connector on the Trio Pro Pilot roll trim servo somewhat like I had done with the pitch servo. The main difference here though is that the roll servo will reside in the engine compartment, not the cockpit, and thus will be subjected to higher temps and more of the elements. I wanted to completely protect this wiring and replace the Molex connector with an AMP CPC connector.
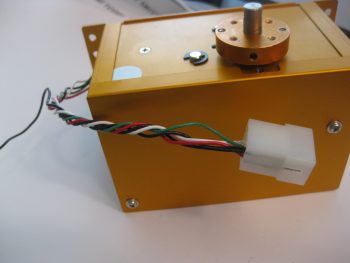
I started by removing the Molex connector.
And then removed the 4 individual Molex connector pins.
I added a couple of pieces of heat shrink, a flexible wire stay, and crimped 4 new AMP pins onto each of the wires. Technically, in the same way that as the pitch servo, there are 2 ground wires that share the ground pin connector: one to the internal electronics, and one for the case ground.
As you can see, I also crimped a ring terminal in place for the case ground wire. In addition, I snapped each AMP pin into the AMP CPC connector housing and closed it all up.
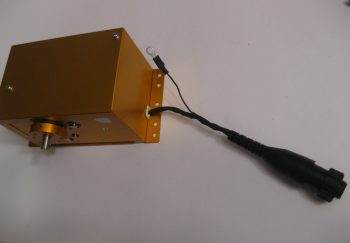
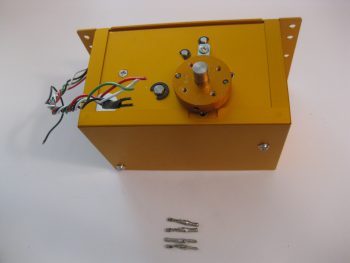
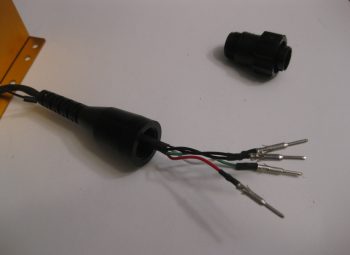
And a closer shot of the final AMP CPC connector configuration for the Trio Pro Pilot roll servo.

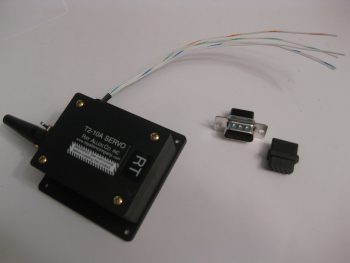
My second (and final) electrical-related task of the day was to terminate the 24AWG wires coming out of the RAC servo that I’m using in my roll trim system. I decided to try a little trick that Bob Nuckolls has for modifying a DB9 connector to use as an inline type connector.
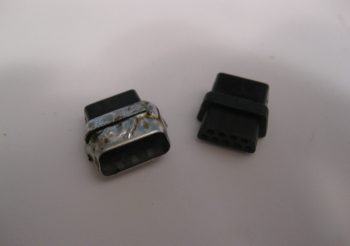
Below you can see I’ve already removed the metal housing from the female side of the DB9 connector.
I then had to remove the tabs from the male side, but this being my first time making one of these I removed a bit too much of the flange, so when resoldering the sides back together I had to try to bridge the gap, which if you’ve used solder you know it’s not a good gap filler or bridging material. I later cleaned off some of this excess solder but pressed on after I took this pic to get this thing completed.
I guess I should have taken an interim pic of the individually terminated wires with the D-sub pins, but here’s the final connector after I added some E6000 adhesive for essentially a potting material & strain relief on the back side of the connector.
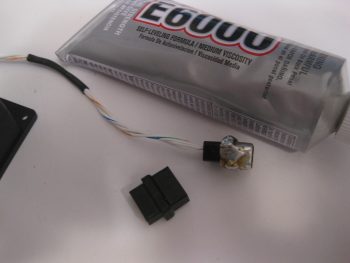
The female side of the connector will get D-sub sockets terminated onto the wires and with the wires terminated, all of this will get heat-shrinked together to complete the final connection of the 2 connector halves.
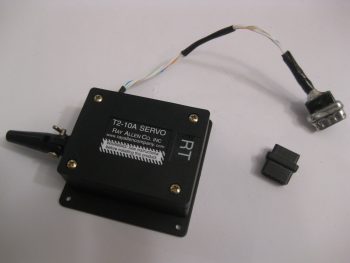
For what is essentially a 4-pin connector I’m not really sure if I’d use one of these again. I think for the future I’ll look for a more elegant off-the-shelf solution to use for the RAC servo wiring, or any smaller gauged wires for that fact.
I’ll be heading to the AOPA fly-in at the Frederick, MD airport tomorrow, so won’t get anything done until maybe early evening… we’ll see!