
I had a lot of running around to do today, so by the time I got home it was actually late afternoon. The weather is still unseasonably warm, so I figured since it was nice out and NOT raining, I would get some more outside work done.
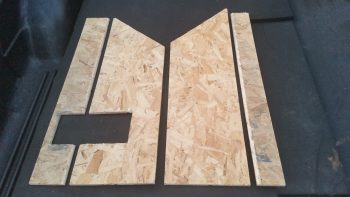
Now, I may have mentioned it before, but I haven’t put a lot of emphasis on it . . . yet. But I’m essentially reverting back to the very first week of this project and slowly cutting all the pieces for a front seat, instrument panel & avionics bay mockup, or simulator, of my Long-EZ (See my Initial Project Planning page for an idea). This will allow to test locations of instruments on the panel, for both actual spacing & location preference, and also will allow me to work through the manuals with the instruments powered up in front of me so I can input all the settings in the actual cockpit environment. Serendipitously, I now have both an Infinity stick and a spare throttle quadrant to use in “the Sim.”
Since I have most of the pieces cut already, the main parts that were missing were the armrests. Since I reconfigured my outside shed, I know have access to my router table and it still has the round-over bit that I used on the real armrests… and still set at the exact same position! So I cut these pieces, rounded them over along the top edge pieces and then notched the right side armrest for the control stick. This will be a project for when it gets super cold this winter, or snowed in, etc.
Ok, so I would consider this next part Chapter 12, mounting the canard. But it’s good to mix it up a bit eh? I hope you answered yes, otherwise I’m sure my blog is a lesson in futility for you. ha!
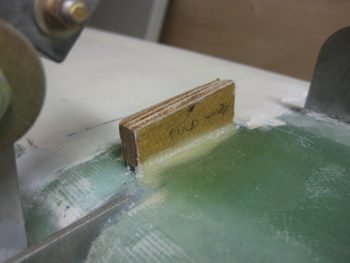
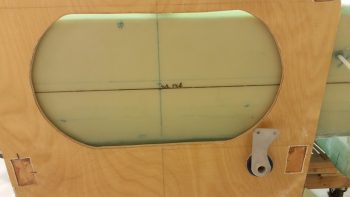
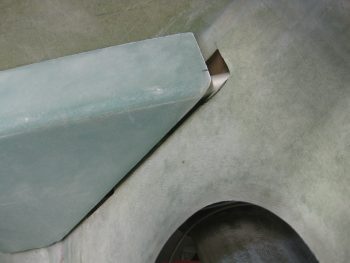
So I cleaned up the BID layups securing the 1/4″ thick Finnish Birch plywood piece that was pressed into service as the elevator control stop. It does exactly what its official title states in that it stops the elevator from traveling more than 30° down. Do I have an elevator up control stop? Well, technically it’s the trailing edge (TE) of the canard, but let’s hope that I don’t use it much!
Here’s a closer view of the elevator control stop.
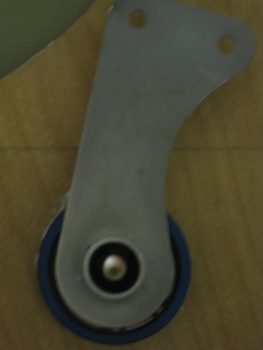
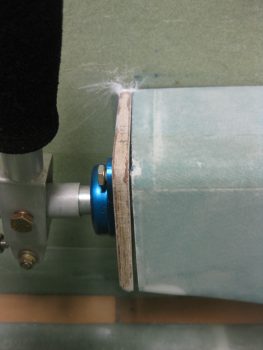
I then really started back on the control system by marking where the aileron control system bearing (CS123) gets mounted into the firewall. The plans state W.L. 12.3 and B.L. 6.2R, so that’s what I marked up.
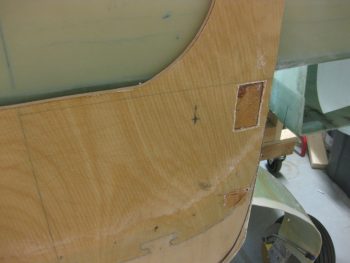
I then grabbed my German hole saw and drilled a 1.5″ hole (stock bearing is 1″, but the much nicer Cozy Girrrls bearing is 1.5″ in diameter).
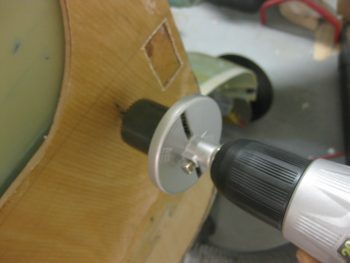
When I drilled the hole, I angled down and to the right just a bit towards the U-joint on the end of the CS116 control tube.
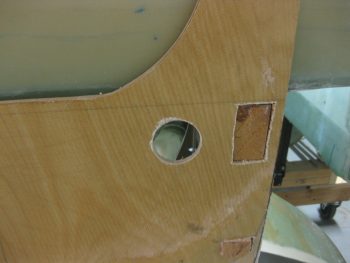
Since the hole I drilled was almost exactly 1.5″ in diameter, I had to sand the hole with the round Perm-a-grit tool. Just a few minutes worth of sanding did the trick, and then the bearing fit perfectly.
Here’s a closer view . . . both pics obviously have the CS122 control arm inserted.
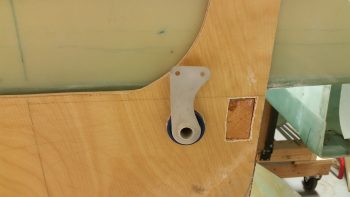
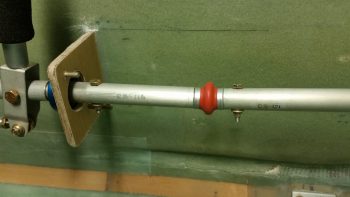
Here’s a view bore sighting down the CS122 control tube… the object at the other end is a little out of focus eh?
Well, let me help! It’s the U-joint at the end of the CS116 control tube!

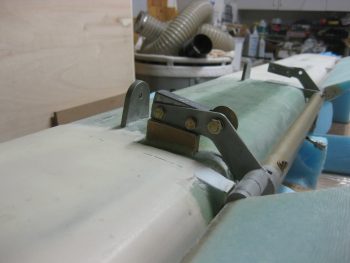
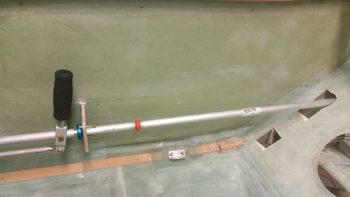
Here’s a shot of the aft cockpit flight control setup
Of course there’s NO plug & play on these birds, some trimming is ALWAYS required!
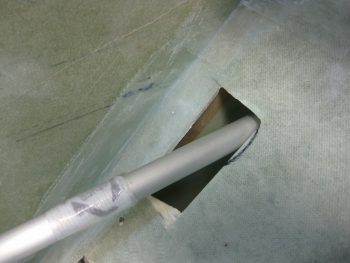
OK, maybe a lot of trimming. This is what happens when it’s required to modify the aircraft for non-standard parts (in my defense, I had no idea that this control system would need so much re-wickering of stuff. I may have just not bought the CG’s control kit and rolled my own if I did!).
Even the arm rest’s front interface with CS118 is jacked up now! Clearly I’m going to have to do a little bit of tap-dancing to get all this stuff to work right . . , like it did before I went that ONE next step! ha!
To feel like I was actually getting something accomplished, I went ahead as per plans and drilled a #12 hole through CS121 and the control U-joint (also as per plans I started with a 1/8″ pilot hole).

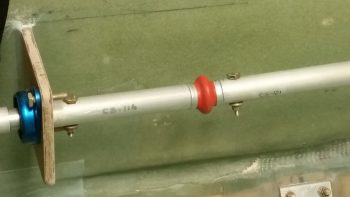
I then bolted in an AN3-11A bolt –which seems a hair long to me– and mocked up my new CS121 control tube assembly with the existing CS116 control tube.
Here’s another view.
Tomorrow I’ll continue to work the clearance on the right armrest.
Also, I’m having a special visitor this Monday boys & girls! Yep, it’s Marco!!! He’s coming here to do one of his quarterly inspections and tell me all the stuff I’m doing wrong! haha! In all serious (but don’t blab this to him!) I’m going to try to fit in glassing in the upper engine mount extrusions this weekend so that when Marco gets here he can help me flip the fuselage and glass in the lower extrusions, then help me flip the fuselage back upright before he leaves.