
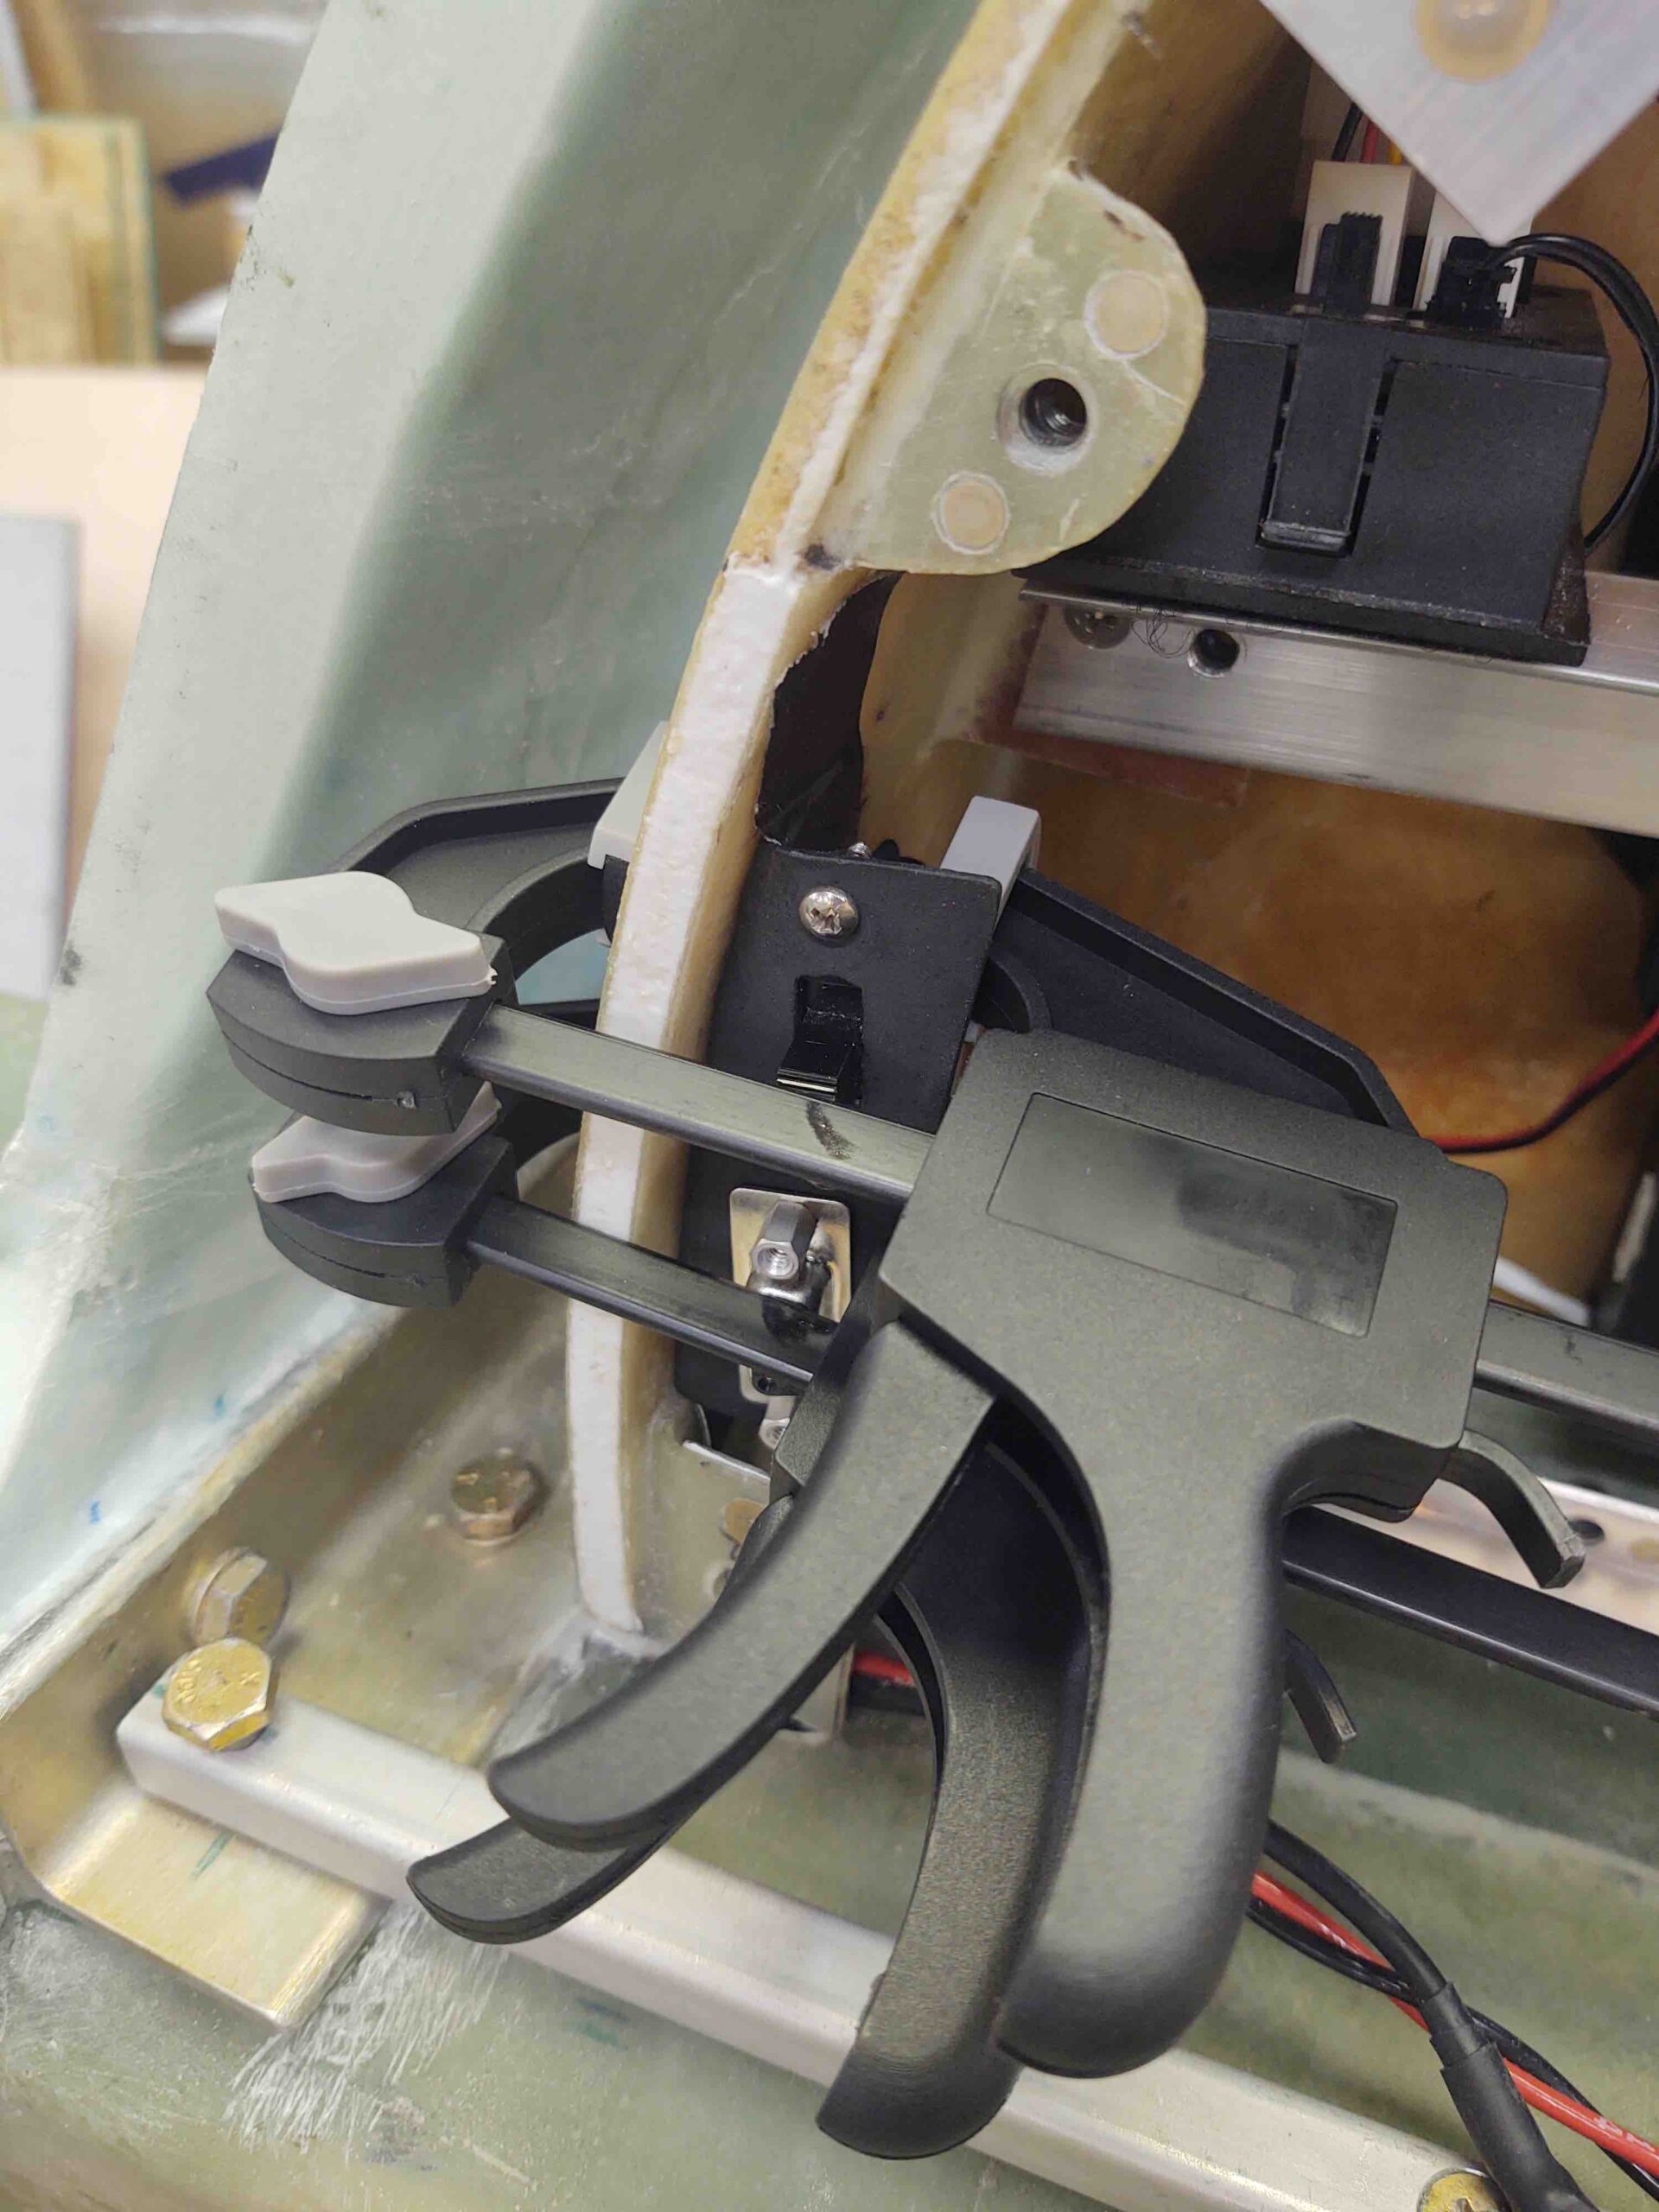
Yep, the cantankerous click bond alignment that disallowed me to remove the left wing aileron bearing assembly years ago… where I about destroyed the bearing assembly and definitely marred it up in removing it! On try #2 I finally got the alignment of the click bonds somewhat parallel to keep from locking the bearing assembly in at an impossible angle to remove it in normal fashion… more on that below.
First off, I had to unexpectedly run to Jacksonville this afternoon to sign some paperwork, so I didn’t start in the shop until late afternoon.
The first thing out of the gate was I rounded up a tube of silicone RTV. After the final install on the P-Mag switch and D-Sub connector into the bracket, I then applied the silicone RTV and clamped the P-Mag switch and D-Sub bracket to the right interior sidewall of the D-Deck/GIB headrest.
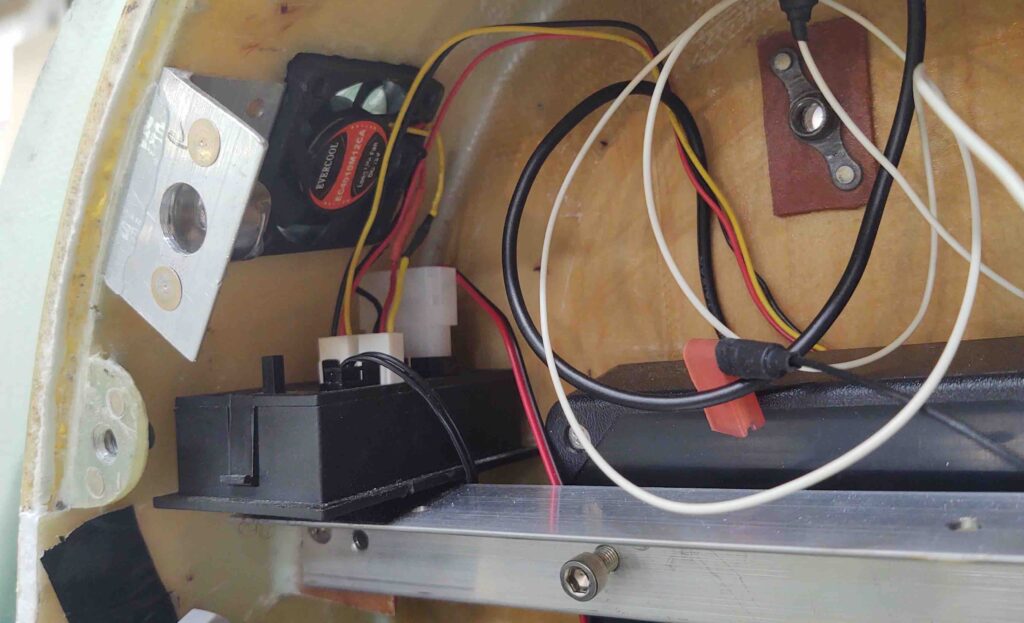
Here’s a shot BTW of the exhaust fan back in place as well as the fan controller box. Note that both fans have their respective leads plugged into the fan controller.
As the RTV on the P-Mag cured, I got to work on the left wheel pant to finish it up.
Well, after a bit of thinking I decided to go lopsided on the wheel pants and NOT install the CAMLOC on the inboard underside of the wheel pant. You can see I even marked and hand drilled a small starter point.
Why?
The left wheel pant simply doesn’t have the gap issue that the right one has. I can always add a CAMLOC and install one later, but I can’t uninstall one (easily anyway). And with the tightness of the junction at this point, I just really don’t think it’s worth the time or money to put one in.
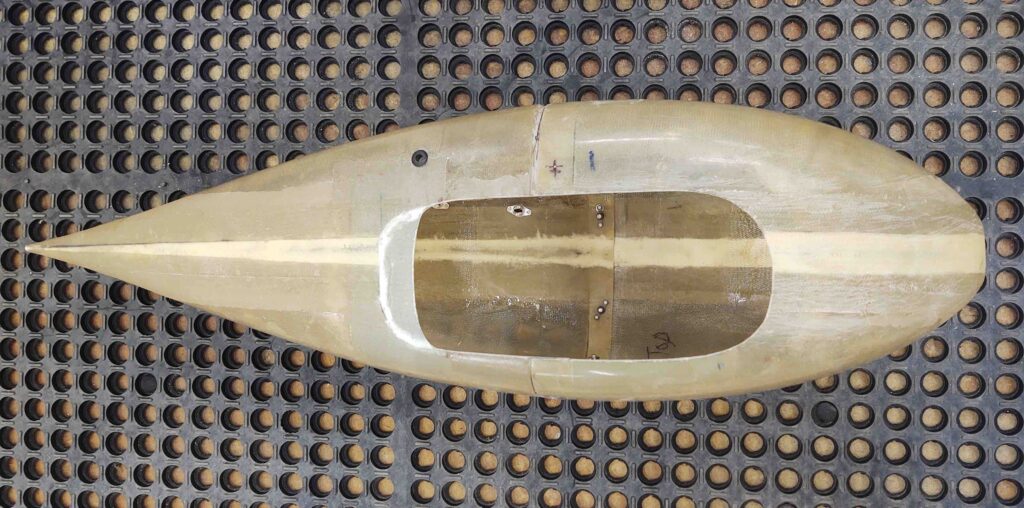
I proceeded with transferring the wheel/tire perimeter gap lines from the inside to the outside of the pant. Again, this provides the necessary tire clearance all the way around.
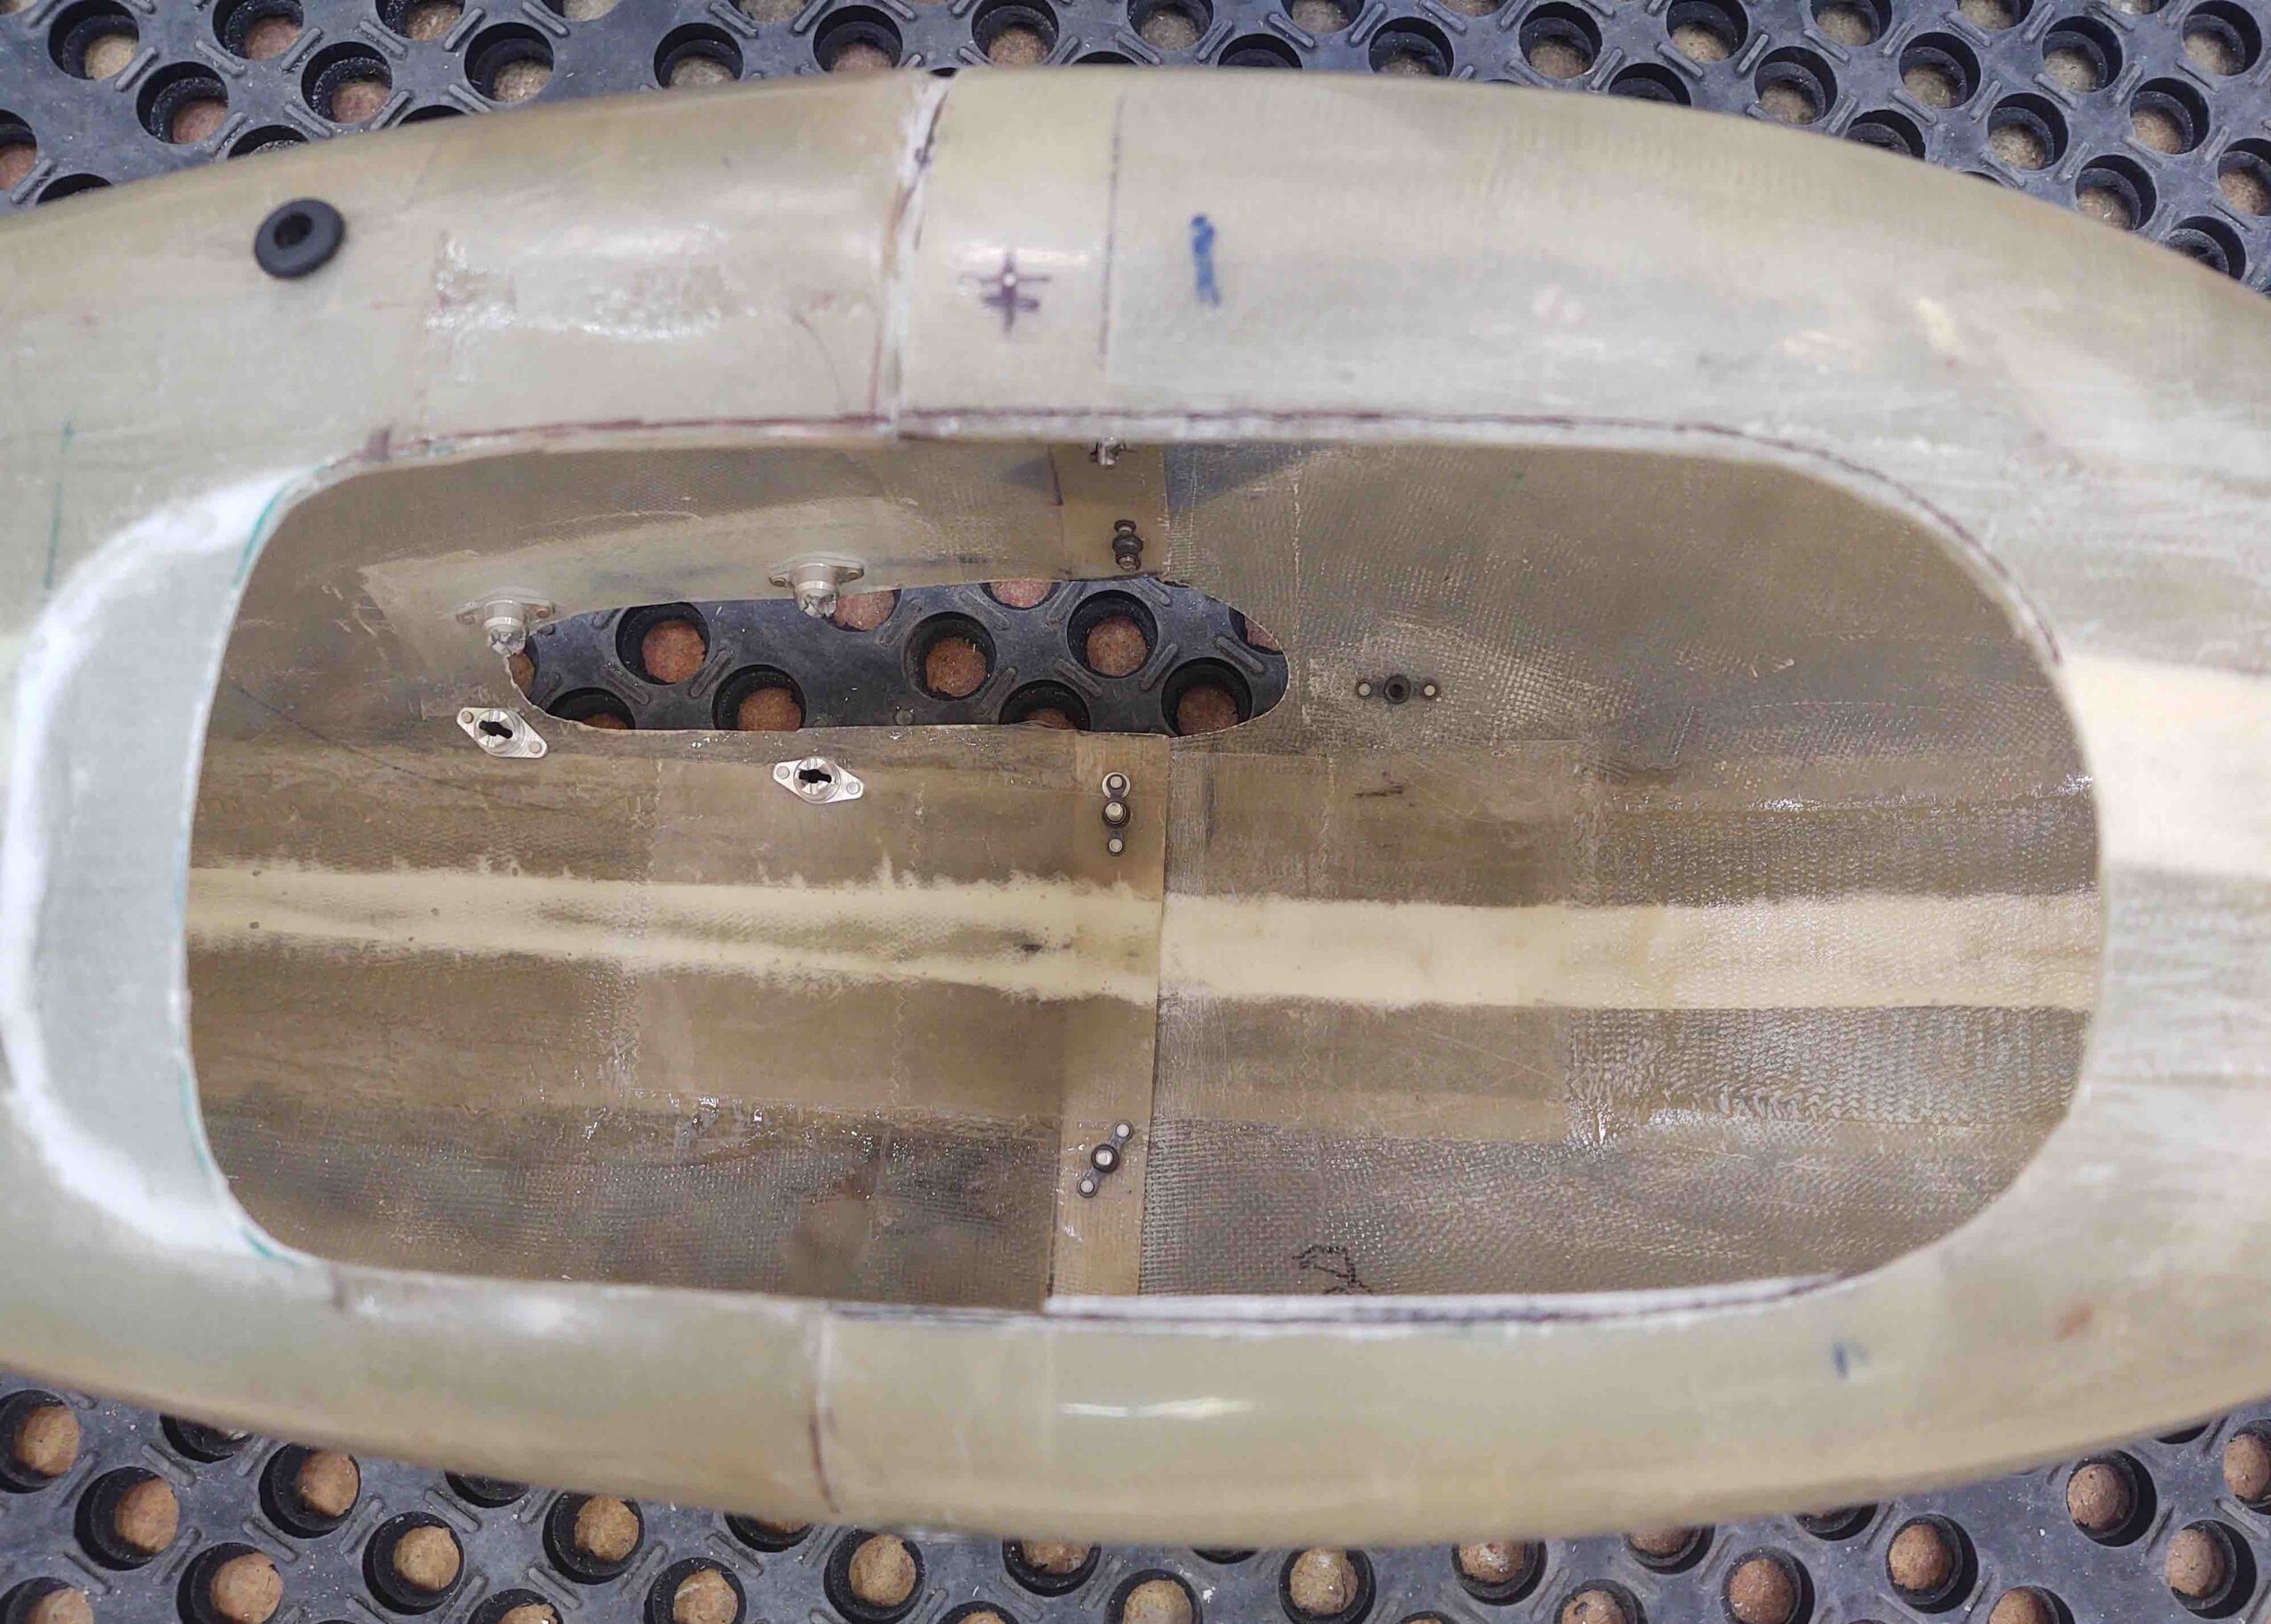
I then trimmed the tire opening and cleaned up the edge.
The final task I needed to perform –besides finishing and painting– on the wheel pants is to lay up a 4-ply BID pad on the inboard main screw spacer nub. You see, if I cinch up the big axle screw tightly then there’s not enough of a gap to slide the back half of the wheel pant in place without hanging up on the front half. Specifically, the inboard CAMLOC receptacle will snag the front half unless I back off the big screw just a hair.
I think around 0.050″ added thickness should do the trick, and if I need another ply or two I can simply add that onto the inboard main screw spacer nub.
For the most part, once I clean up this layup and re-drill the hole, I’m calling the wheel pants install complete.
The epoxy I mixed to layup the above glass on the left wheel pant I also used to mix up some dry micro for the canopy’s #1 C8 bracket. This is the only C8 bracket whose screw/bolt heads show on the external surface of the canopy.
I first ground down the screw and bolt heads to ensure they were below the surface of the canopy frame skin.
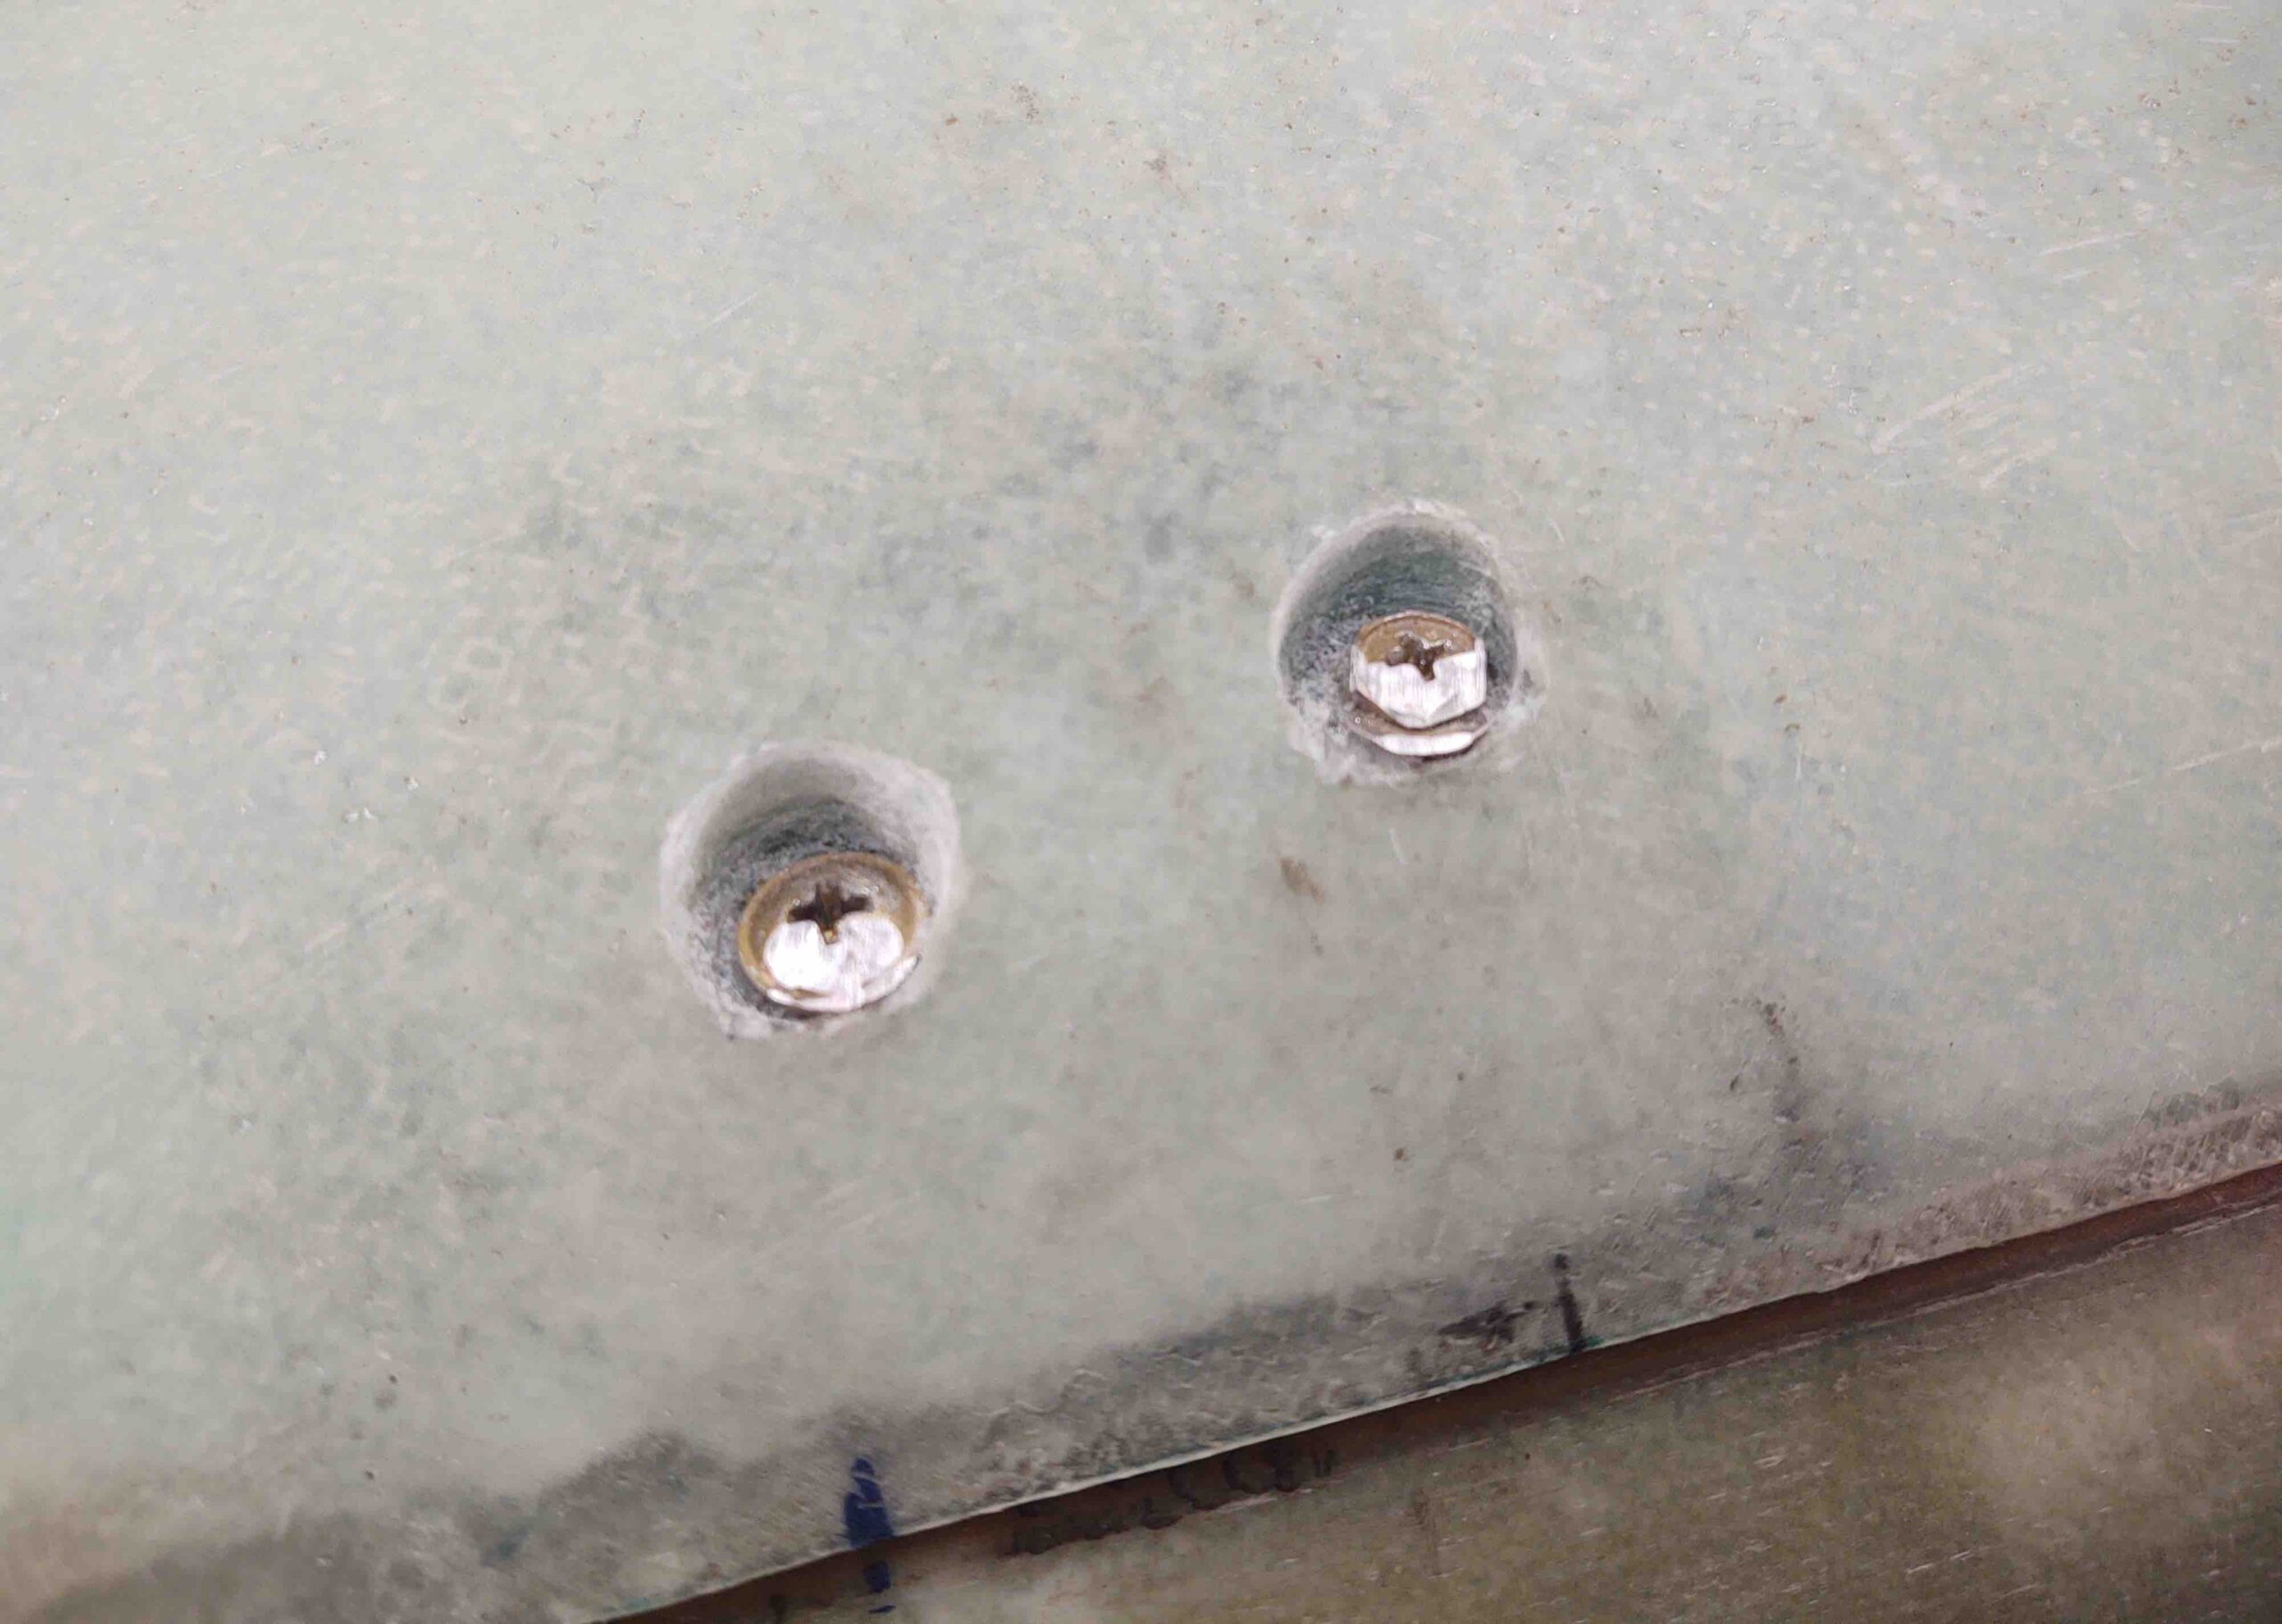
I then filled the screw/bolt depressions with the dry micro.
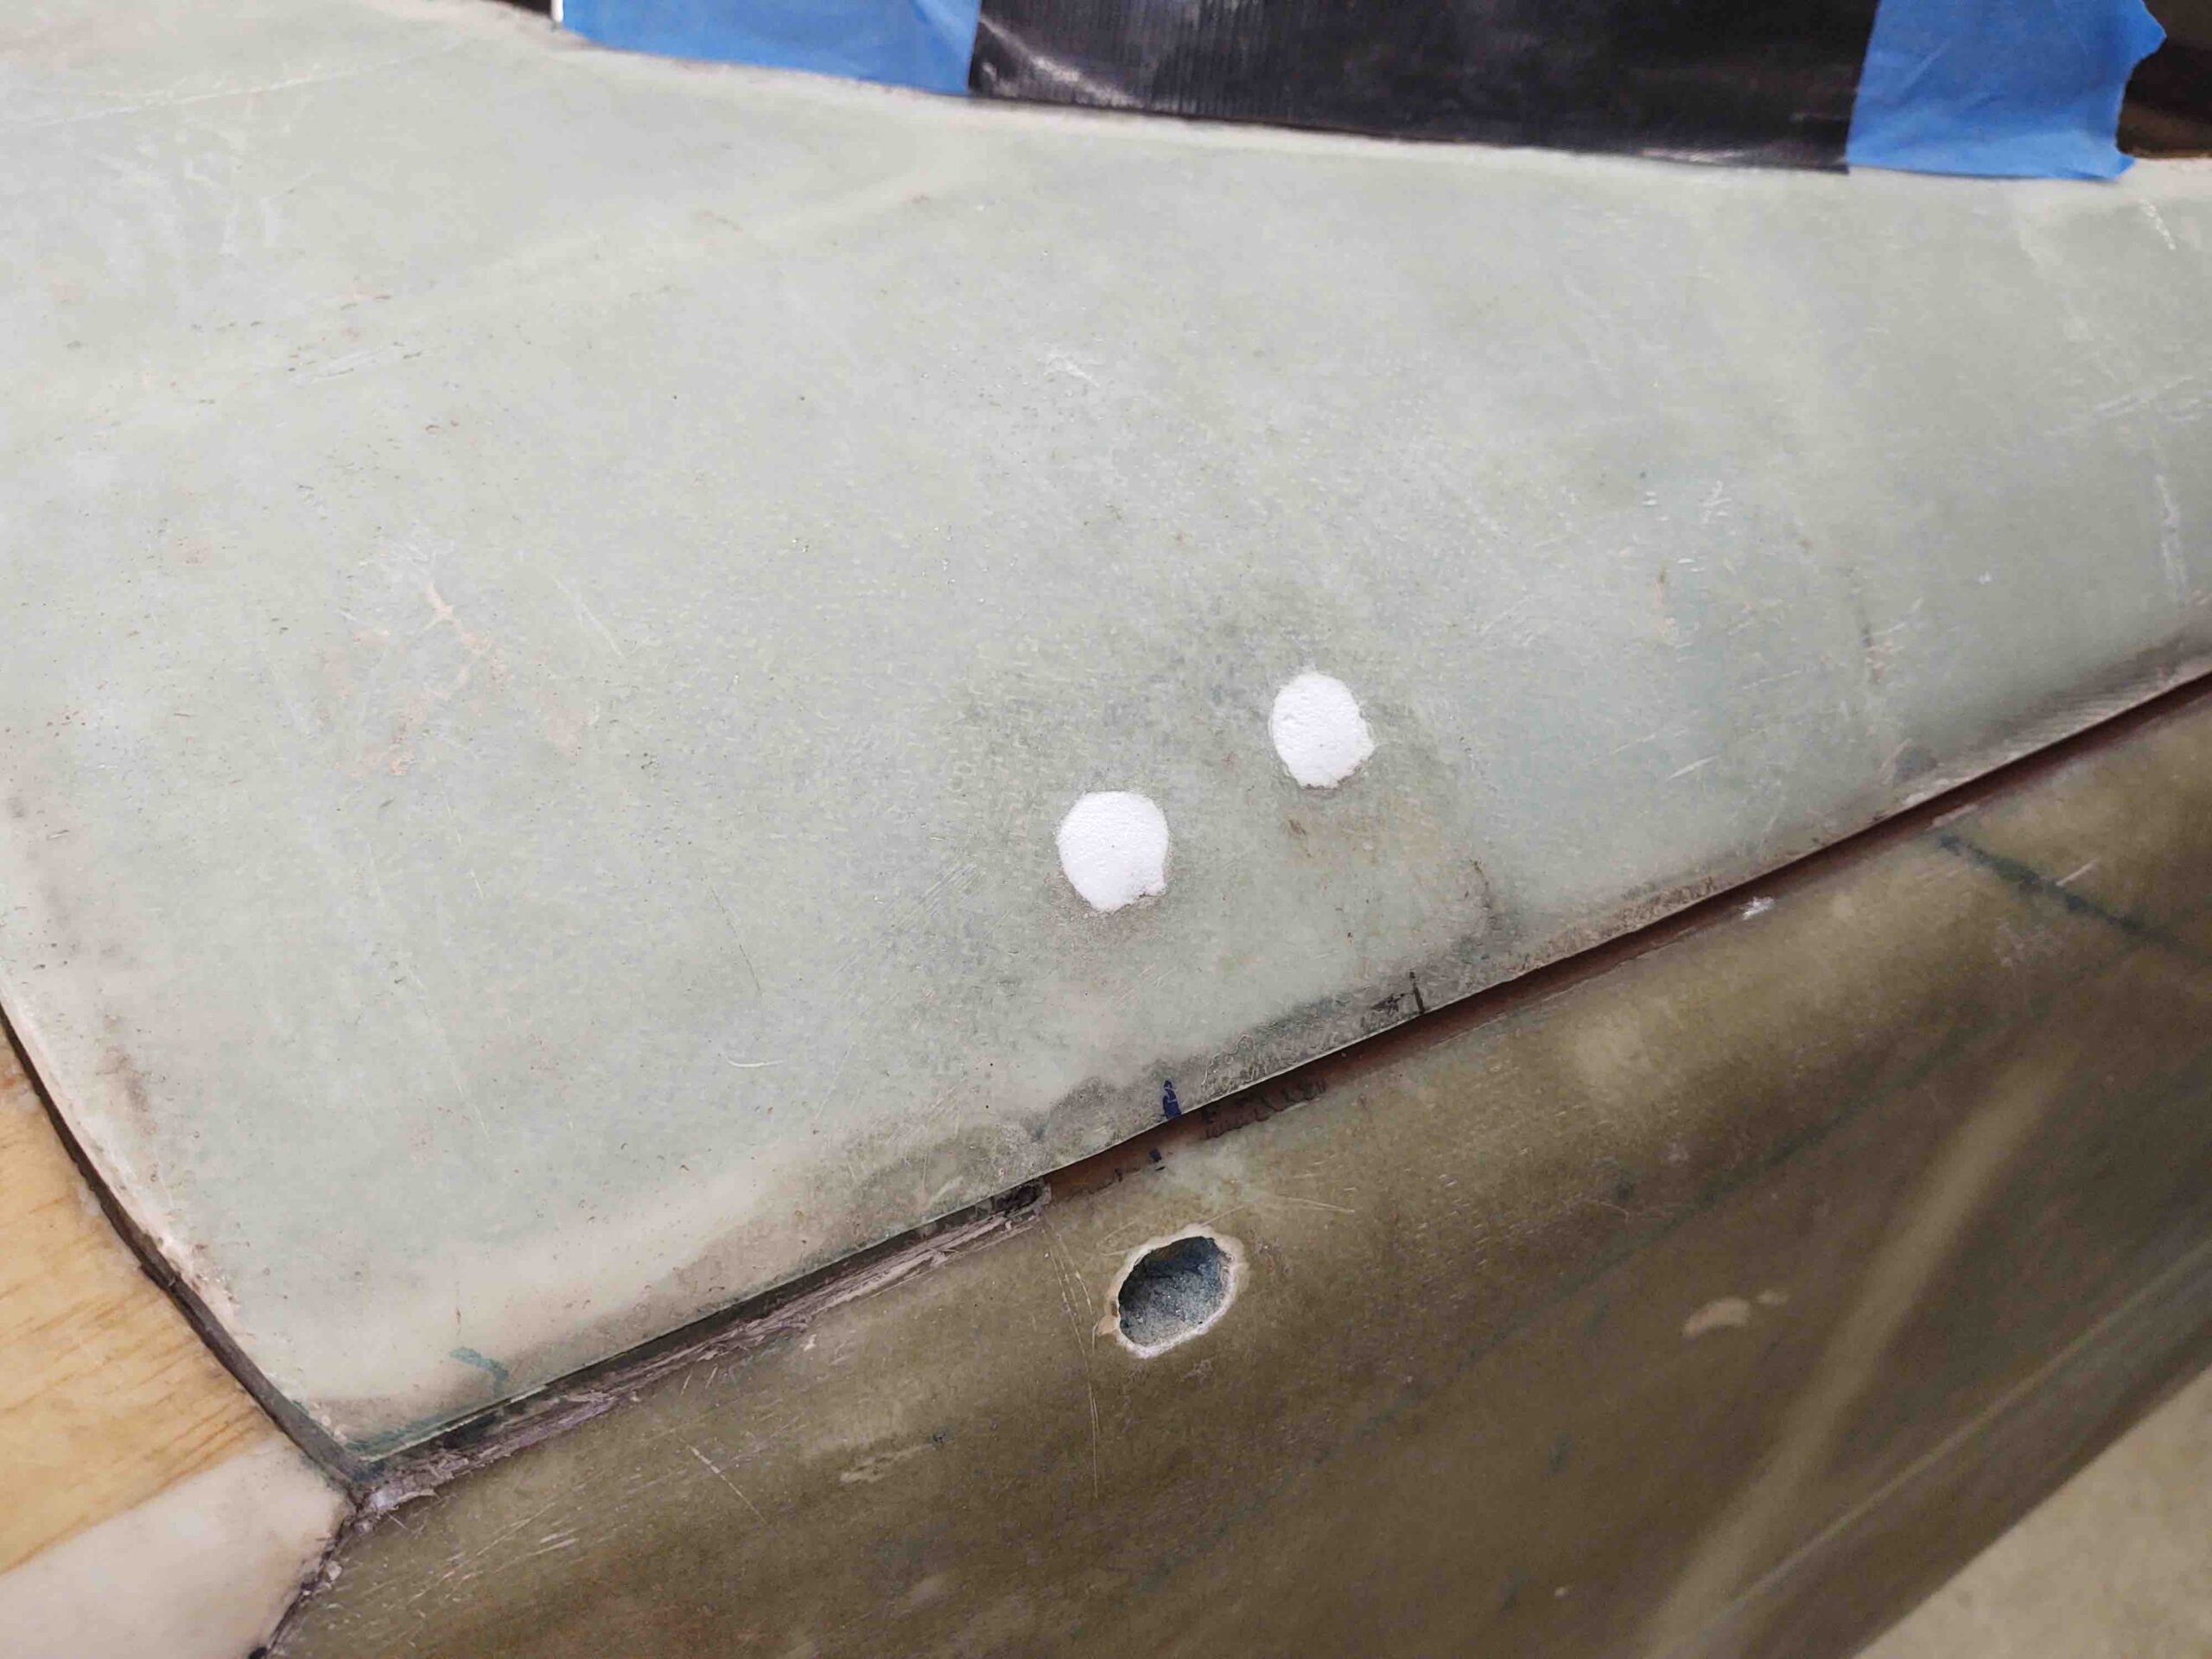
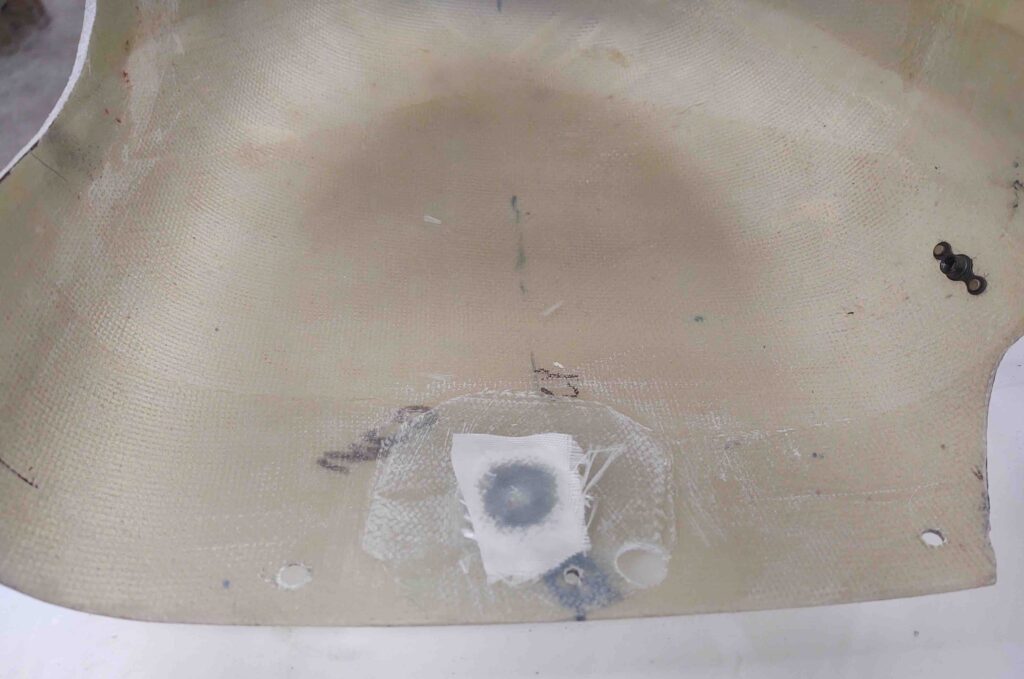
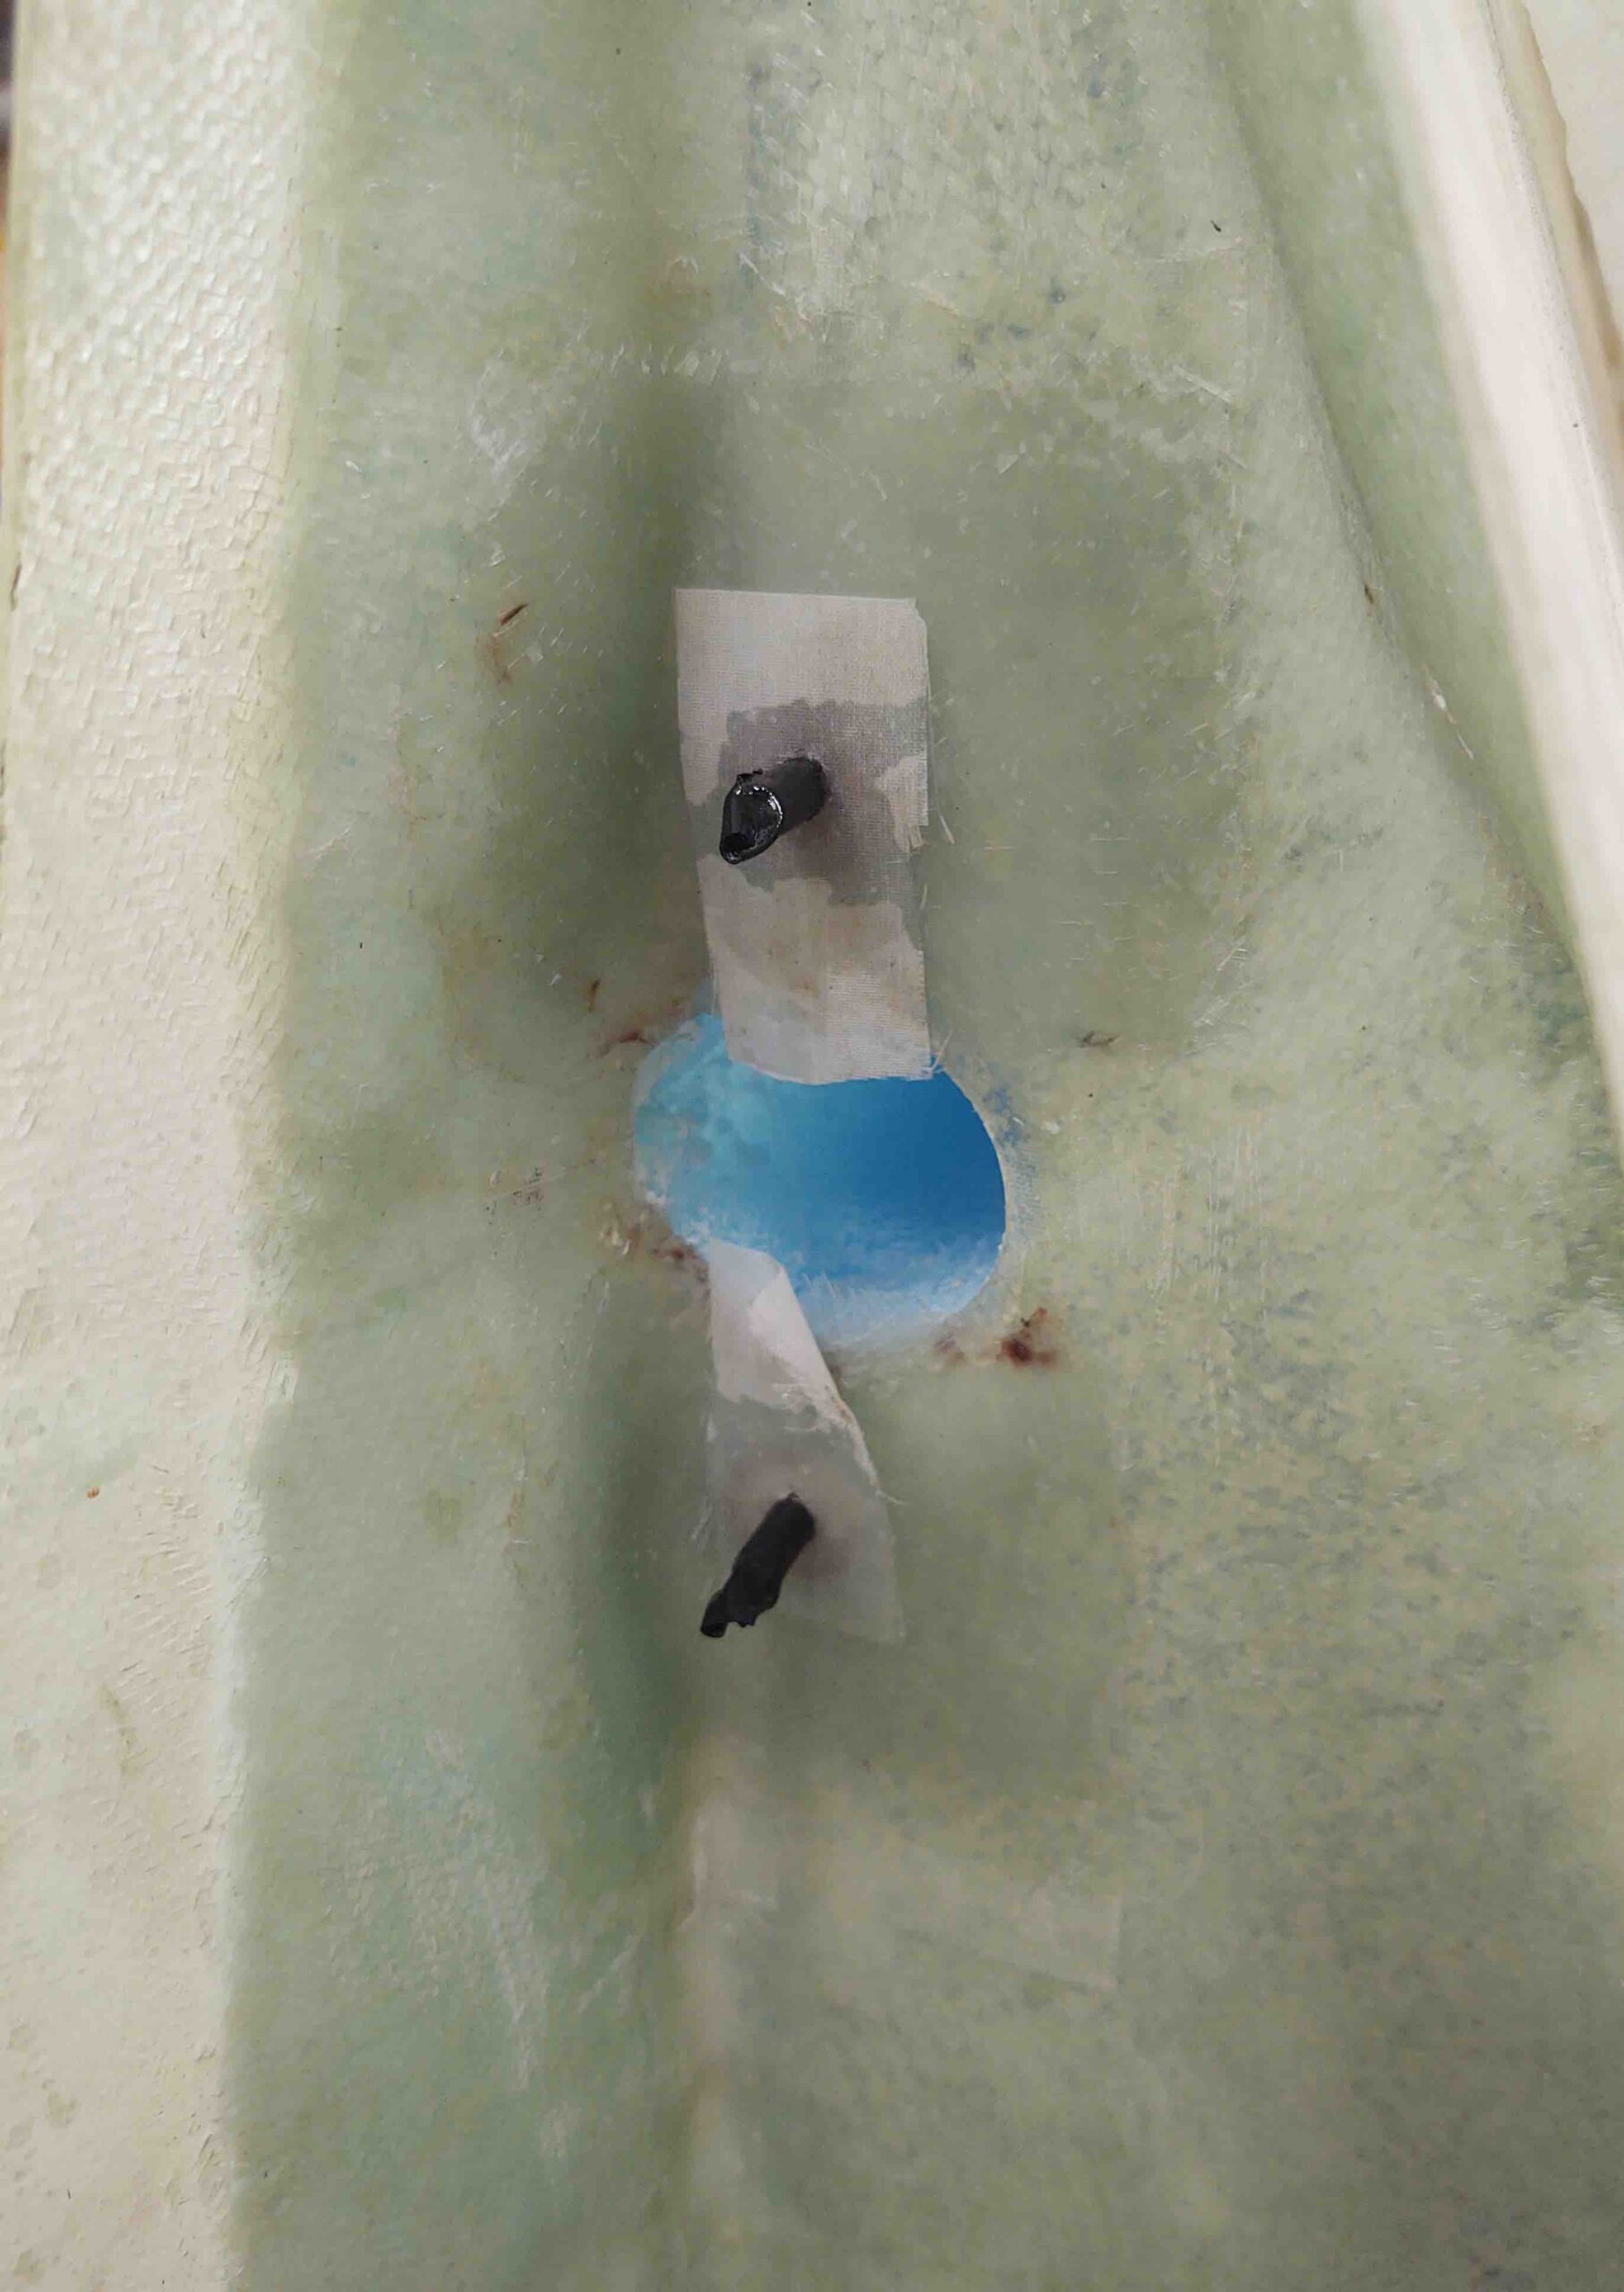
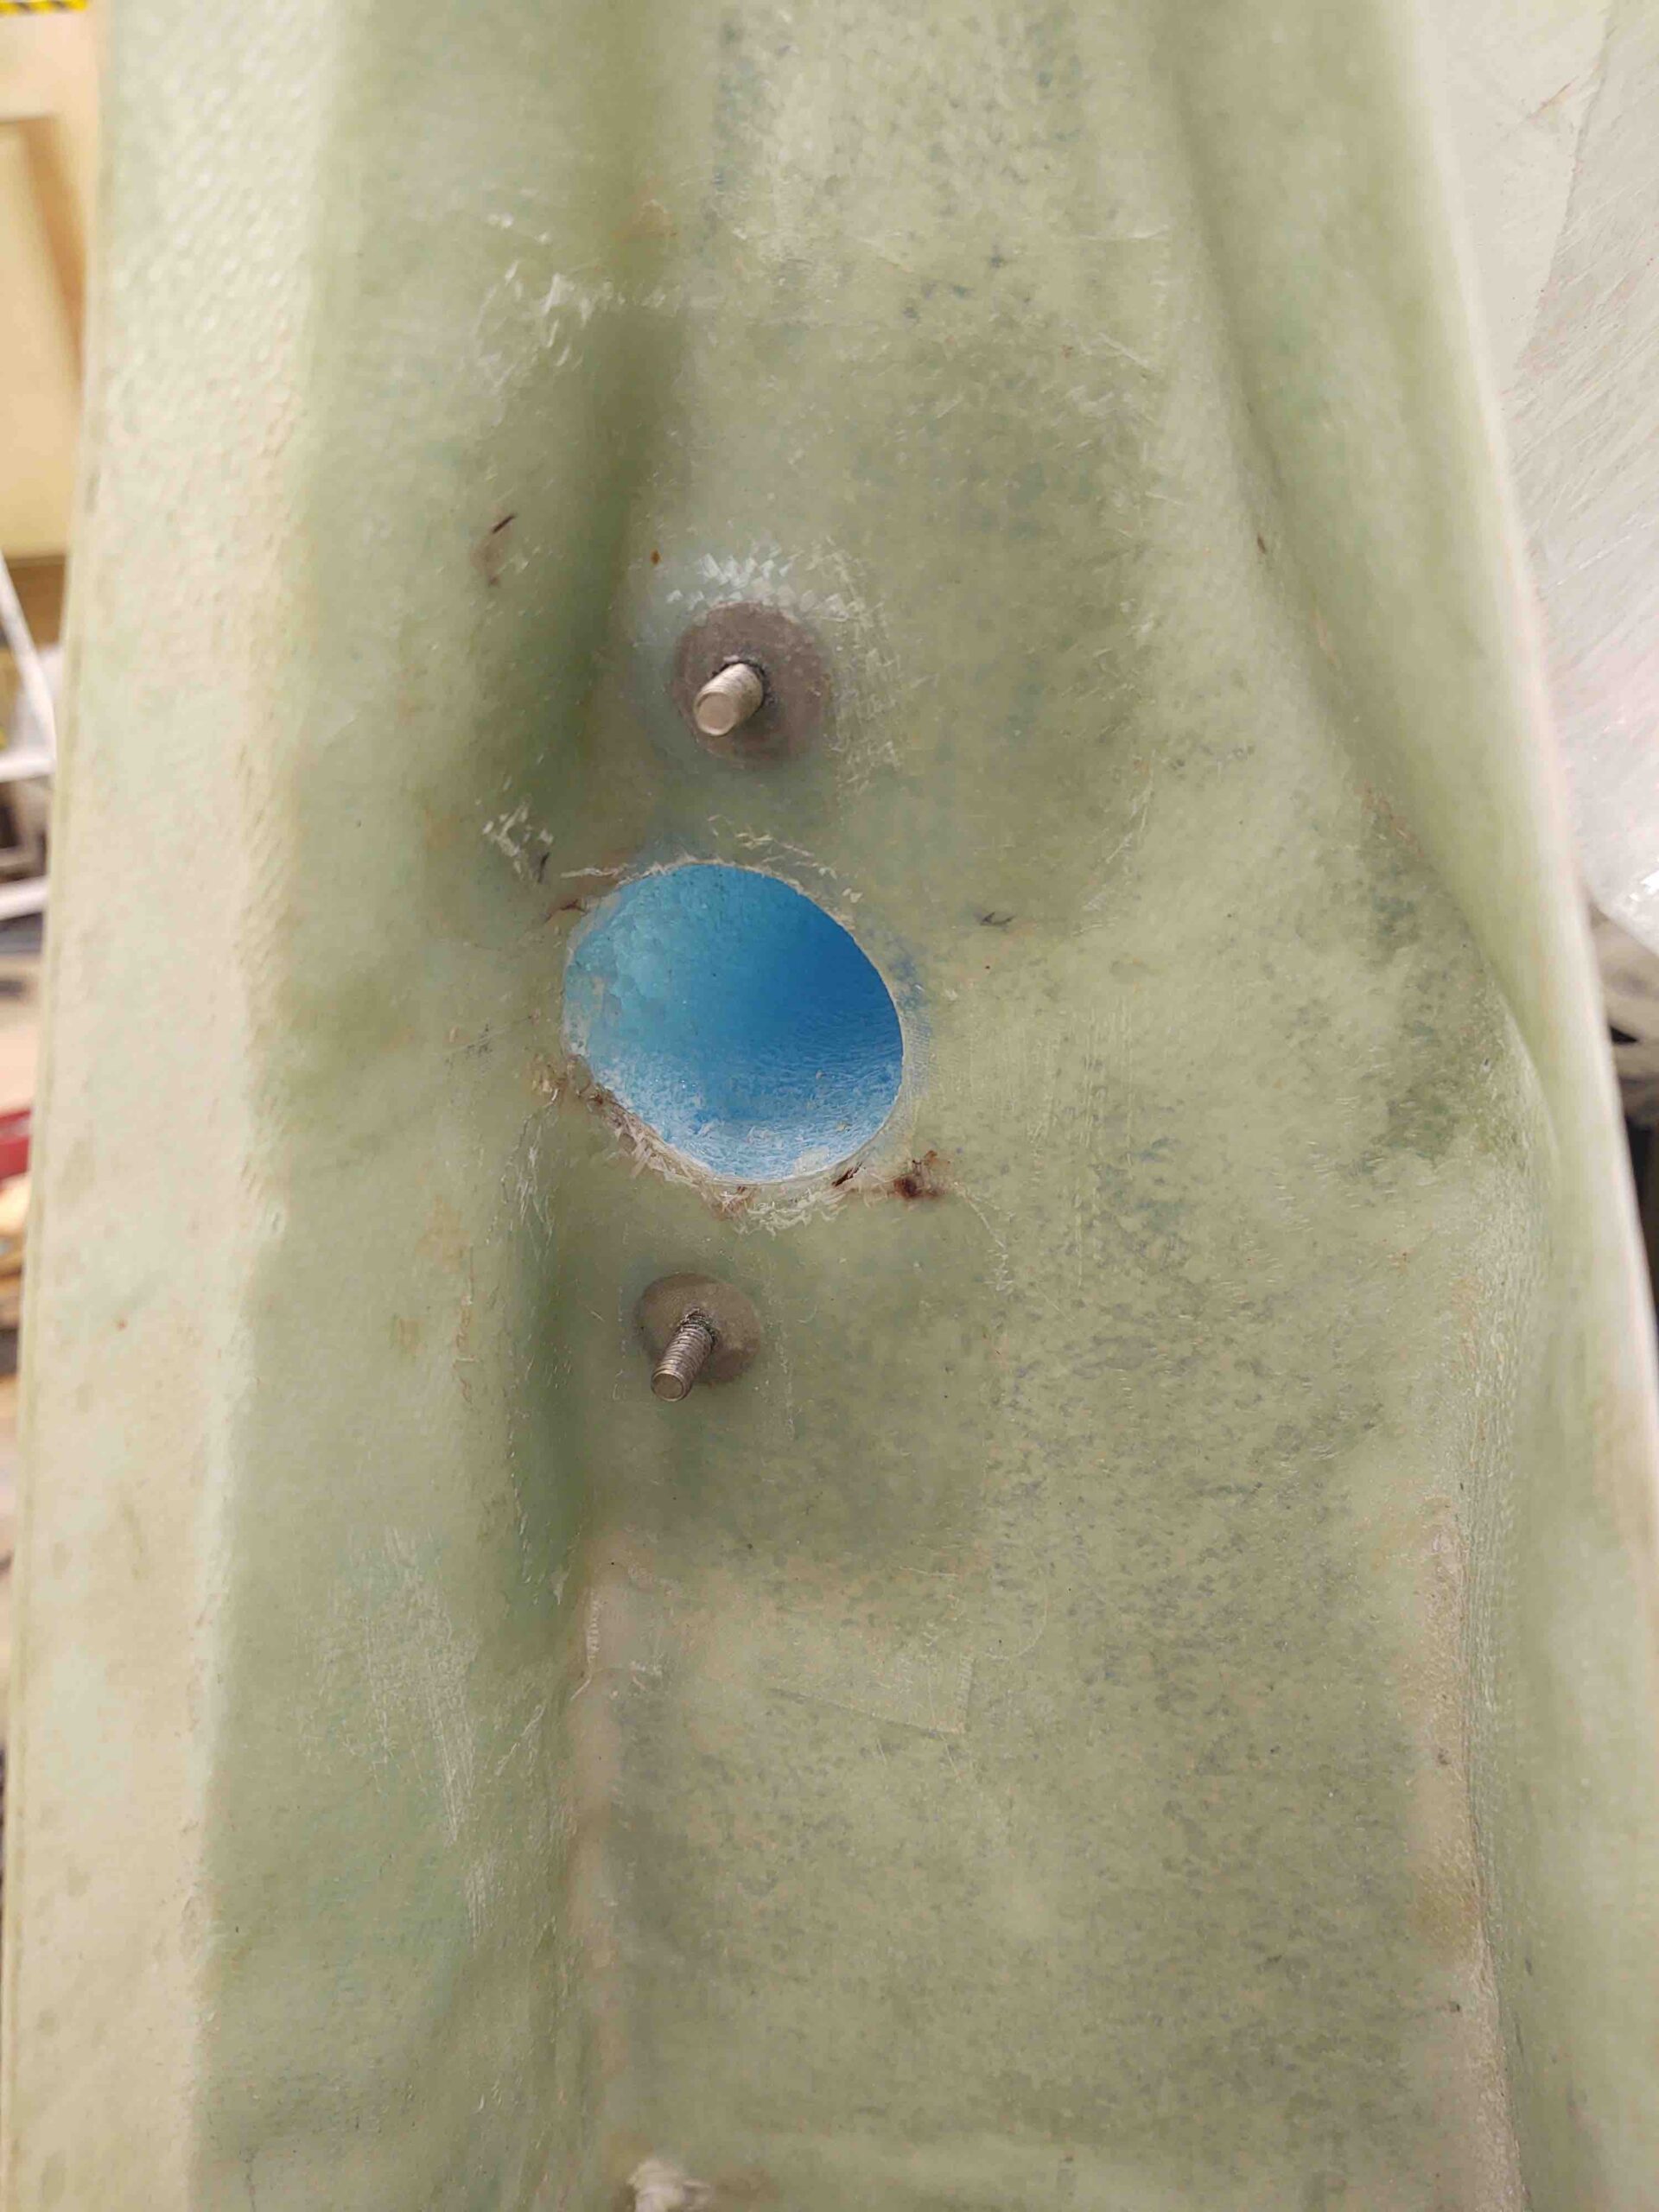
Moreover, I used the same epoxy to glass the right wing’s aileron bearing assembly’s aft retaining click bond (top below) with 3 plies of BID [since I just remounted the click bond] and 2 plies of BID over the forward click bond (bottom below) just for good measure.
I’ll jump ahead here and show you the finished product a few hours later after I pulled the peel ply and trimmed up the glass overhanging the hole.
Also after a few hours I check the P-Mag switch/D-Sub bracket’s progress… with staying mounted inside the D-Deck. Hmmm, not good! The silicone RTV was an abject failure, so in the trash it went. Must be too old.
Ironically, I then tried an opened 2-year old tube of Harbor Freight “5-minute” epoxy and it worked a treat… cured quickly and held it in place (obviously I chucked my bracket “removability” requirement out the window).
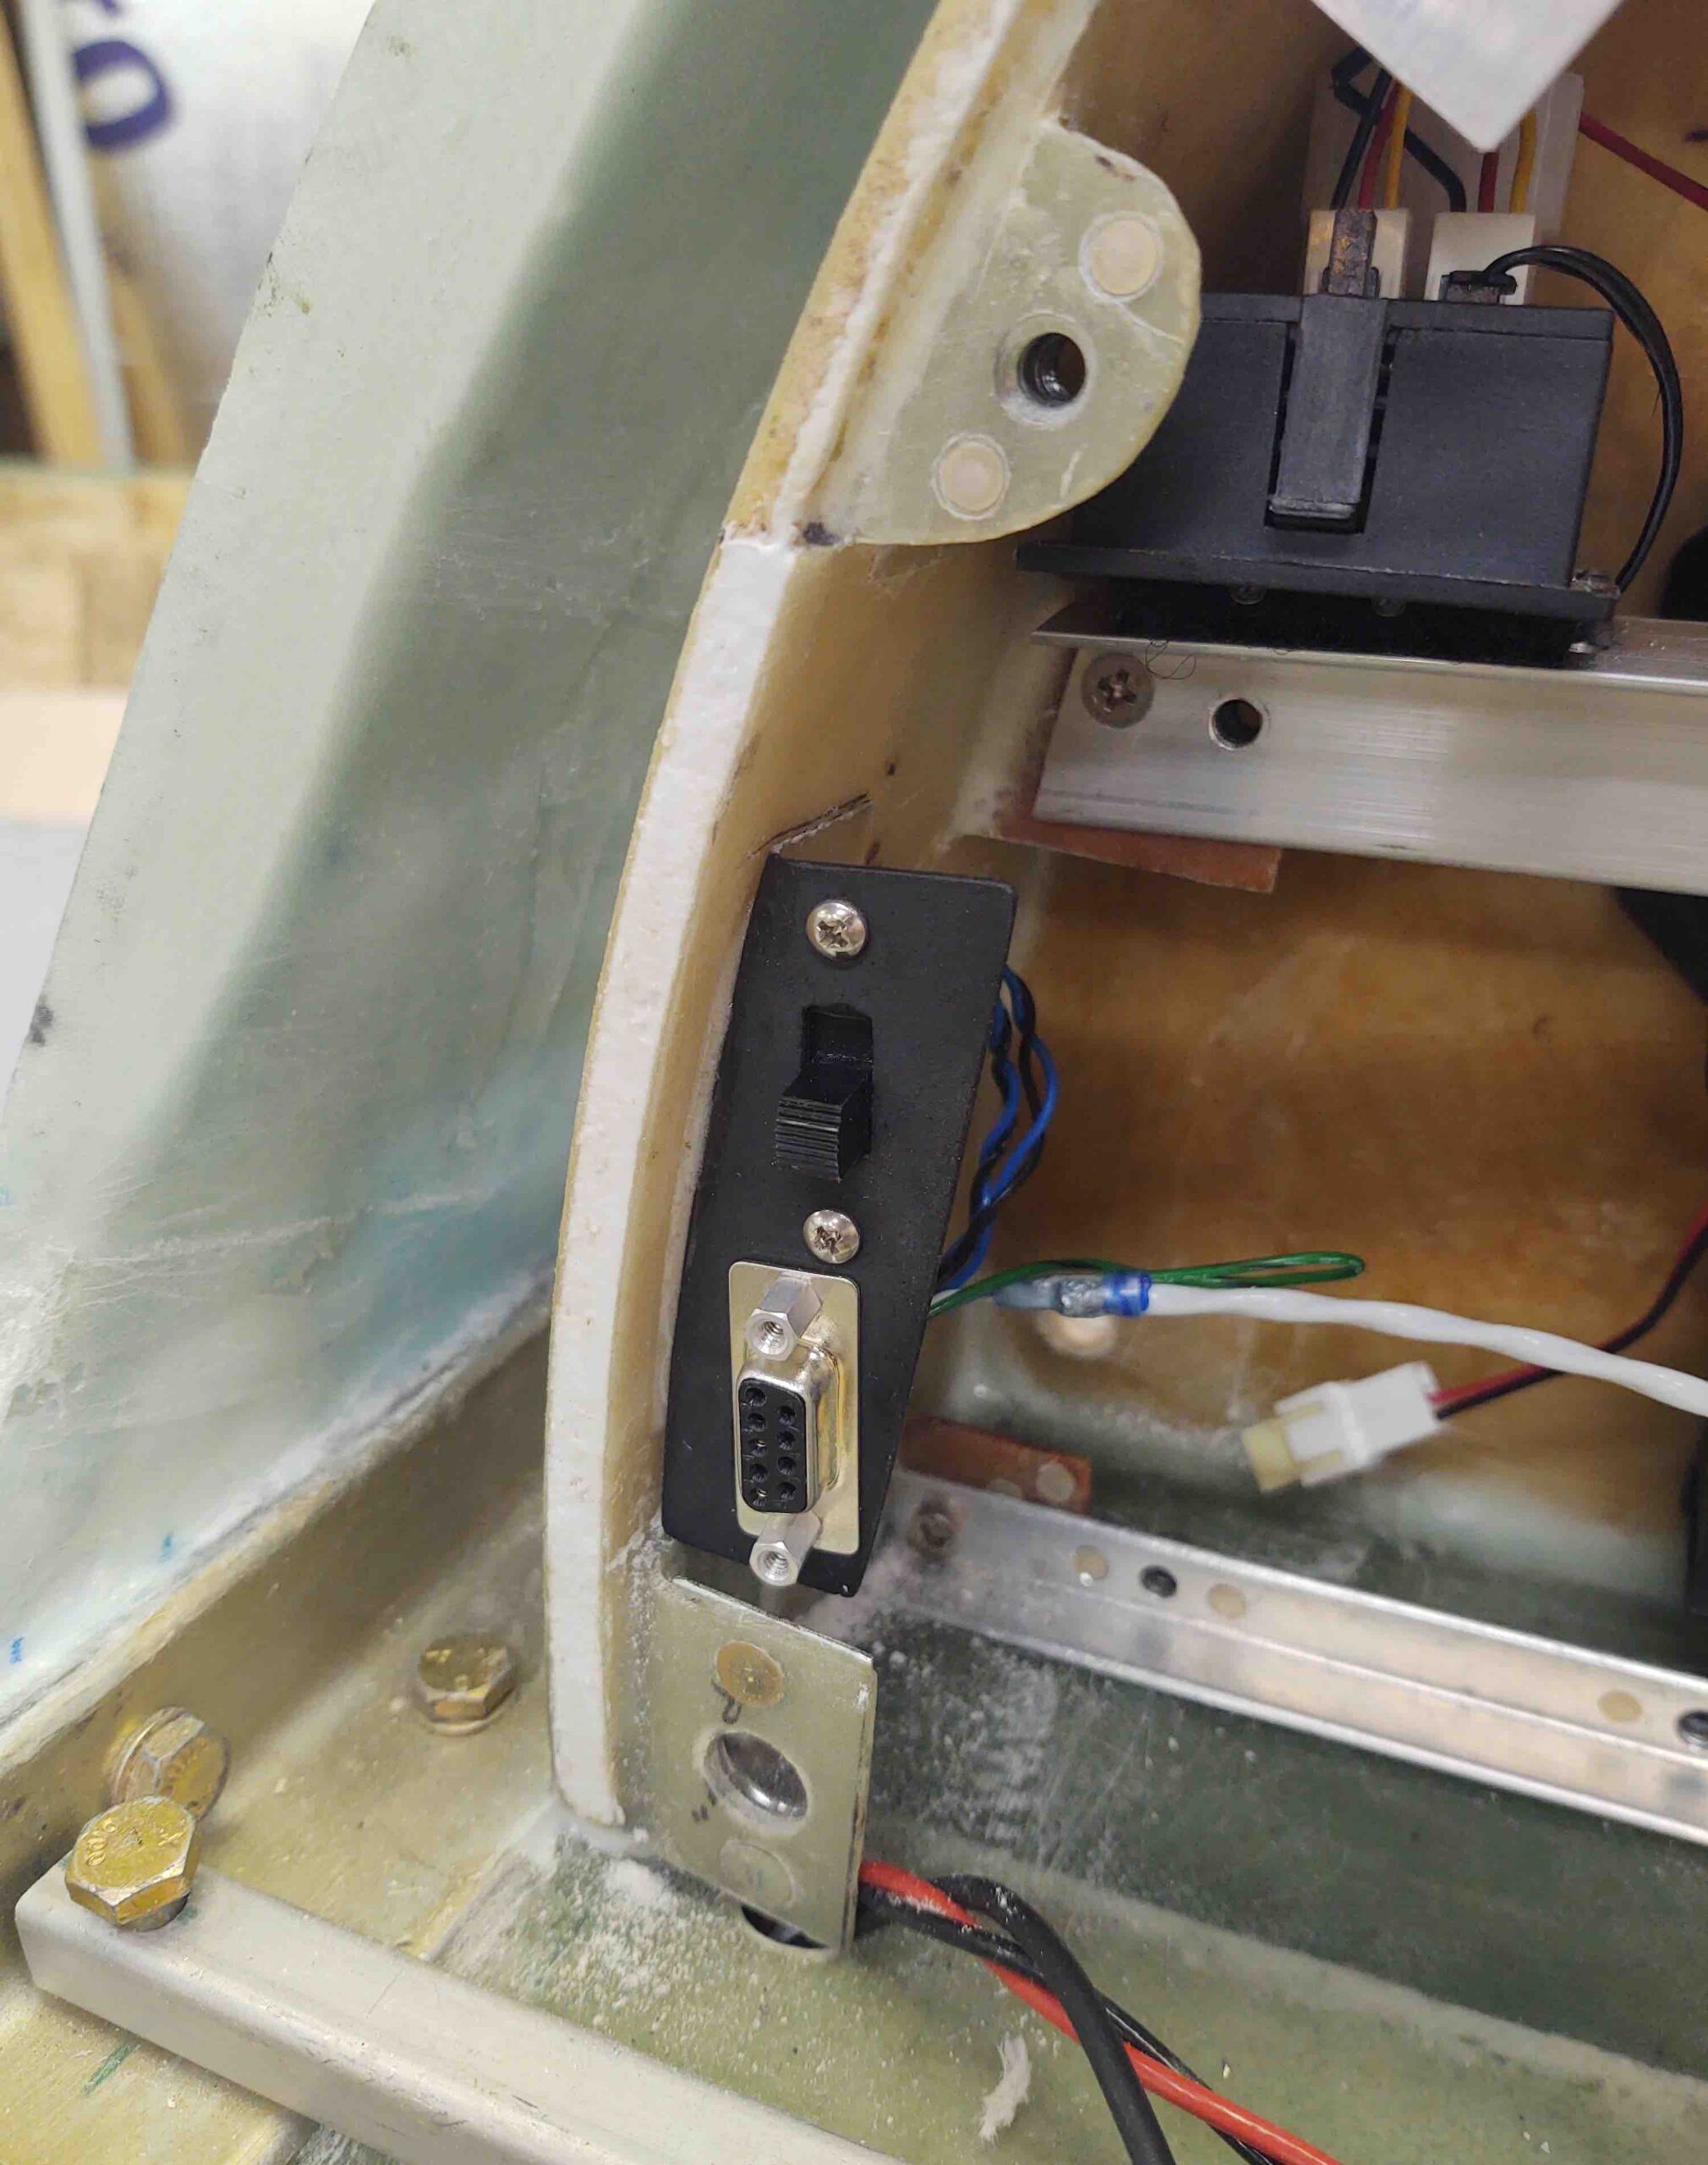
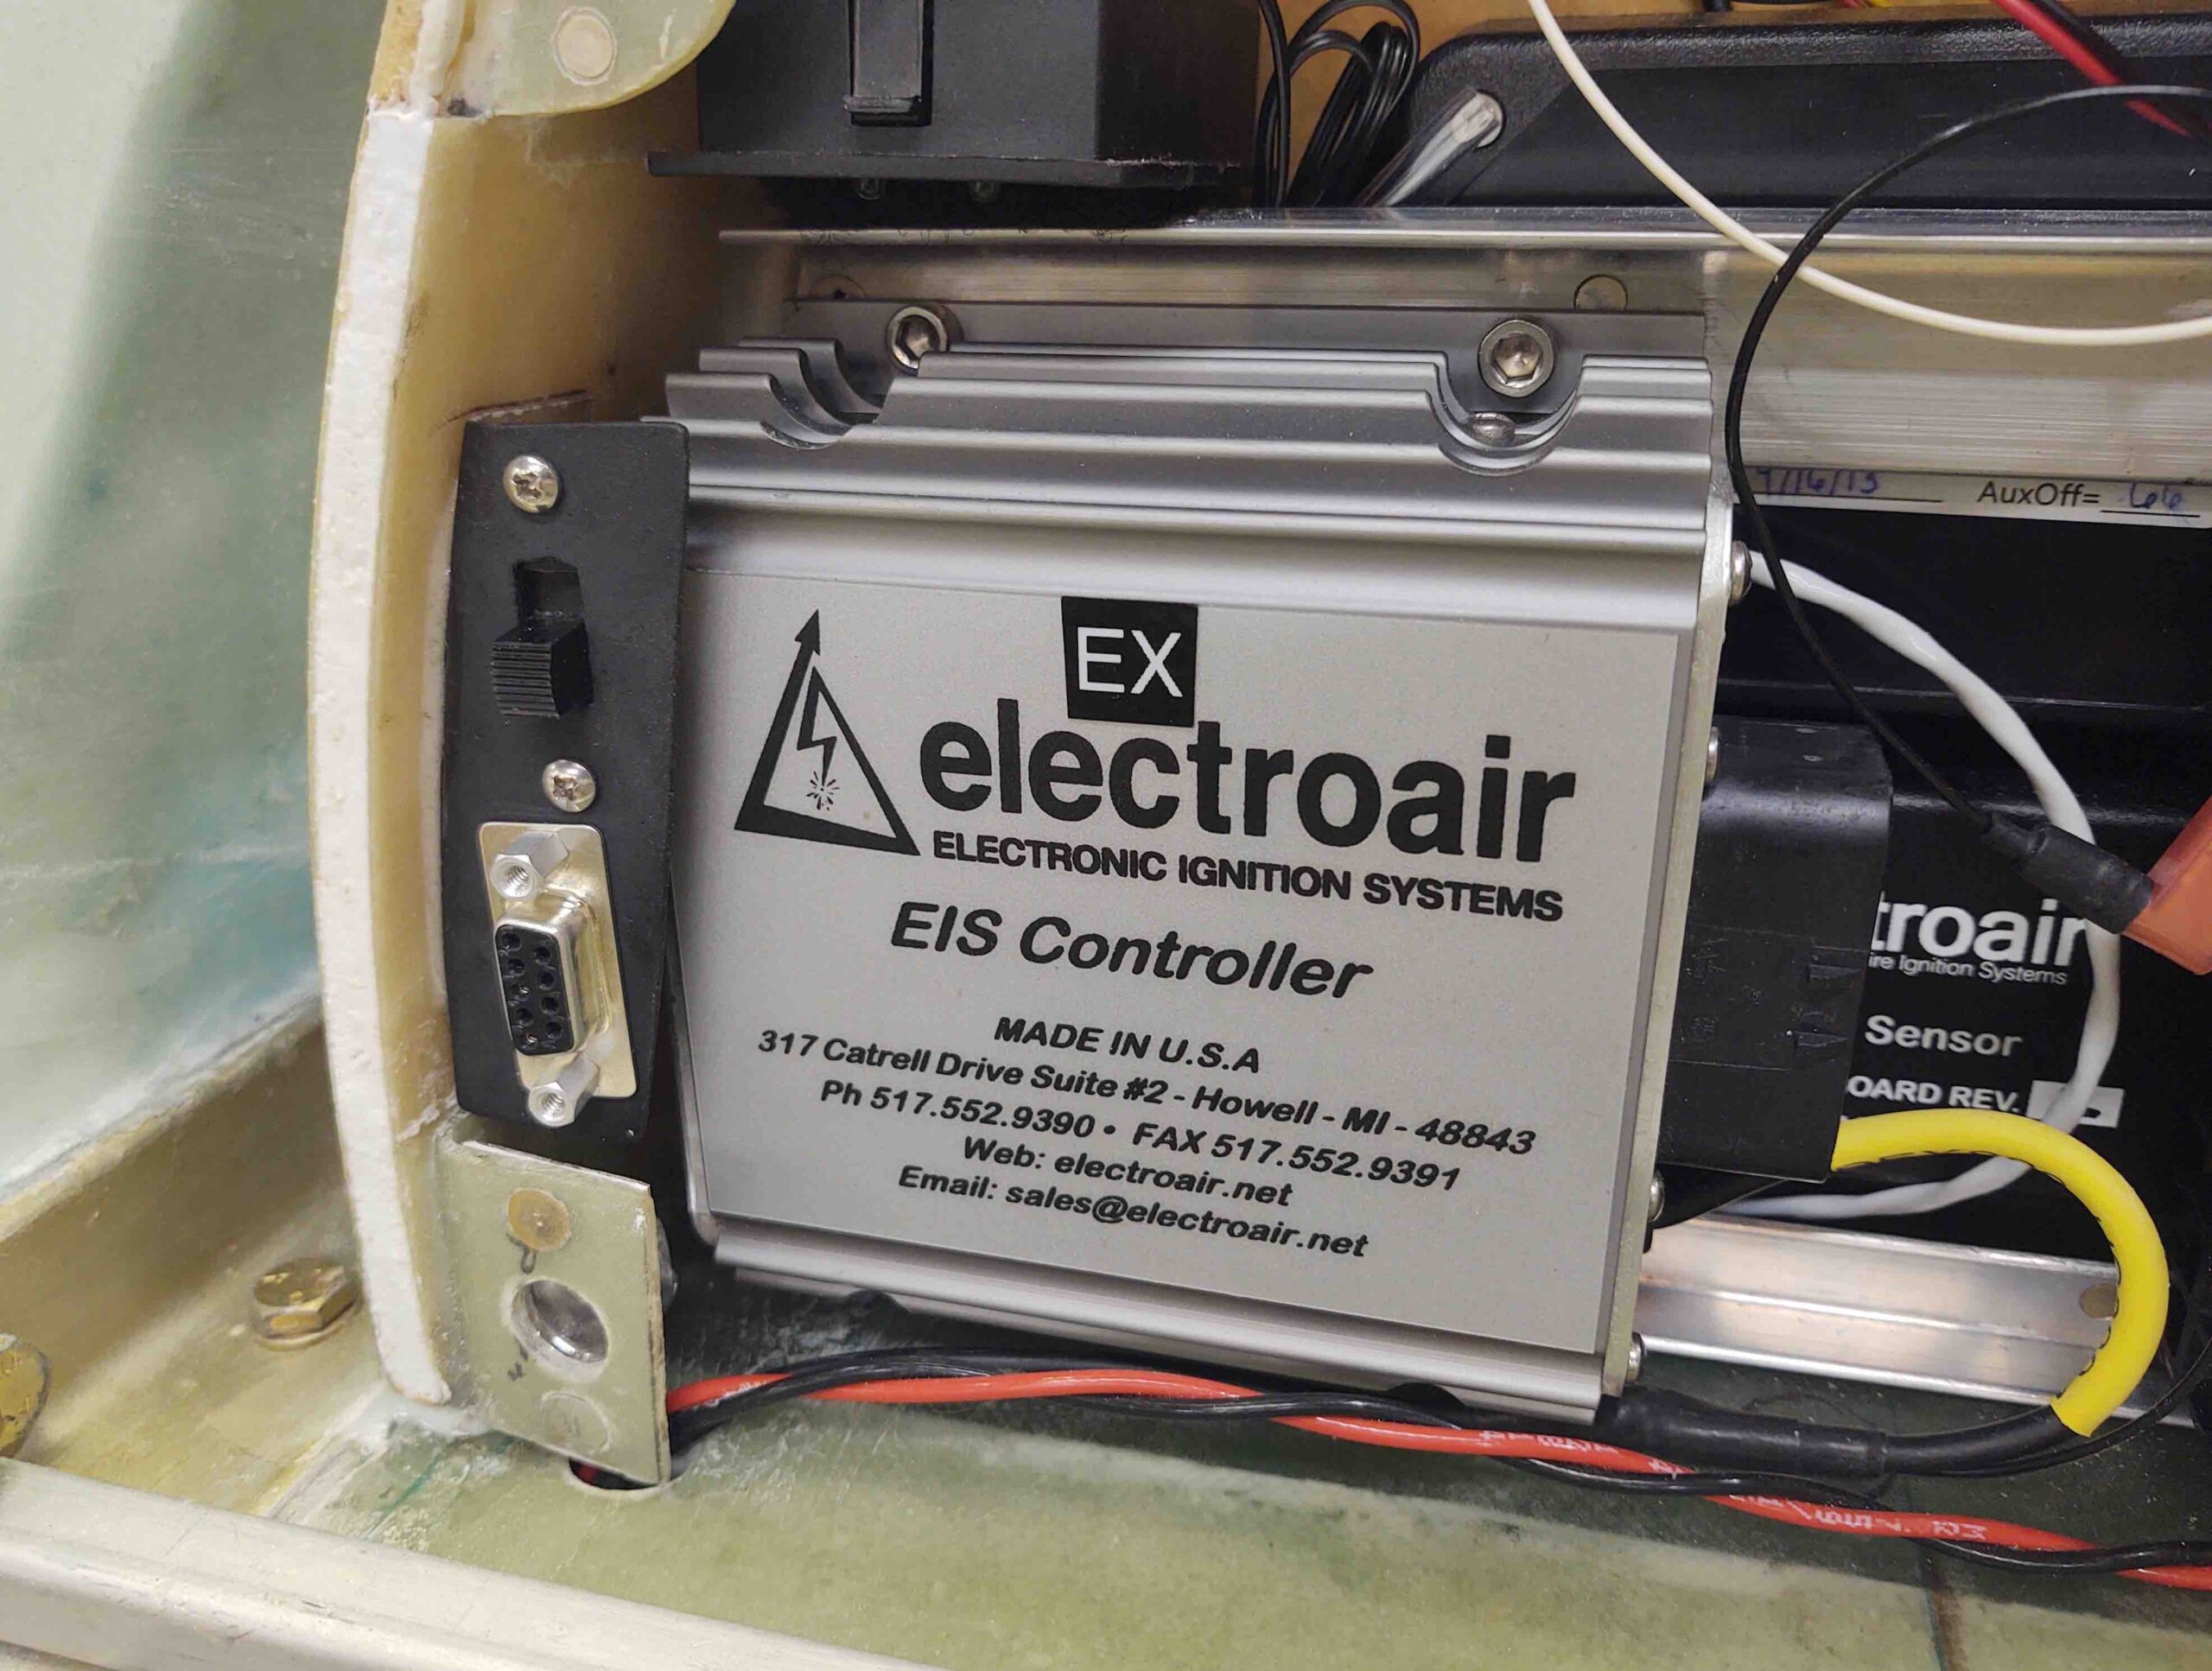
I then reinstalled the Electroair EIS Controller. Space is definitely tight, but it fit right in behind the newly installed P-Mag switch/D-Sub bracket.
As a point of note, this electrical component install puts me at about 2/3rds complete for all the electrical components (not wiring) for the entire plane. More importantly, this currently completes the installs (again, not wiring of course) of all the planned D-Deck components. Also, this overall total doesn’t include the actual panel components, which are pretty much a known quantity as well.
I then messed around with the canopy hardware components for a good hour. Man, my configuration is proving a tighter fit than called for in the plans between the canopy C8 brackets and the longeron mounted C2-L hooks.
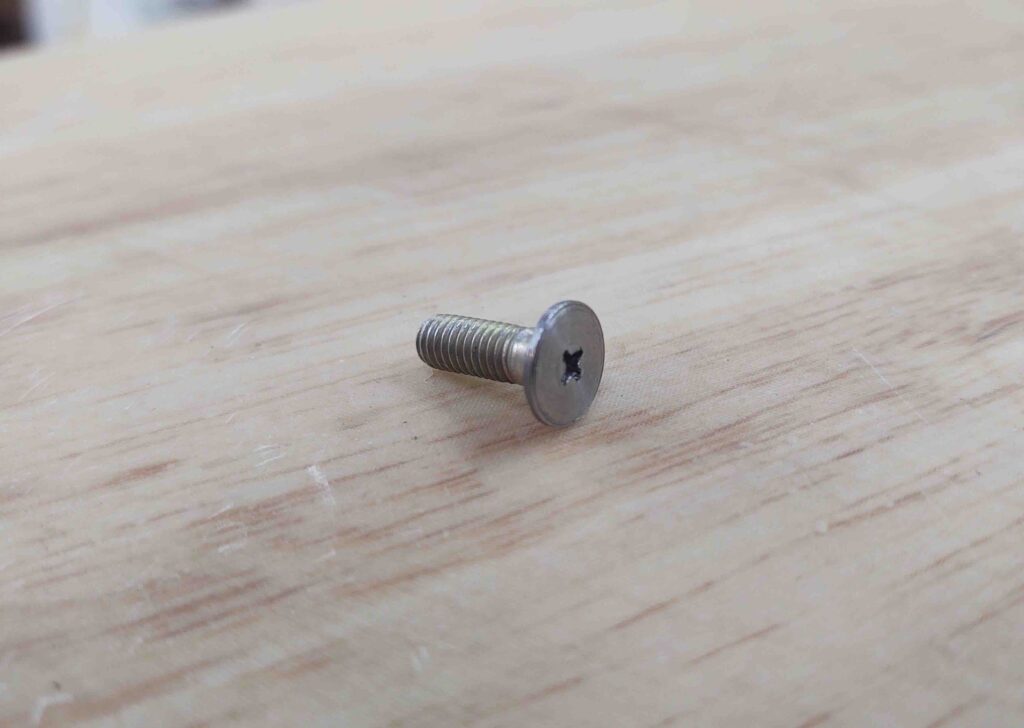
I decided to do some lathe work and simply convert all my button head screws –that mount on the C8 for the retaining part of the latch that the lower hooks catch on– to low profile canopy catches.
Here’s one of the 3 new ones I machined tonight.
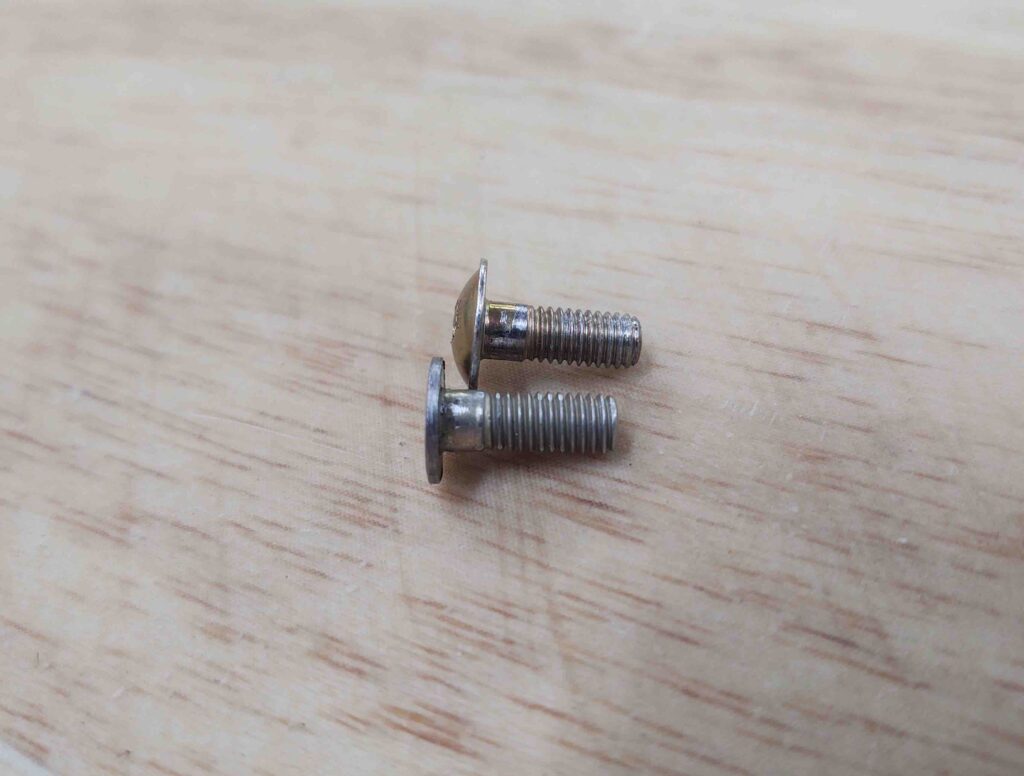
And although it might not seem like that big of a difference, the low profile catch screw heads are about 0.035-0.040″ thick. Whereas the original button head is about 0.1″ thick. That means I’m gaining about a 1/16″ (0.063″) in clearance for the hook between the inboard C8 bracket frame and the catch screw head, which can be pushed further outboard towards the inside edge of the longeron.
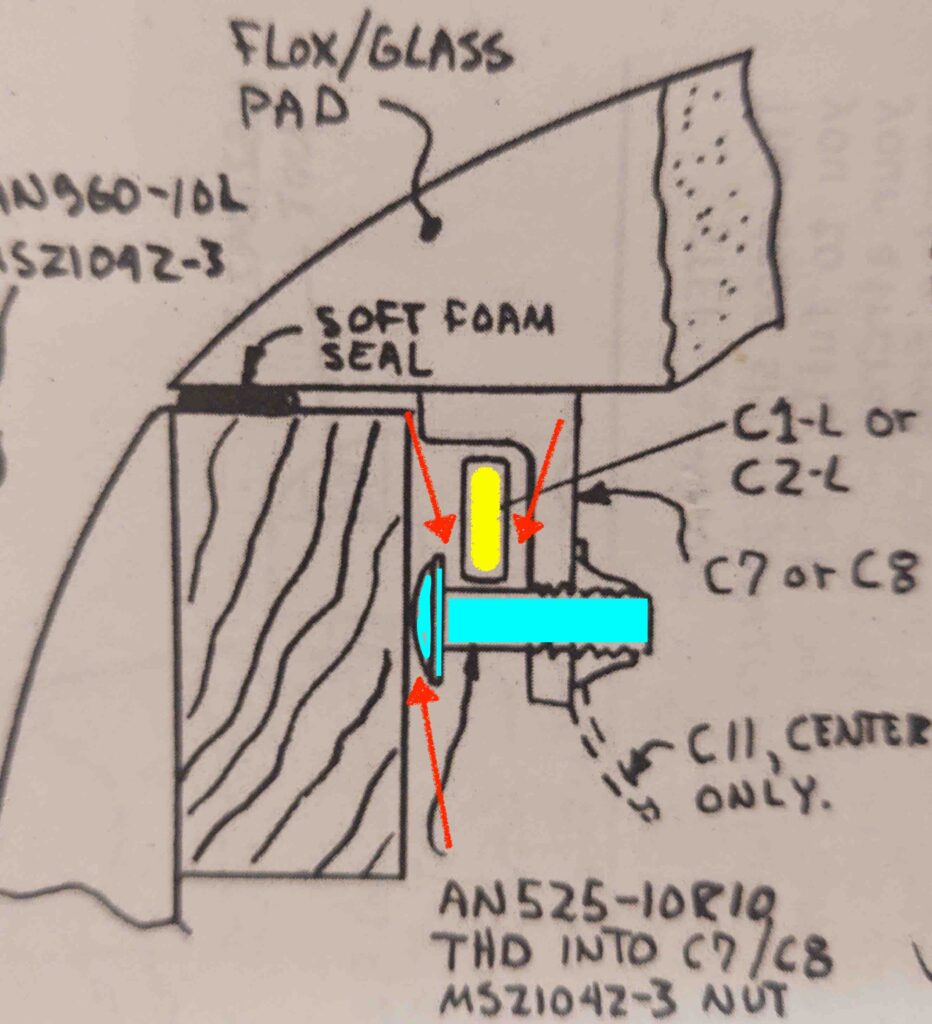
To make what I’m blathering on about here more understandable, I’ve added a shot of the C8 cross section diagram from the plans below. The highlighted light blue screw is what I’m modifying, since it is really the only variable in the equation for squeezing out more clearance at the 3 points depicted by the red arrows. The latch hook (C2-L) is highlighted yellow.
Actually, on canopy hardpoint #2 (just forward of the pilot seat) the clearance was so tight that I sanded a very minor depression into the longeron –without breaking through the glass layers– to squeeze out another maybe 0.020″ to the gap. Clearly I prefer not to have sand a vertical trough into my longeron at each canopy latch point. C8 #2 is the tightest of the 4 canopy latch points, follow by #1 and #3, with #4 being ok.
My last task of the evening was climbing into the back seat for a good half hour and cleaning out tape and dead glass from the canopy and frame junction. Slowly I’m getting the canopy-to-frame edges cleaned up to an acceptable level.