
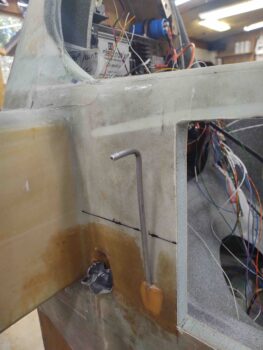
I started off today working on the small diameter 1/4″ fuel tubing that vent each GIB thigh support sump tank into the main tank. These guys, left and right, have been sticking up like little flag poles since the day I installed them.
Before it gets a little too tight in that back corner –once I install the extended BAB baffle– I wanted to bend them 90º and trim them down in length. I was actually thinking of securing them to the side wall at this point, but since I’m going to add a layer of BID over the existing corner I figured I’d wait. And I’ll still have decent access to that back corner for glassing by coming in from behind the CS spar.

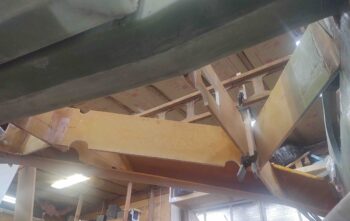
Here are the 1/4″ thigh support sump tank fuel vent lines bent 90º and cut to length.
I then spent the next 3 hours + prepping and installing the extended BAB (inboard) and DB (mid tank) baffles.
A couple shots from below . . .
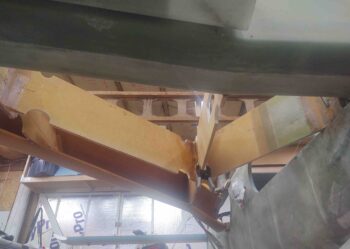
I used the plans layup schedule with just 1-ply BID tapes to secure the pieces together, both for the rib attach and now the baffles too. However, where the junction is on the external perimeter fuel tank wall I use 2 plies on the interior tank side just to ensure I have no leaks.
For example, the leading edge “nose” of the R45 rib only got a ply on each side, whereas the inboard leading edge “nose” of the OD rib got 2 plies, as did the outboard edge of the R23 rib “nose.” For these 2 baffles only the extended BAB got 2-ply BID tapes on the internal side since it makes up part of the perimeter wall of the fuel tank.
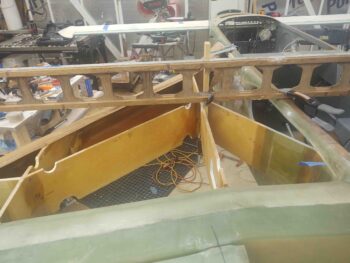
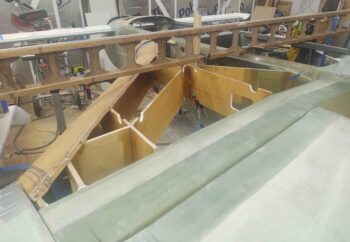
Here’s a shot of the baffles looking inboard.
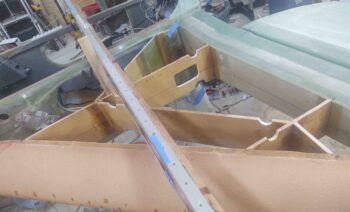
And a couple shots looking aft.
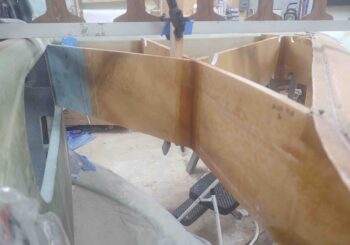
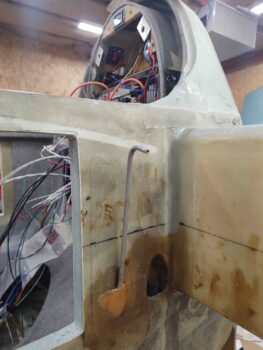
Here we have the extended BAB and DB baffles installed, viewed from the cockpit side.
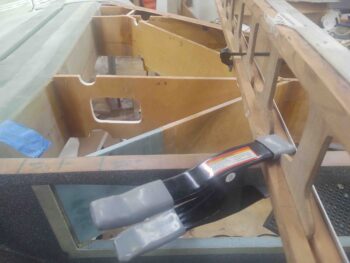
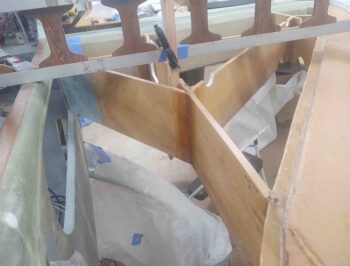
And a last shot of the extended BAB —due to the “GIB elbow room mod”— from inside the cockpit. If you look at the aft/left end of the BAB you can see that I still need to trim down a small wedge on the fuselage sidewall aft opening, sand a nice smooth transition and then glass that back corner. Here I will be using 2 plies of BID since this back corner is also structural.

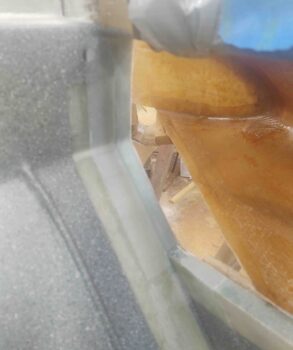
Before I remove the duct tape from the outside of the left strake leading edge I wanted at least some internal glass securing the LE to the fuselage. I have glass on the external side, around the perimeter of the LE where it mates to the fuselage, but had nothing internal until I used the Fein saw to knock off a bit of the sidewall edge and then sanded a nice transition from the exposed screw aft. I laid up a ply of BID and then peel plied it.
Unlike the plans version, a nice feature on these leading edges is that you get a nice curved wing-leading edge-shaped entrance into the cockpit vs. a blunt squarish presentation. However, it will require trimming away a lot more of the inside edge of the sidewall to continue the angle of the leading edge all the way inboard for a seamless transition. So this was just a quick fix before I knock the rest out (at least plan to) tomorrow.

In addition, since I still have better access to the front seat area with the right strake leading edge not mounted yet, I knocked out glassing the exposed top edges of the pilot seat. If you’re wondering why I didn’t do this earlier before I painted the cockpit interior, so am I… Doh!

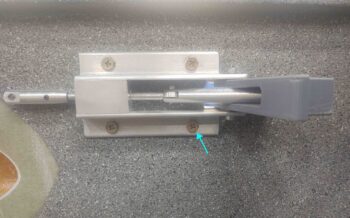
My last task of the evening was finally adding in the #4 hardpoint for the canopy handle lever assembly. Since I ran the Nylaflo wire transition through the bottom edge of the canopy handle fuselage opening, I was then cleared hot to get this RivNut floxed into place. I carefully drilled and then prepped the hole before bolting the RivNut to the pre-taped (to protect against errant flox gunk) canopy latch handle. I then slathered up a bit of flox in the hole and on the RivNut and simply bolted the latch handle back into place. Voila!
Tomorrow will be a bit more work in the cockpit area since my time for unhindered access is coming to a close. My plan is to either fit and mount the right strake leading edge, or at least have it prepped for install the following day. Either way, I’m happy to be having significant movement on the strake build!