
Today I started out by tweaking my task sheet, reviewing the strake build steps and generally just trying to ensure I don’t screw anything up… or forget something until it’s too late to do. Or really friggin’ difficult at that point.
Out in the shop the main task was to finish glassing the modified/extended BAB baffle.
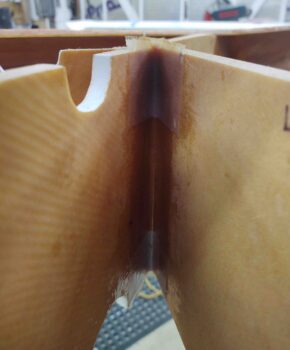
First, I had glassed it on the aft side with a 2-ply BID tape outboard, but still needed to trim a corner off the actual fuselage sidewall and then glass the interior side. Here’s what it looked like starting out today.
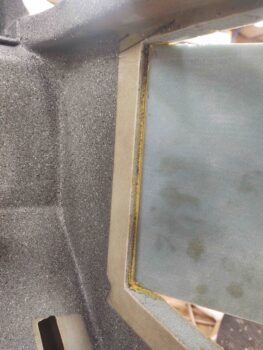
And a shot showing the fuselage sidewall edge that I’ll trim.

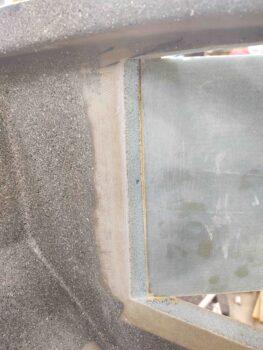
And here it is trimmed. I just set my Fein saw (Harbor Freight version!) blade up against the BAB baffle and simply used it as a guide. A few minutes later I was done.
I then laid up another 2-ply BID tape using MGS epoxy on this side. I then peel plied the layup.
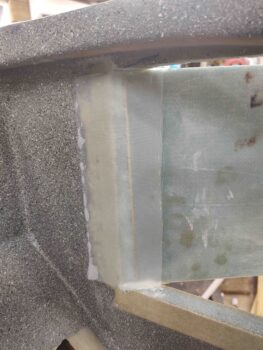
Quite a few hours later the layup was cured and I pulled the peel ply and did a quick cleanup. It looks good and I’m happy with the results.
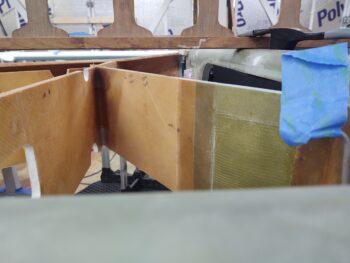
After finishing the above layup, I got to work sanding down and prepping the front side of the modified/extended BAB where it connects to the R23 rib. I didn’t get to this layup when I installed the 2 baffles in the left strake since there was a support board hanging down in front of this corner. When I did the original layup on the other side I could see the flox bead in this corner and actually used my scribe to get in there and smooth it out and clean it up.
This time around I did add some more flox after scuffing up the original, smaller flox fillet. Since this is an internal fuel tank corner on the perimeter I used a 2-ply BID tape here. I laid it up as wet as I could and also peel plied just the top and bottom strips that will get more overlaying glass.
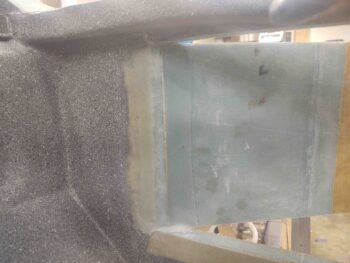
A wider angle shot showing the entire interior fuel tank side of the BAB baffle.
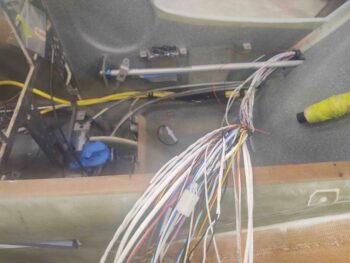
To reiterate, I am doing a round of final internal cockpit component tasks before I mount the right strake leading edge. Here are all the wires from just the top wire bundle that I’m sorting out (read: wrangling).
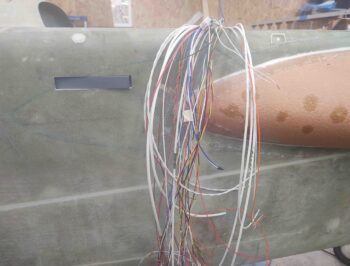
Here’s another shot of these wires. I included this pic because the right front wall will be a priority to finish up some tasks before the right strake leading edge goes on. I’ll detail more tomorrow as I get this stuff knocked out. To be clear, before the right strake LE gets mounted, all the wiring —both top and bottom wire/cable bundles— in this area will be secure and operational up to the instrument panel bulkhead.
I had planned on doing more tonight, but had some personal calls that I needed to take so I lost a good couples hours there… I’ll be back on it tomorrow.