
. . . of MILLIMETERS!!
The canopy tasks in this posts are from over the past few days… I’ve been doing a ton of measuring, mocking up, testing, tweaking, etc. to dial in the canopy latch system.
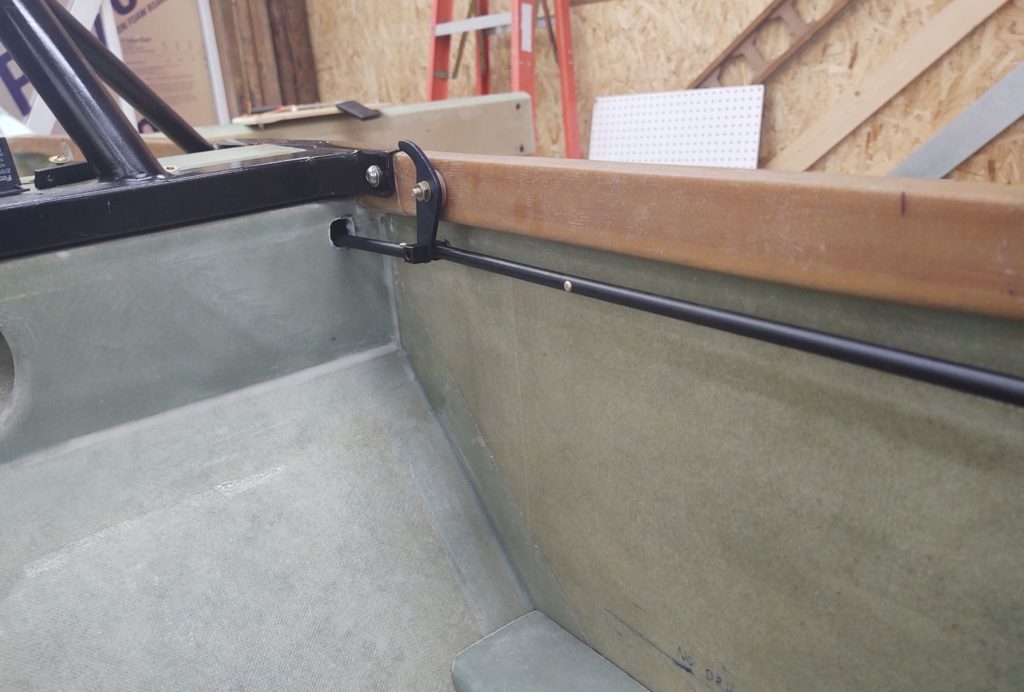
First off, to fine tune the positions of the longeron-mounted canopy hooks (C2-L), it made it much easier to move them in unison. Besides the fact that I needed to punch a hole through the upper pilot seatback for the interconnecting canopy latch rod at some point anyway.
After determining and marking the rod through-hole position, as best possible, on both the front side of the pilot seatback…
And the aft side, I then got to drilling.

And was then able to finally connect the back set of latch hooks to the front. Remember, since my canopy is massive, combined with needing to move my center latch hook forward to avoid the roll bar frame, I added another latch hook assembly just aft of the roll bar to make 4 total (vs 3 stock).
A point of note: As I posted on before, I bought Jack Wilhelmson’s canopy latch handle kit with all the required canopy latch parts included. Then my buddy Marco bought a baggy of miscellaneous canopy hardware components at the Rough River auction a couple of years ago. Since he’s been focused on some sweet upgrades to his flying Long-EZ, JT, he gave me the bag to cherry pick some of the parts. I’ve used the bare minimum parts to add the extra latch hook assembly, and some rod pieces… it really helped a ton having those extra bits on hand. Thanks Bro! But not to be outdone in Long-EZ buddy cool points, I’m giving him my Jack Wilhelmson canopy latch for his project bird… it’s a nicely machined latch, but as I’ve pointed out I just can’t use it in my configuration.
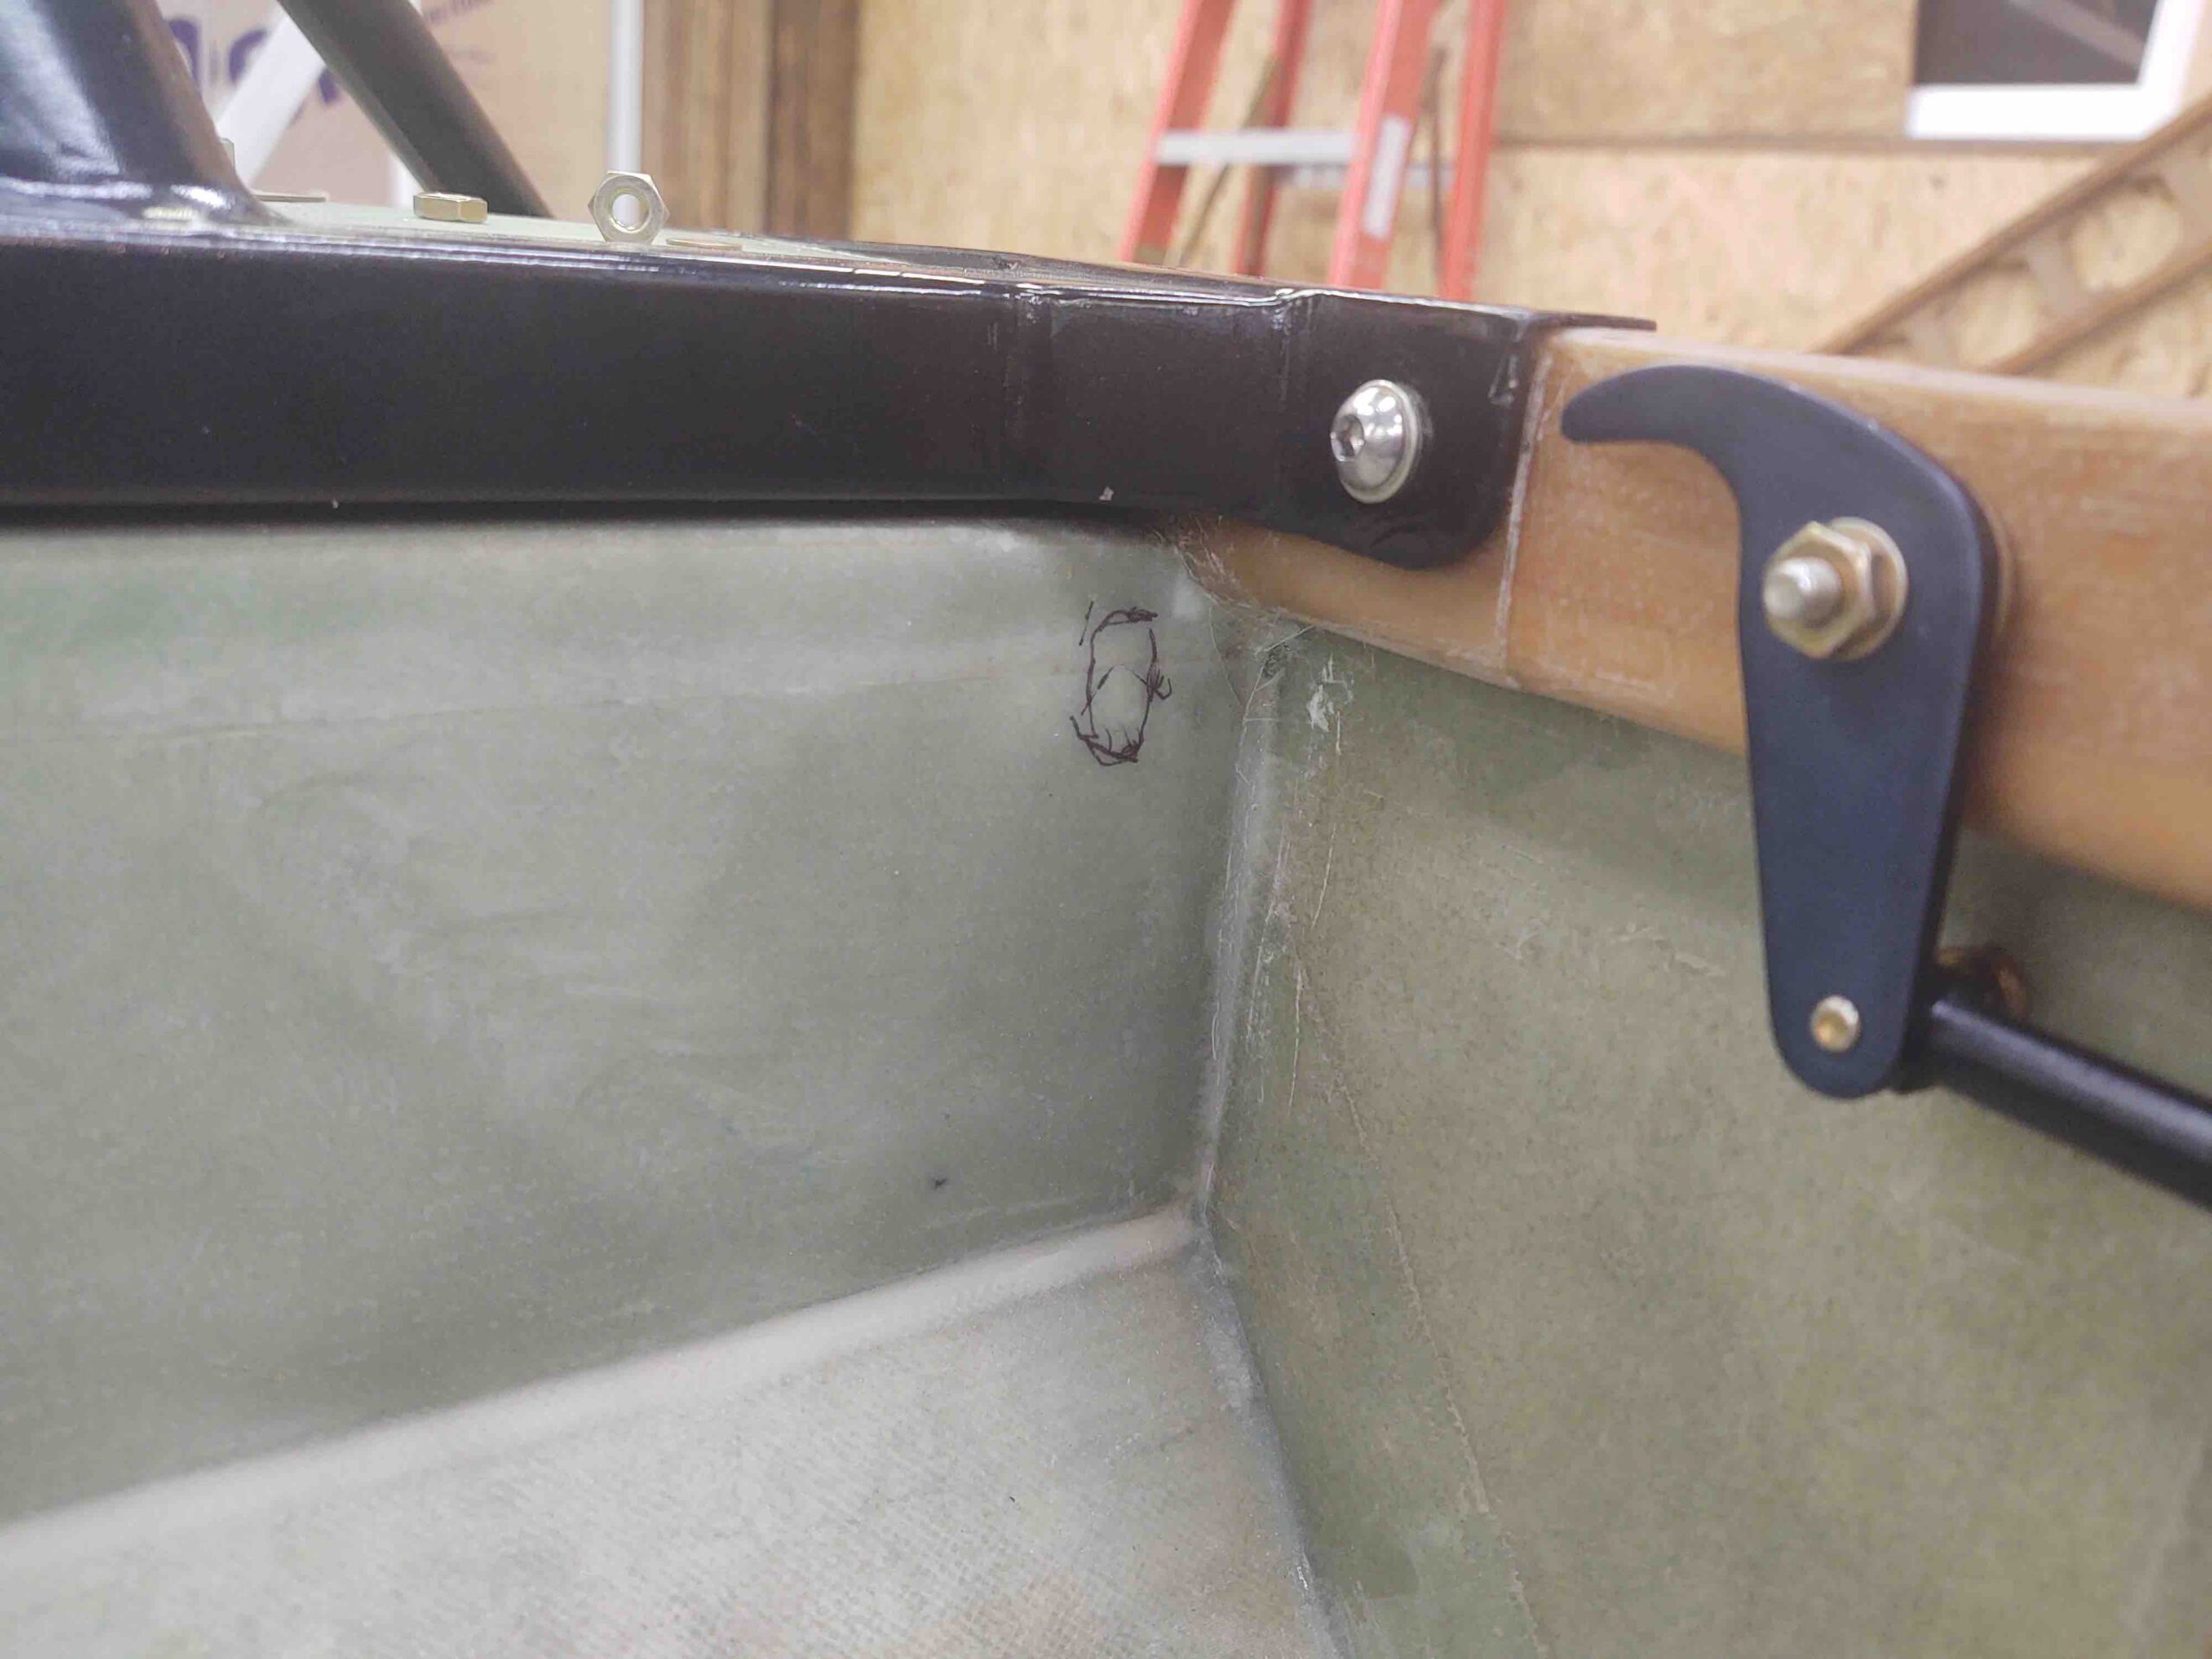
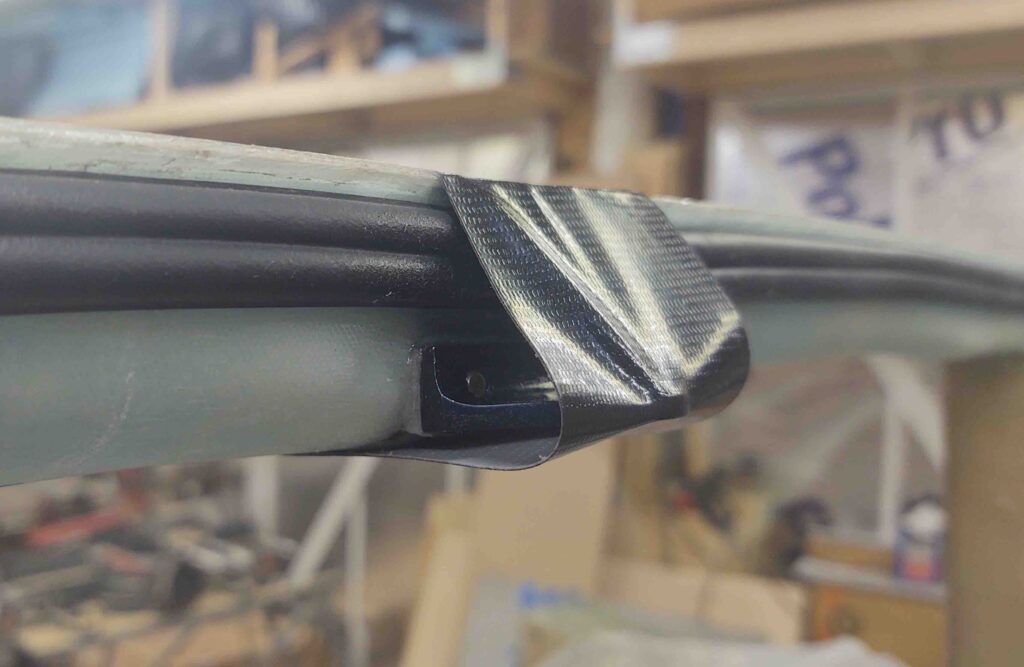
Also note that due to the curve of my fuselage + the width of the heating/cooling intake air duct at the aft sidewall/seatback corner, I actually need a dogleg at the #2 canopy latch hook with the canopy latch rod attaching on both sides of the hook.
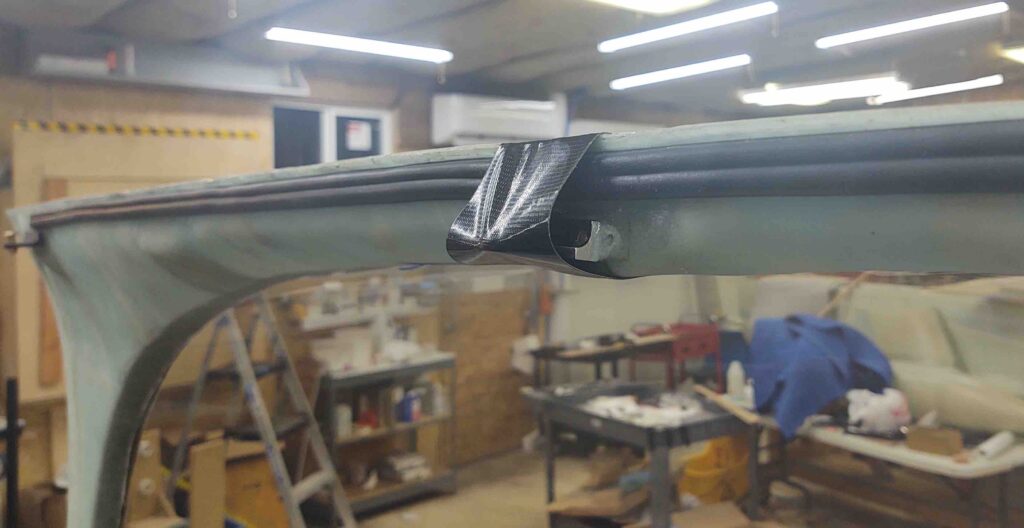
Here we have the canopy latch rod through-hole on the aft side of the pilot’s seat .
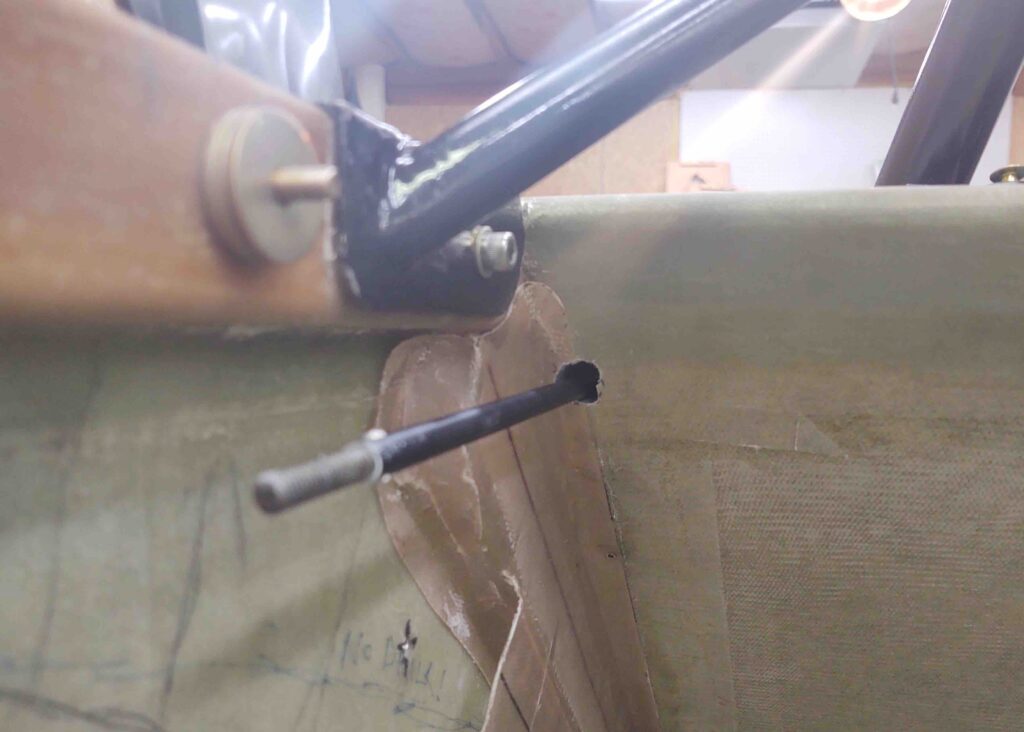
And a shot from above…
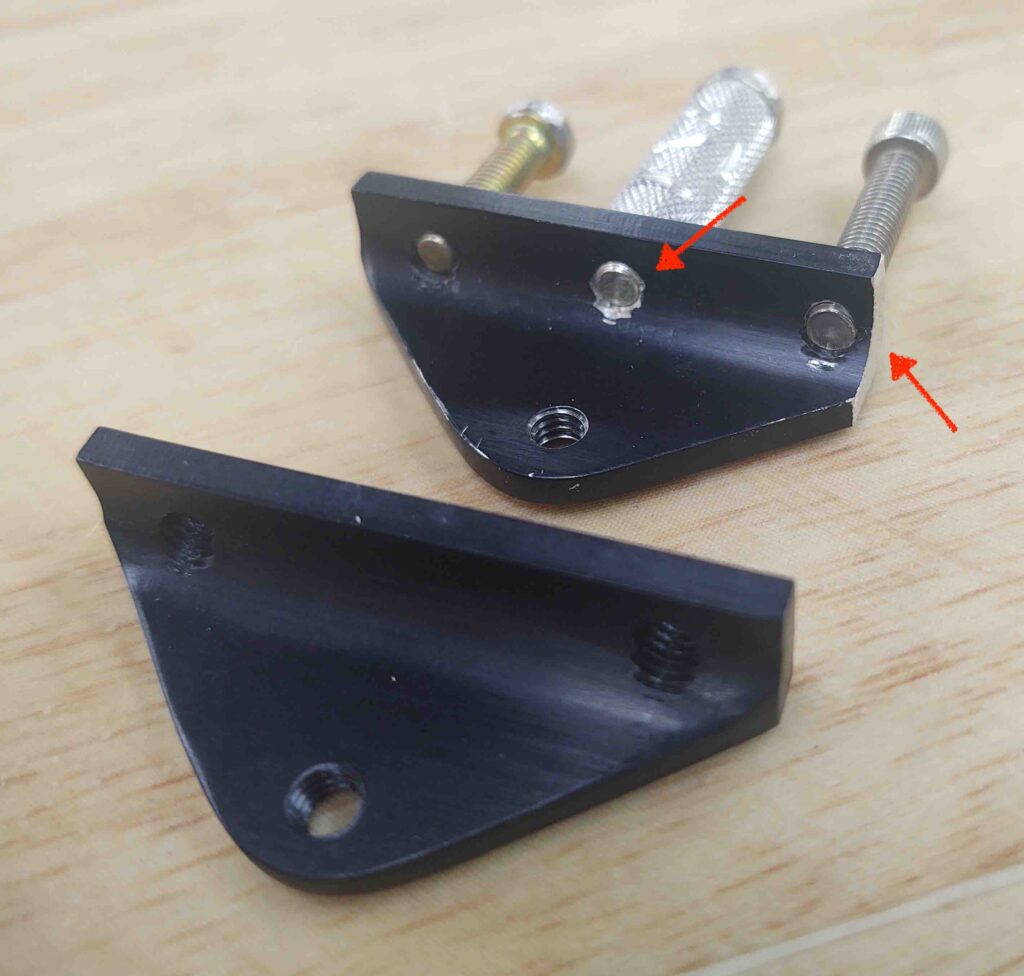
With the canopy rod fairly dialed in through the seatback, and after many iterations of spacing between latch hooks and the canopy side C8 latch catches, I went to work installing the oddball of the 4 canopy-side latch brackets: C8 #2.
You see, the configuration of C8 #2 is different from the others since I have no physical way to install a pair of bolts/screws in the topside of the canopy bracket hardpoint to secure the C8 bracket to the underside rail of the canopy frame. Since my canopy frame is much thinner than standard, at this hardpoint the canopy is literally straight above the C8 canopy latch bracket. Thus, no physical bolt clamping pressure can be used to hold this C8 #2 to the canopy.
What to do?
I decided to flox it in place. Although this C8 bracket could be considered extra, I still want it to be as mounted as securely as possible.
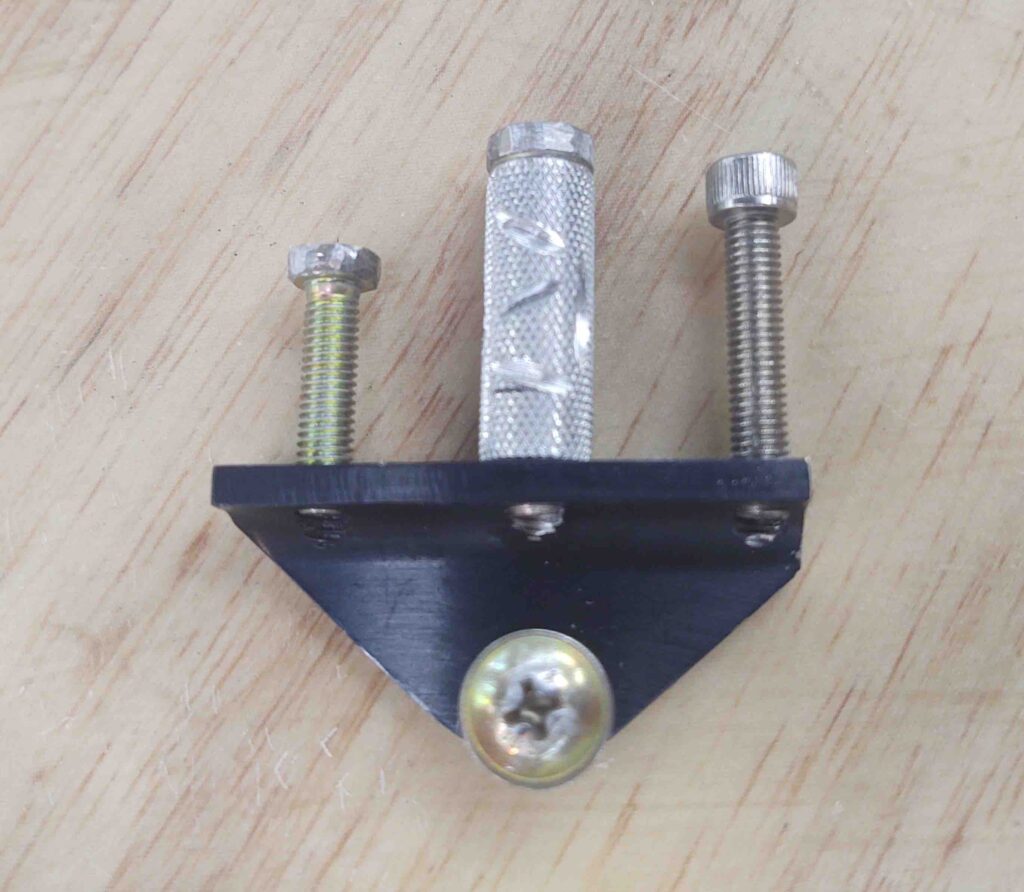
I decided to add a middle hardpoint to the C8 since I’d be relying solely on the power of flox to hold this sucker in place. I drilled and tapped a 10-32 hole, then used an AN3 bolt to mount a Cozy Girrrl baggage pod insert to the new center flox hardpoint. On the aft side I used a stainless steel hex head cap screw, a bit longer since there was a good bit of canopy hardpoint meat to drill into there. On the front side I used a shorter bolt because it was closer to the front edge of the canopy hardpoint.
I then rounded the heads of the bolts to keep the bracket insert holes as narrow in diameter as possible.
I then took a deep breath and proceeded to drill the 3 holes into the bottom of the canopy frame into the #2 latch hardpoint.

I’ll point out that besides the adding the extra/middle hardpoint for the baggage pod insert, I also had to trim the aft side of the C8 bracket to avoid hitting the rollover assembly mounting rail… how’s that for planning?!
Improvise, adapt and overcome . . .
I whipped up some flox, tending towards the wet side, and then floxed the #2 C8 assembly to the bottom side of the canopy. I held it in place with Gorilla duct tape, specifically focusing on pulling the tape more taunt on the bottom side to pull the C8 inboard with whatever scant amount of play (not much) was there.
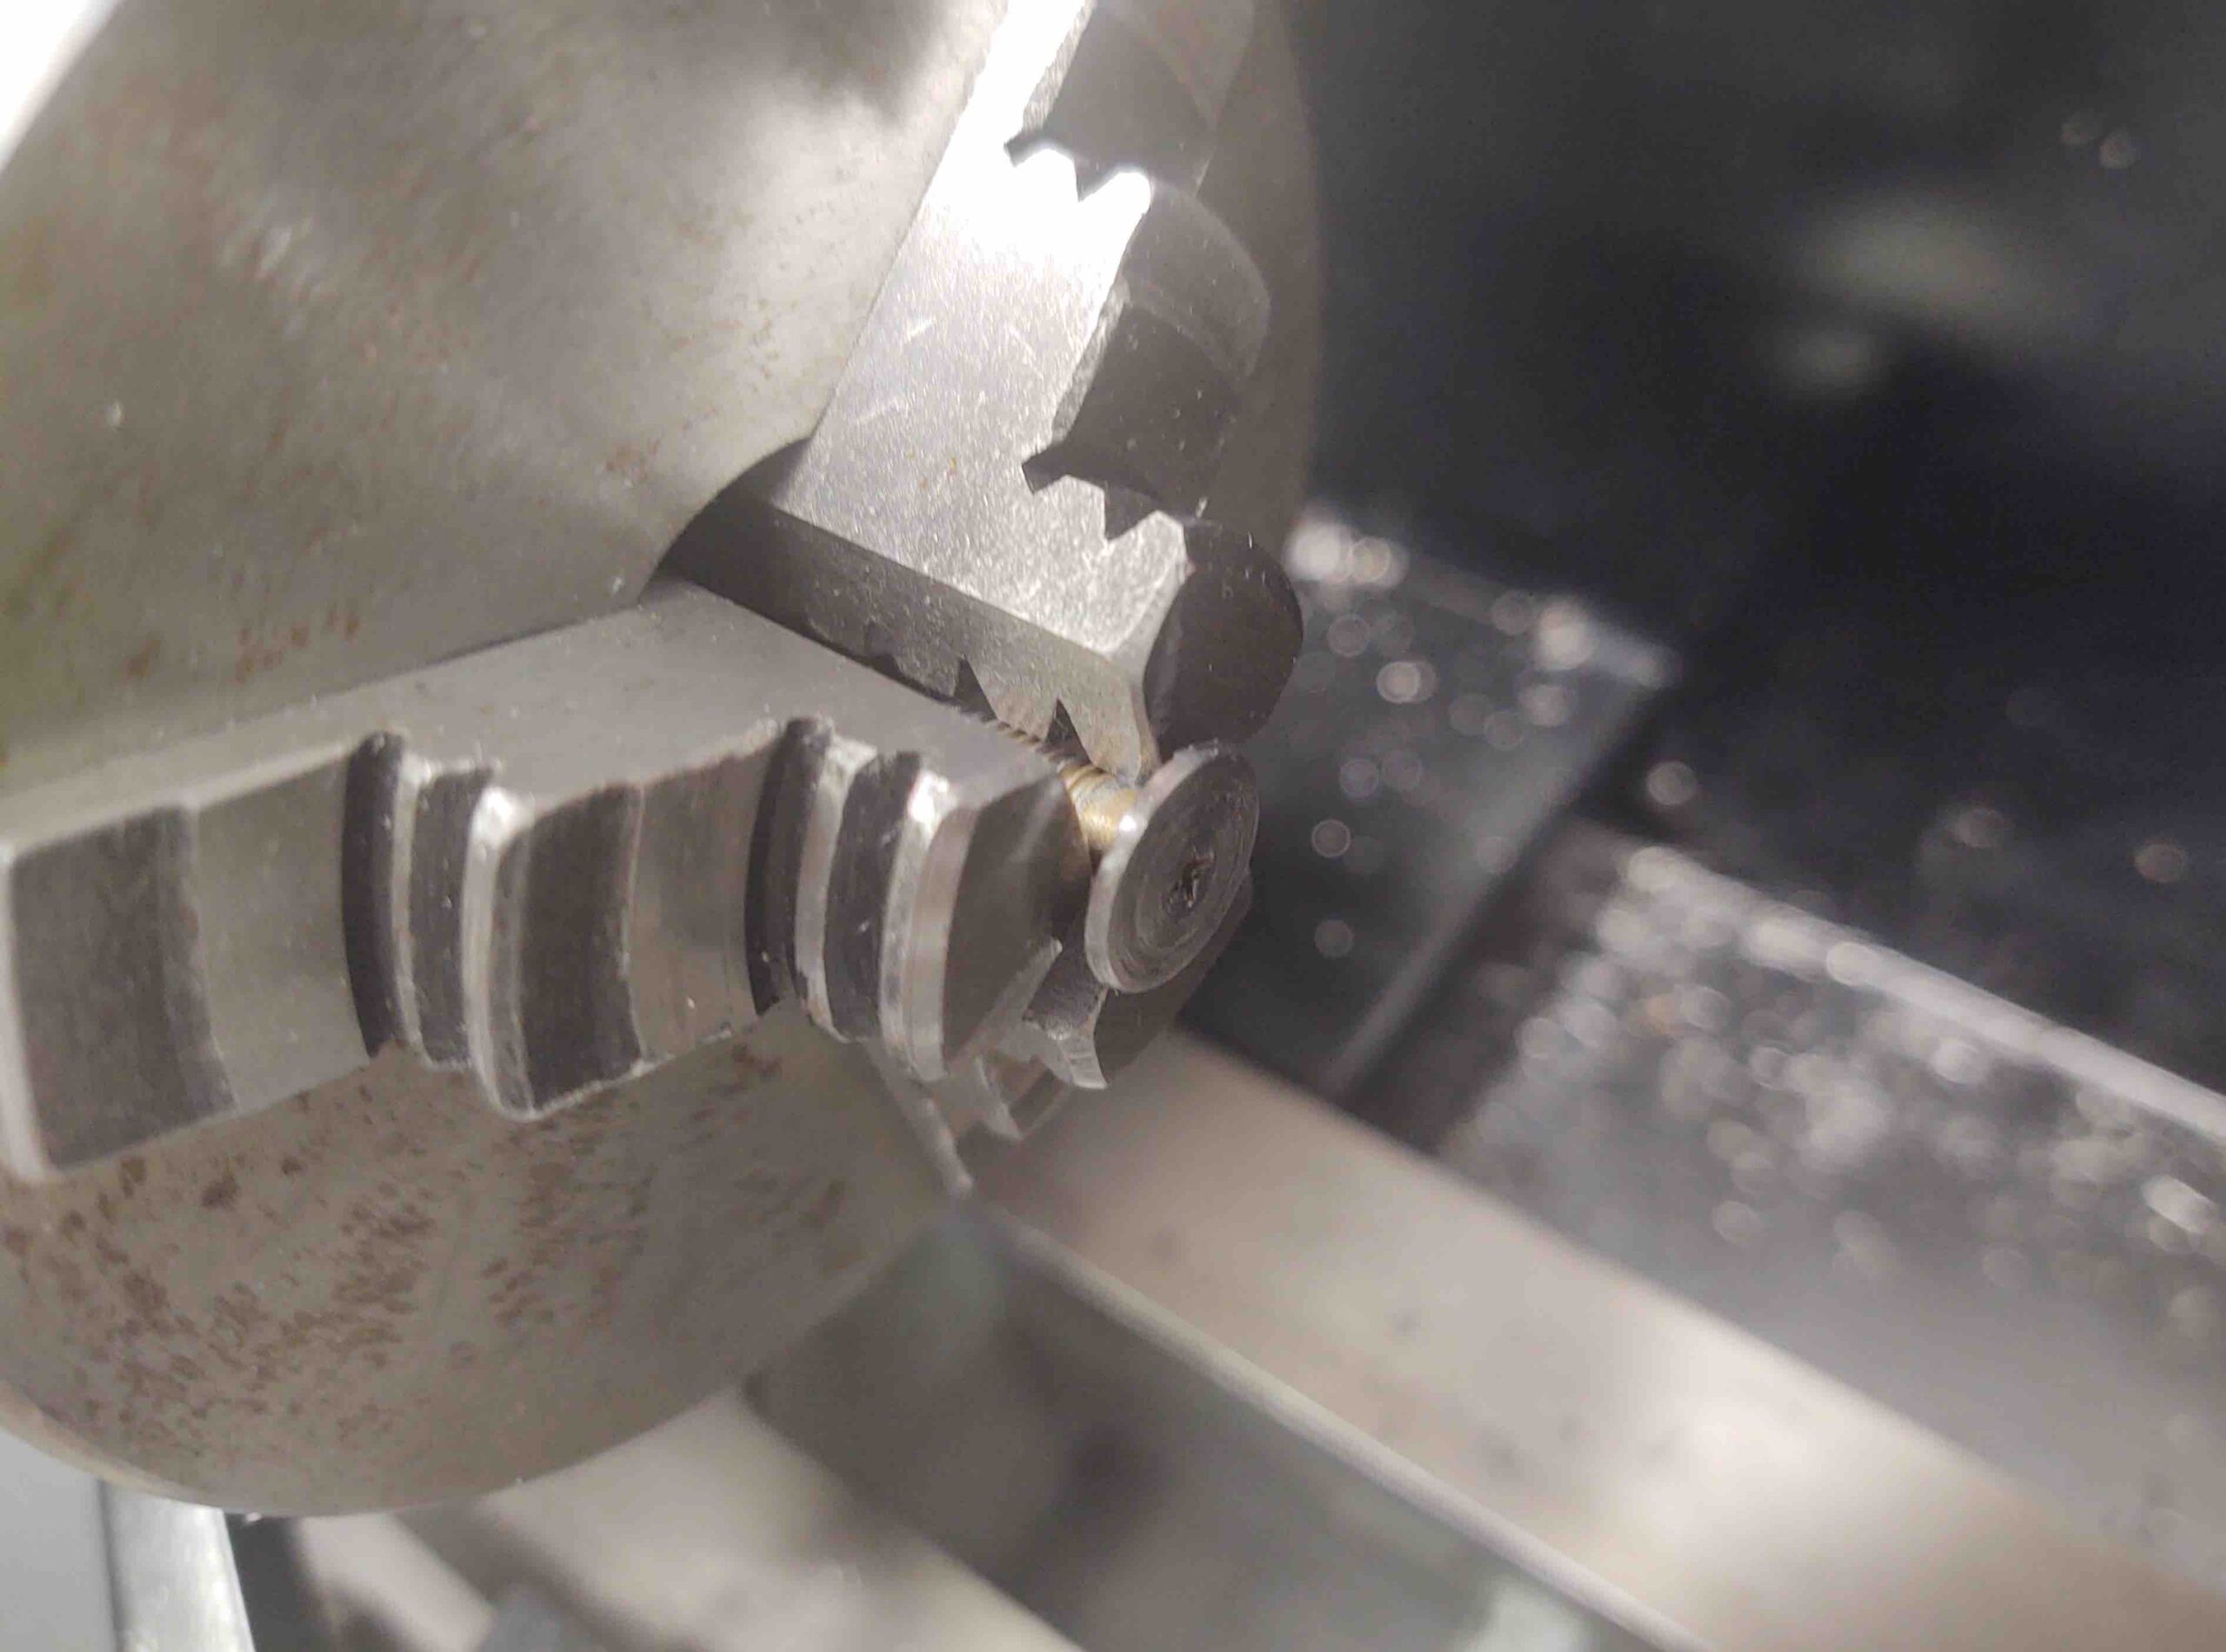
Well, although I had checked countless times in my C8 vs latch hook alignment, Murphy reared his ugly head and after the C8 was installed —super strong as I wanted it!— I just could not get the C8-mounted button head screw AND the latch hook to fit between the inboard frame of the C8 bracket and the longeron. Something seemed to have changed in the spacing/alignment in the mounting process.
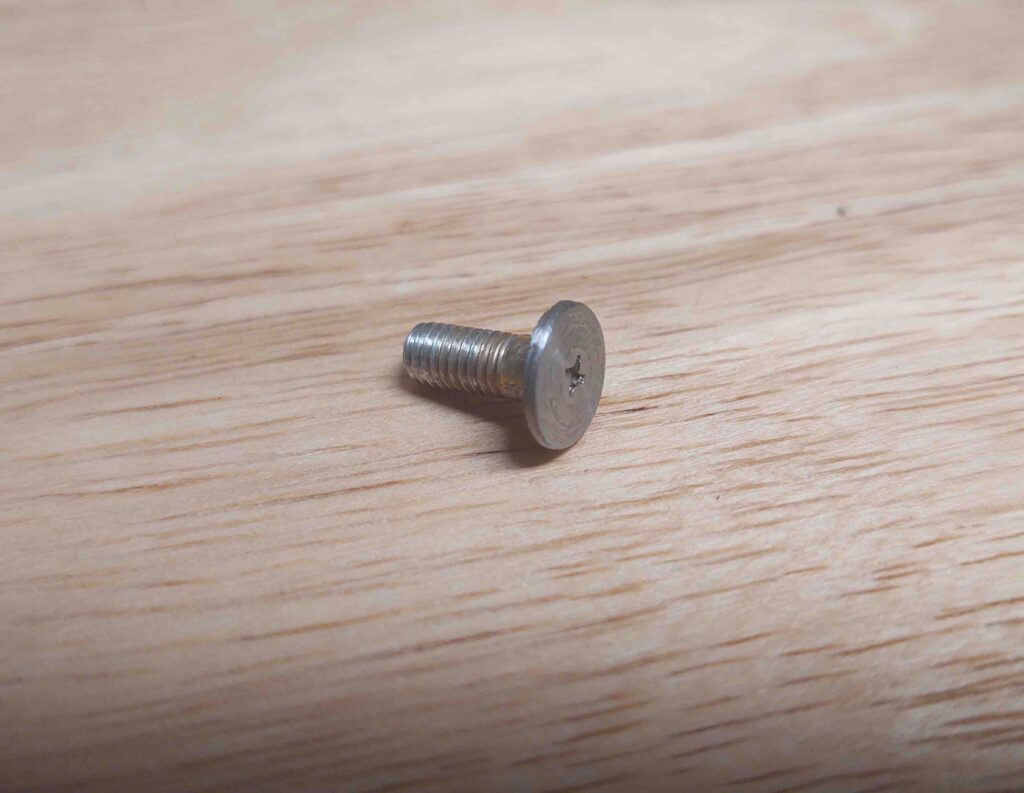
Something had to give. Either I try the heat flox and remove C8 floxed inserts method, or try thinking outside the box. I seriously did not want to apply a bunch of heat to the bottom of the canopy frame… so I decided to trim down the thickness of the button head screw head.
So I chucked up the screw in the lathe.

And narrowed the diameter of the head while also greatly reducing its height.
The new (and improved?) C8 canopy bracket hook latch bolt.
I did also do a fair little bit of sanding on the longeron and was able to dial in the barest minimum of clearance to get the canopy closed without the C8 nub scraping the longeron, while also getting the hook to seat on the screw shank freely.

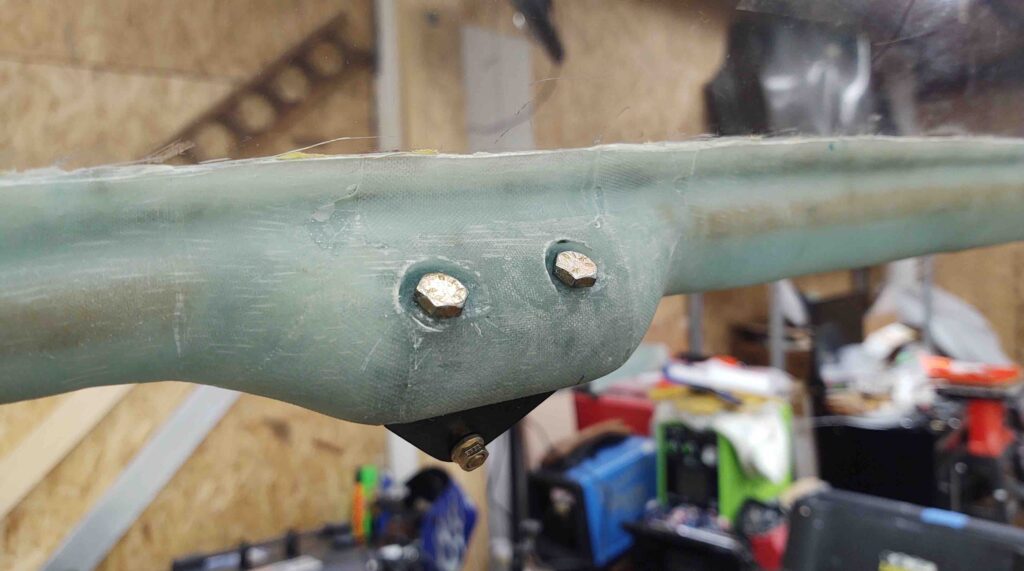
I then turned my sights to the very aft canopy latch hardpoint: #4. I had this C8 bracket installed, but did need wider diameter notches on the top to allow for using AN3 bolts vs the narrower head NAS bolts I had installed originally.
I climbed inside the GIB seat with my trusty Dremel tool and went to work.

And not too much later had the #4 (all the way aft) C8 latch bracket floxed and bolted to the canopy.
I also knocked out the final mounting of C8 bracket #1.
A couple of years ago when I worked on the canopy at the hangar, I didn’t have any of the correct length of screws on hand since my canopy clearly doesn’t match a stock one.
Well, although I had ordered a plethora of button head screws, I ended up using a button head screw + NAS bolt pair for a couple of reasons: the NAS bolt’s length, with a thin washer, was the perfect length (vs button heads) on the aft hole for not having any thread poking out the bottom side of the C8 bracket.
But just as important: button head screws suck for not stripping out when you really torque them… (I really don’t like them). So what I did was torque down the button head screw all the way, with the NAS bolt threads barely engaged in the threaded C8 hole. Once the button head was good to go, I then used a nut-driving “screw”driver to cinch up the NAS screw nice and tight.
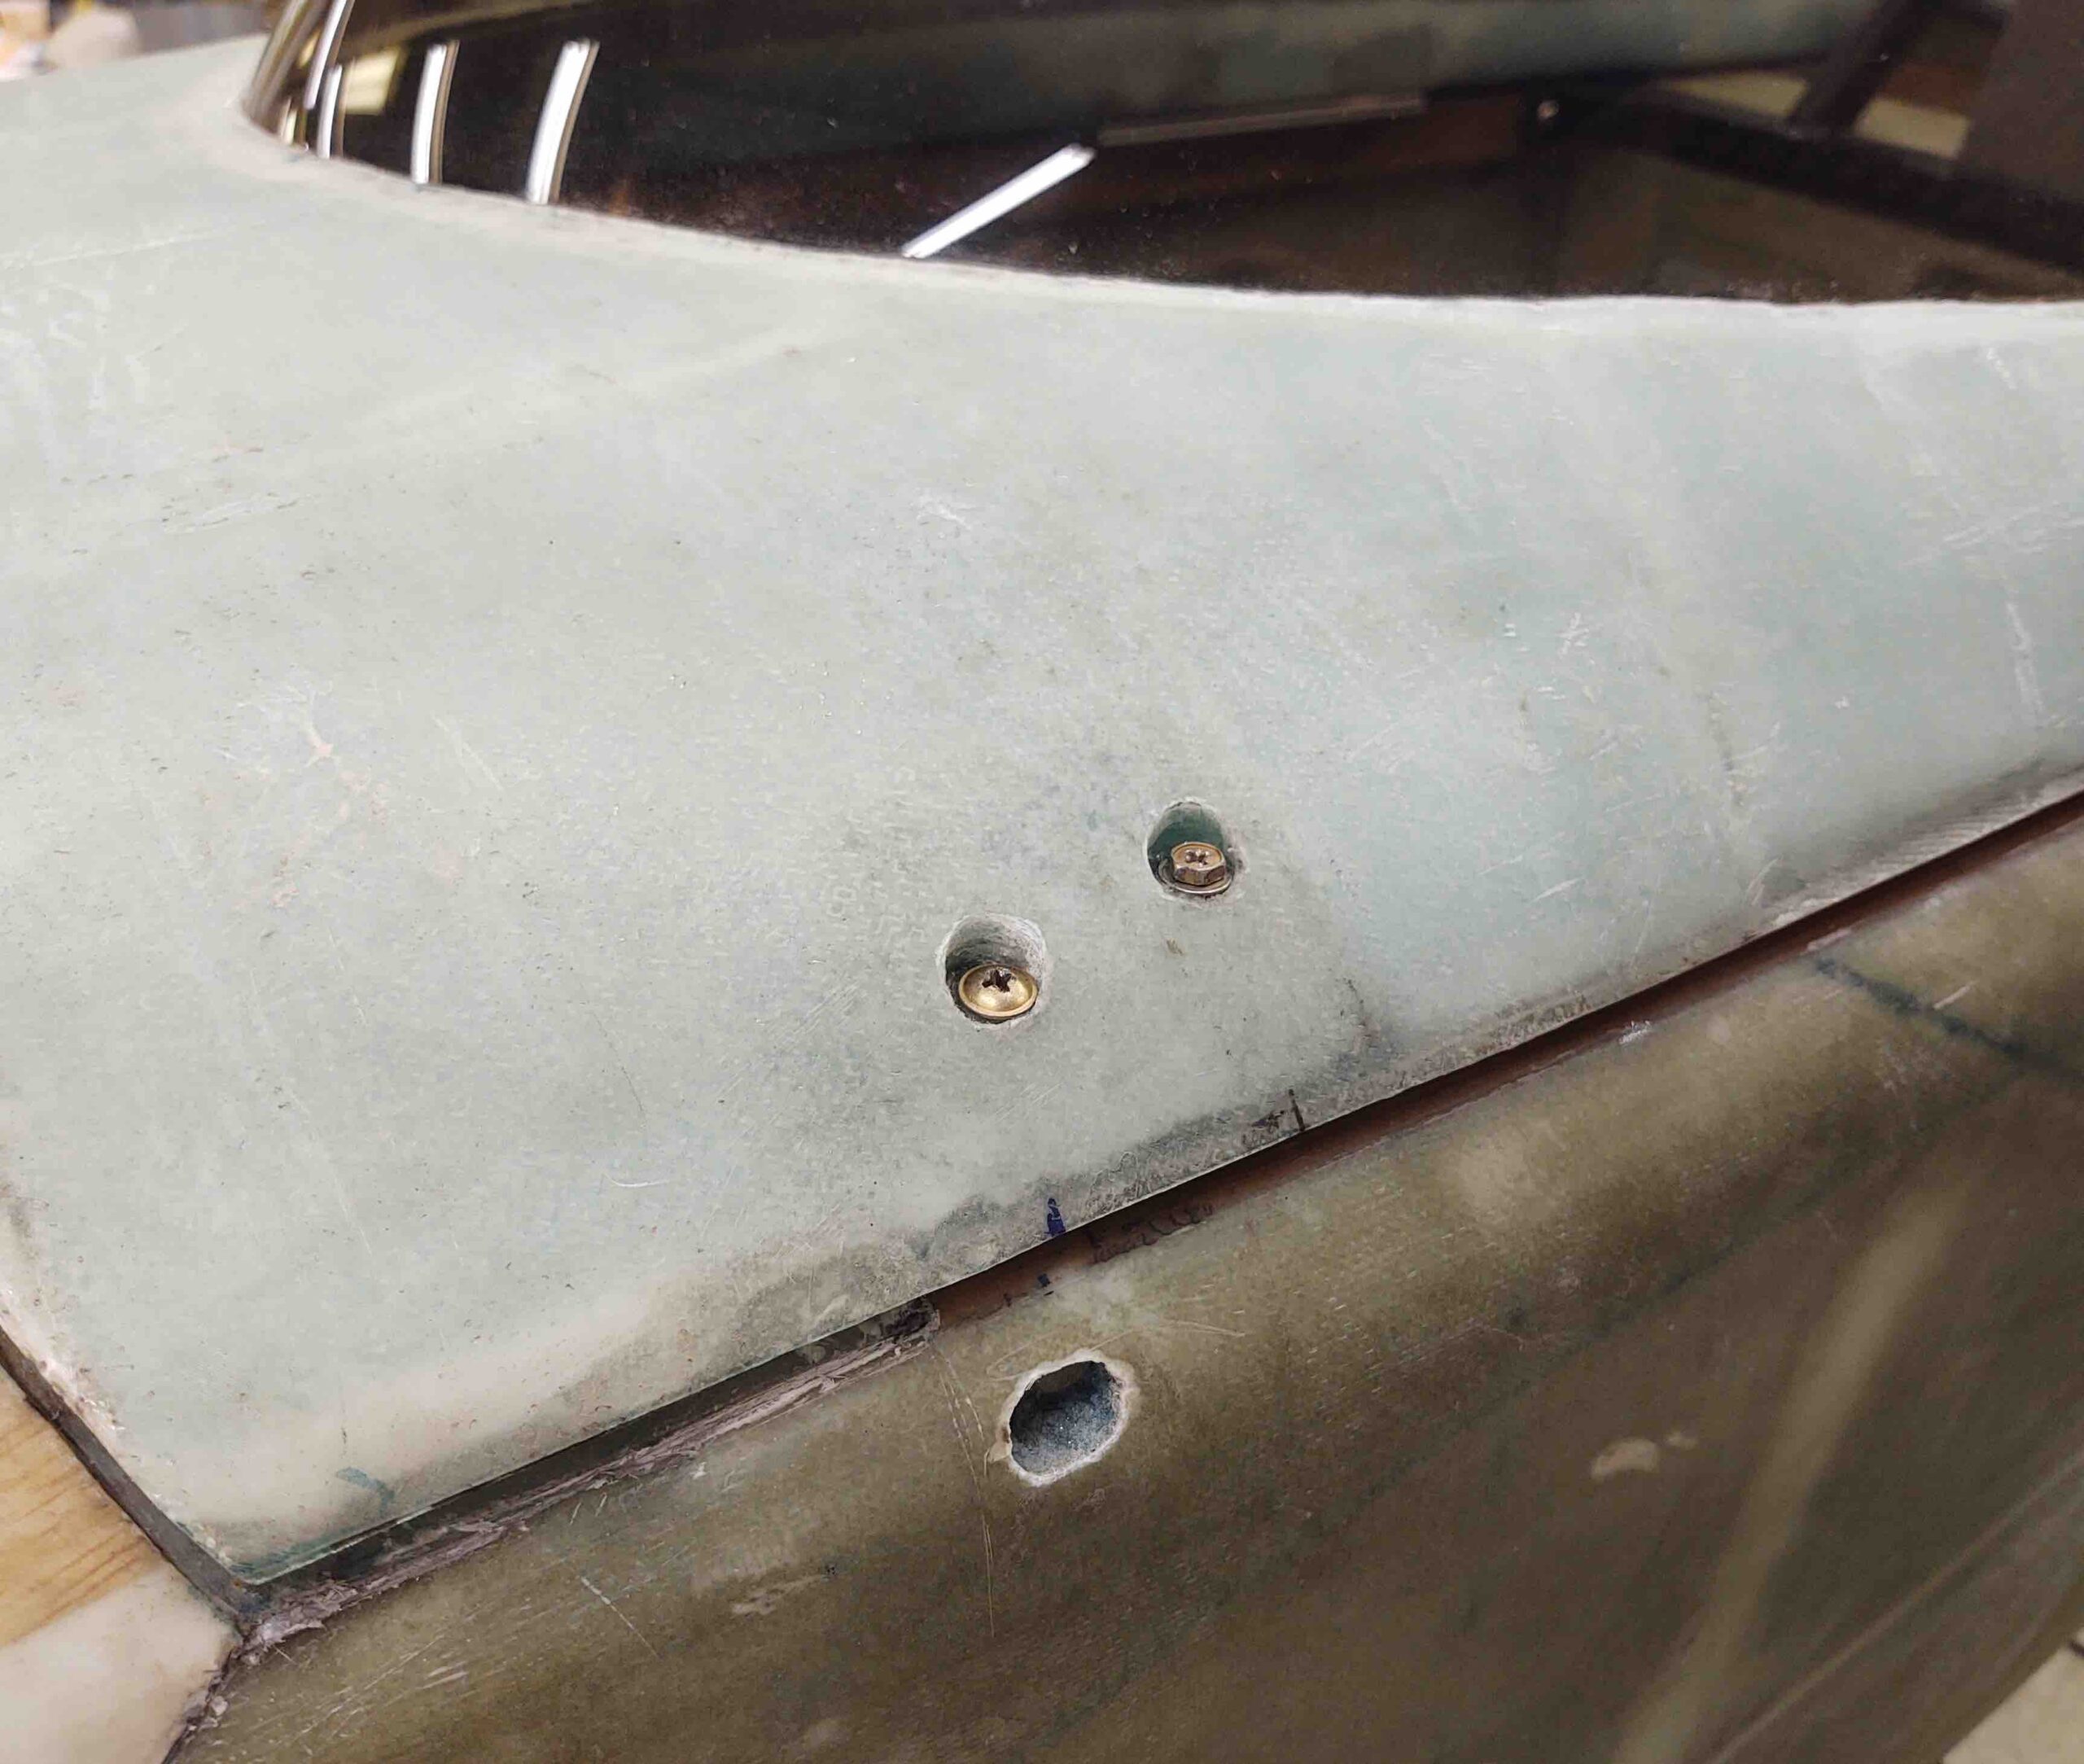
Here we have 3 of the 4 C8 brackets installed on the canopy (#1, #2, and #4). As a reminder, I unfortunately broke a drill bit off deep into one of the holes on C8 bracket #3’s mounting hardpoint. It will take some effort and cunning to get that hole cleared to get a bolt mounted in there, so I decided to get the “easier” C8 brackets installed first.

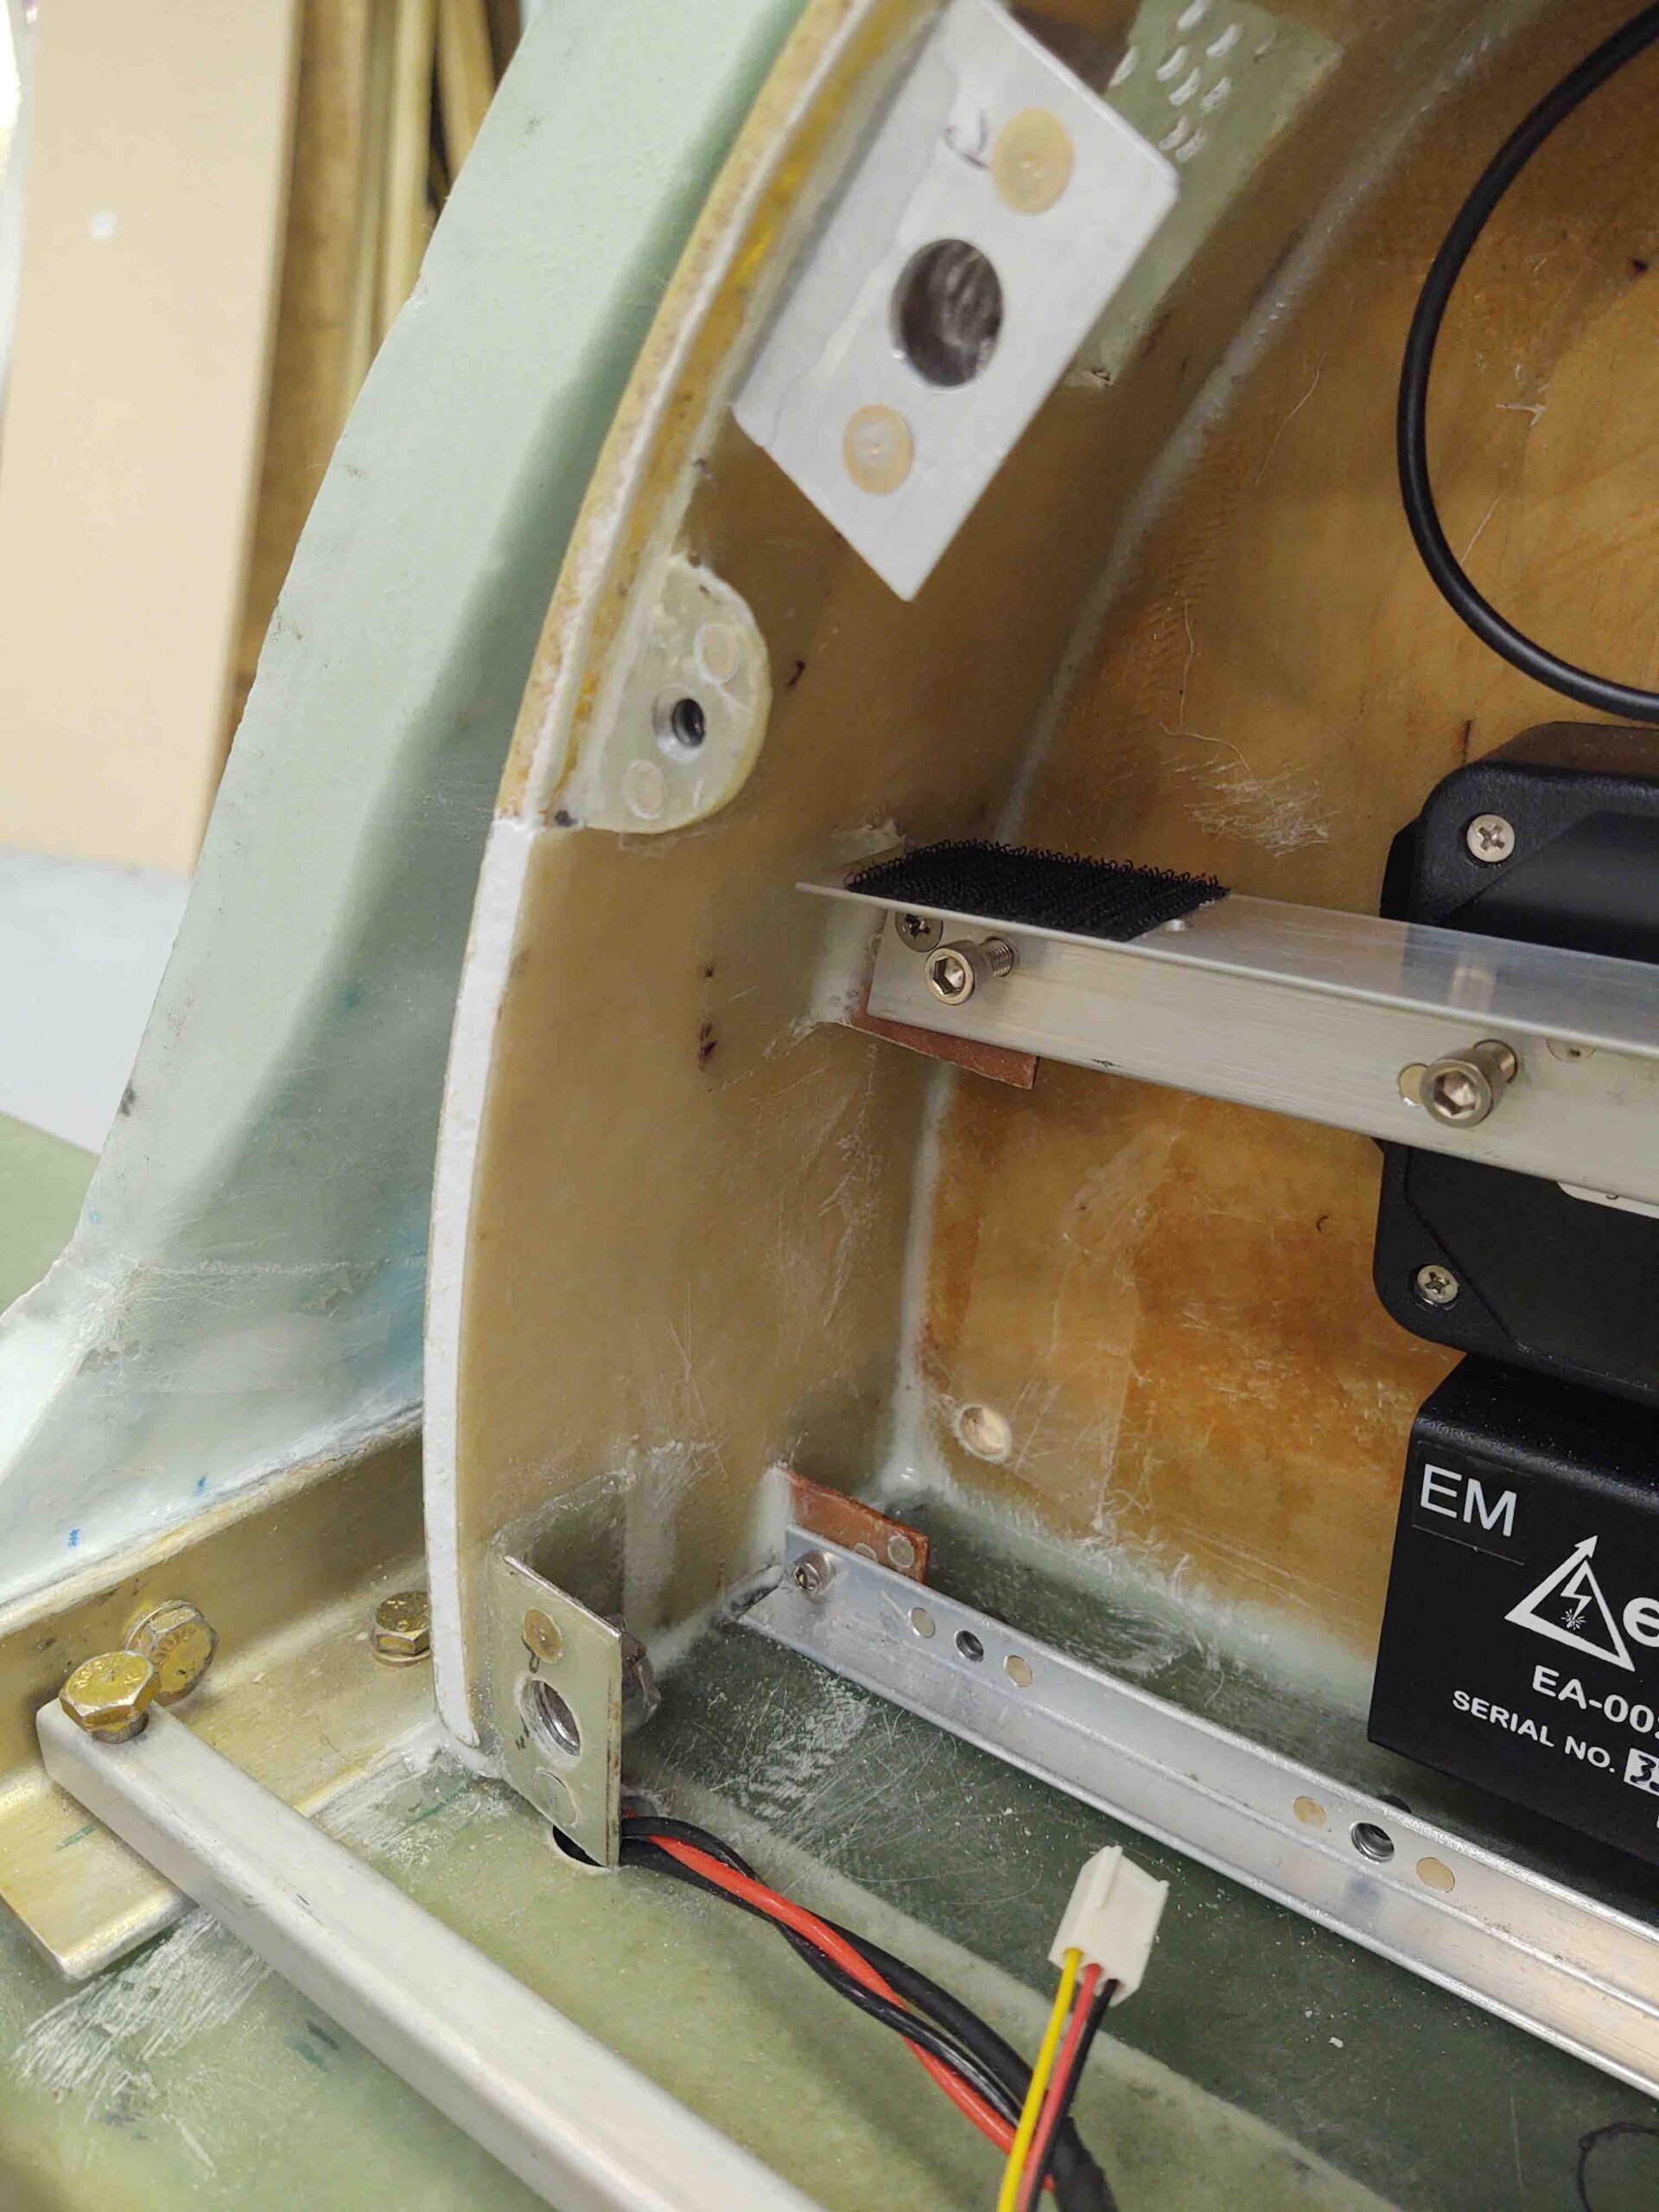
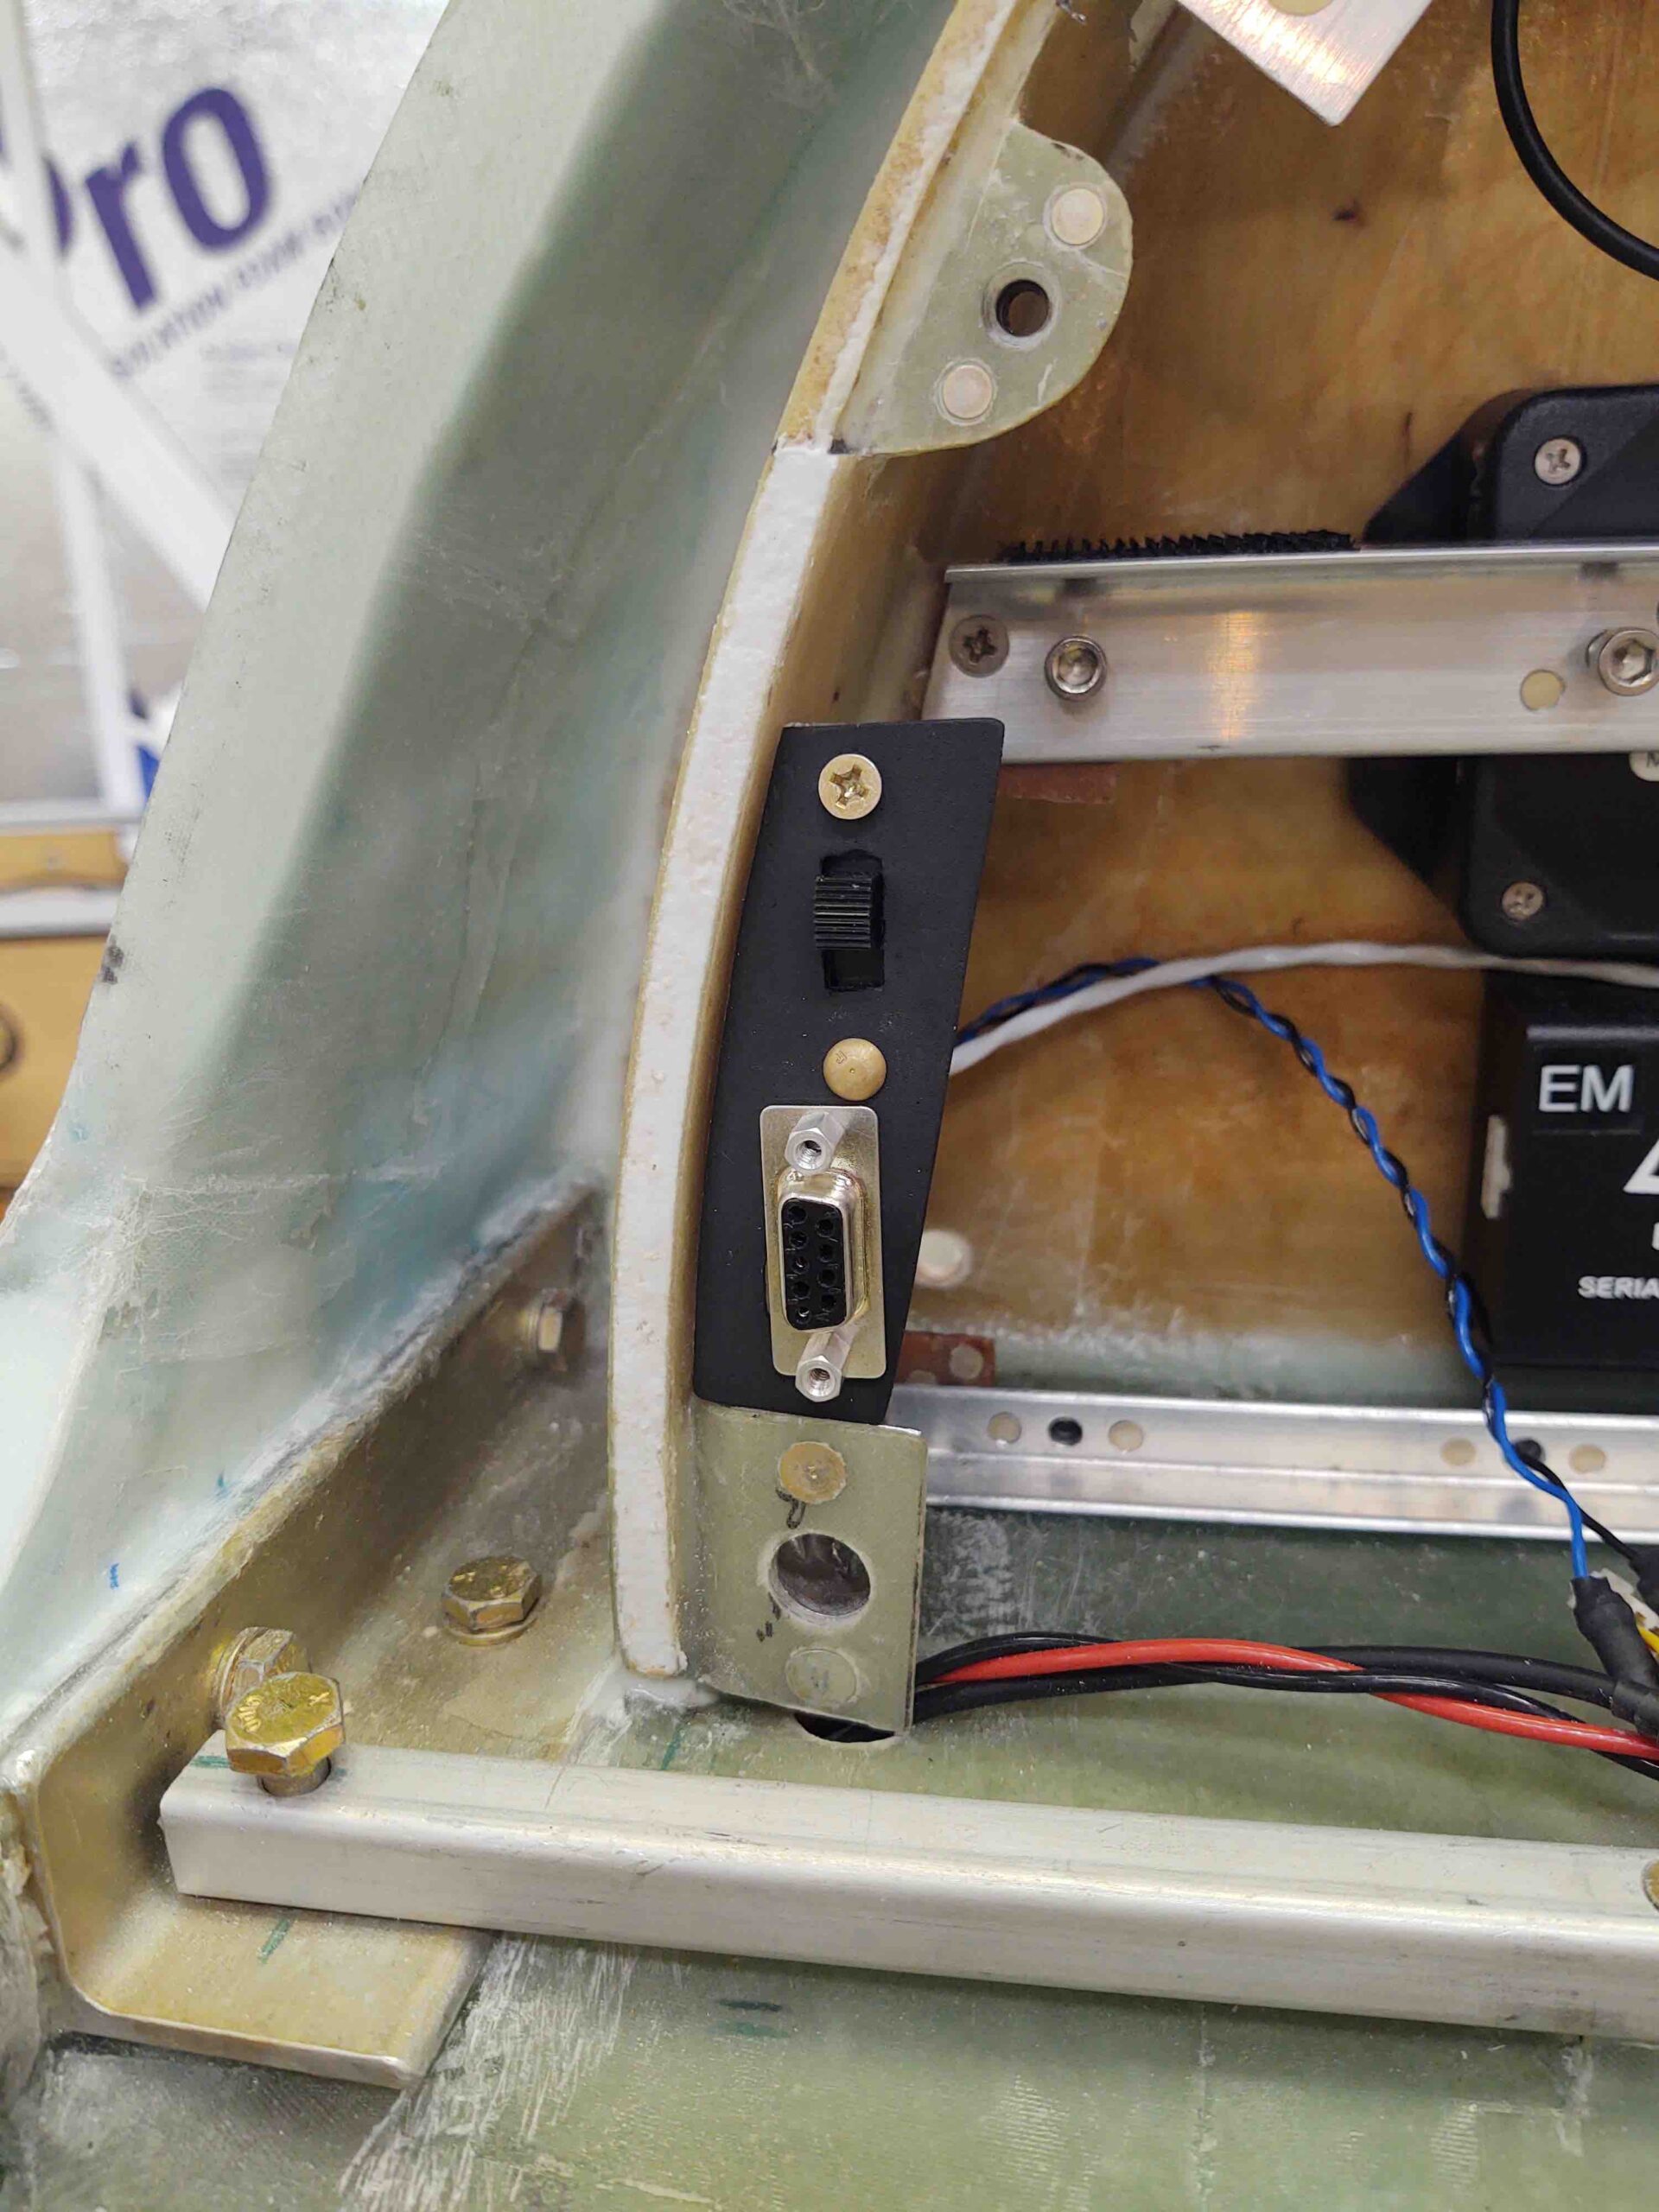
I then got to work on the D-Deck mounted P-Mag switch and D-sub connector bracket. I drilled out the screw and center body mounting holes for each (yes, once again I went a little wide on the D-Sub center hole… seems to be one my things currently!). Once the components were in place I then trimmed the top, bottom and inboard edge of the bracket.
Here it is mocked up in place.
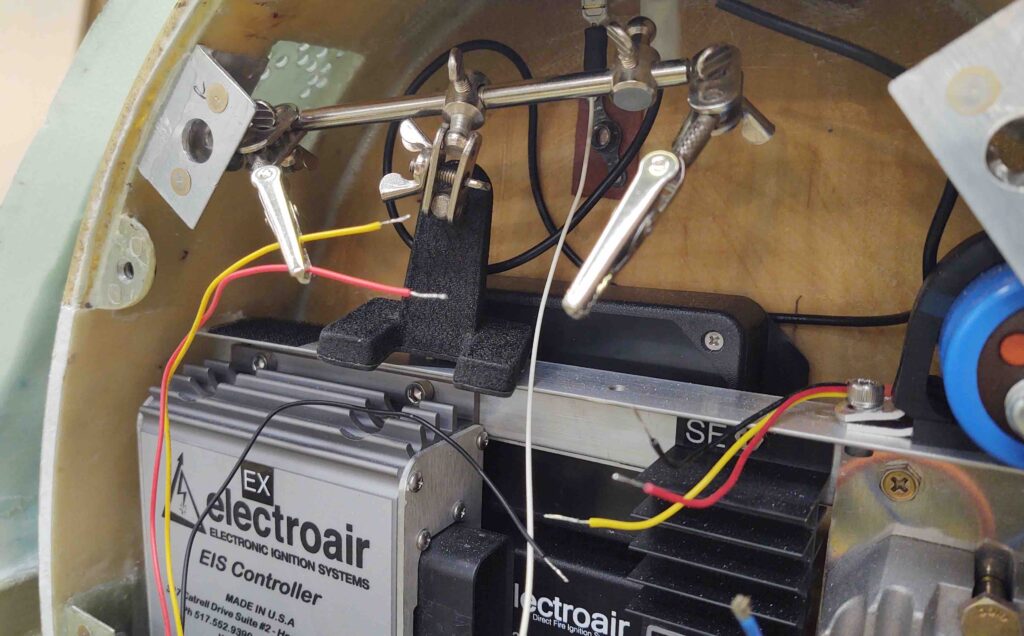
I then disassembled the P-Mag switch/D-Sub mounting bracket and painted it while I got to work splicing in the D-Deck cooling fan control/power wires (3 each: red, yellow, black). Again, in lieu of taking the fan out, I simply did my soldering in place.
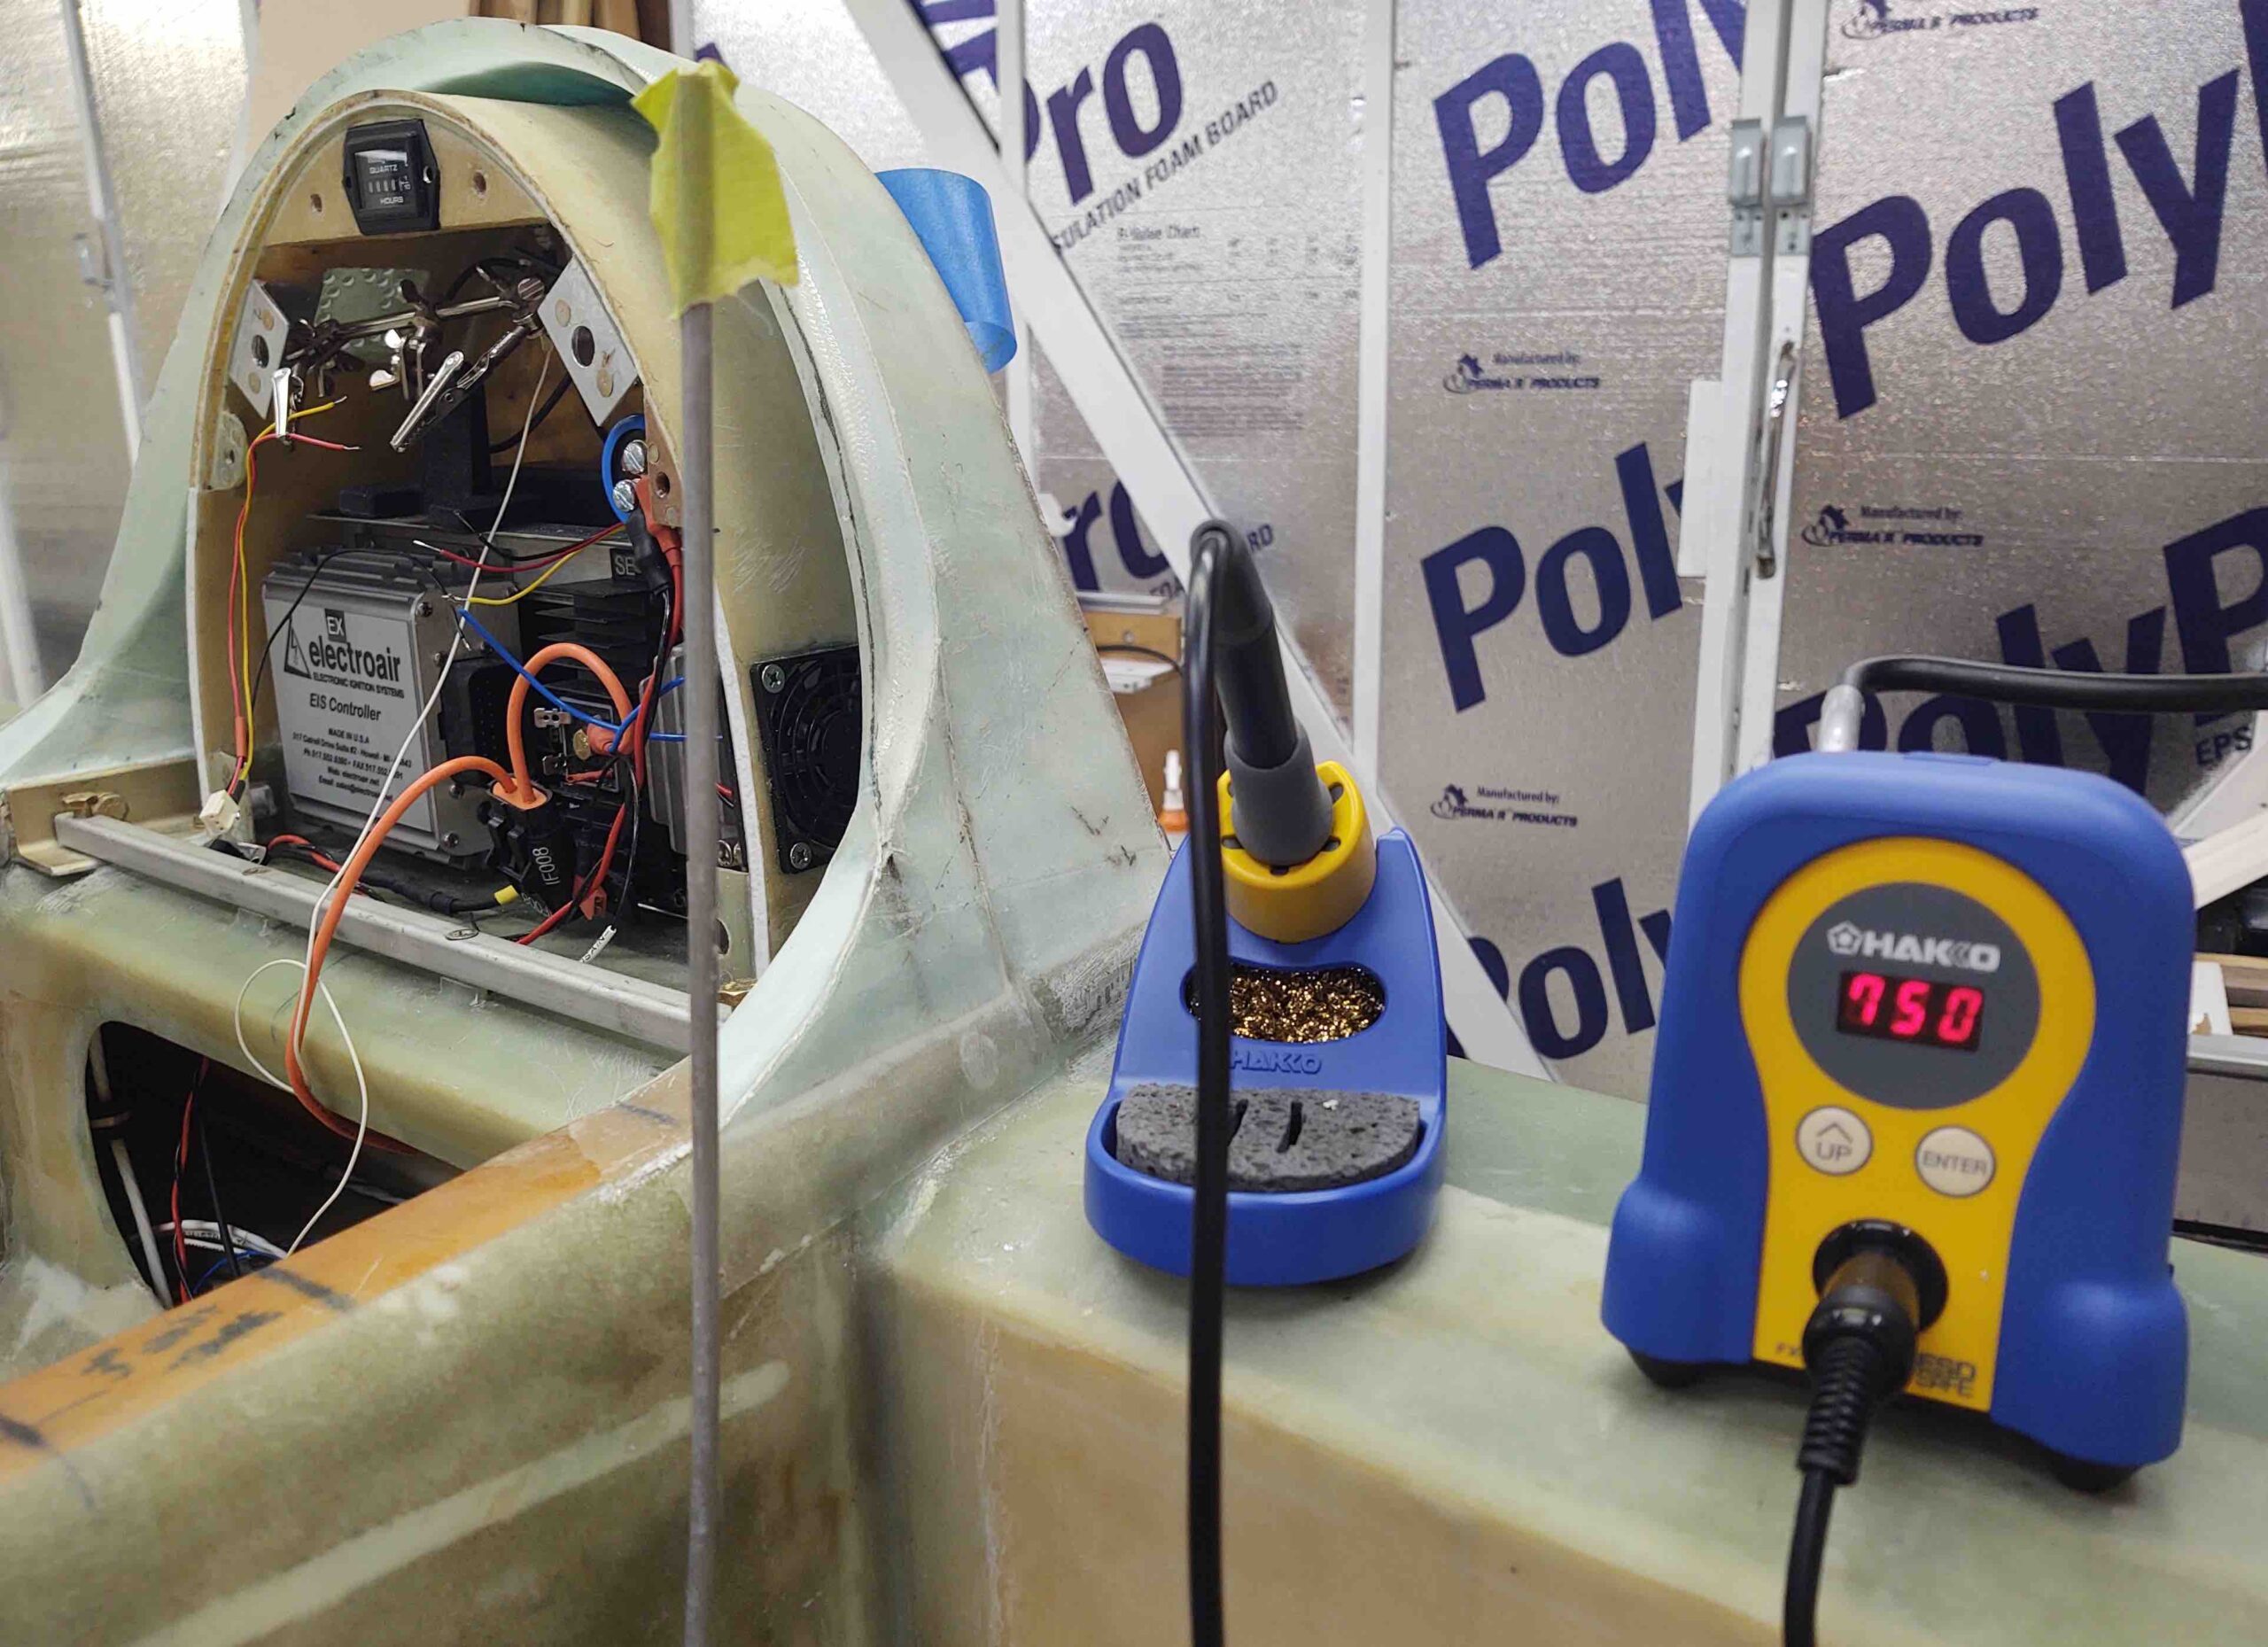
My cheap $14 soldering iron finally died, so I decided to get a nice soldering unit. Same as my buddy Marco has. He actually informed me that 850 is a better temp for soldering and he found it works much better, but I’ve been too lazy to get into the manual to change it yet.
I then solder-spliced the D-deck cooling fan wires. I then put heat shrink over the splices.
And one big heat shrink to help secure all the wires together.
I decided instead of floxing the P-Mag switch/D-Sub bracket onto the interior D-Deck wall, that I will simply use silicone RTV. That way if I ever need to remove it for any reason, it will come off in easier fashion.
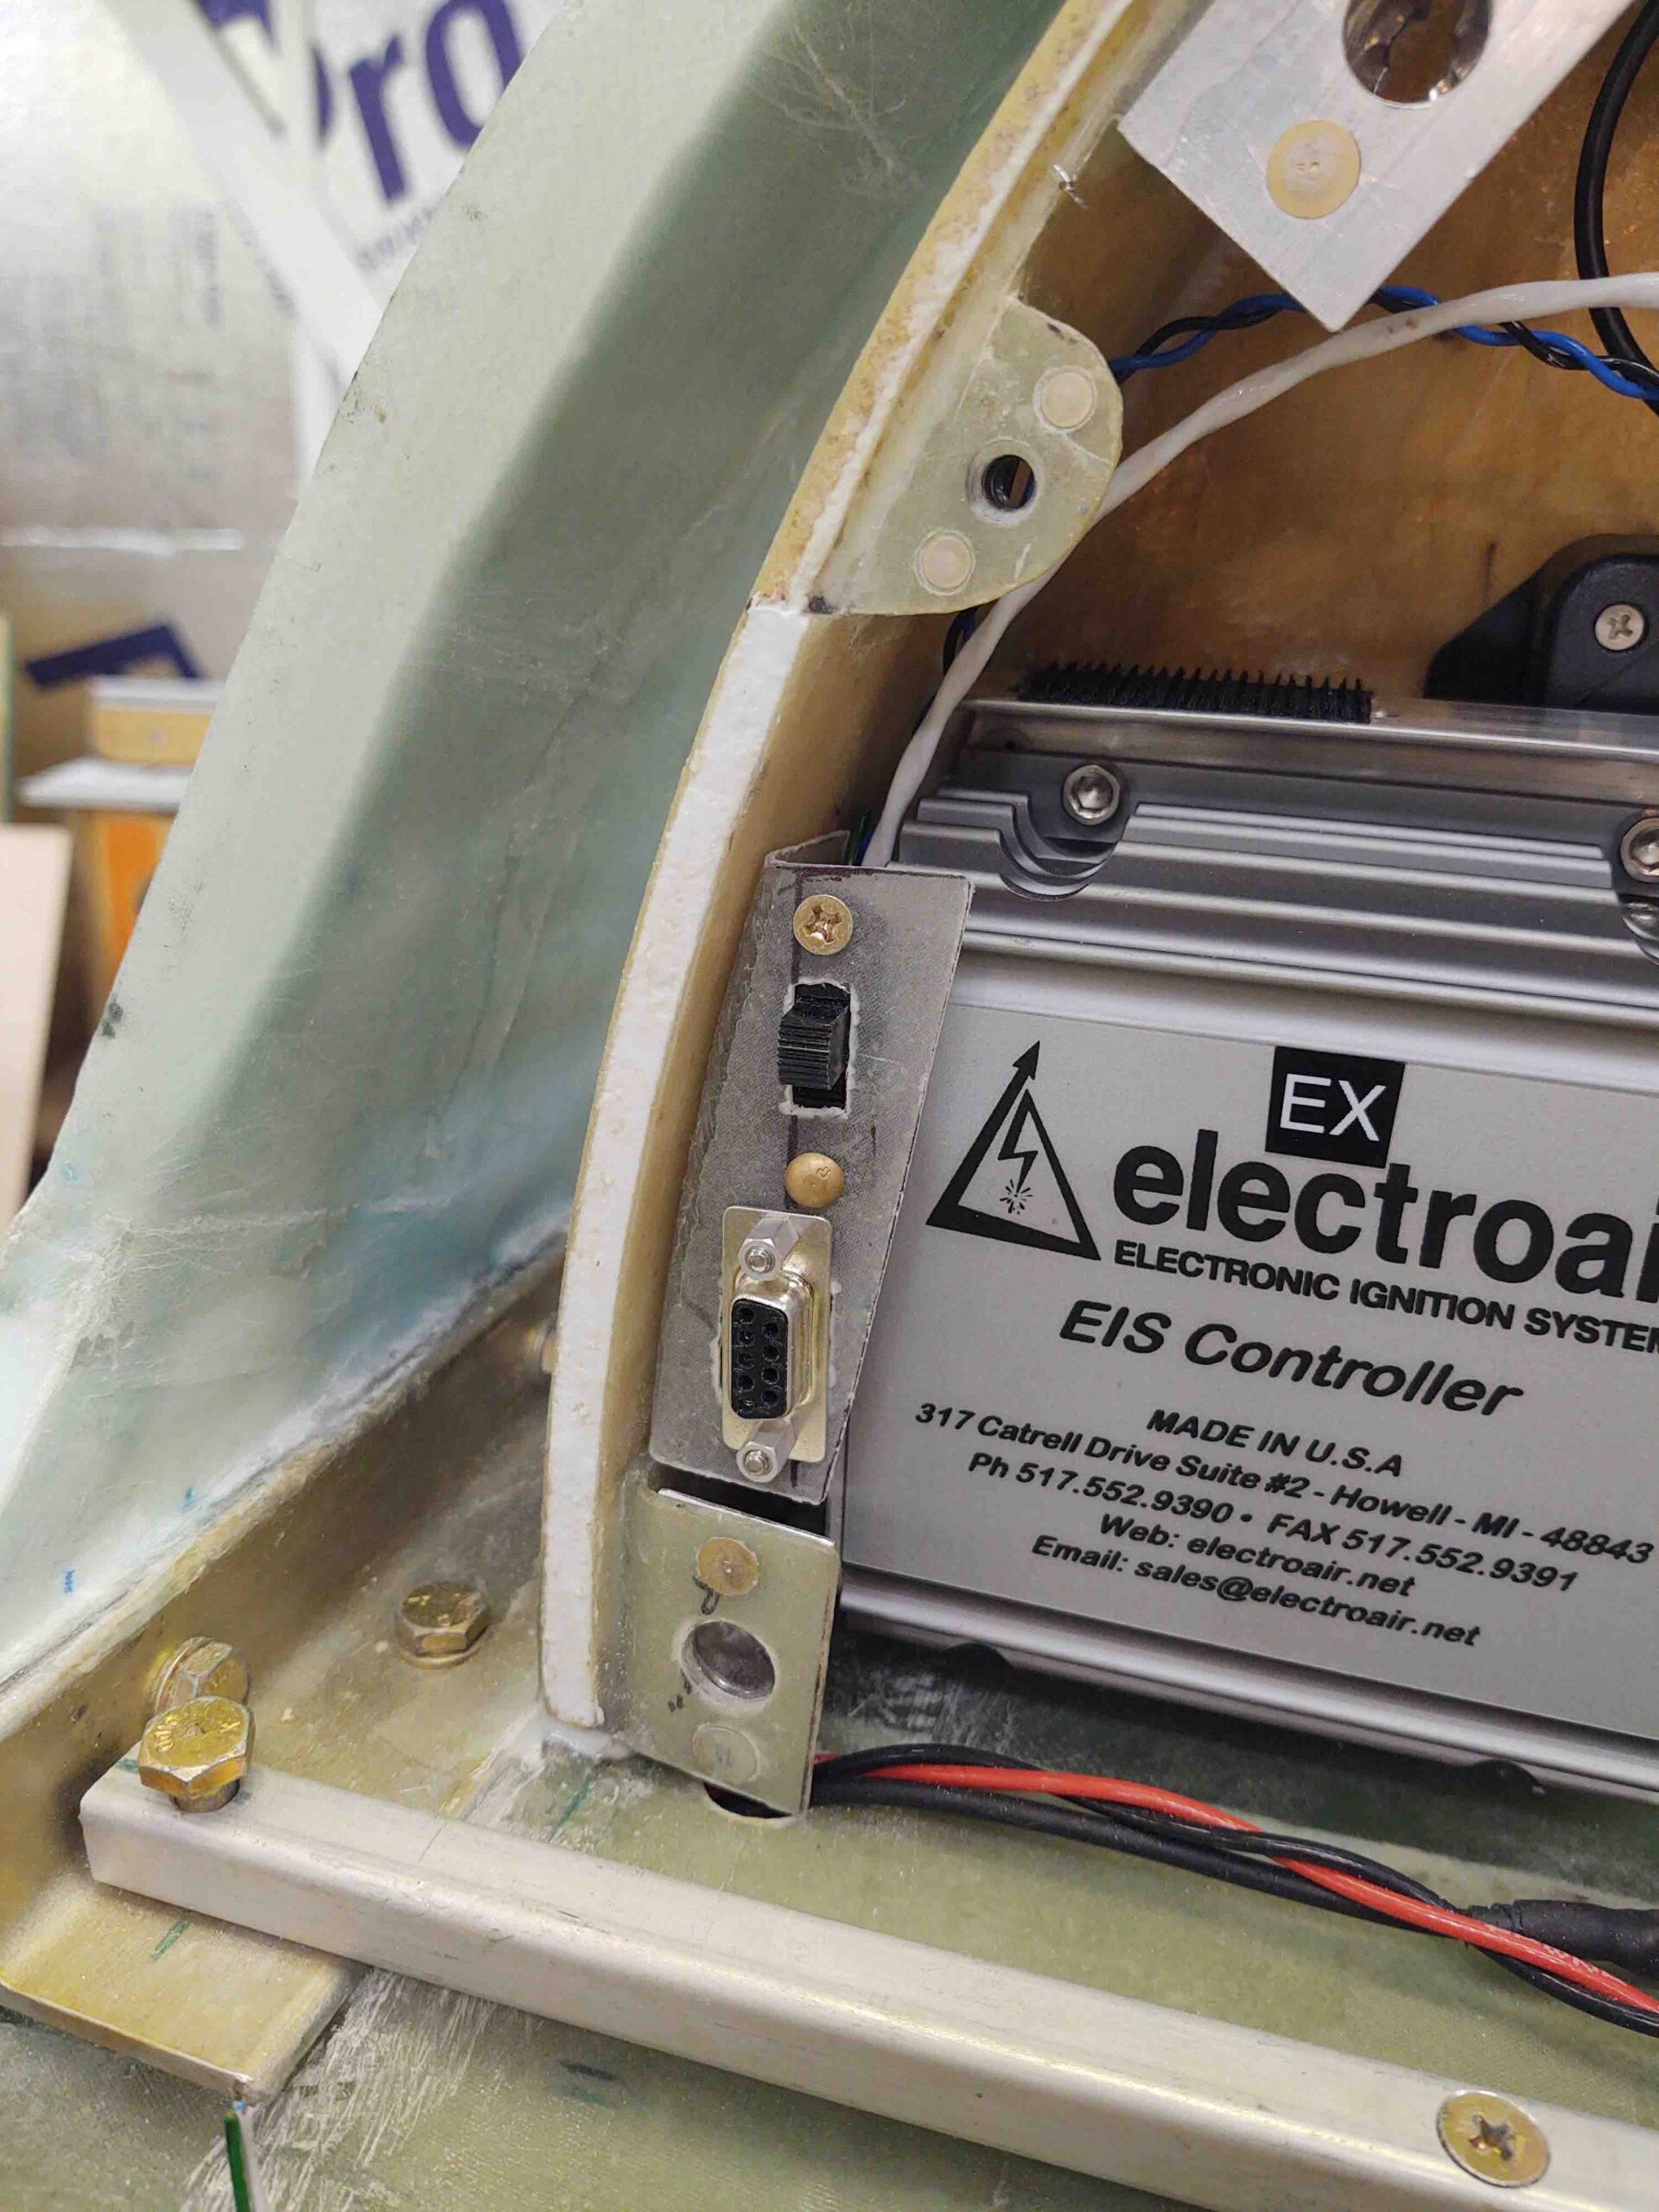
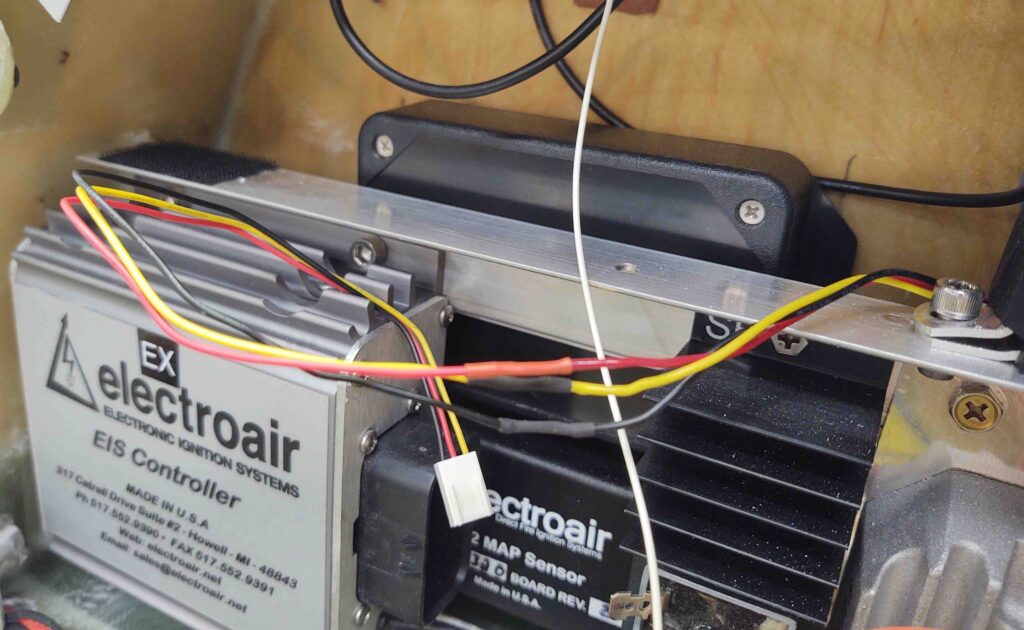
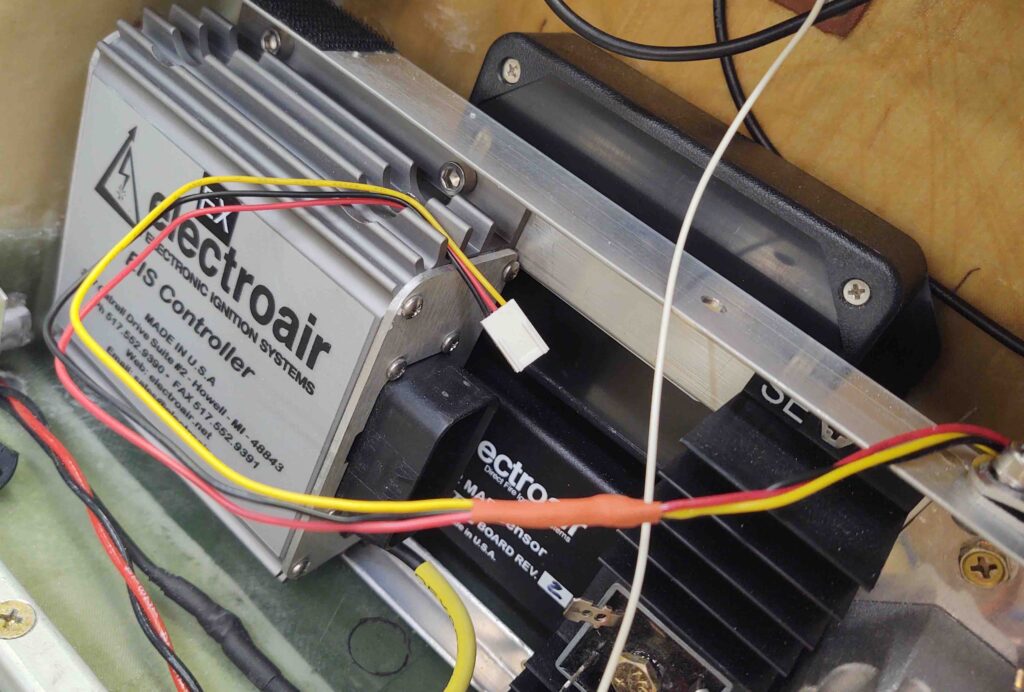
To prep for mounting the bracket, I removed the Electroair EIS control unit.
And then mocked up the painted bracket with the switch and D-Sub installed again. This is NOT RTV’d to the inside D-Deck wall yet…. since it was late and I still need to find my silicone RTV!
I’ll keep working some of these smaller install items as I also work on the big stuff… like the canopy. So the near term goal is to finish the canopy first before I then move onto the nose… since the canopy overlaps the aft nose/avionics cover.
Then I’ll most likely be working on the nose as I also prep and start on the strake install.