Yep, I’m calling the canopy done.
The latch handle still needs to be dialed in and the SC-1 needs to be permanently mounted (I’ve ID’d bolts in an order I’m compiling with ACS), but besides those the only thing that needs to be done is to finish & paint the outside of the canopy. I’m calling that Chapter 25 since the rest of the exterior will need to be finished as well.
I set out to make my first task of the day to clear coat the interior canopy frame that I painted last night. Well, I lightly sanded the area where the EXPERIMENTAL label was getting attached to… to knock down some of the bumps of this granite paint, and literally went one stroke too far and cut though the top coat of paint and bared a couple bigger spots of the light gray primer beneath.
I was none too happy, but this granite paint takes at least a good 2-3 hours minimum to dry, especially before clear coating. So I touched it up with a very light blast from the can and let it sit. I then worked on the instrument panel for almost 4 hours (see end of post).
Late in the afternoon I finally got the canopy out in front of the shop. Thankfully the weather held and there was no rain.
The first coat of clear was a light one, as per the instructions. The 2nd and 3rd coats were medium. I then hit it with a 4th coat in the “high traffic” areas, and let it sit for a couple of hours to cure.
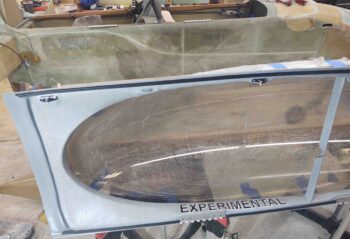
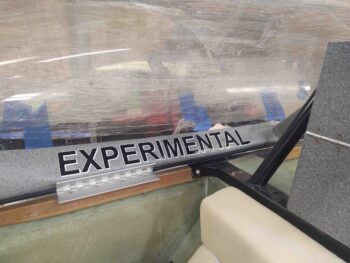
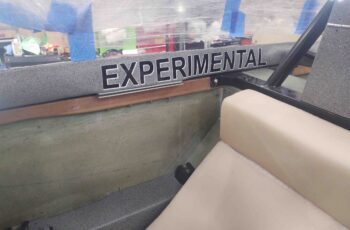
Back in the shop a few hours later I removed the protective tape and cleaned up the canopy edge glass (there was some glue gunk in spots from the tape). I also added the EXPERIMENTAL label on the hinge side of the canopy frame.
Yes, black and white is the color scheme for labels on this canopy…
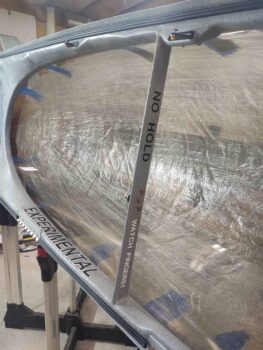
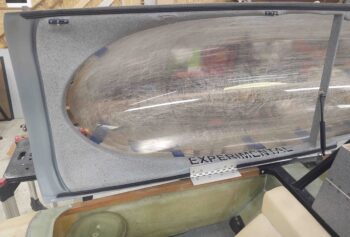
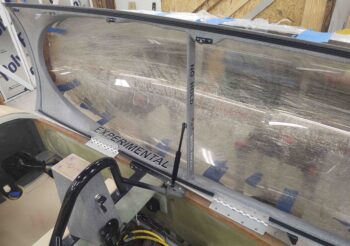
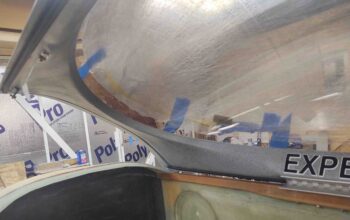
I then installed the canopy back onto the fuselage. The following is simply a smattering of pics I shot, trying to get a good bunch of angles.
A closer shot . . .
With the interior sides of my canopy near-vertical when closed, it makes the EXPERIMENTAL label near-horizontal when opened. Luckily the plane is often in the grazing position with the canopy open which will make it make it much more visible.
A shot somewhat from the back seat.
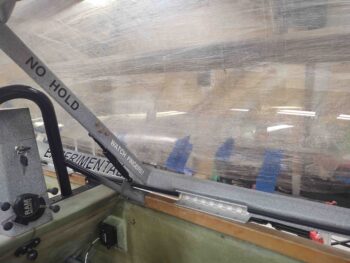 And a shot of the front canopy skirt.
From inside:
From outside (through canopy):
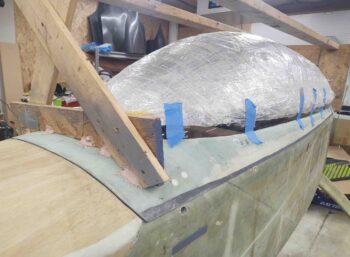
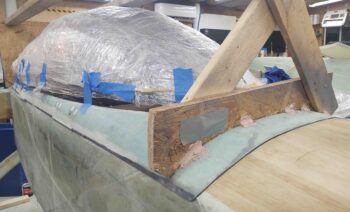
With new B-seals all around on the canopy, I grabbed some shots of the outside –each side– to show the intersection alignment between the canopy edges and both the fuselage (side) and the aft nose/avionics cover (front).
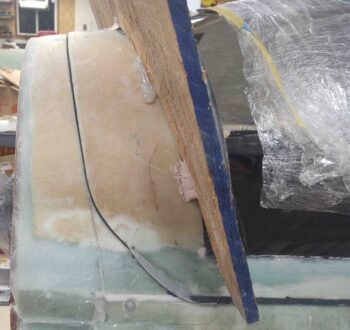
And a shot of the back canopy alignment with the Turtledeck. Note the added glass flange in the lower aft “corner”… I’ll probably tweak that a bit more before final exterior paint.
 As I said earlier, while waiting for my small patches of gray stone paint to dry I figured I might as well get some work done on the panel. Actually my fallback tasks were supposed to be on the nose, but I just felt like knocking some stuff out to get the panel as far along as possible today.
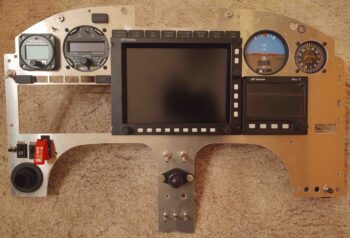
I re-drilled the lower left hole on the center strut for the small toggle switch, leaving only the 2 dimmer switch posts left on the strut to be checked and most likely re-drilled as well. I then drilled out the holes in the upper right area for the 2 LEDs that make up the JBWilco gear & canopy panel indicators, and also the hole for the dimmer switch that controls the row of ON/OFF notification lights above the HXr EFIS.
Speaking of the row of ON/OFF indicator (“Korey”) lights, I finished dialing those in to allow mounting the entire row above the HXr EFIS. I also trimmed the hole for the N-number N916WP Korey light in the upper LH corner, while finally getting the 2 outboard Korey annunciators for the GNS-480 completed as well.
In the lower left corner I set the 2 rocker switches in place just to the left of the red switch-covered fuel pump switch (holes will need welded backfill on edges). These rockers are for the engine intake RAM air valve and the oil cooler louver actuator to control/keep oil temp in the proper range. I also cleaned up the hole for the eyeball air vent which will actually be mounted to the composite sub-panel and just peaking through this aluminum panel overlay. In the same way, the panel-mounted USB ports for each EFIS in the upper right corner (which I verified clearances are good) and the ELT remote control head (mid RHS) will all be mounted to the composite sub-panel vs this aluminum panel overlay, staying with the original any time I remove the aluminum panel.
As I’ve noted a couple times since I’ve been back on the build, working a long extended project has is moments of scrambling to figure out either what past decisions were made, and/or a lot of times why! Well, today I had to put on my Private Investigator’s hat and jump on the case of the missing panel ON/OFF indicator (Korey) lights’ Push-To-Test switch, which has traditionally –on my panel– been right next to the same lights’ dimmer switch.
Hmmm? Where’d it go?
I went back to my couple-versions-old panel CAD drawing and there it was, next to the dimmer switch. My latest panel version? Not there.
Yep, as I started thinking about it I remembered that with the new Warning Annunciator Sub-panel being plopped into the top center of the panel, I had to move some of the components in that immediate area to the side. In short, the panel was getting a bit crowded there. I pulled up the CAD drawing of the latest Warning Annunciation panel, that I was thinking I already had in my hot mitts, and there it was: a mounting hole on the right side for the panel ON/OFF indicator lights Push-to-Test button.
I finished tweaking the drawing since I needed to get the top front of the sub-panel up a bit higher to close the gap it had with the bottom of the glare shield. To do this, I merely added more meat to the bottom flange of the sub-panel and angled the mounting base line (back wall) to tilt the panel up into position by providing a designed wedge under the bottom edge.
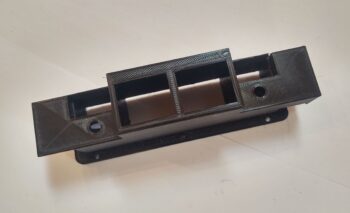
I then 3D printed the new Warning Annunciator Sub-panel, which took about 14 hours (I started this print job actually a couple hours before starting on the interior canopy paint clear coat).
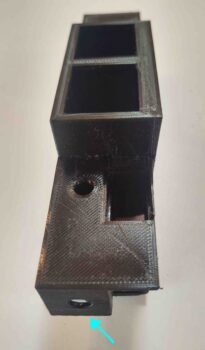
With the mounting back (technically forward side) now angled, but still printing the rest of the component vertically, it created a filled in wedge-shaped support raft immediately under all but the lowest/thickest lip of the back (against panel) wall (3D printed face up as in above pic). Well, this didn’t provide the most secure attachment to the printer heat bed and some lifting on the lower attach corners occurred. Nothing that can’t be dealt with or salvaged, but some judicious sanding will need to occur.
Regardless, here’s the missing Push-to-Test mounting hole! Again, on the right side of the Warning Annunciator Sub-panel.
Unless the lifted-corner base is an insurmountable issue, I plan on this being the final version of the Warning Annunciator sub-panel.


Looking good Bro!
Thanks Brother!