
As in, give it a handle . . . get it?!
A point of note about building a lot is that I then generate a lot of pics…. which then generates bigger blog posts! More building = more blogging. I need to try to minimize the time spent on my posts, so I will attempt to be quite a bit less loquacious in my writing.
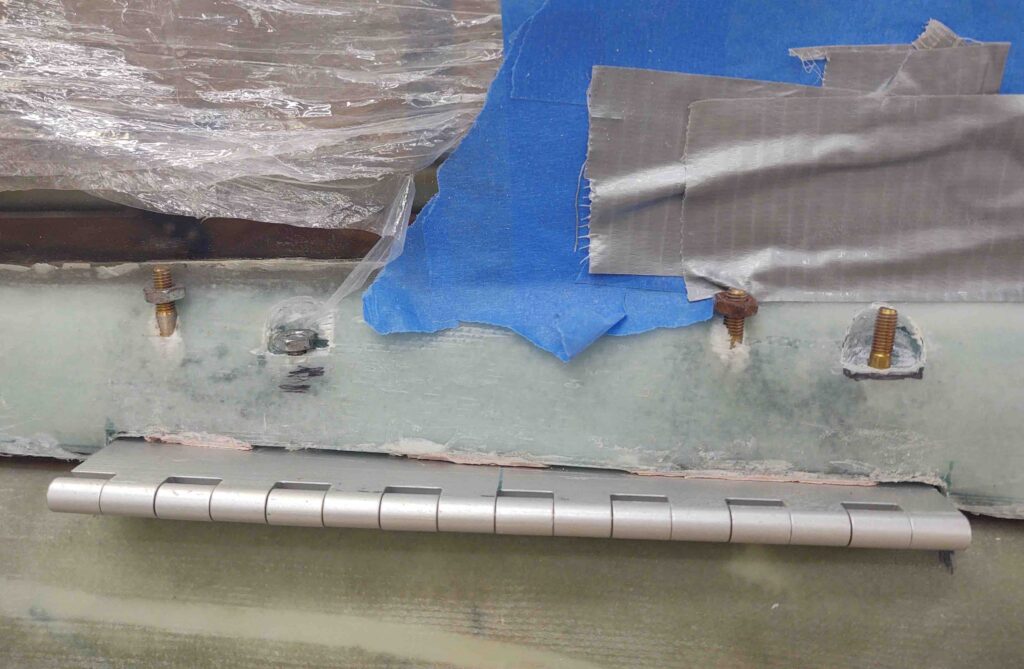
I started off getting a couple more canopy hinge screw counterbores completed, one in the front here (far left).
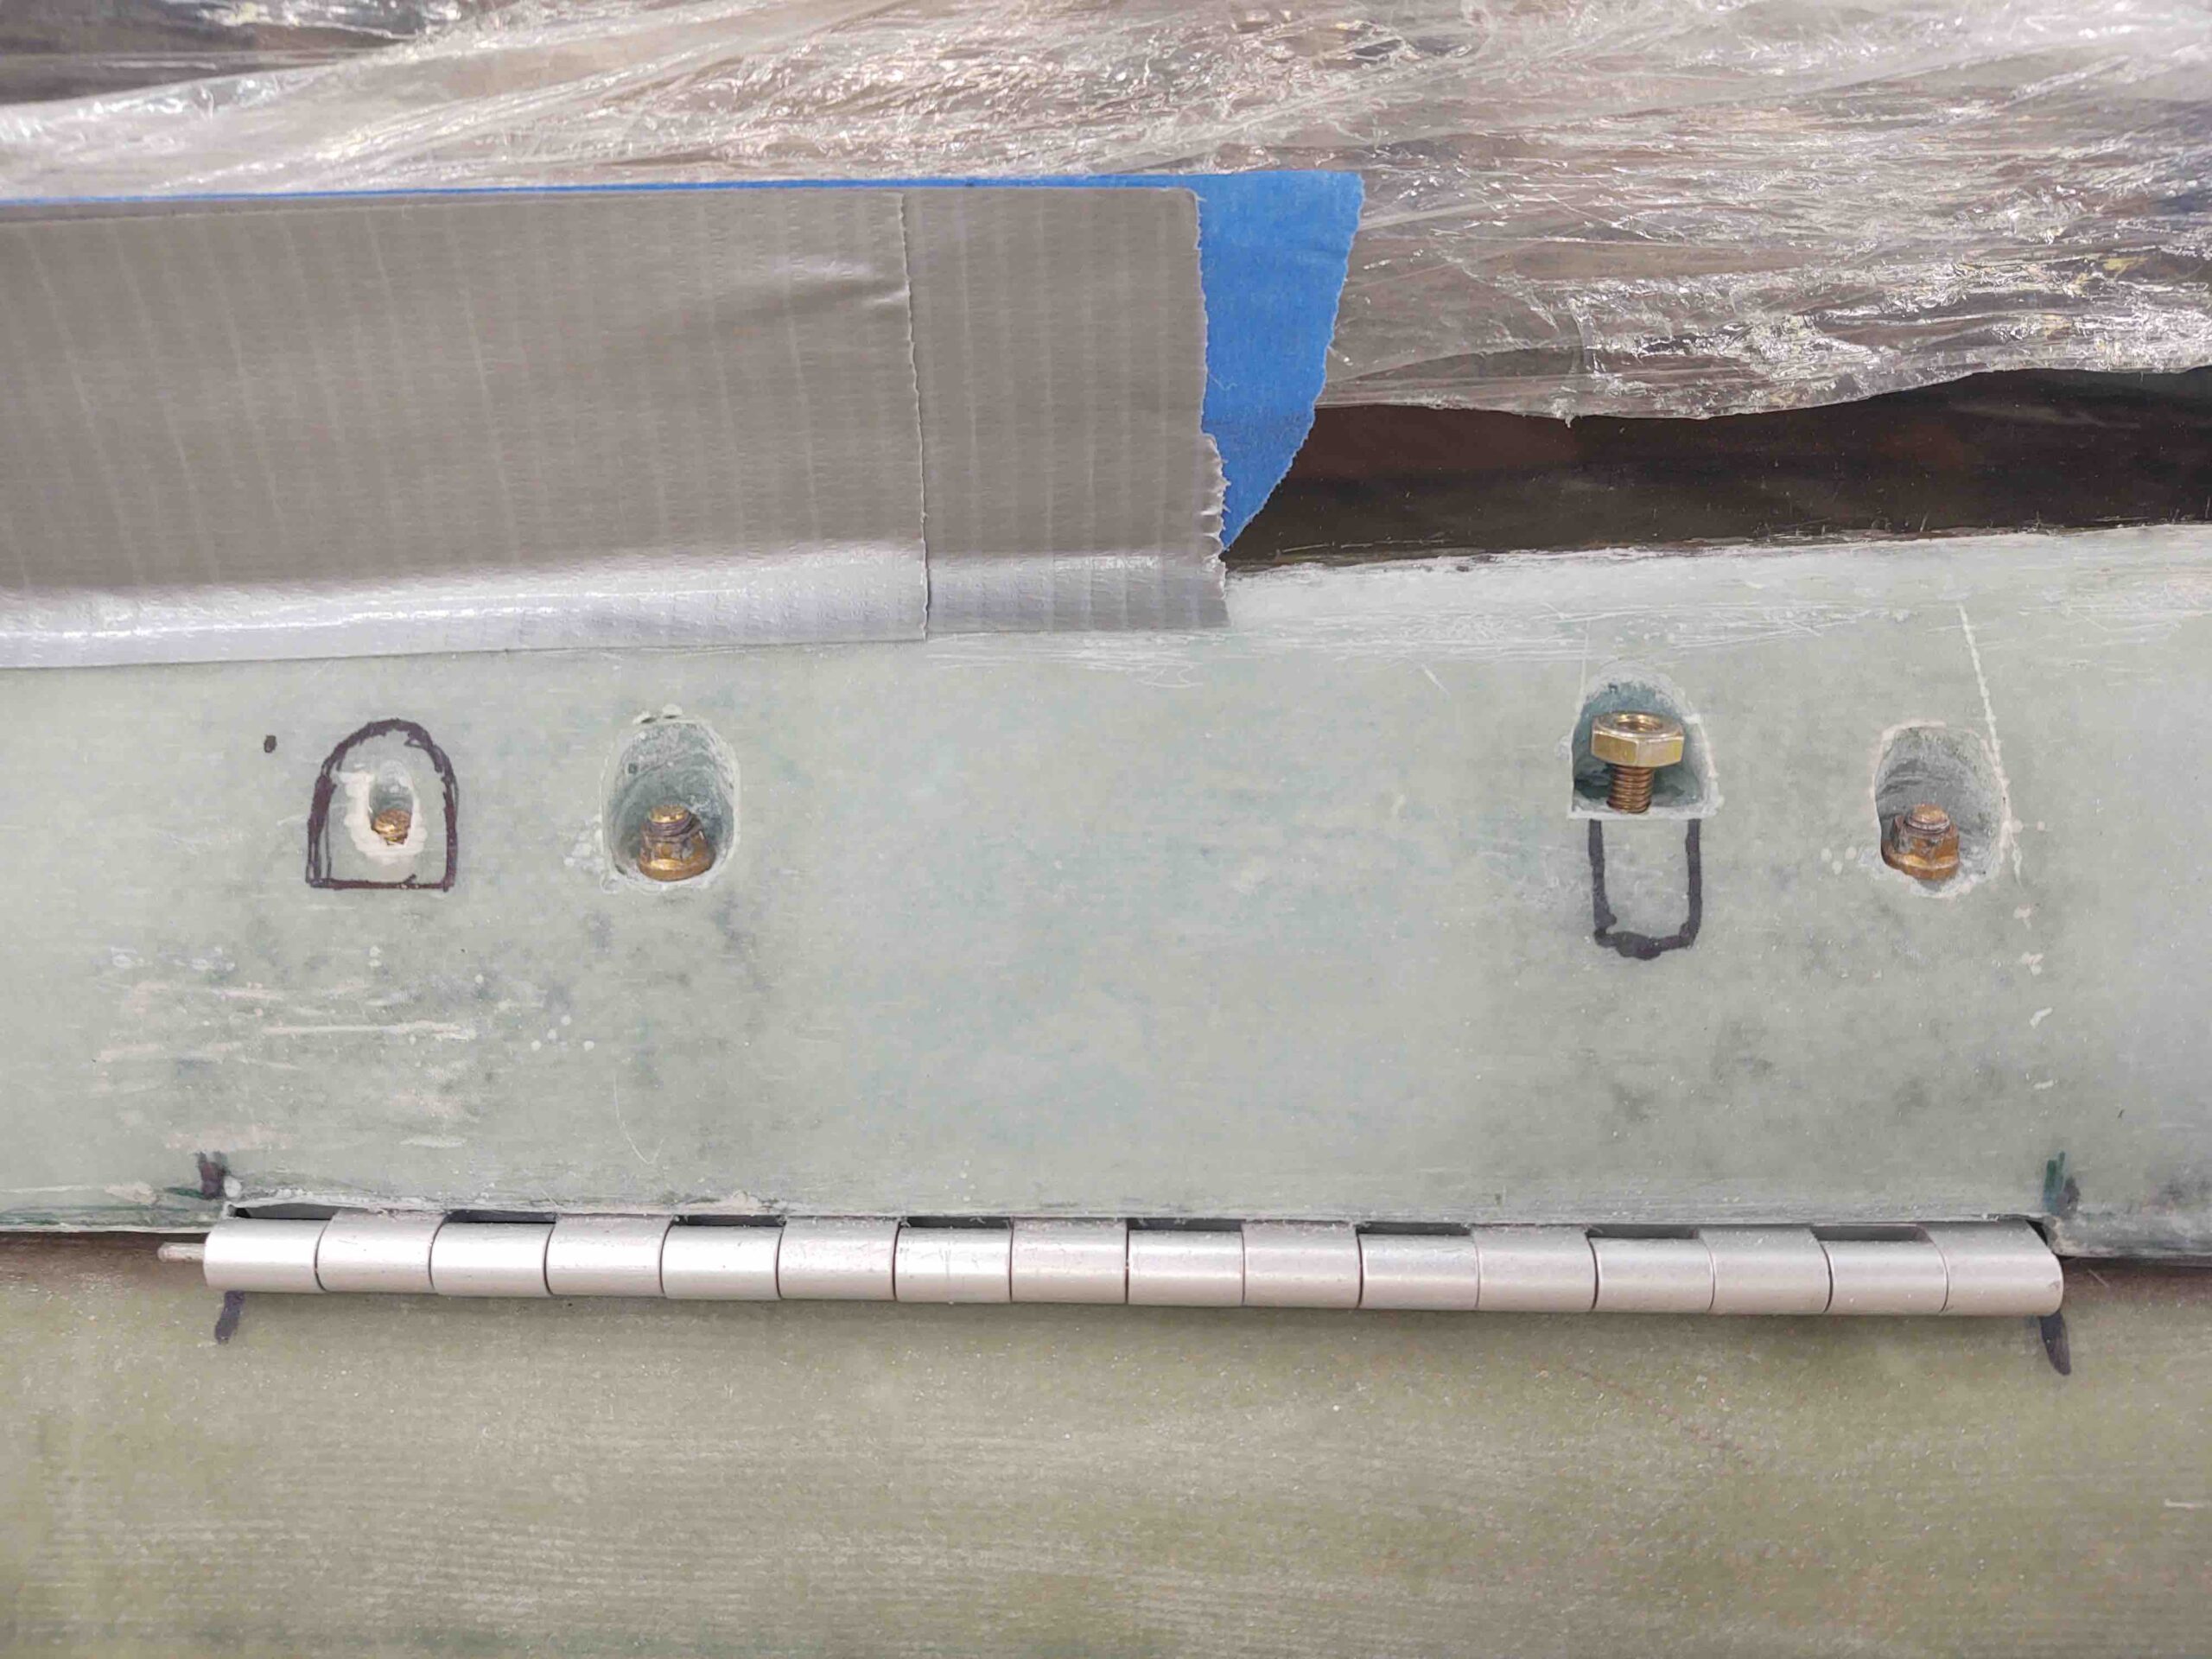
Done!
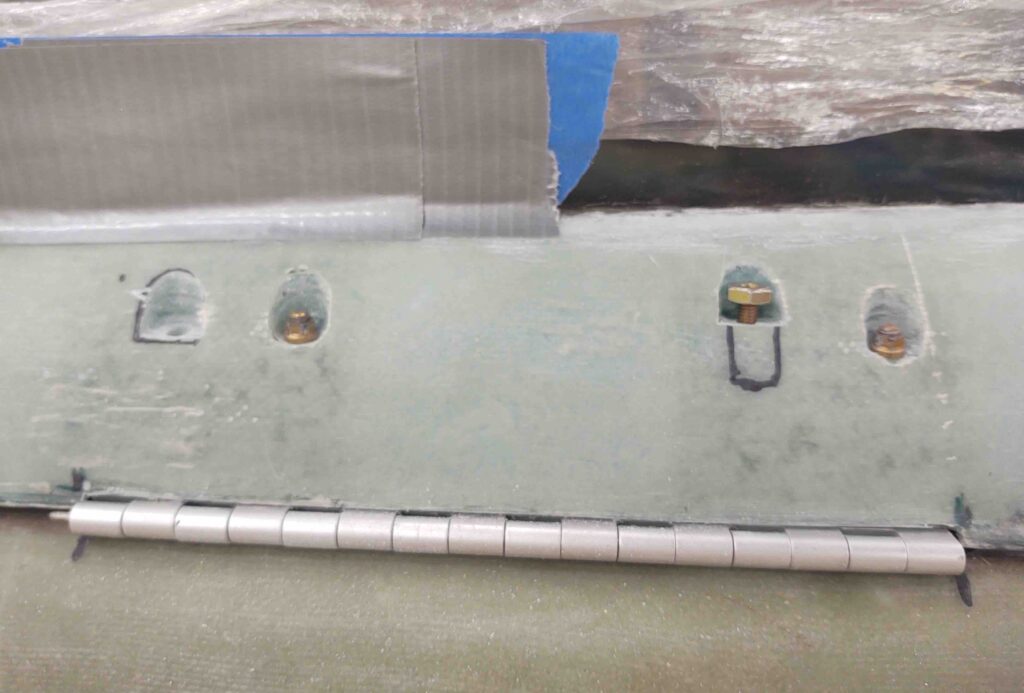
And one on the aft hinge (far right).

Done. (I of course needed to leave the screwed-in-place ones alone for now….)
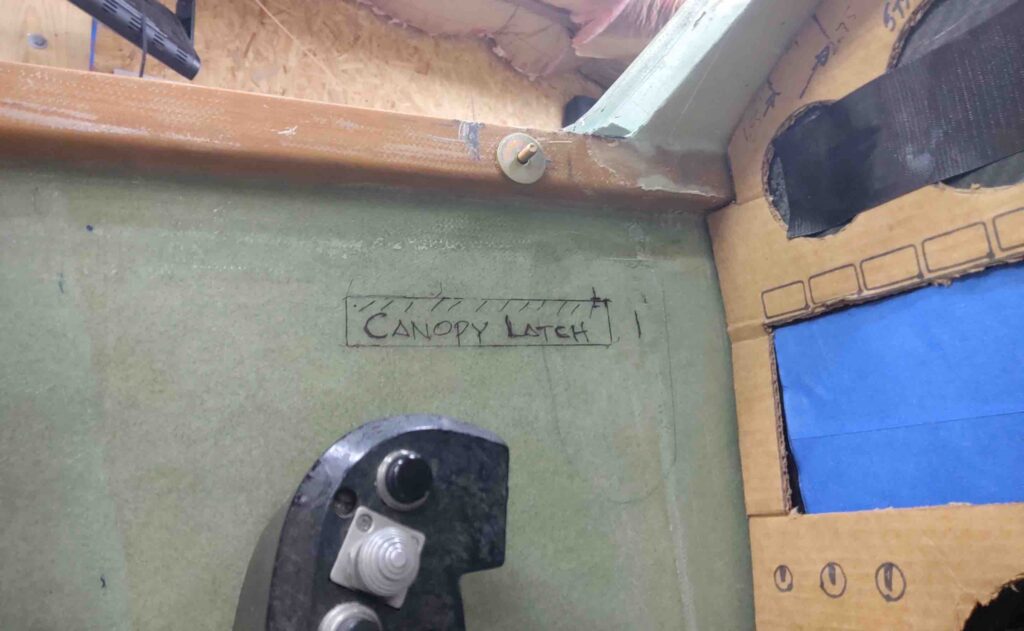
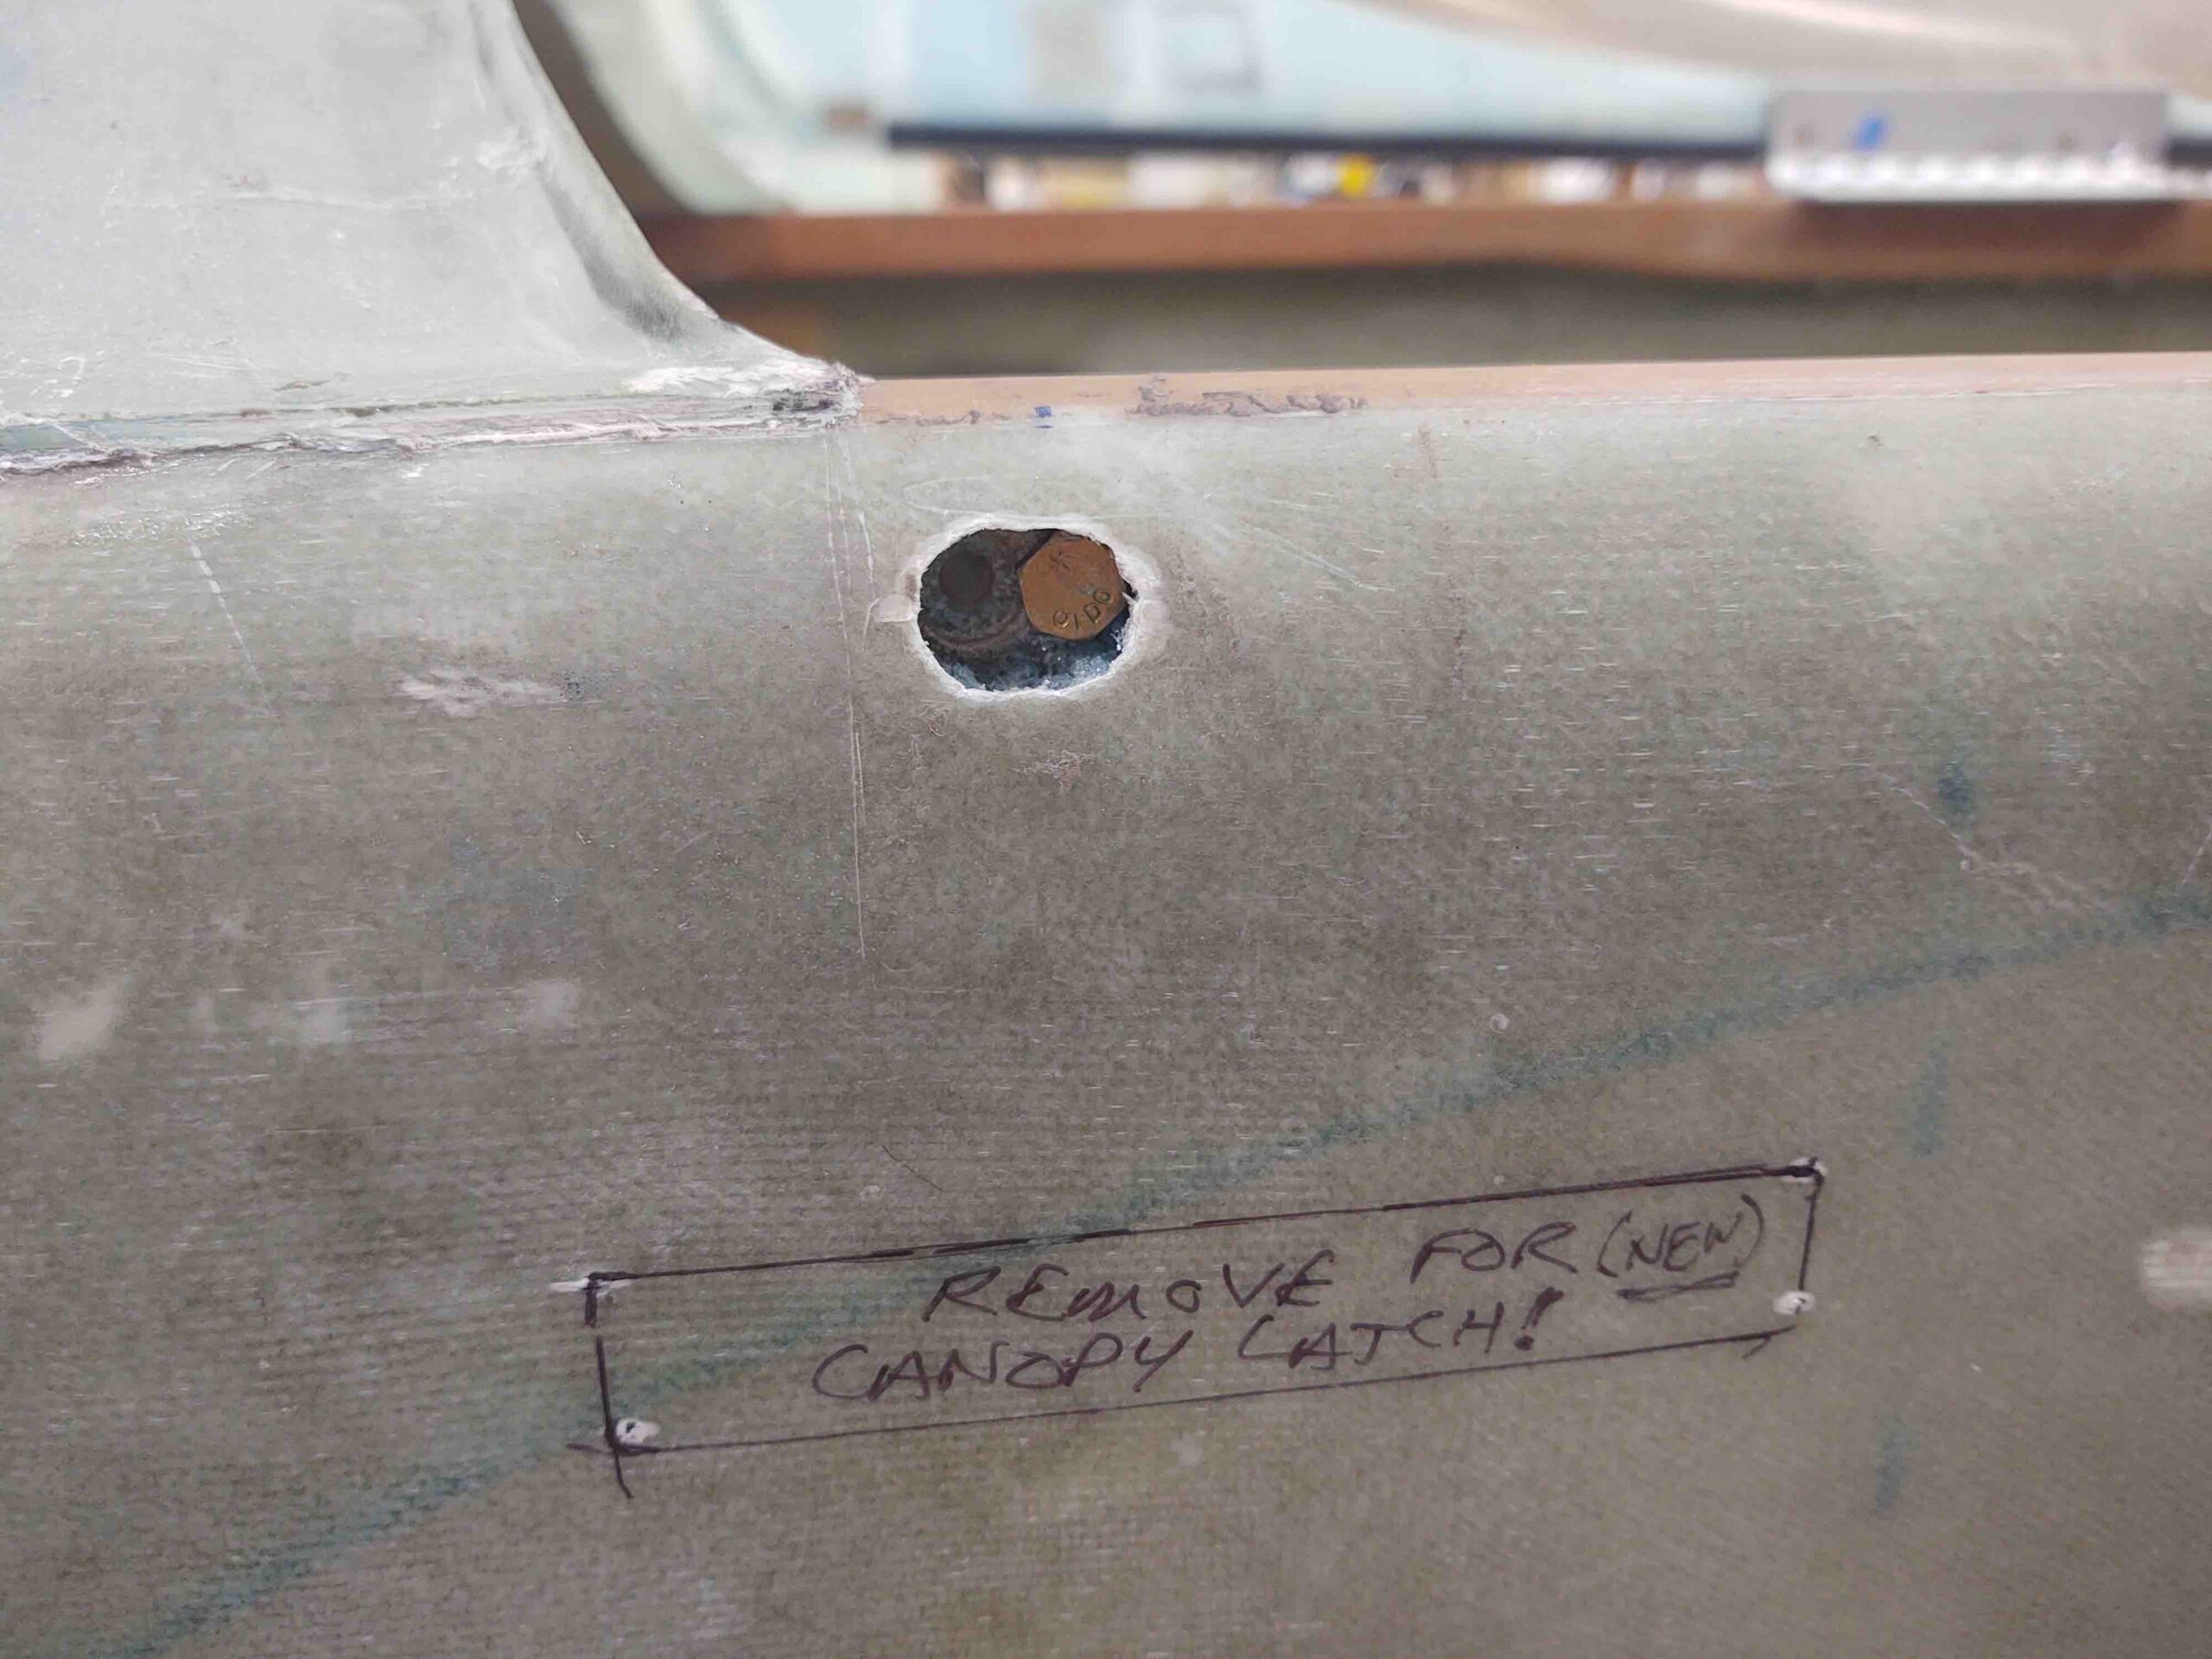
I then got busy working on the canopy latch install. I rounded up my 3D printed canopy latch mockup to use as a template, and then after deciding the final location used it to mark the spot.
Not wanting a ton of fiberglass dust and foam bits inside the cockpit, I drilled 4 small pilot holes as straight as possible through the fuselage sidewalls at the corners of the canopy latch mounting through hole.
I then used my Fein saw to cut the perimeter of the marked latch through hole.
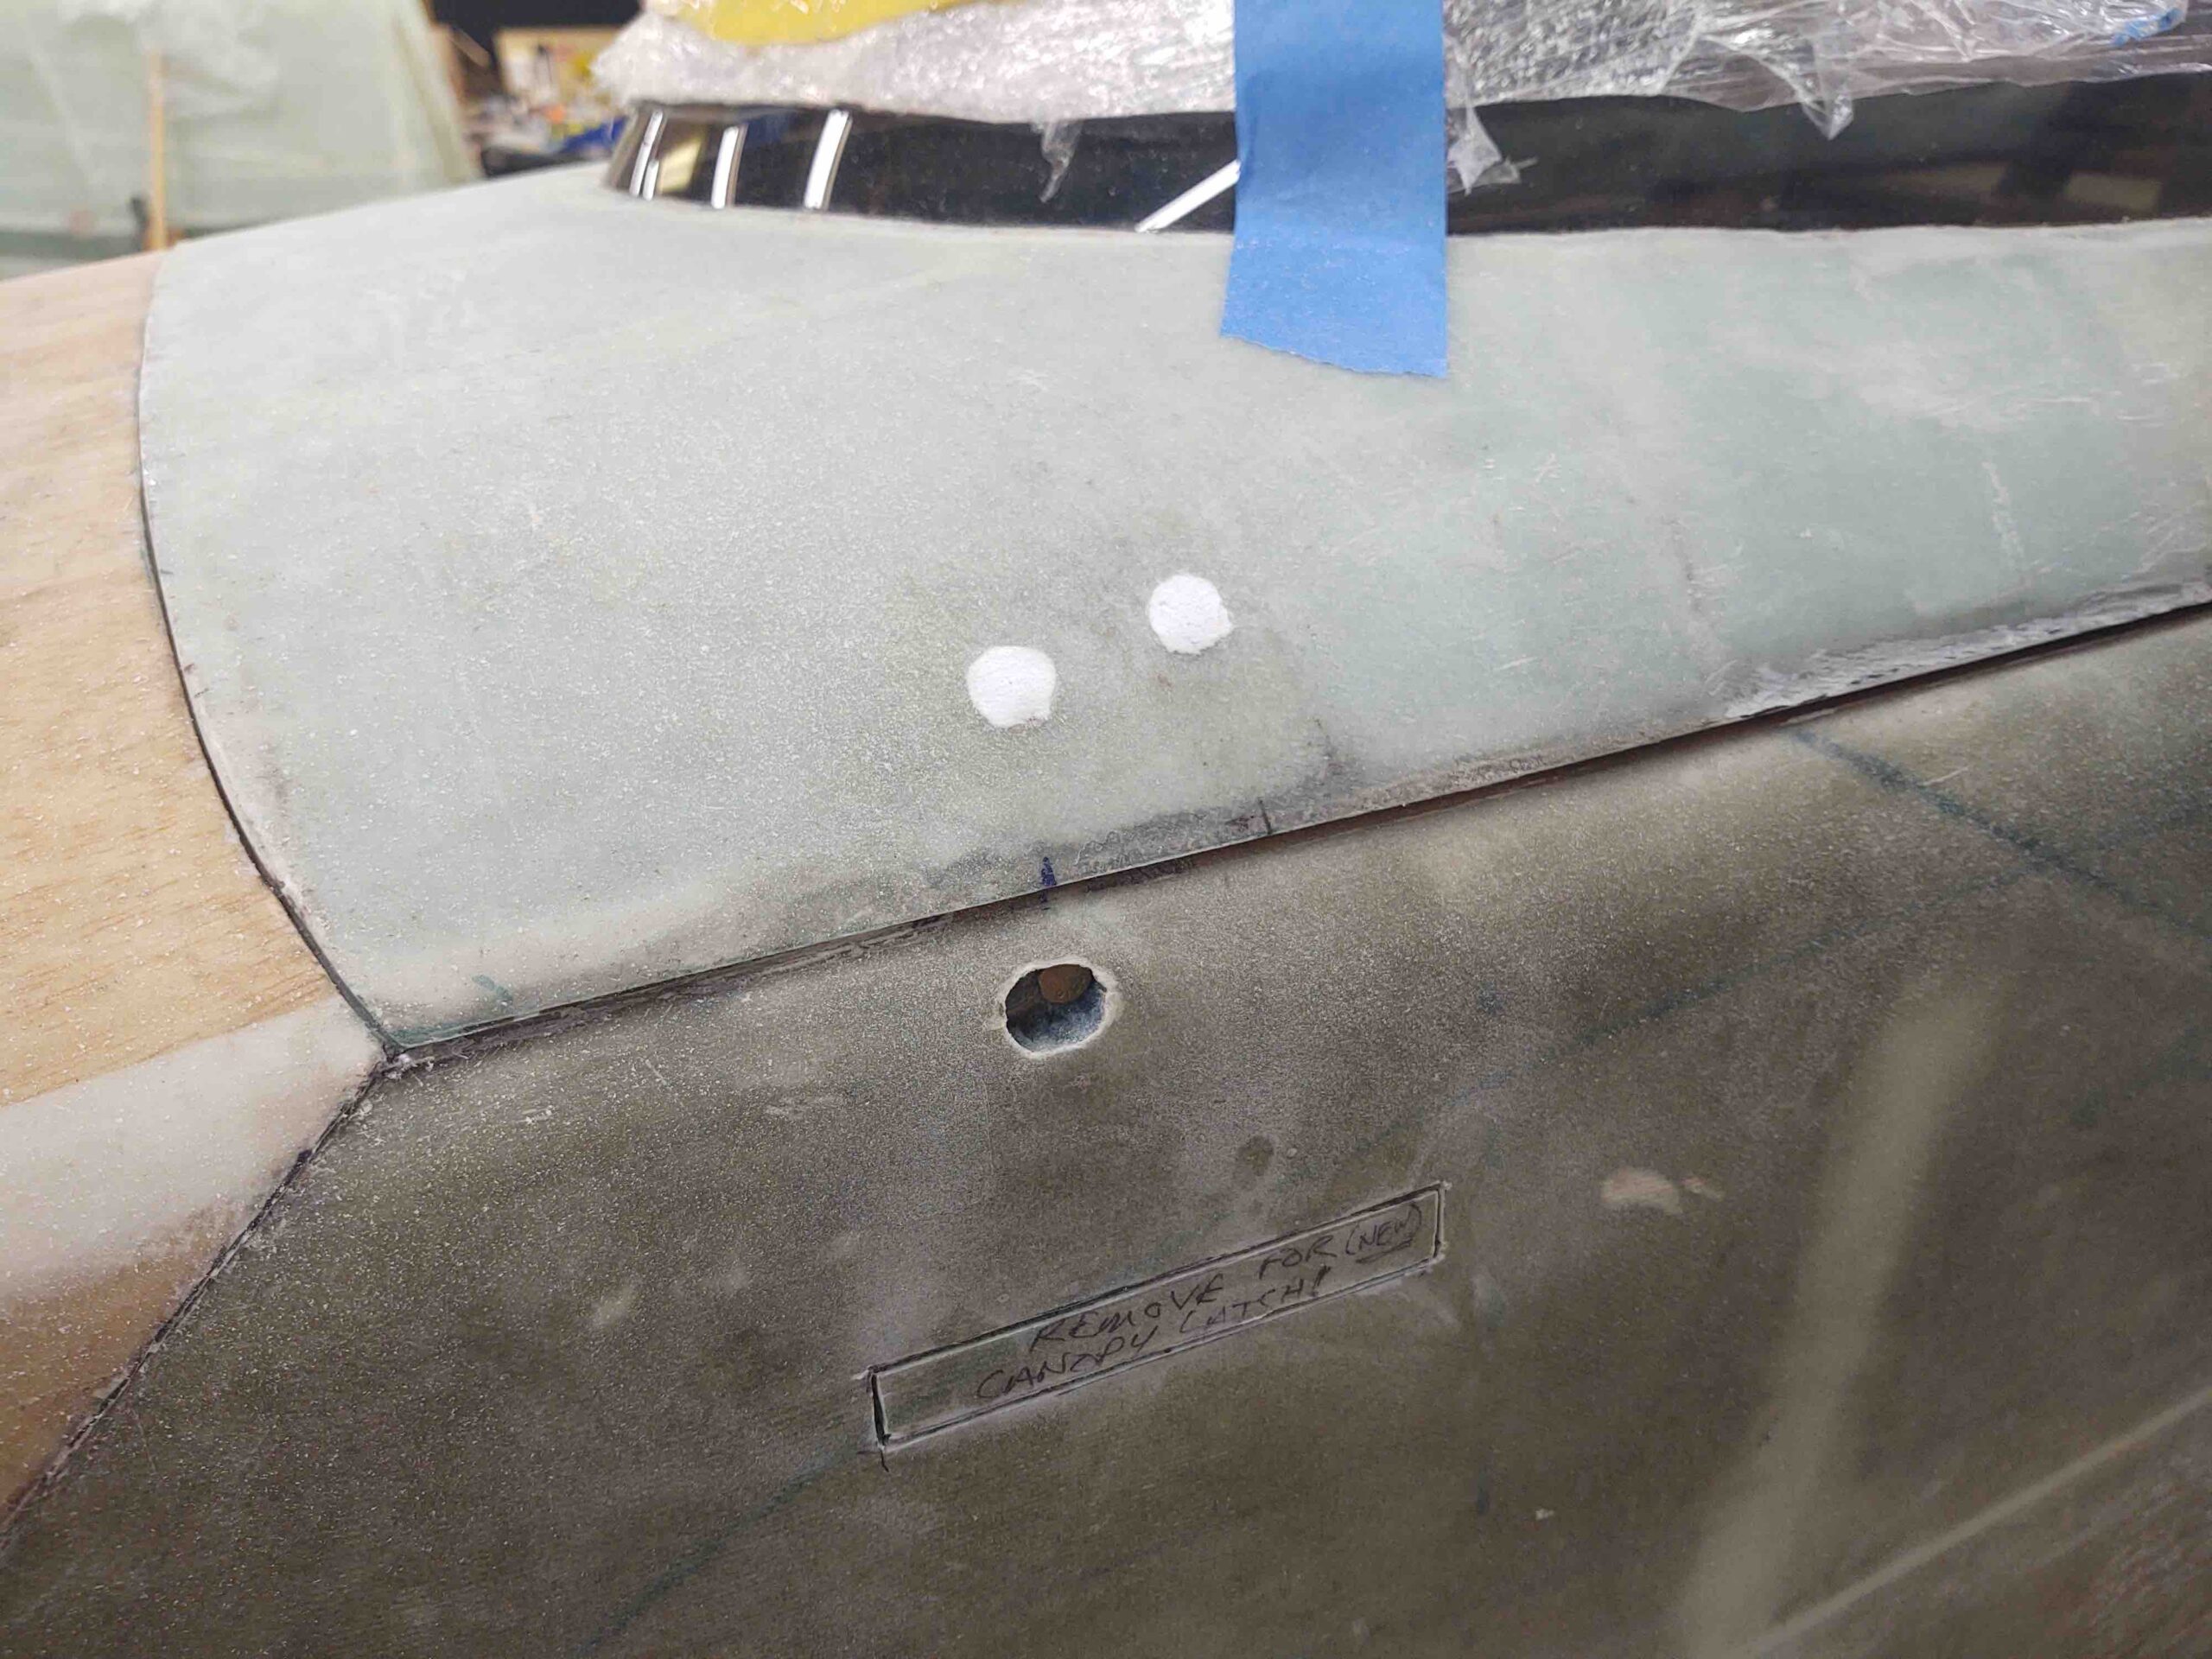
Extricated the piece of outer skin.
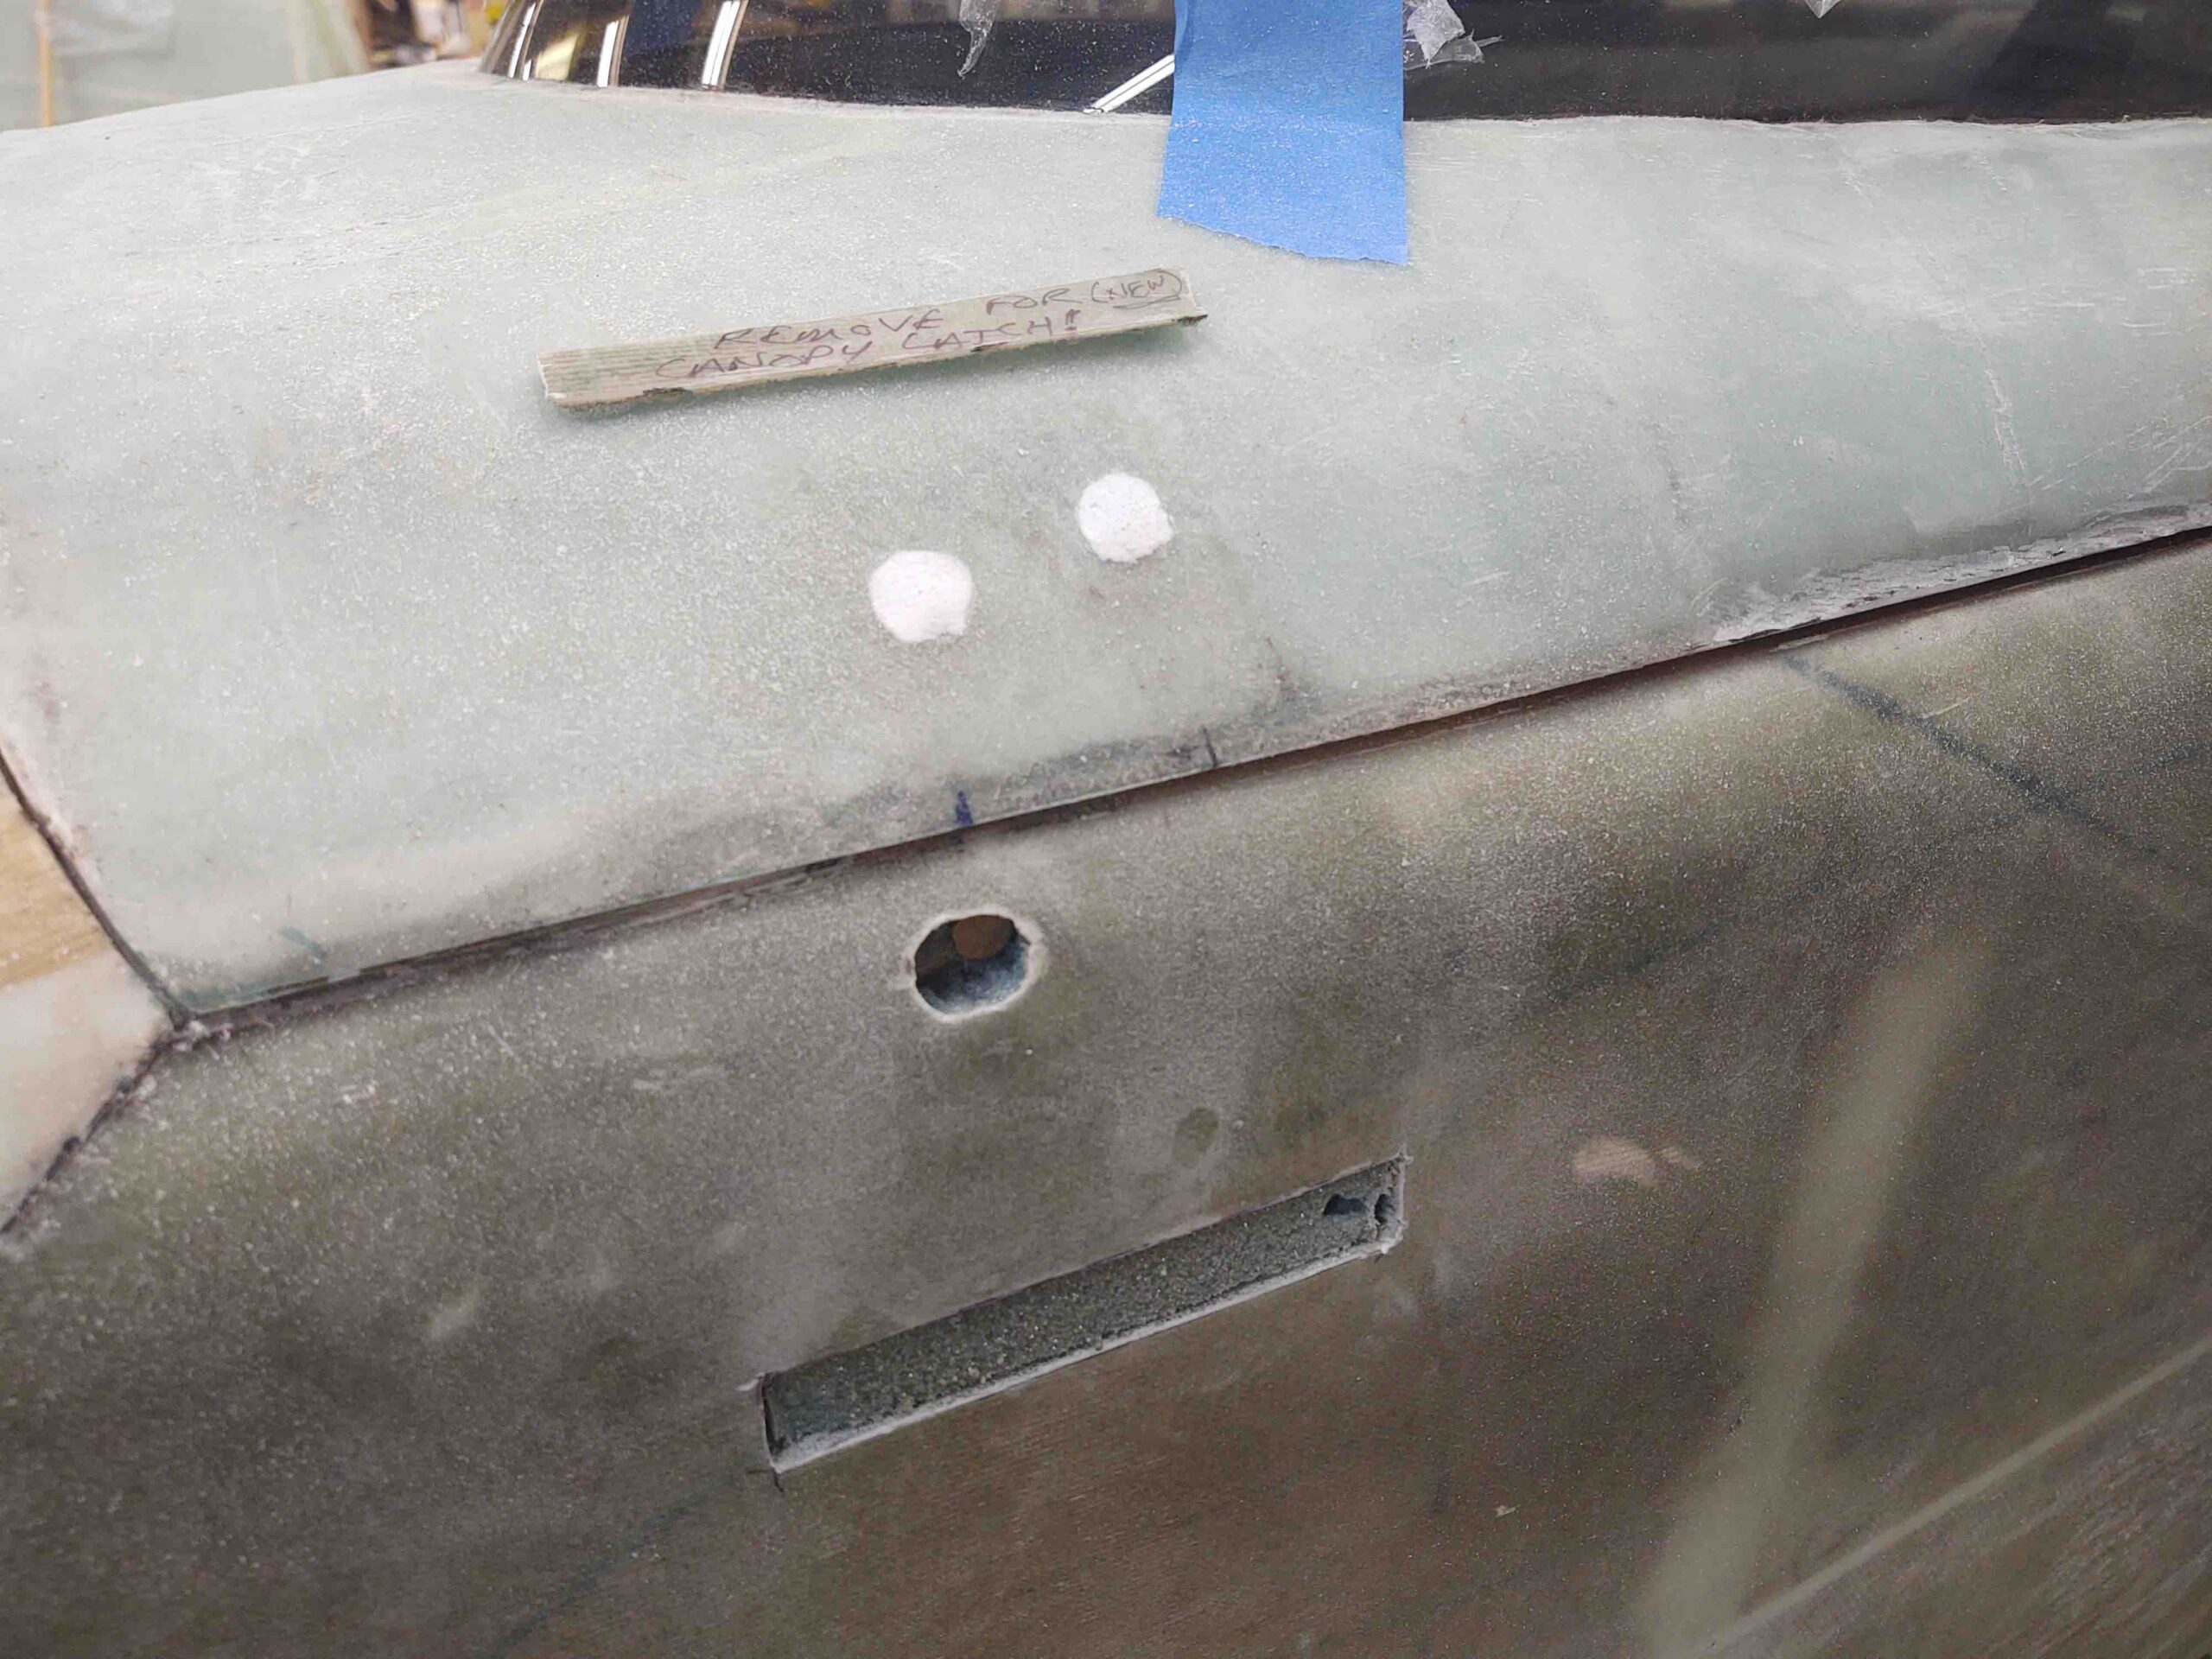
And proceeded to dig out all the internal foam.
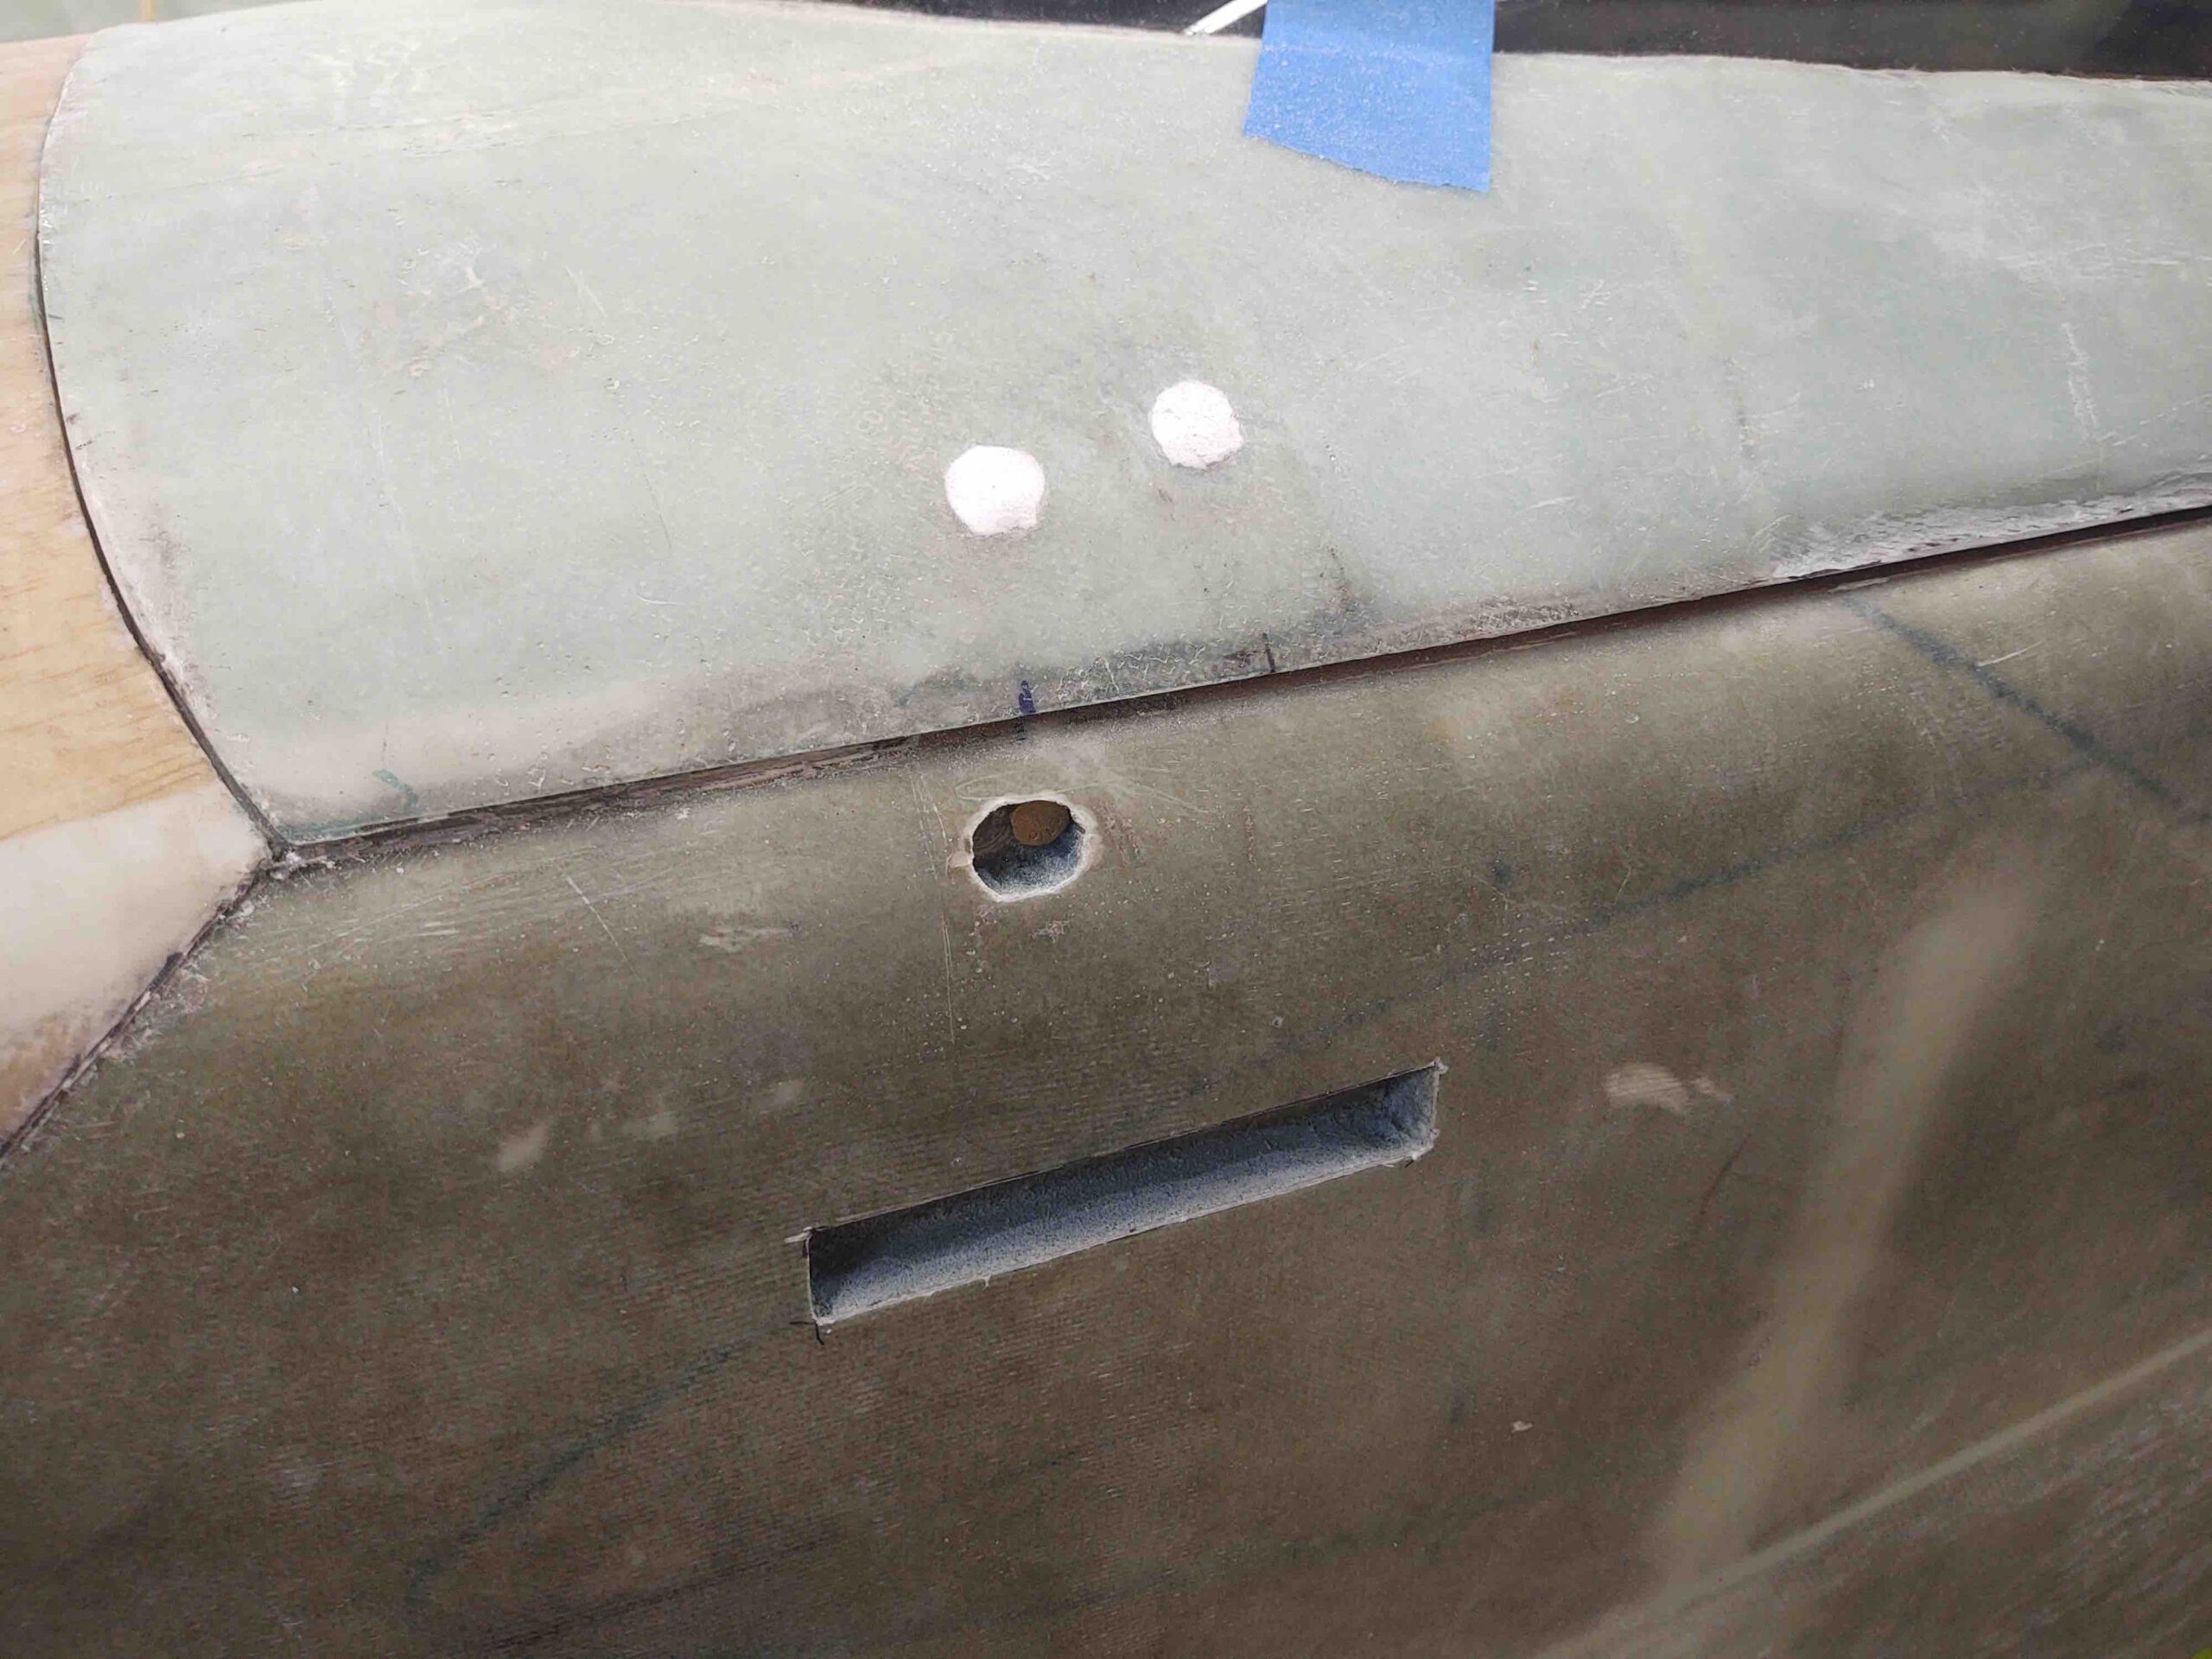
So far so good… here we have the canopy latch through hole with external skin and interior foam gone.
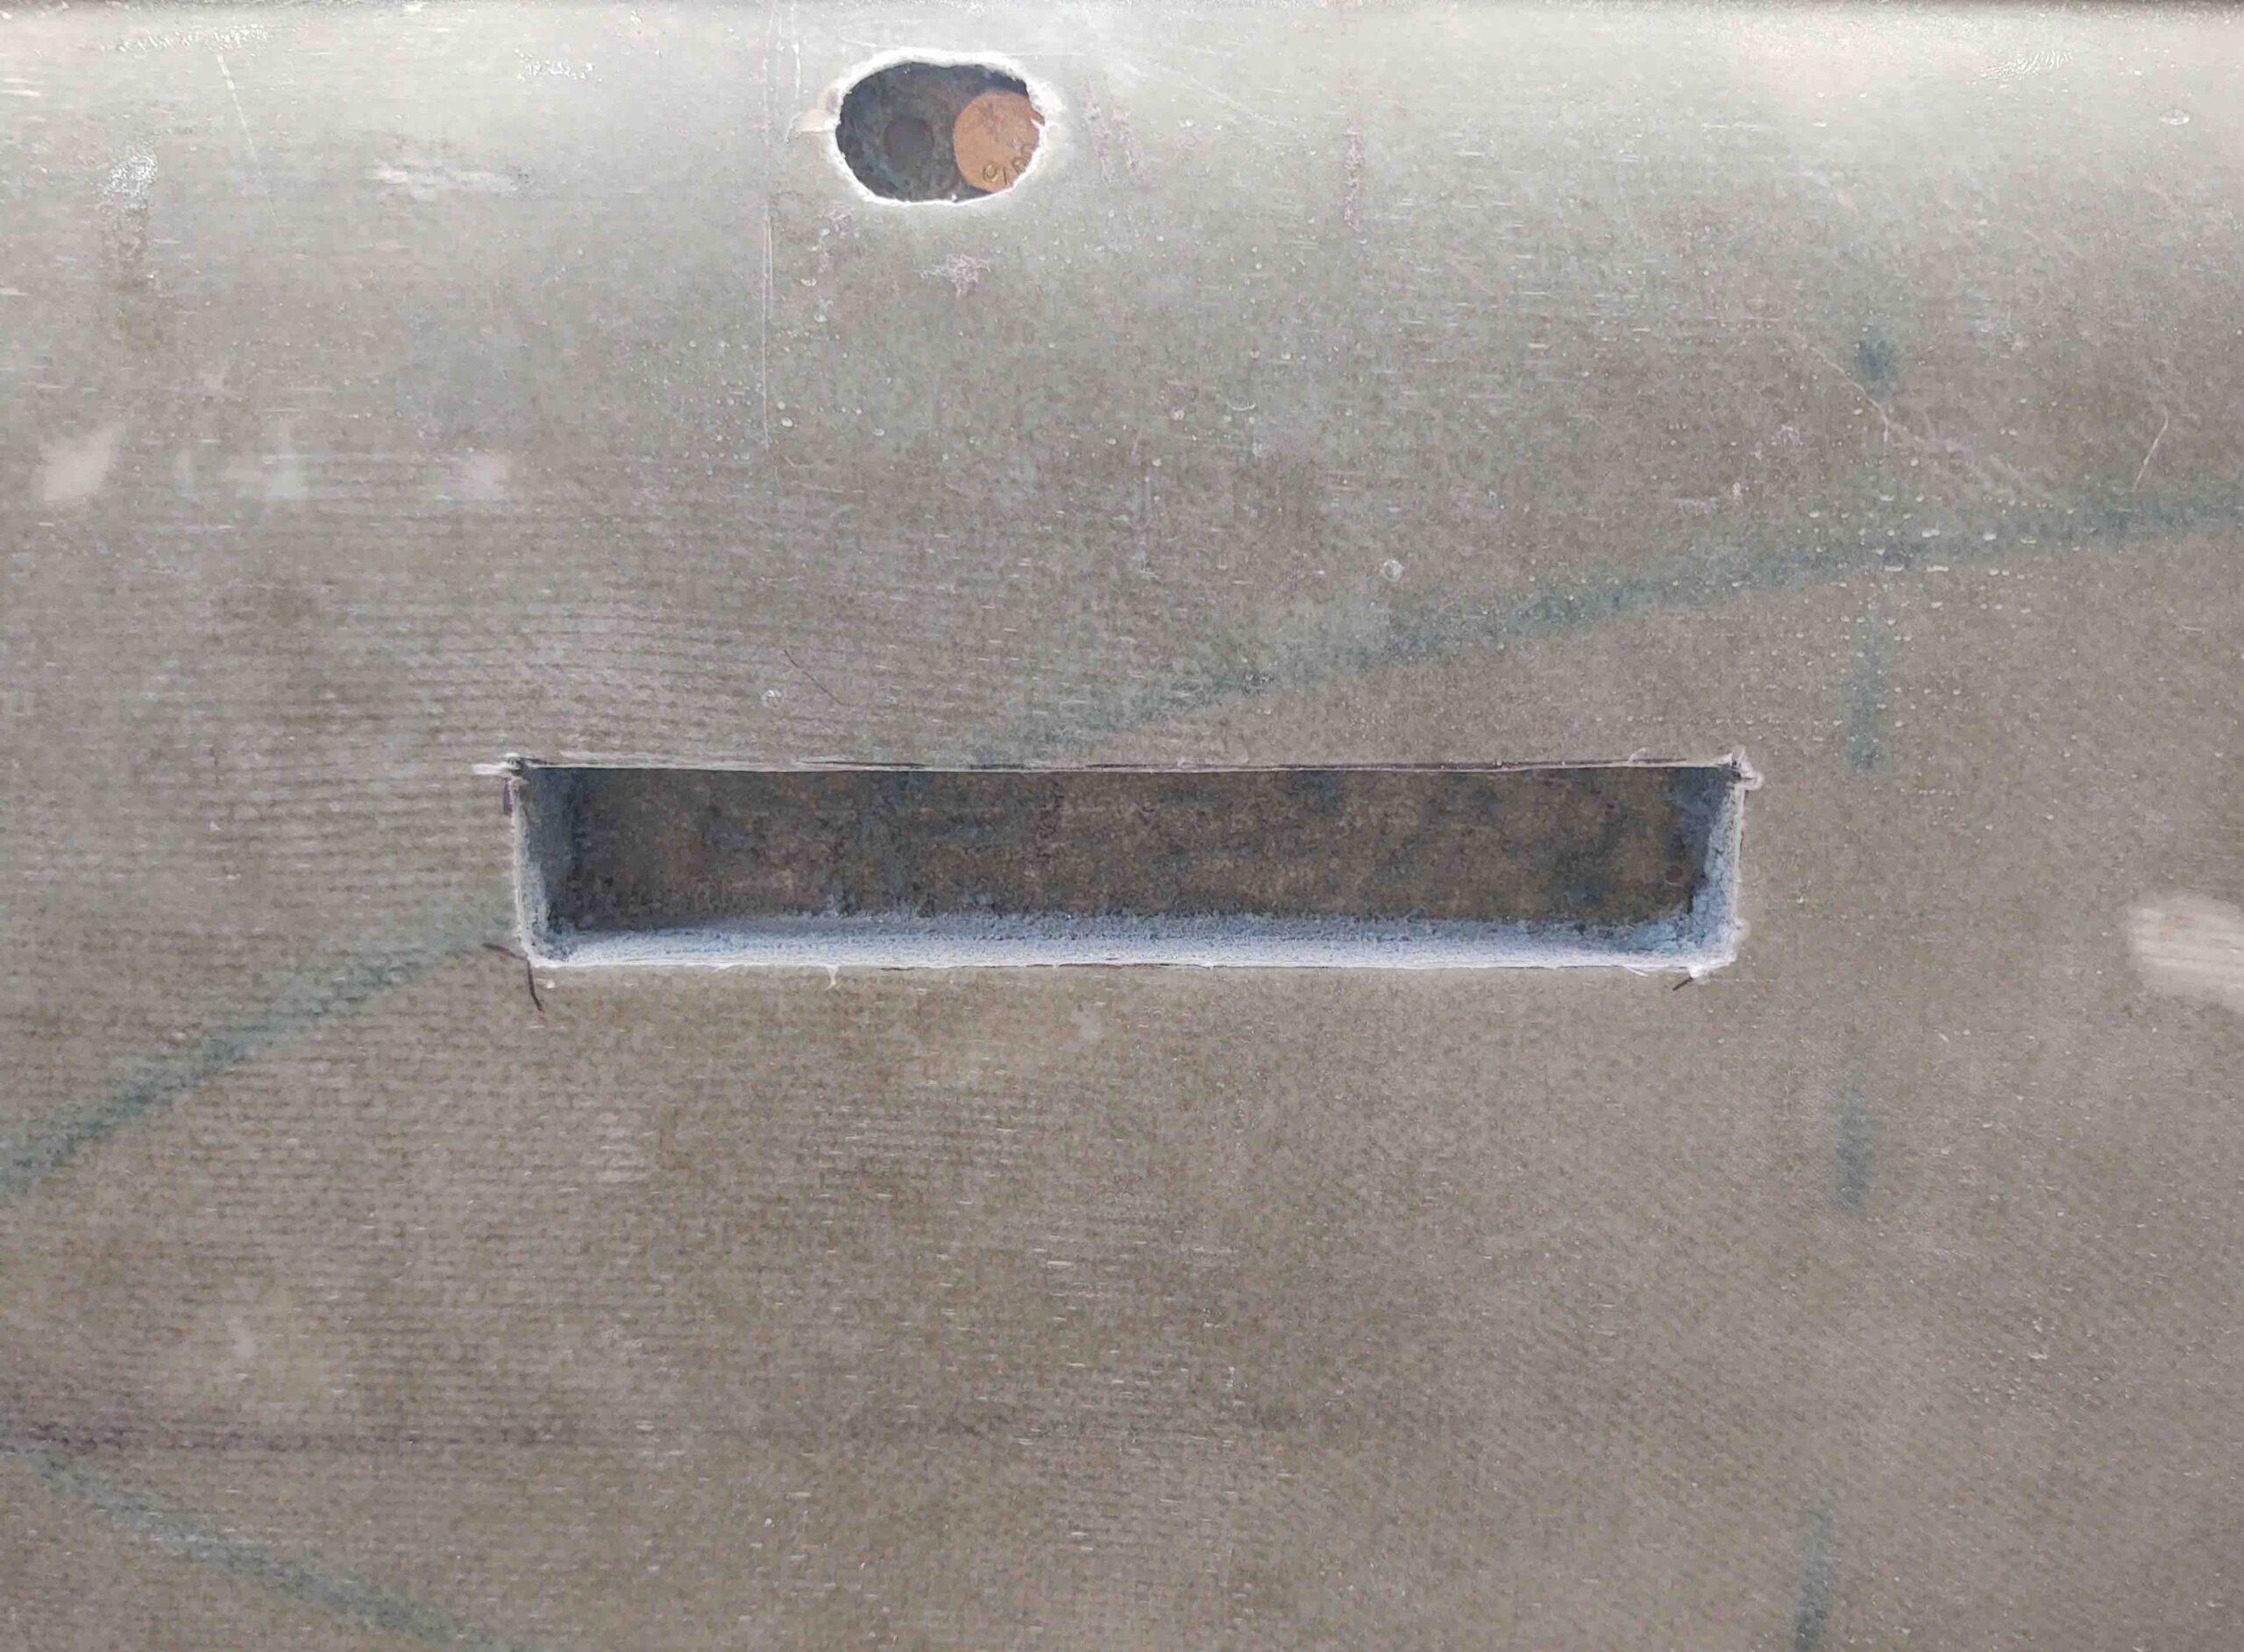
I judiciously sanded around the inside edges of the hole until I was able to fit the canopy latch handle in –the actual part that will reside in the through hole.
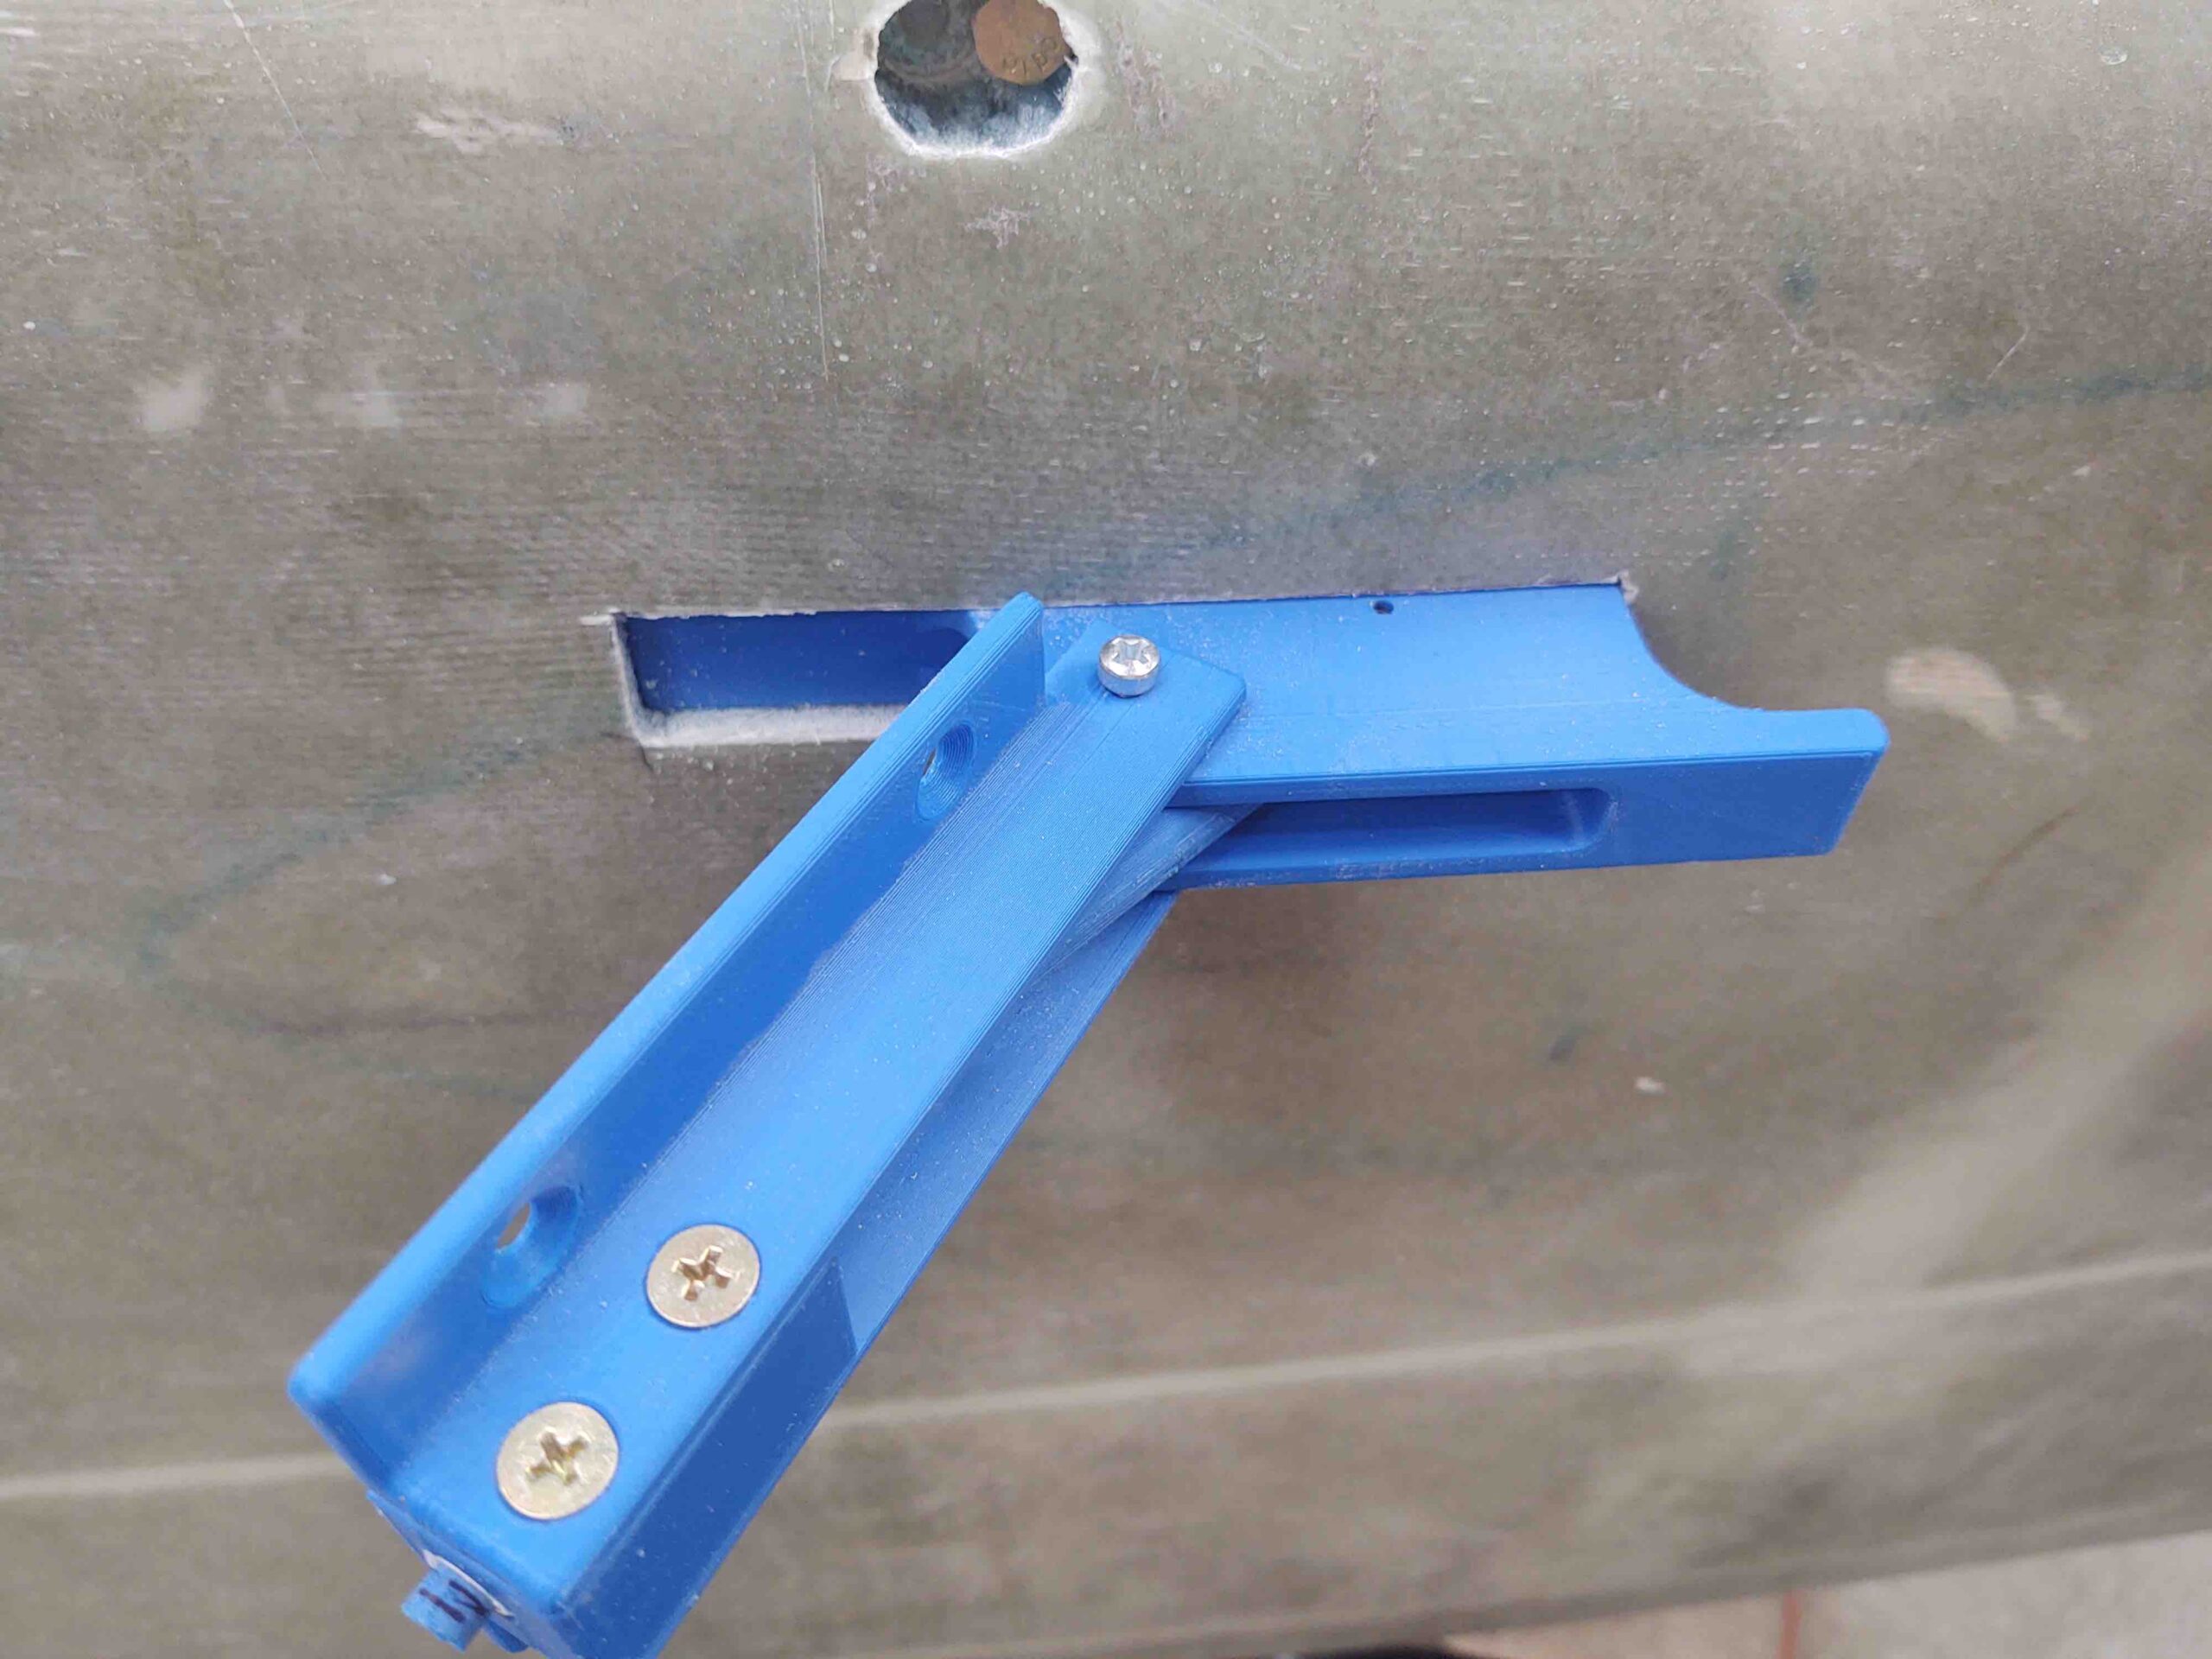
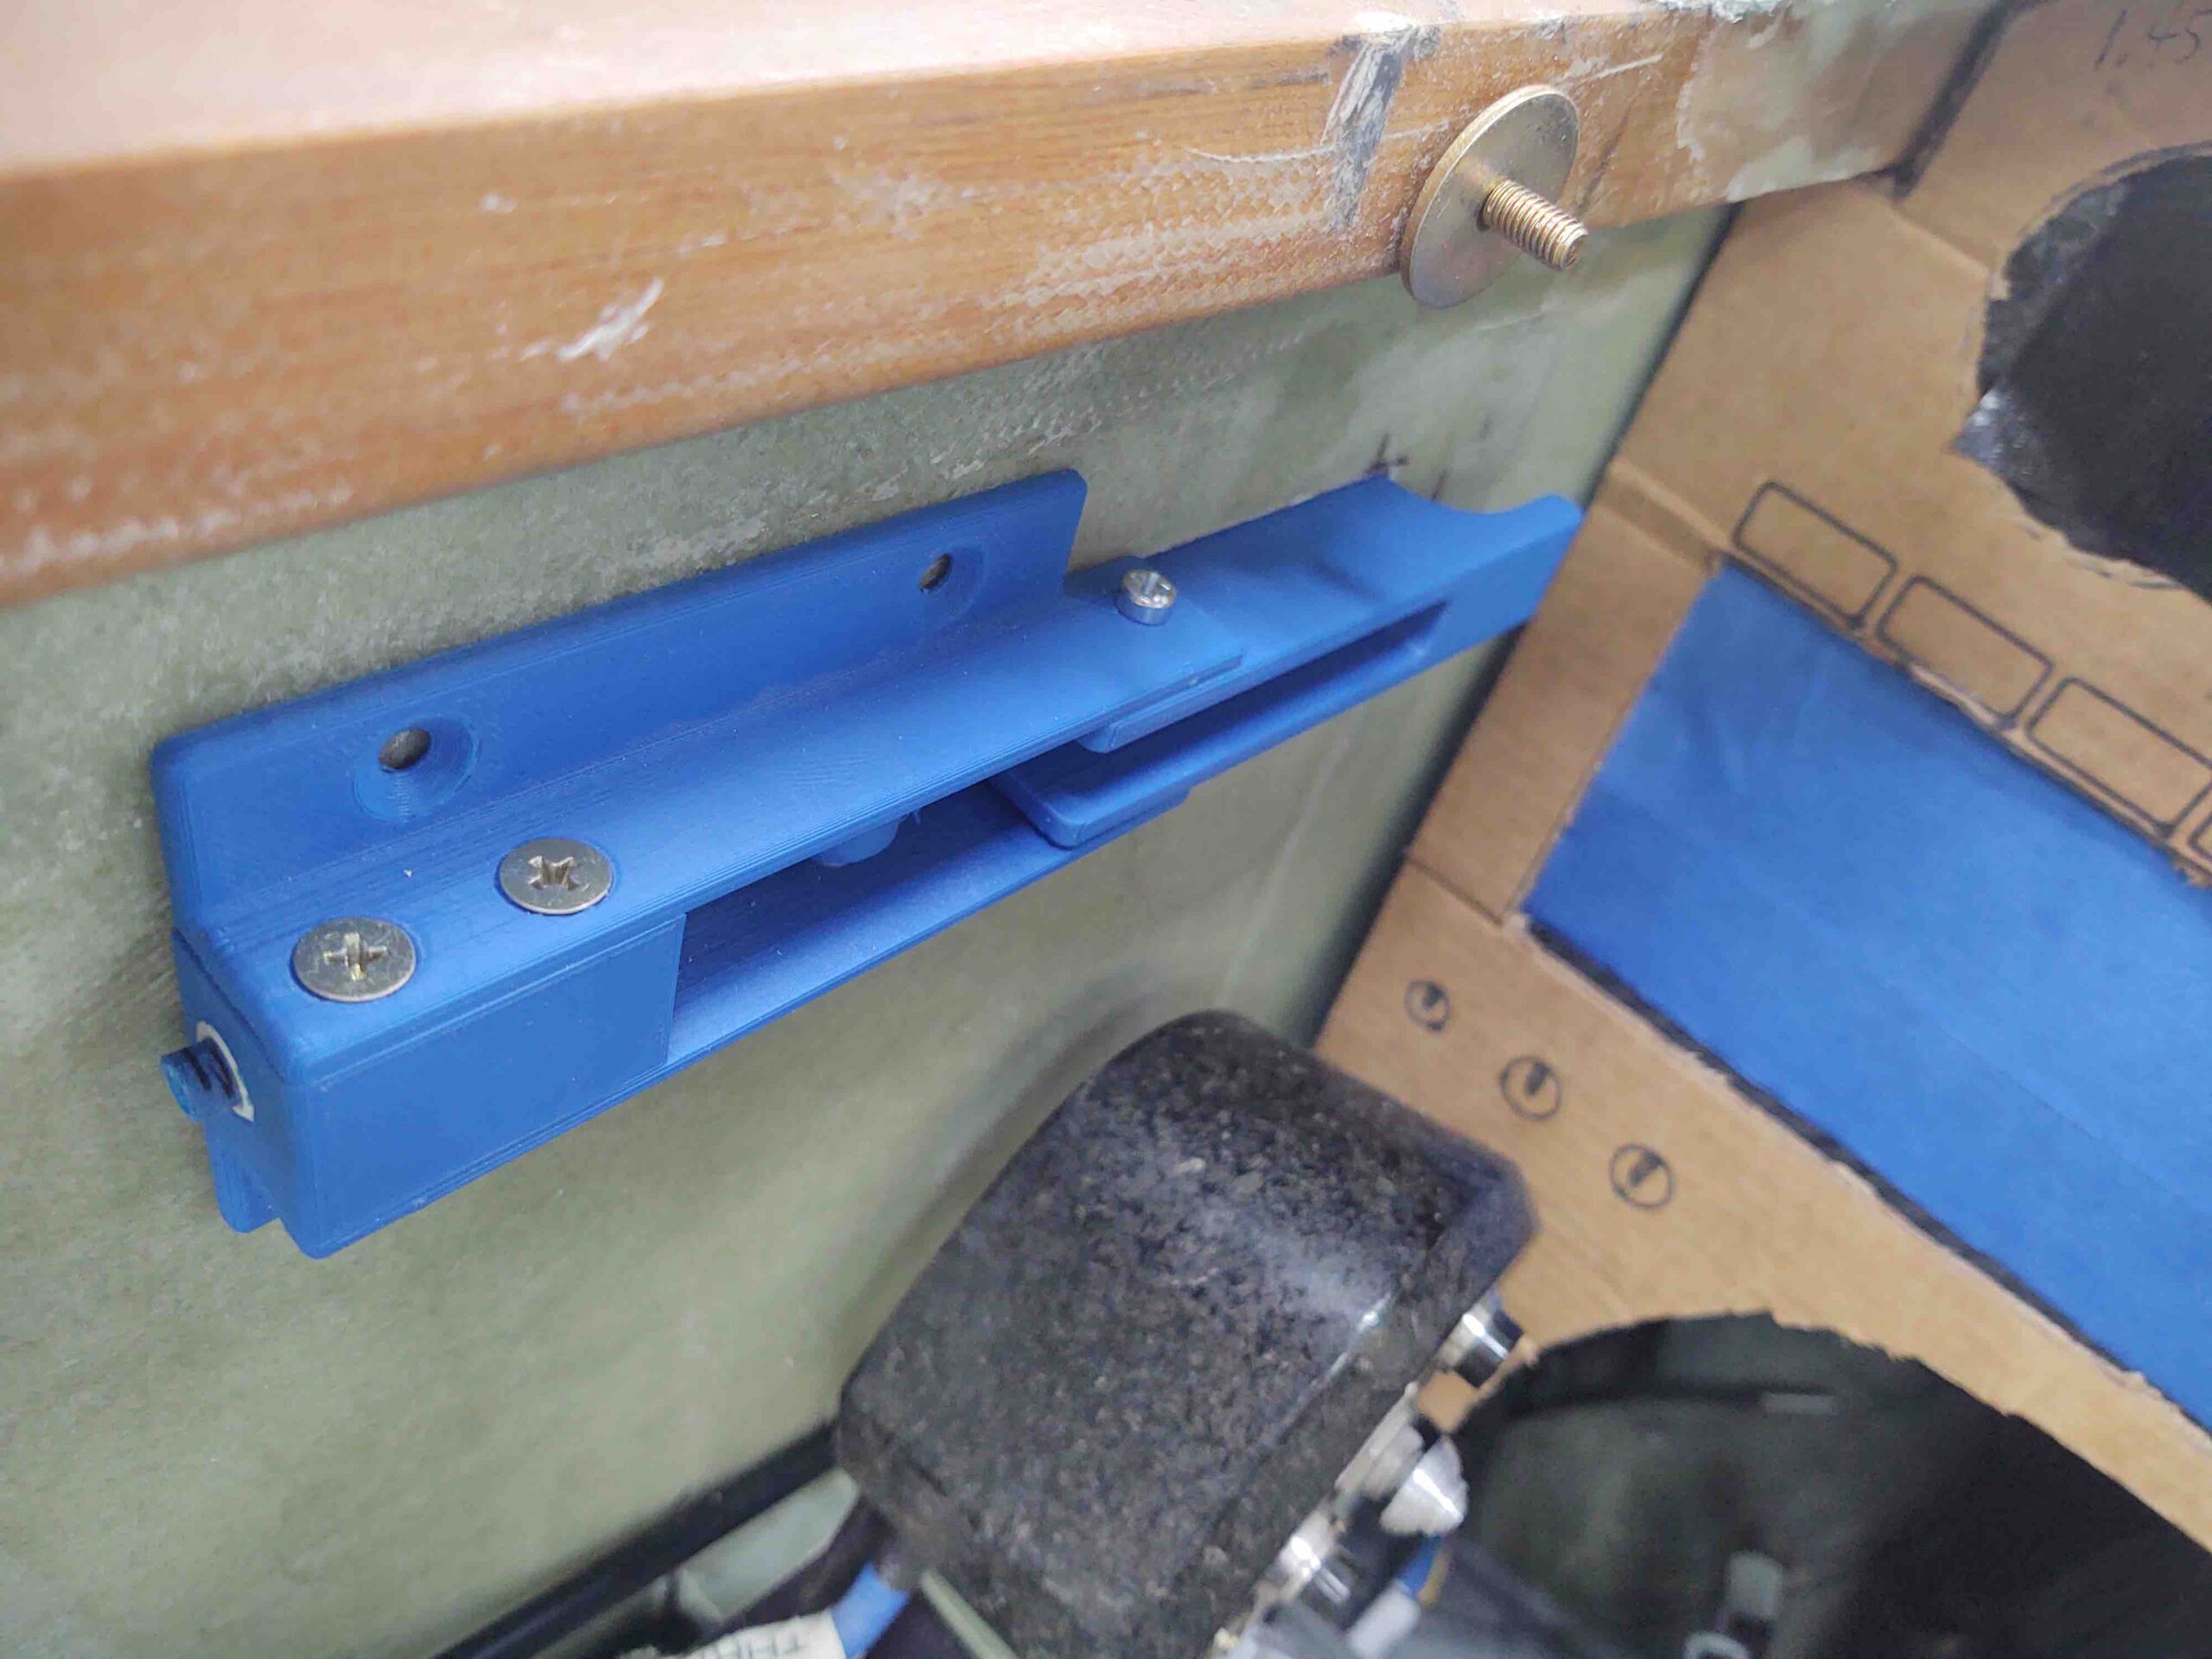
I then cut out the interior sidewall piece and “mounted” the 3D printed handle mockup. Looks great, out of the way and good size unit (note latch assembly’s pivoting hinge screws removed).

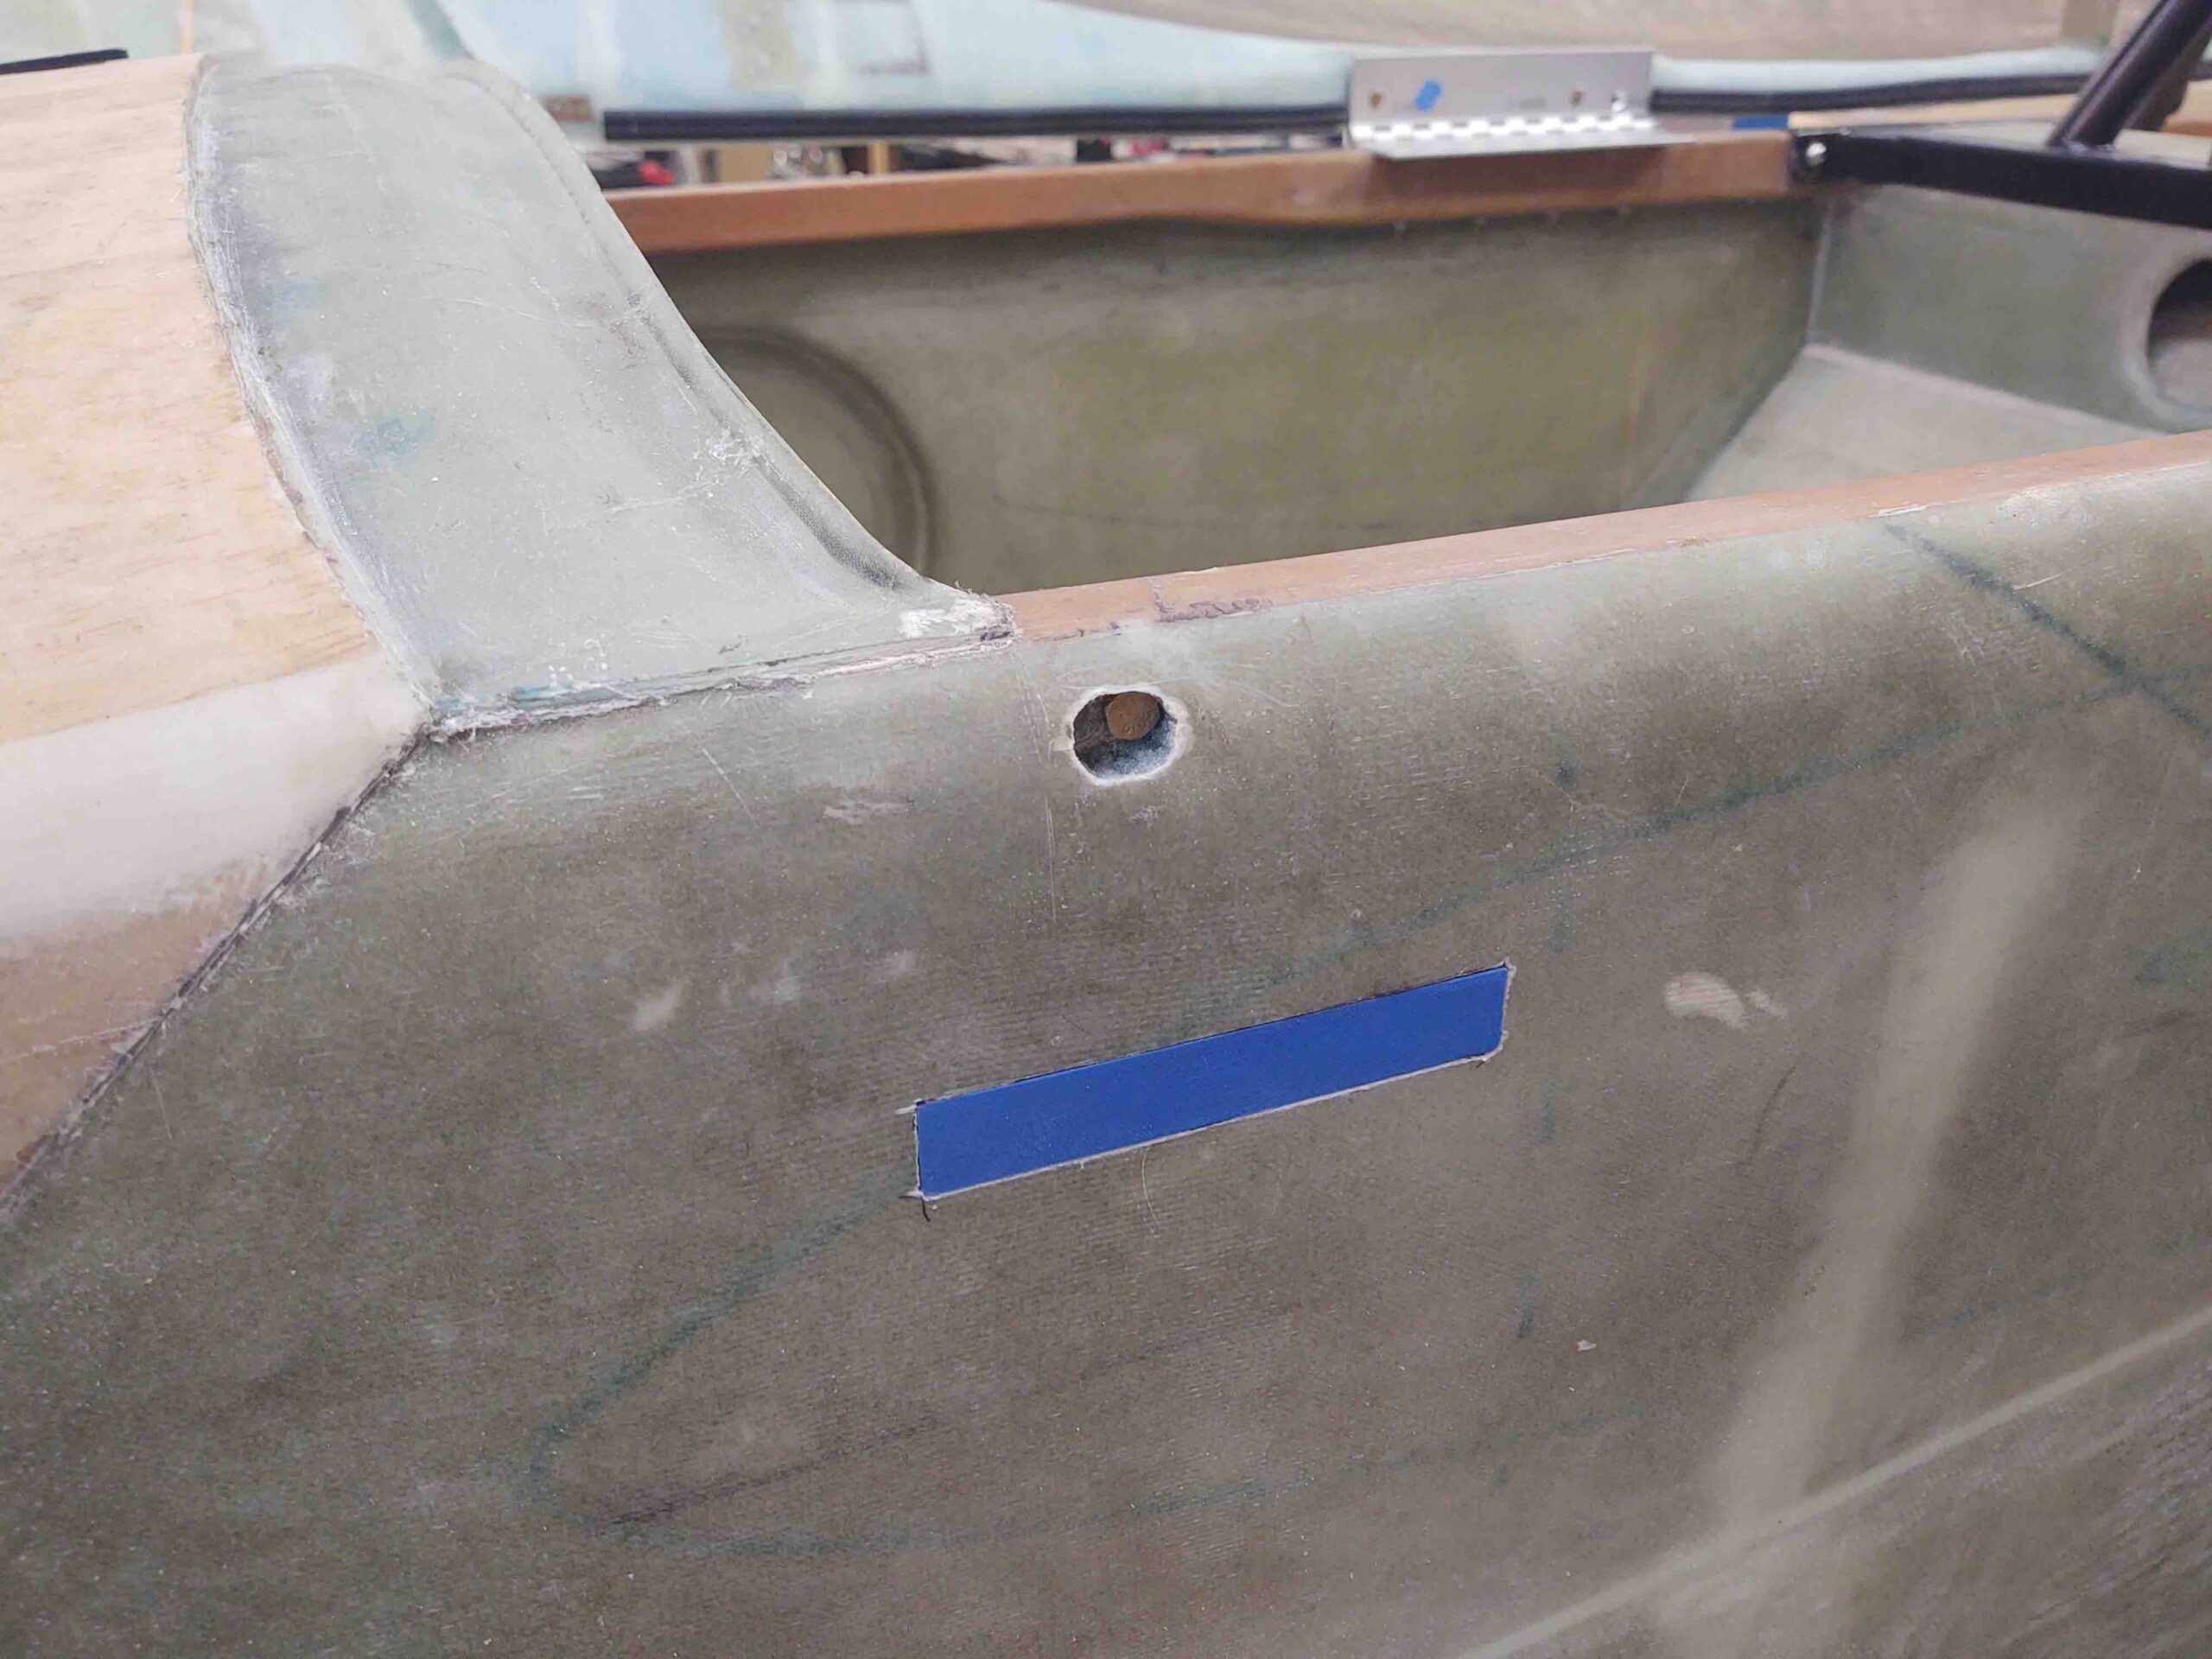
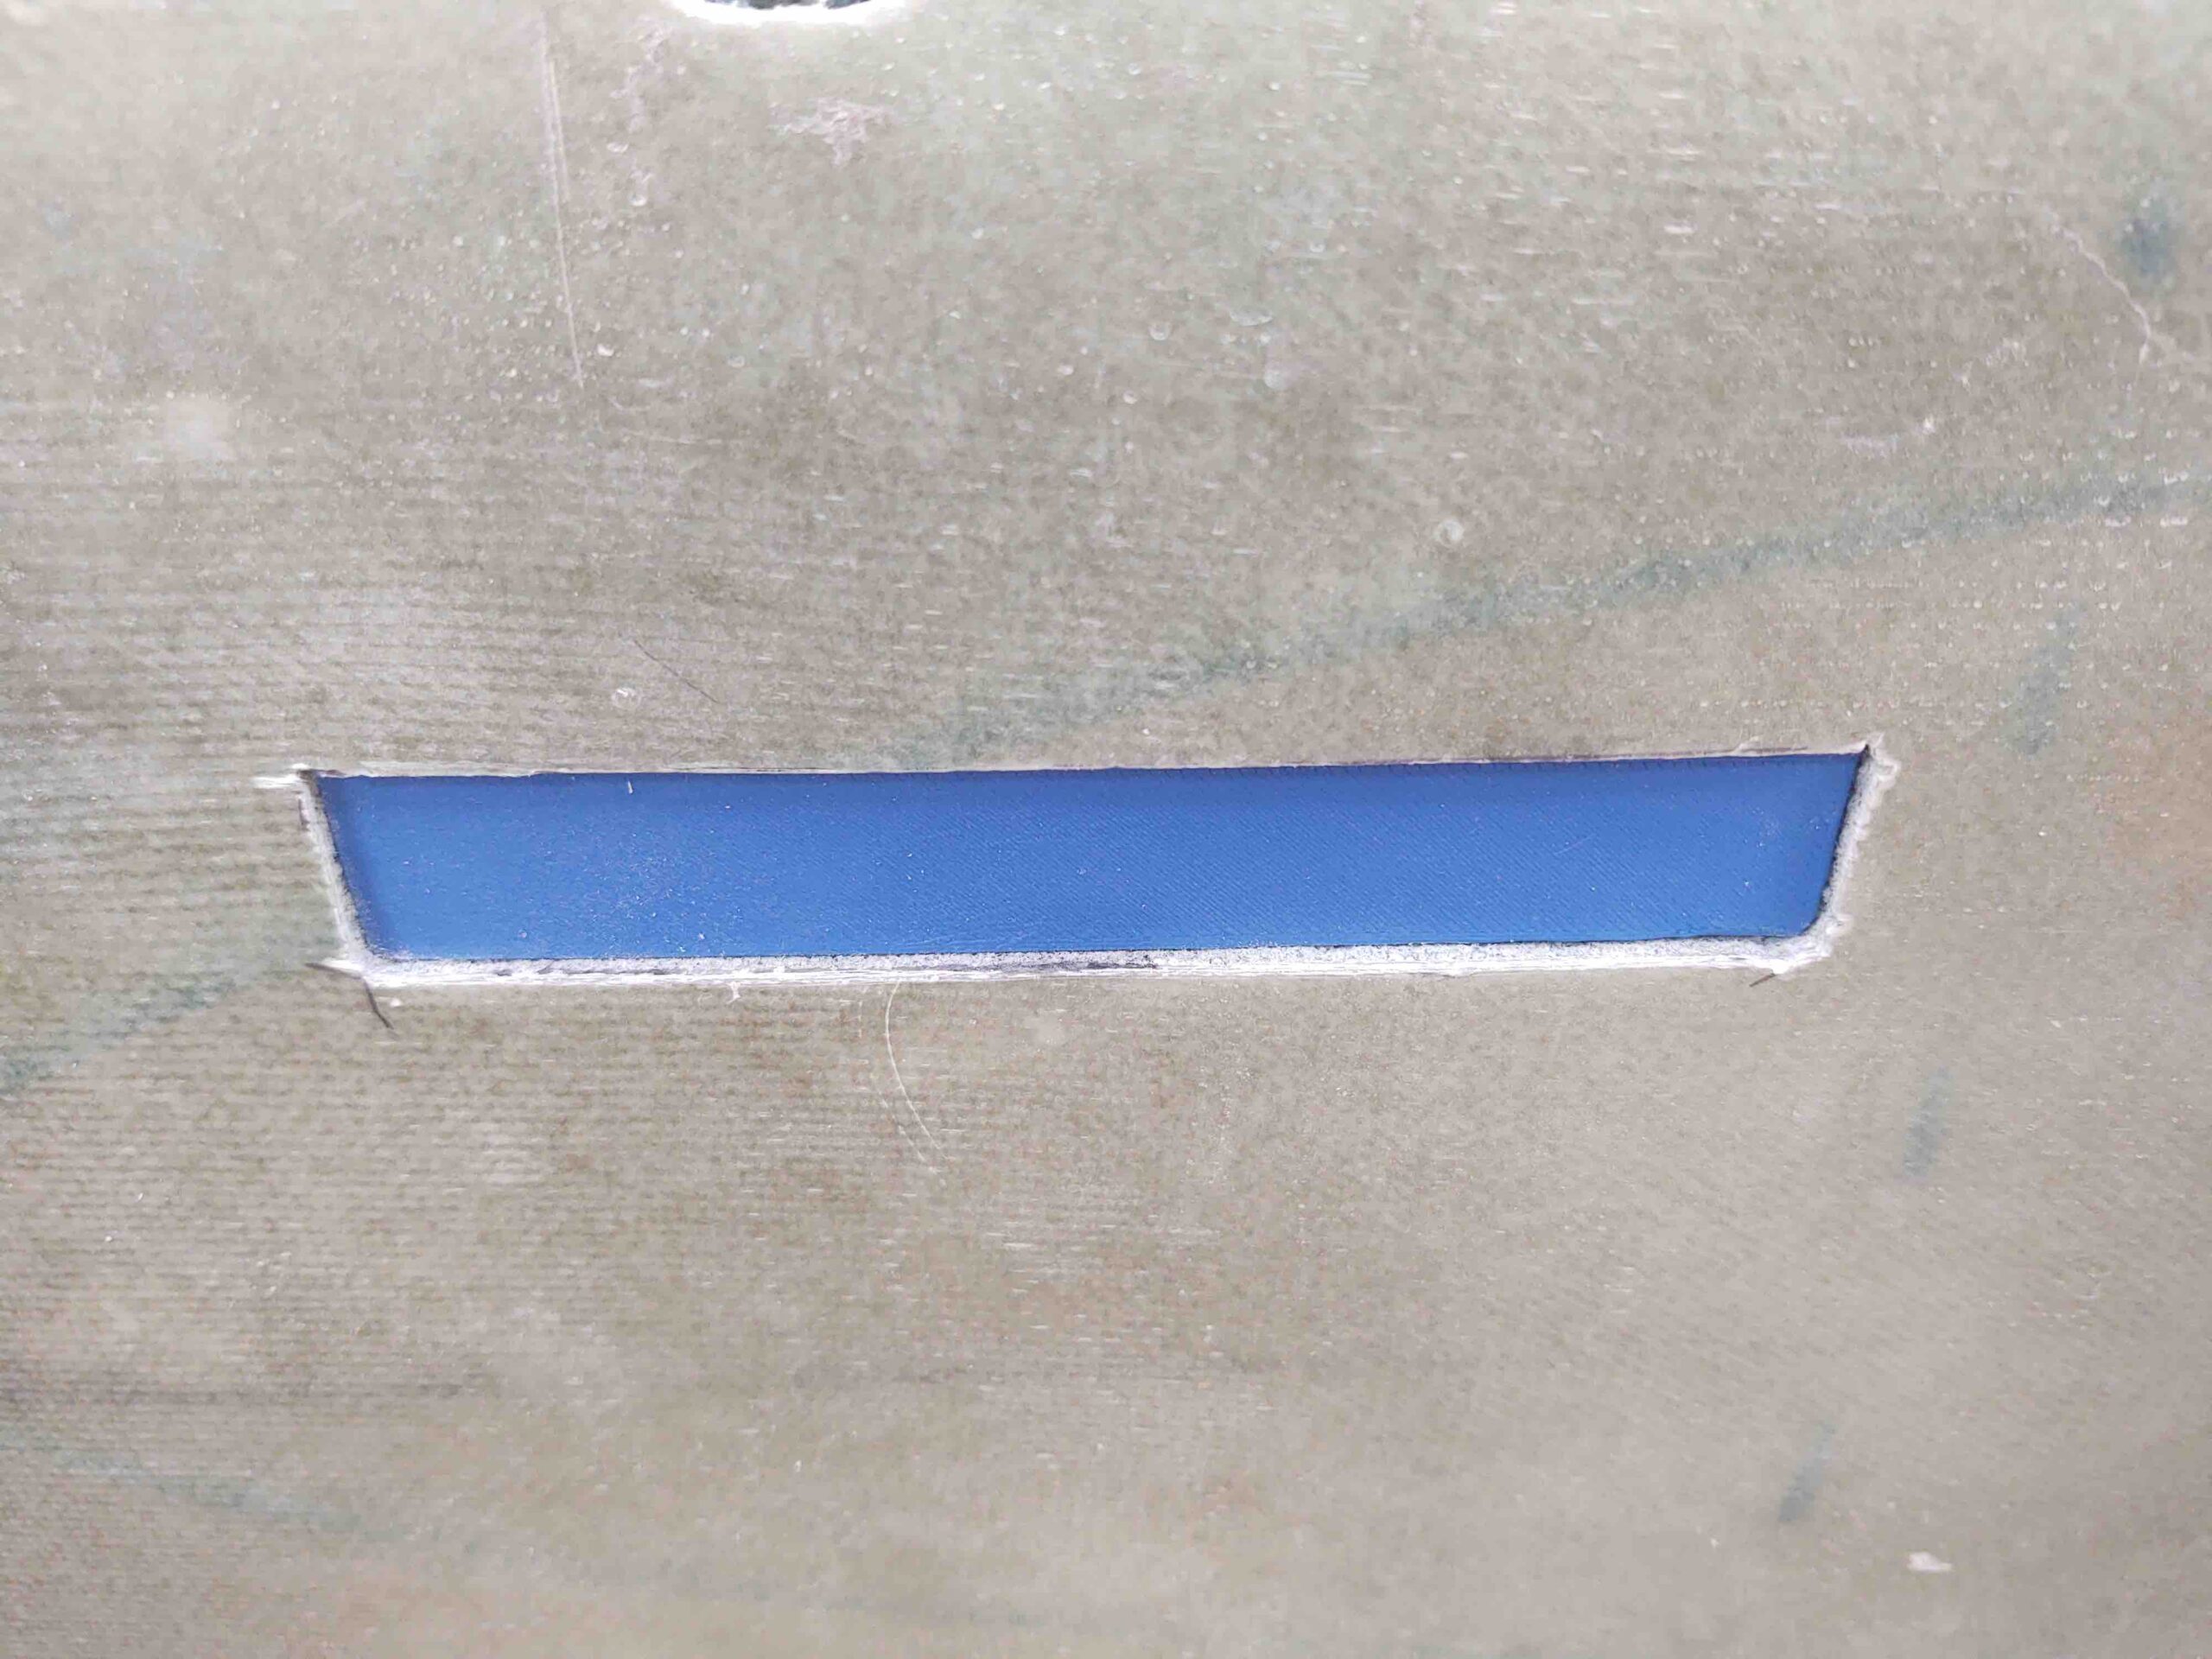
The outside will look really nice when all is done as well… just a diminutive, fairly nondescript aluminum strip will show.
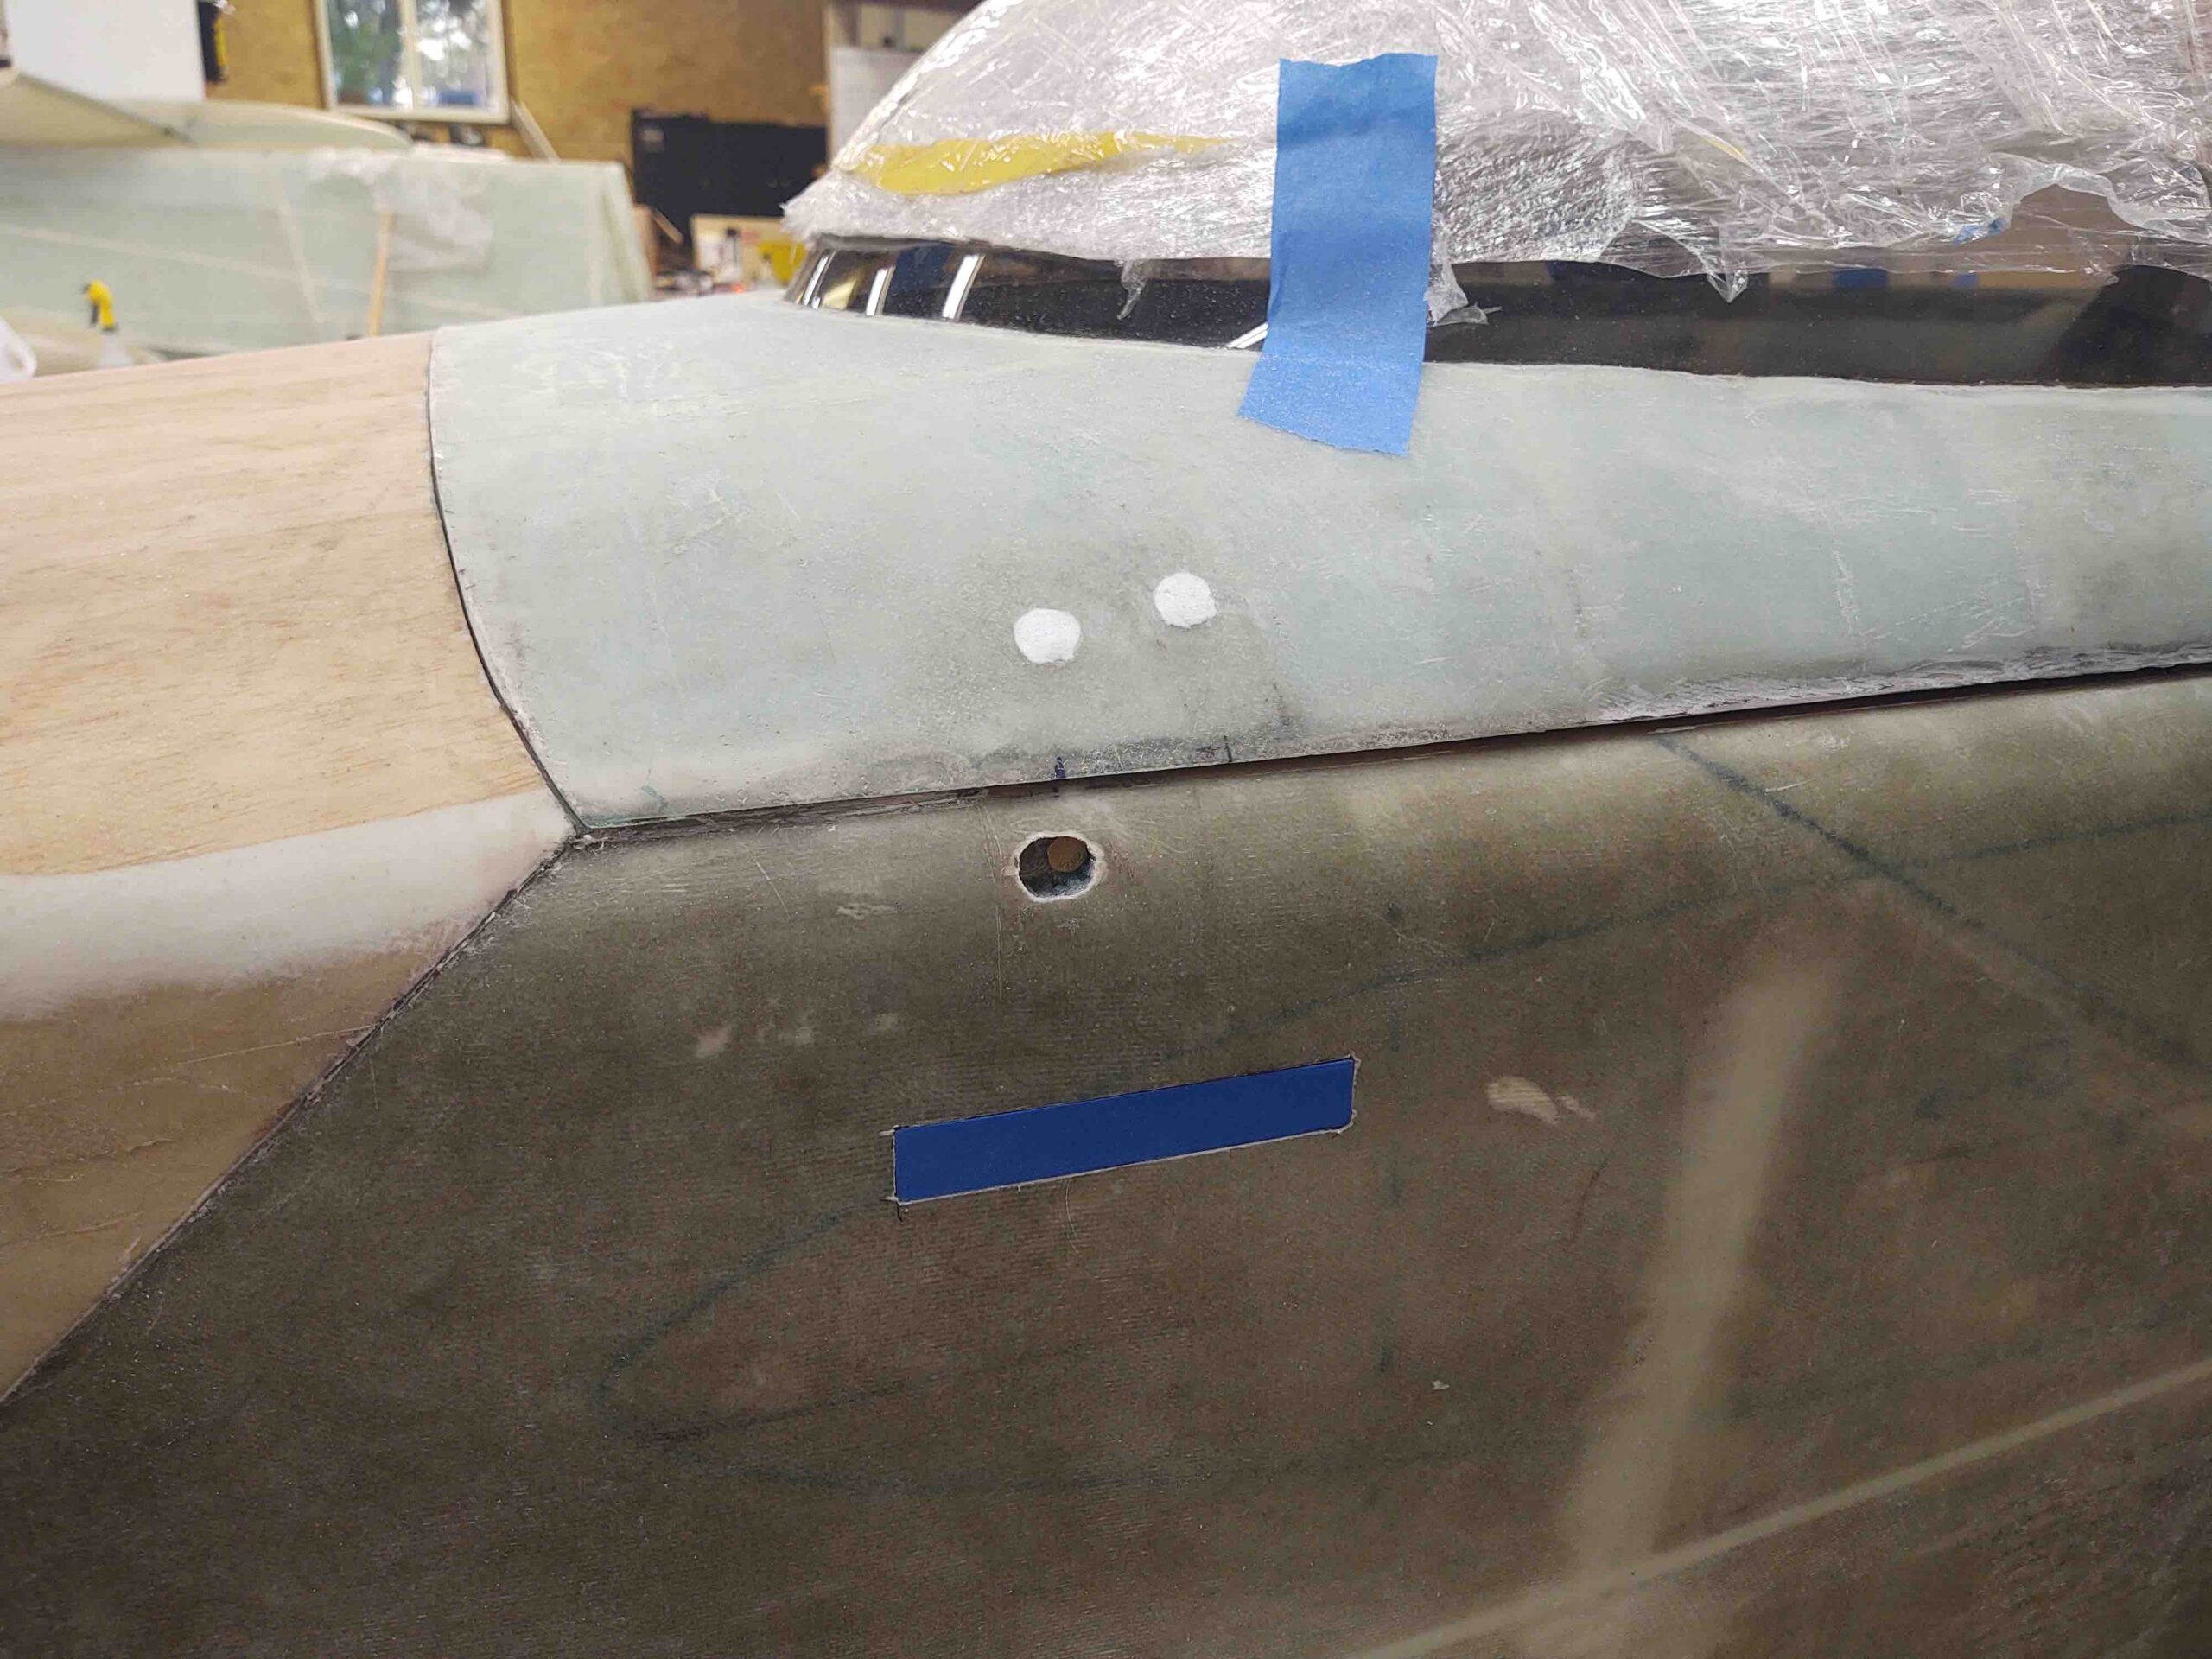
Shot with the canopy closed.
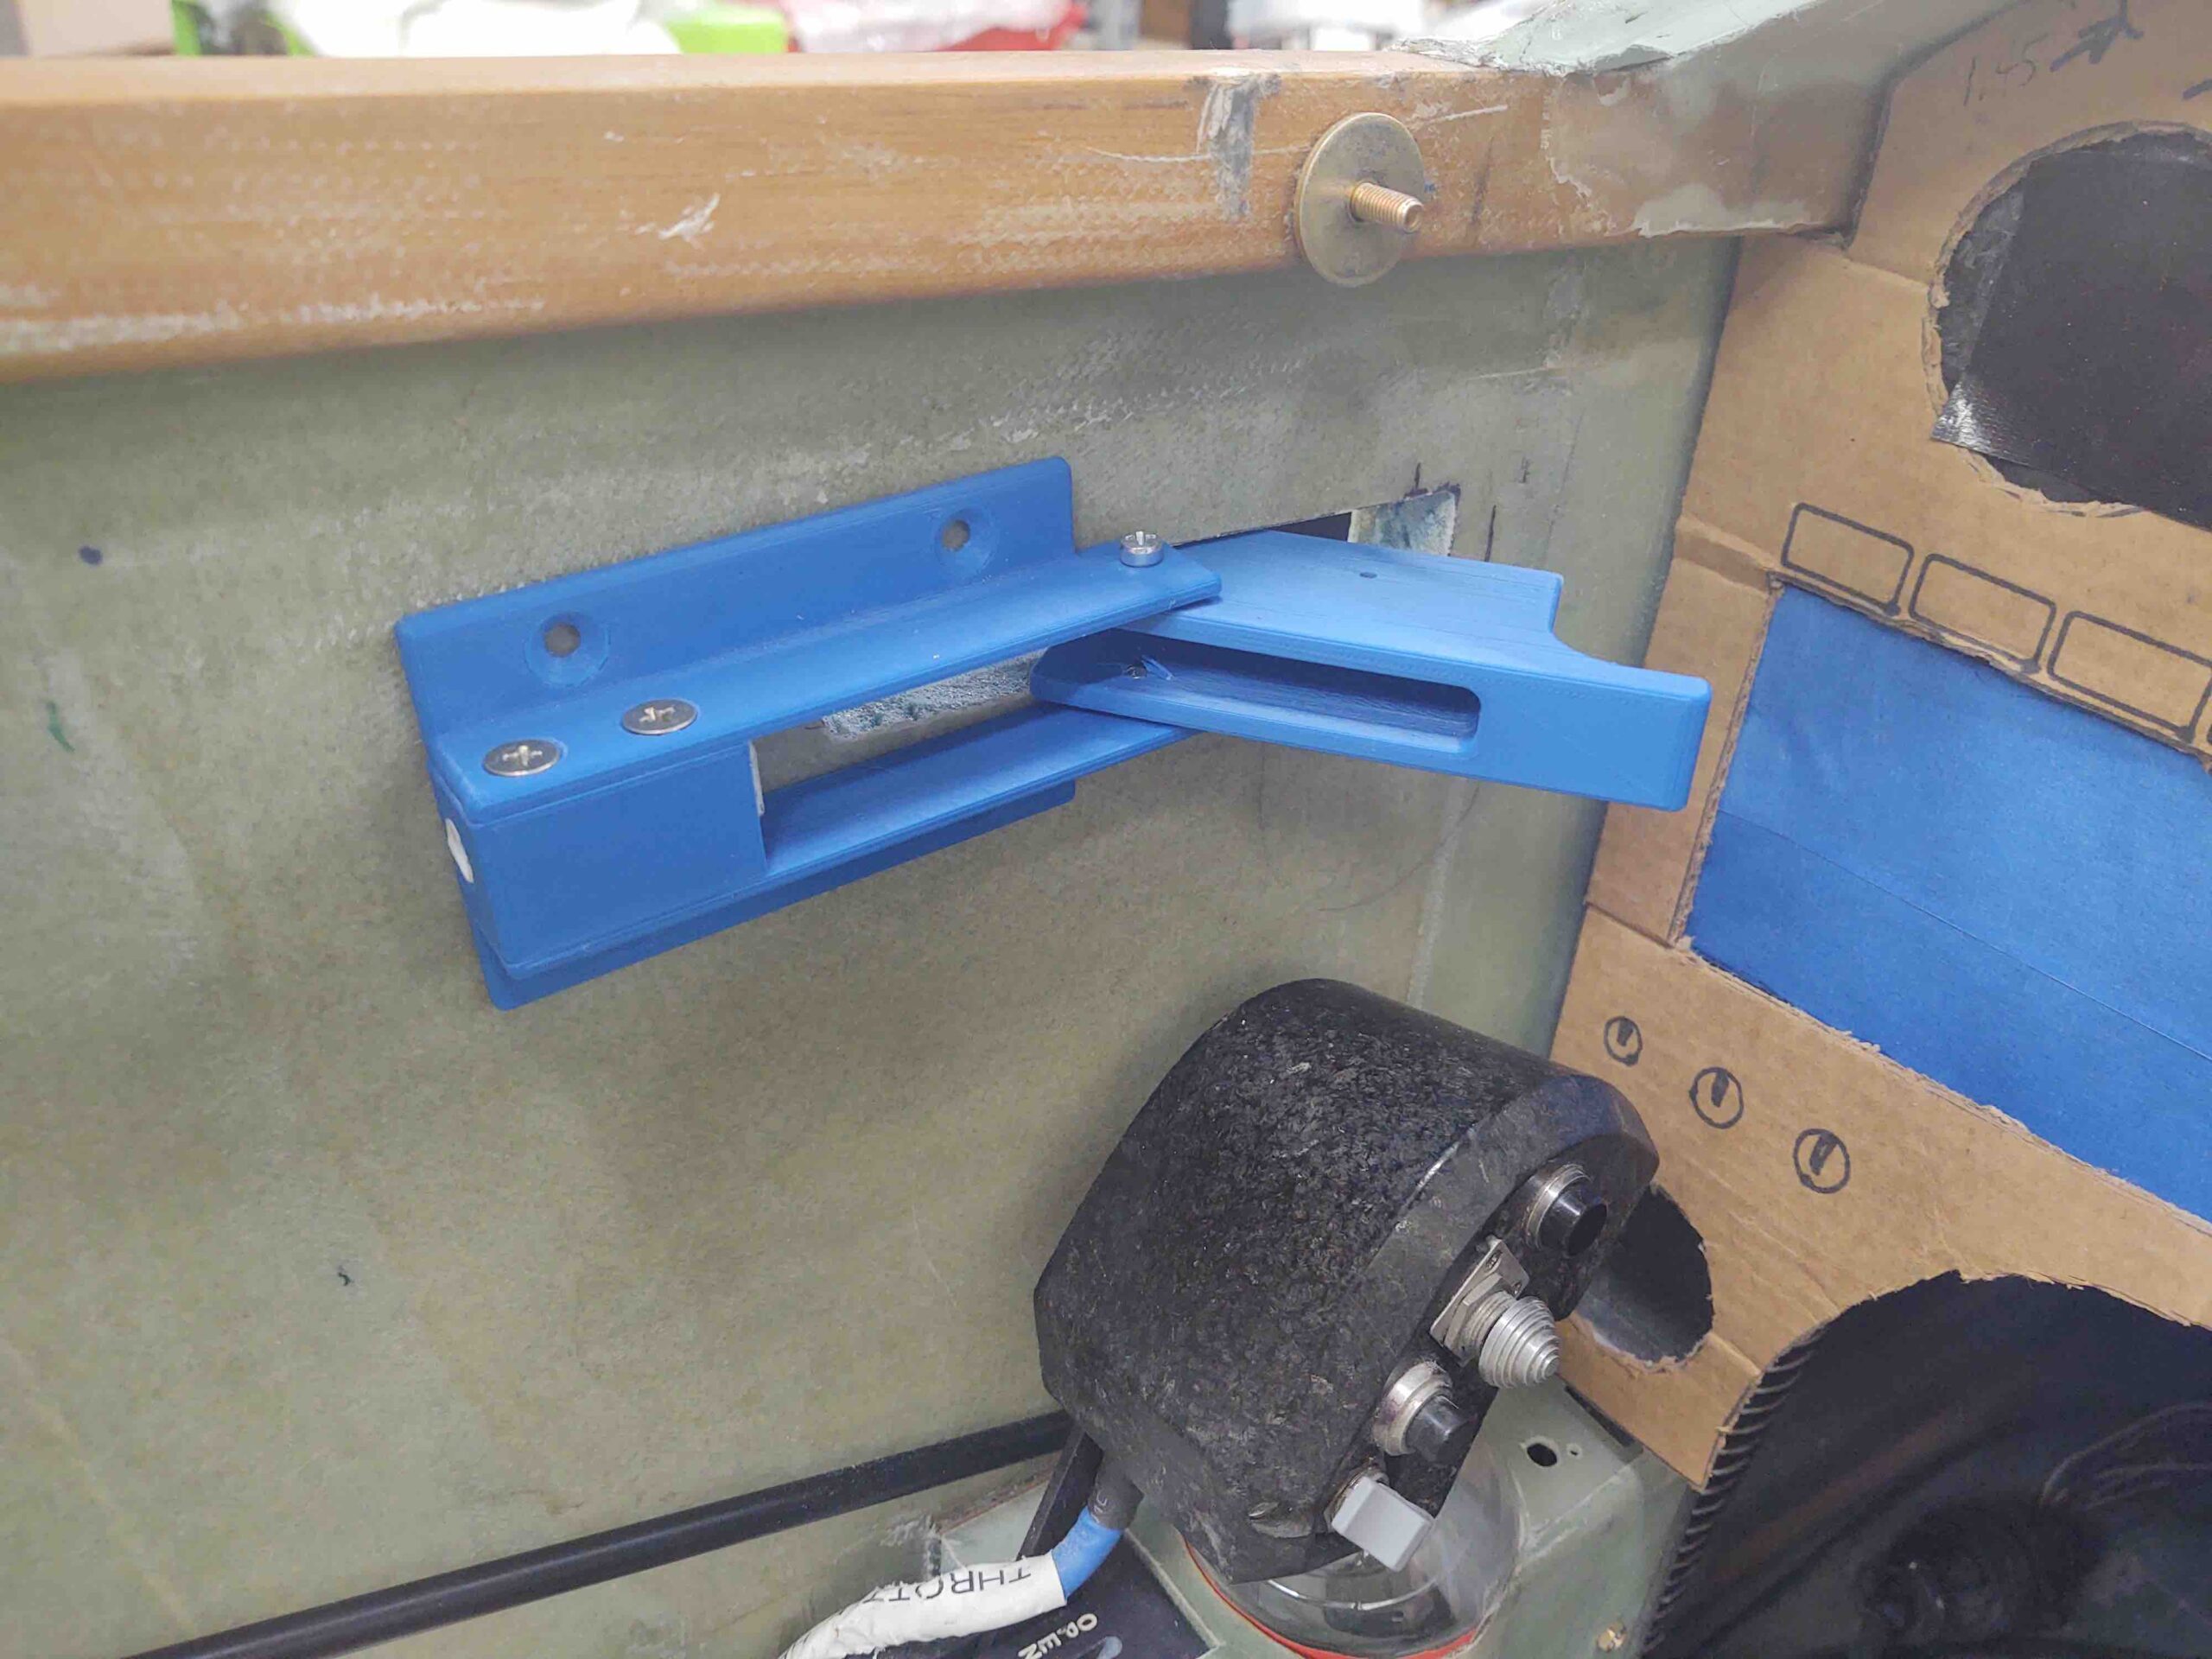
Another shot, but this time note the center pivoting hinge screws are installed back in place. I left them out the first time because I quickly noted that when they are installed . . .
it caused this on the outside.
I was wondering about this because the measurement I received for the back of the interior handle mounting plate (inside) to the exterior face of the handle (outside) was 3/4″ on the dot. This seemed too simplified/narrow to me since we use 3/4″ foam and add glass to each side… yep, need to move the hinge point inboard about 1/8″ to account for the glass thickness.
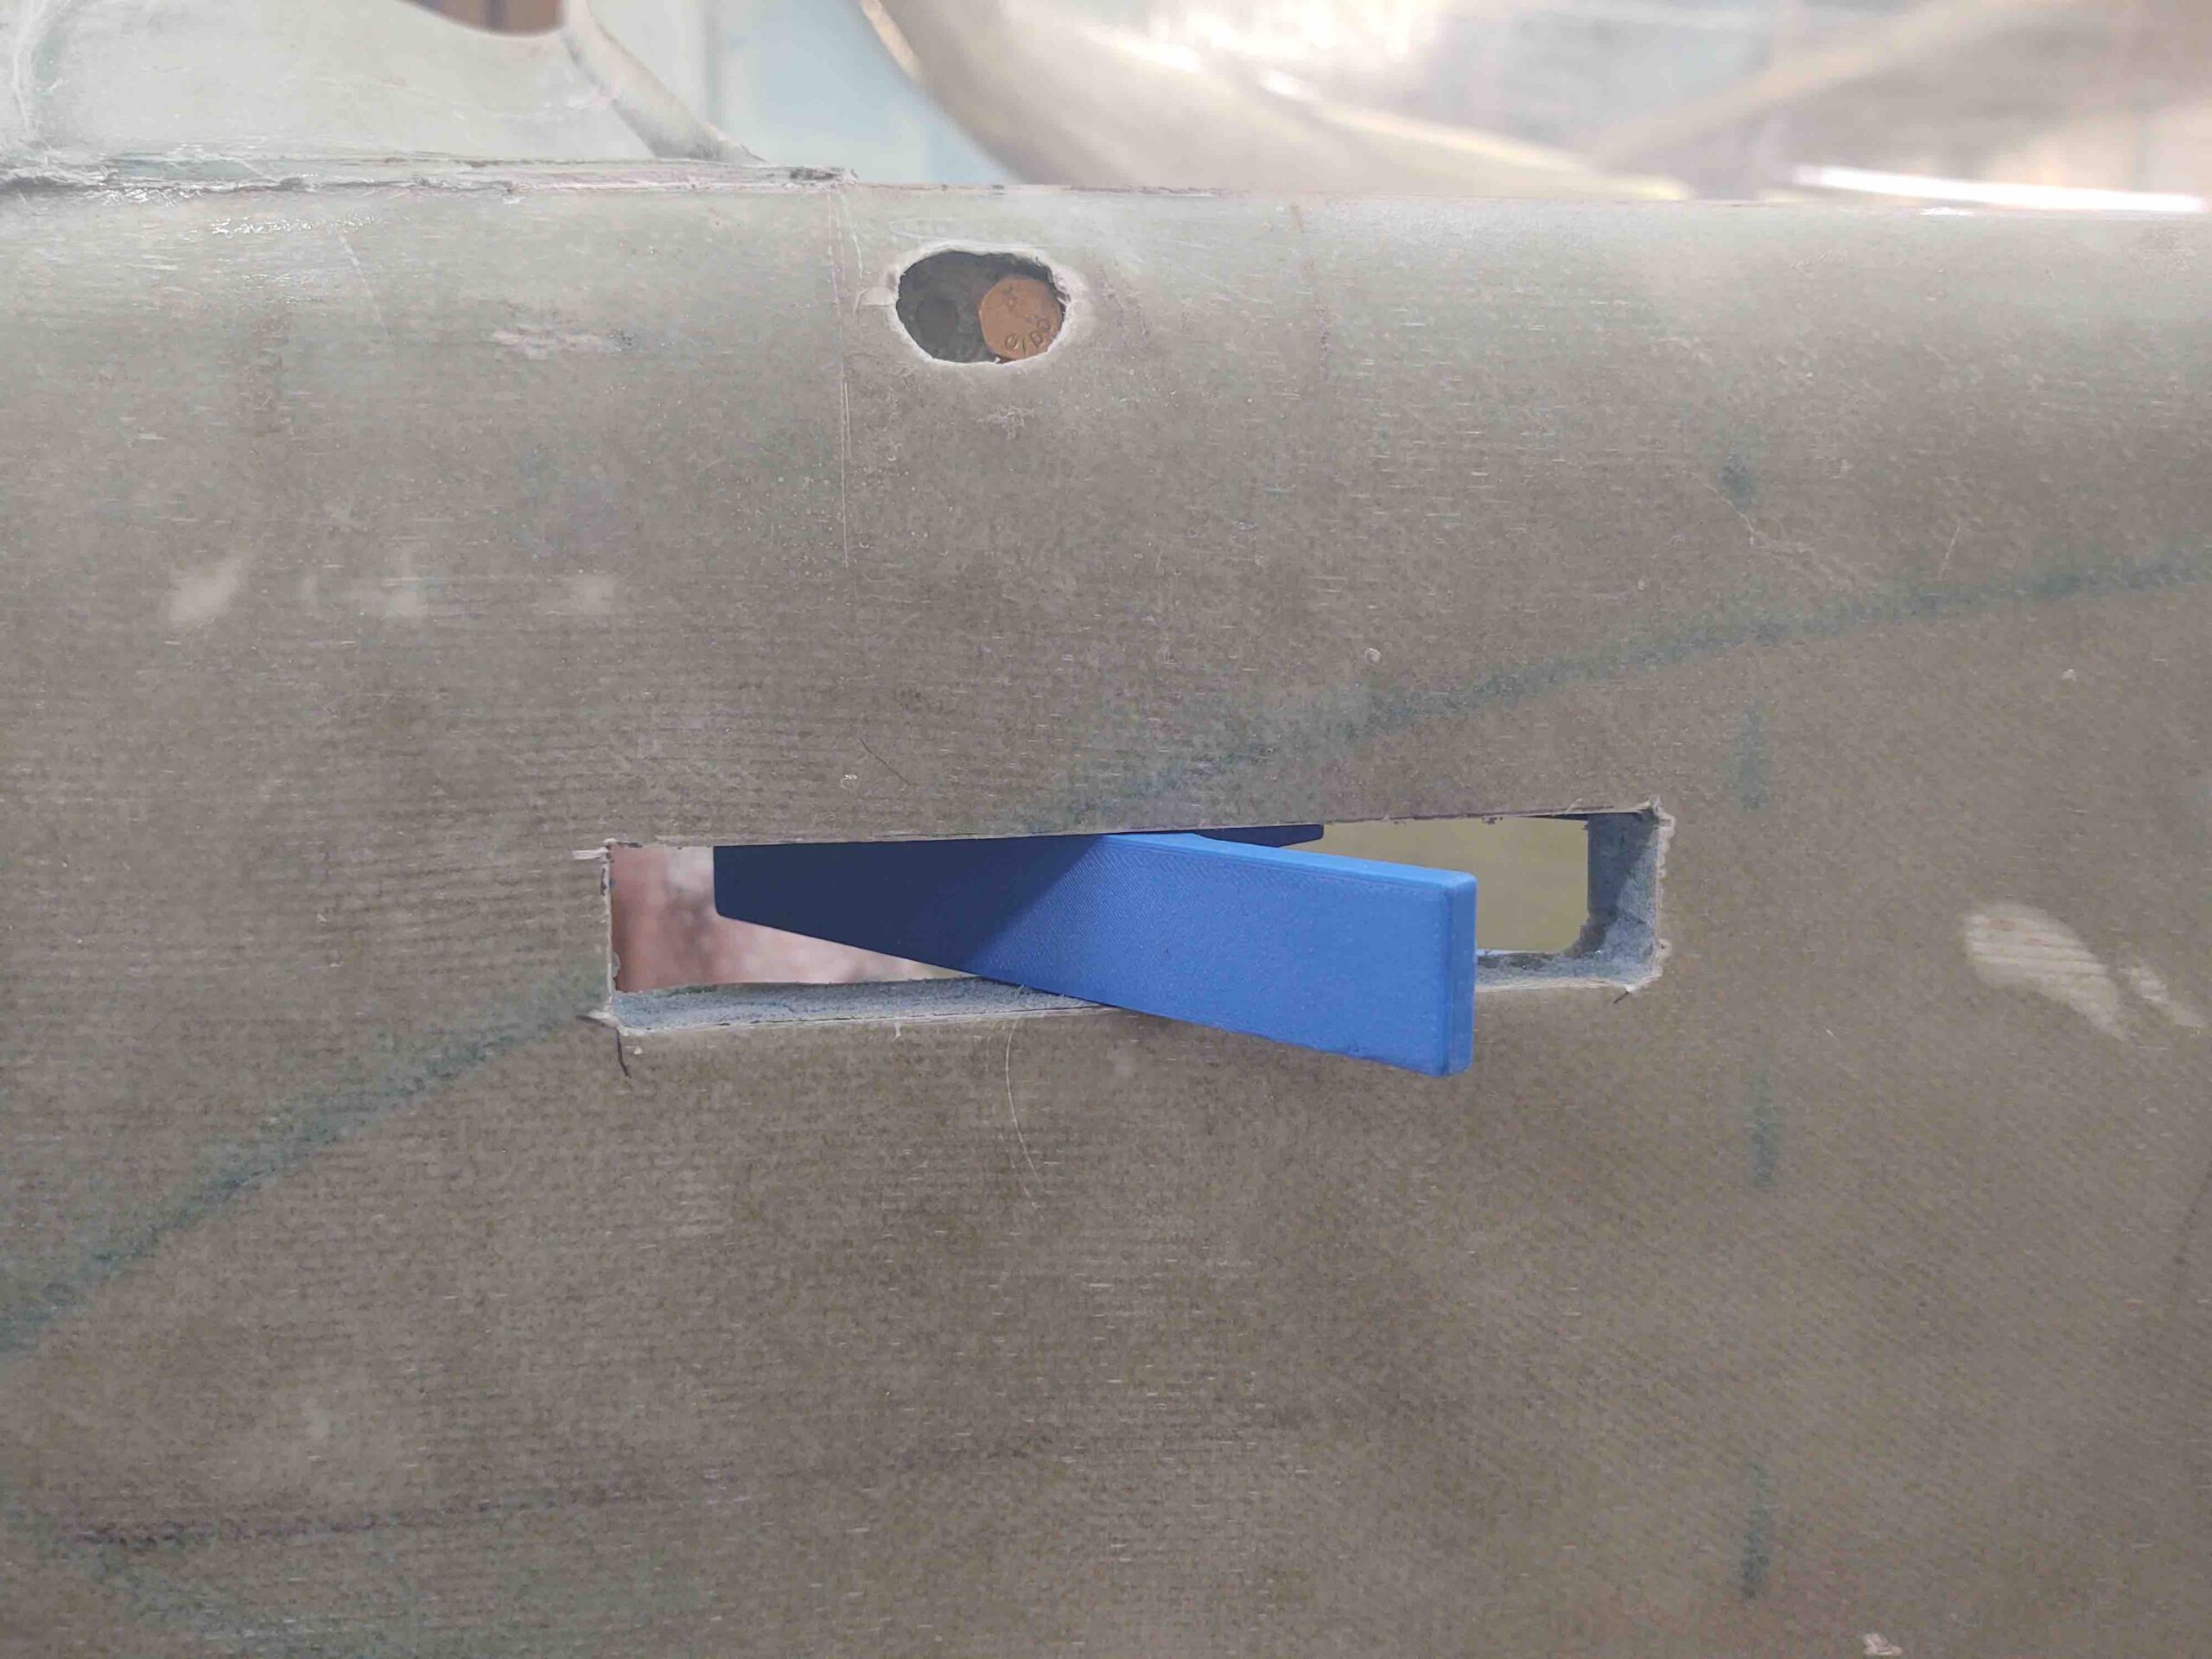
Here we have the handle in operation. This is how it will look pivoted when the canopy is being unlocked and opened.
A shot from inside… again, opened. And in the next pic: REALLY opened!

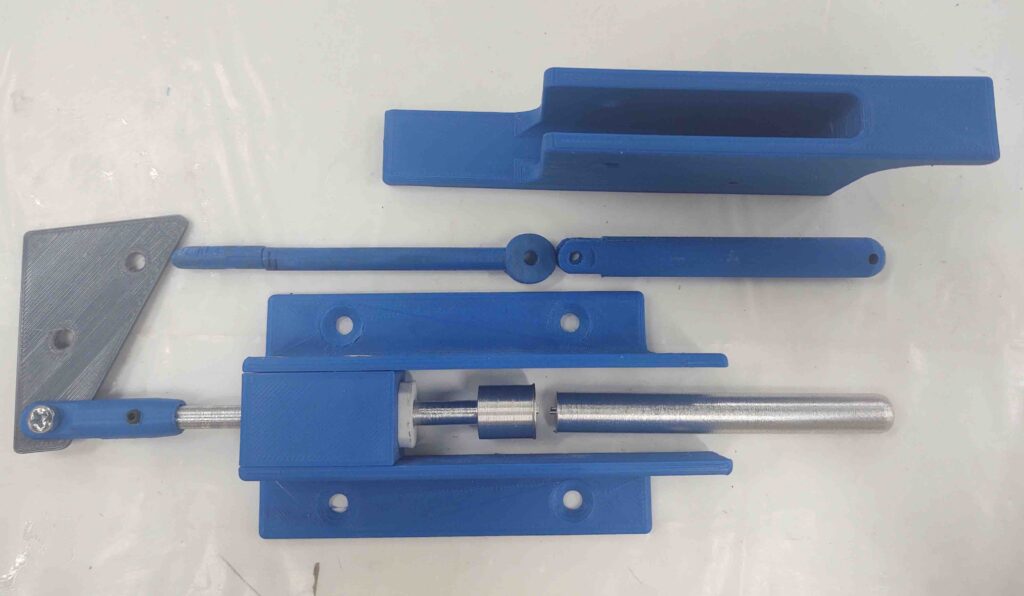
Satisfied with the handle placement and that it will work as designed (so far . . . !) I got to work machining some parts on the lathe to create an aluminum (read: real) version of the canopy latch. To be clear, I will need to get the mill up and running to finish the big handle piece, but the other stuff I can do some poor man machining and manual lathe work.
To be even more clear: I need a functioning canopy latch handle now, so I will get this version spit out post haste. Since this is a bolt-in part and I may want to improve or modify pieces –or even the whole thing– I can CNC machine better looking stuff later. Right now I need a working, functional, safe canopy latch… again, PRONTO!
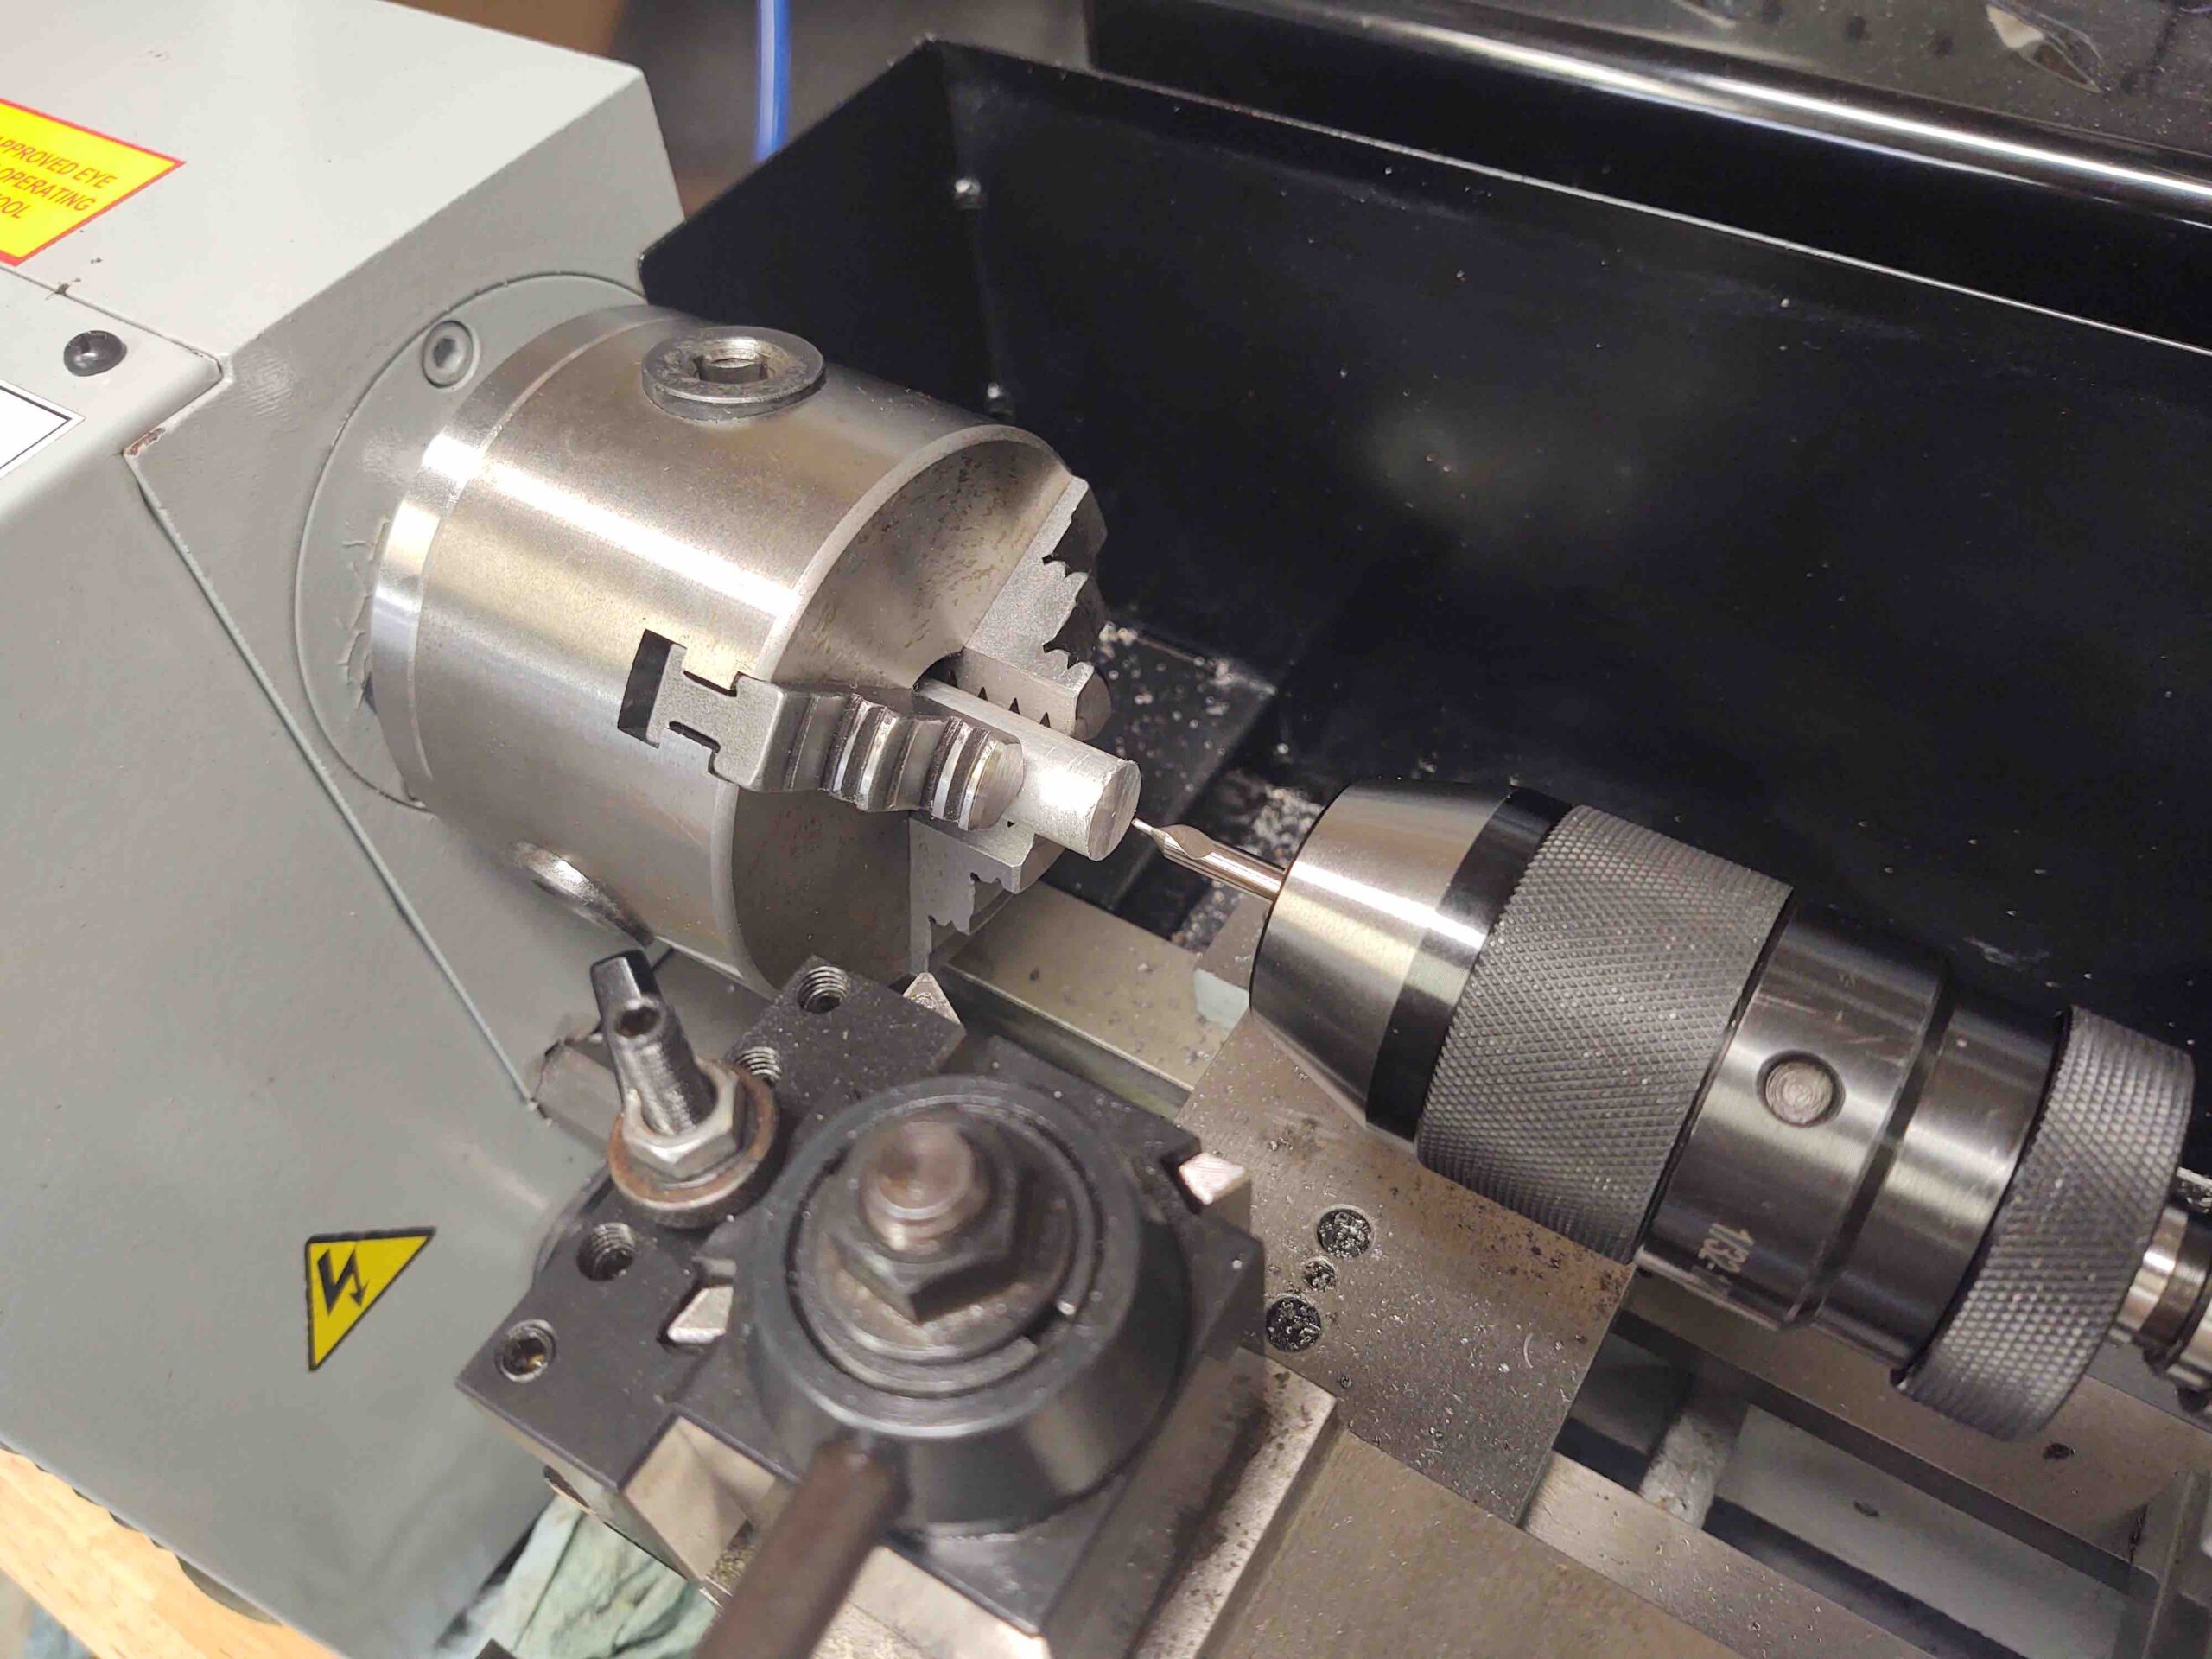
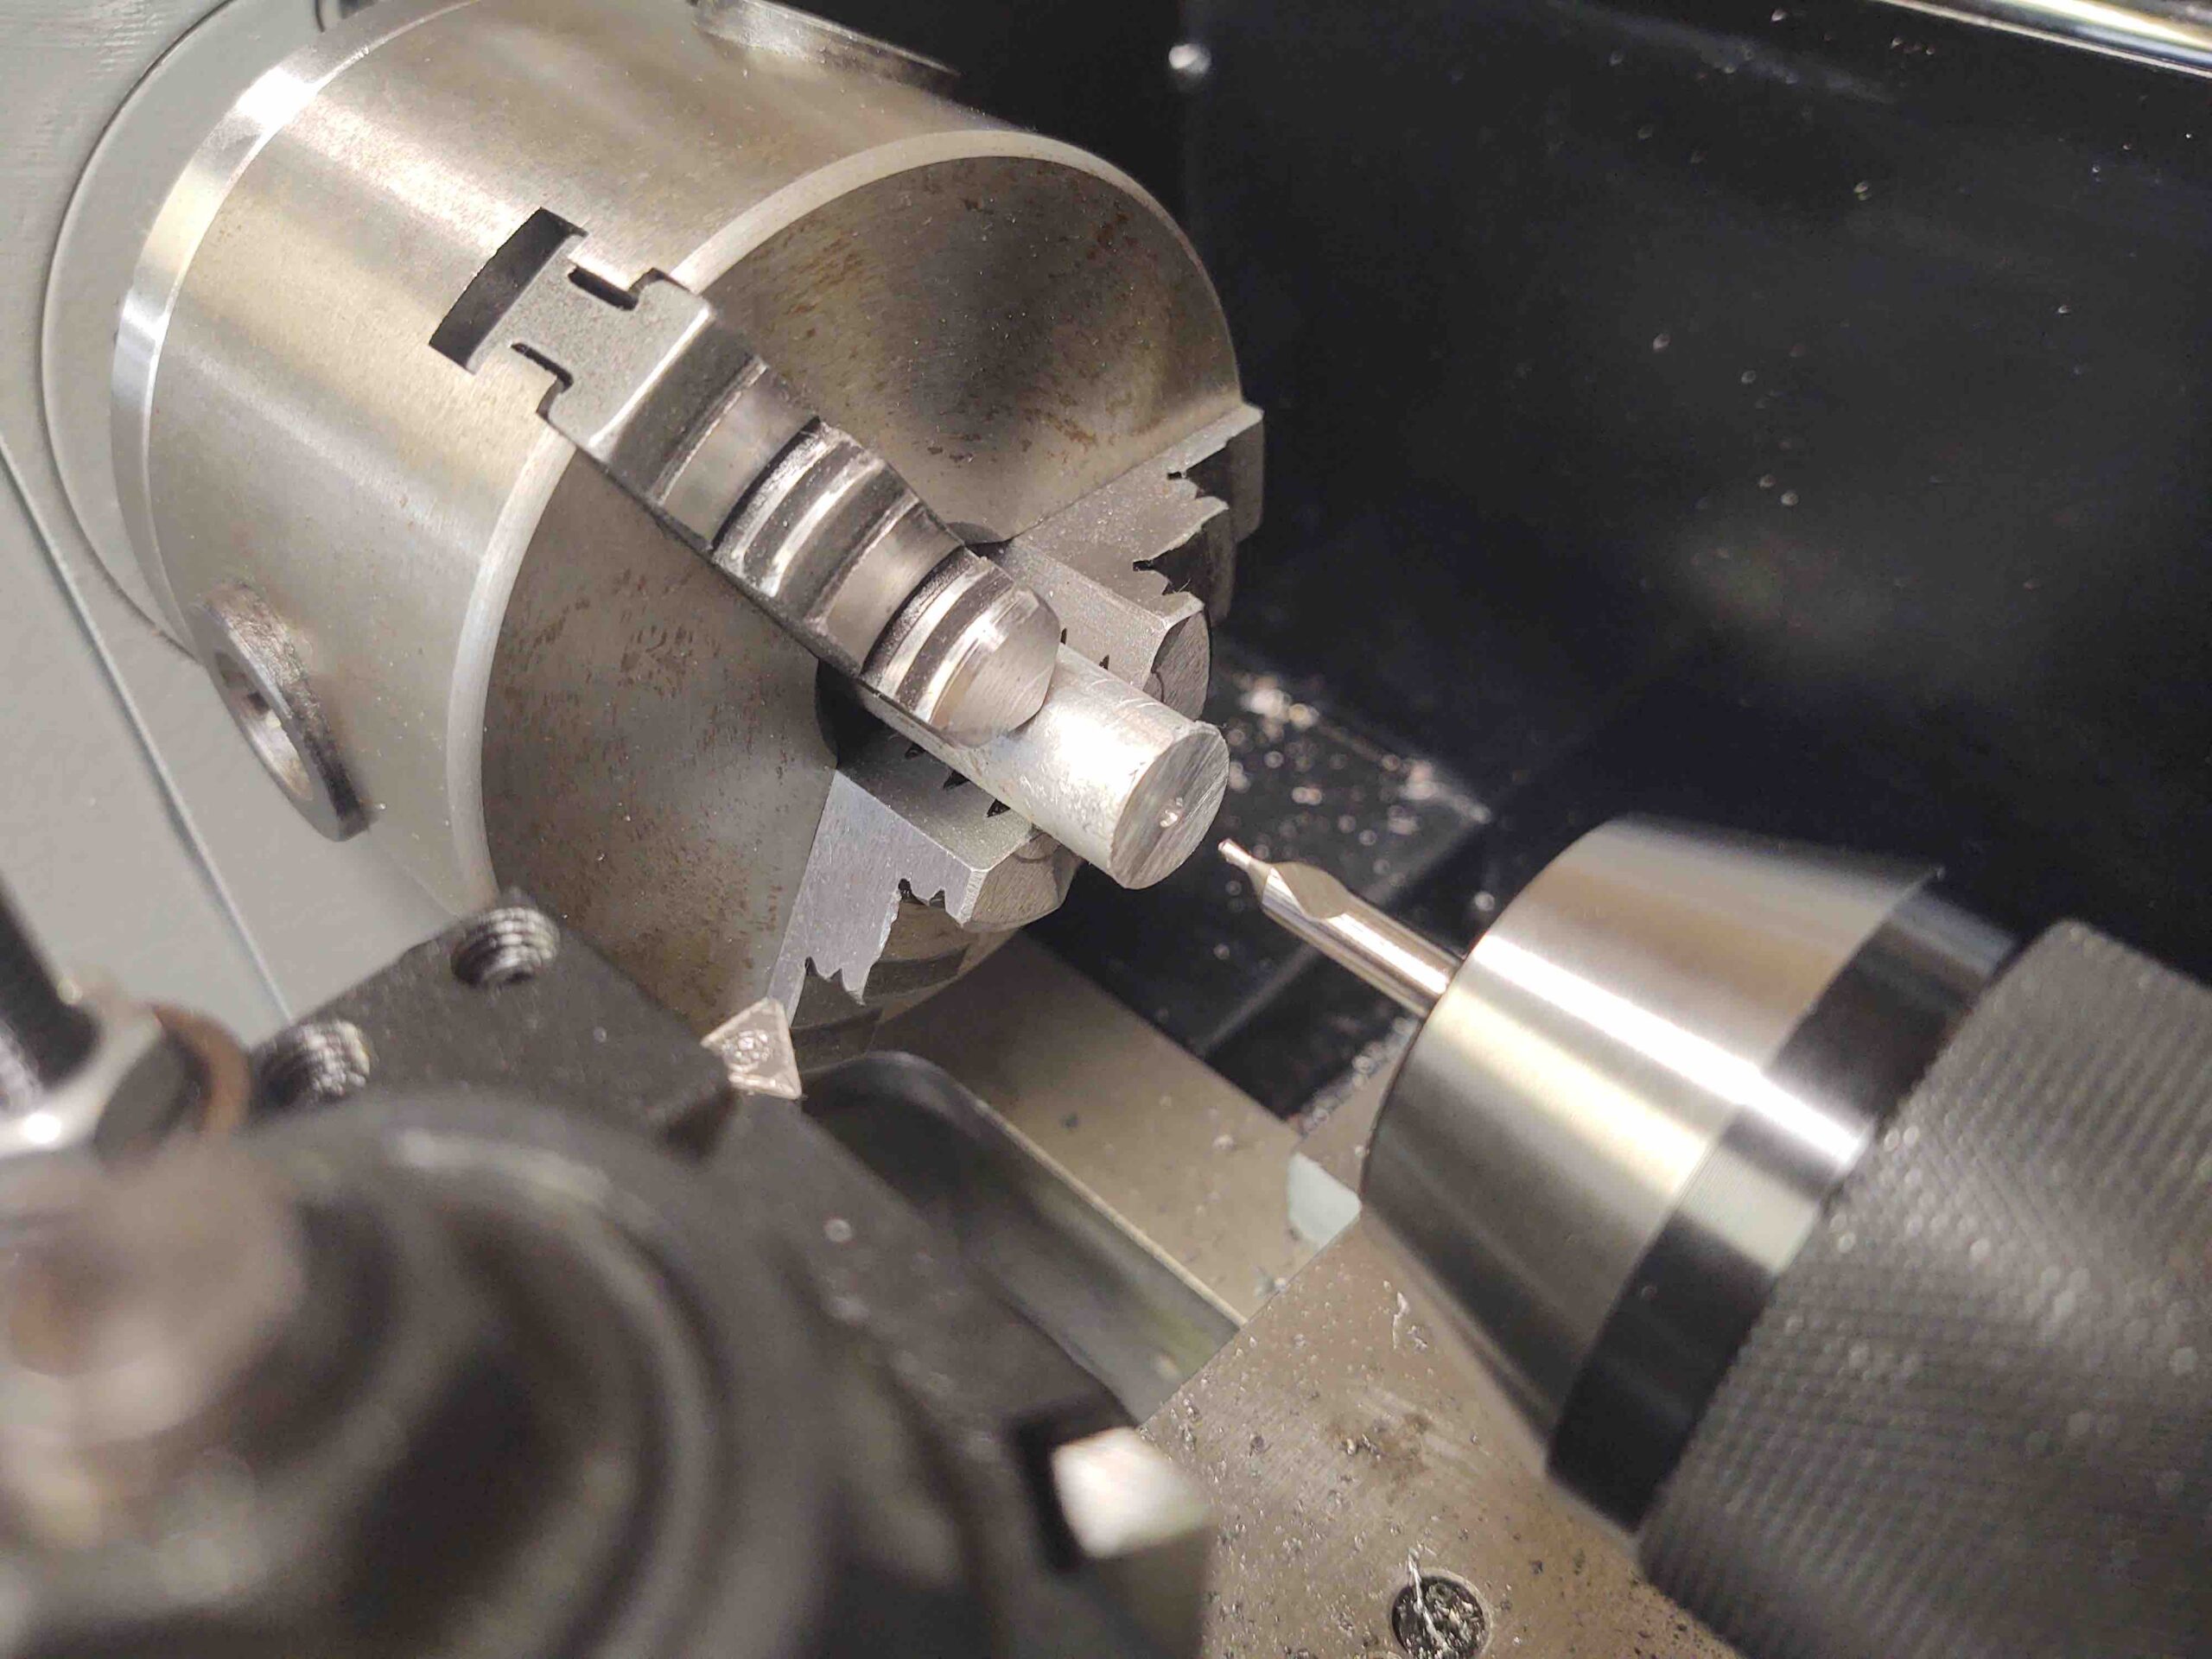
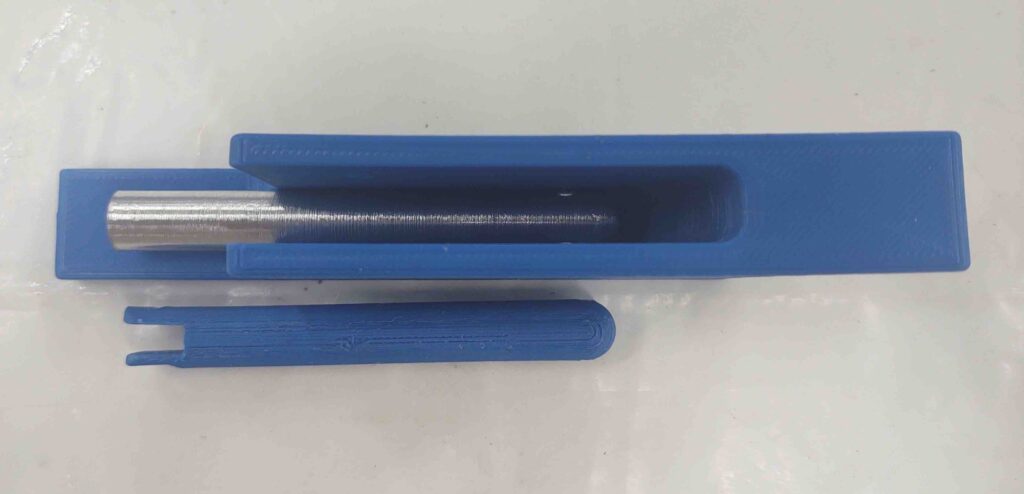
Since I was working with a foot-long rod of 6061 aluminum, and needed to keep it as straight as possible on the lathe, I needed to secure the far (non-chuck) side with what we call a dead center. Thus, the sharp point of the dead center needs an indentation to put its nose into to do its job… that’s where the diminutive center drill comes into play.
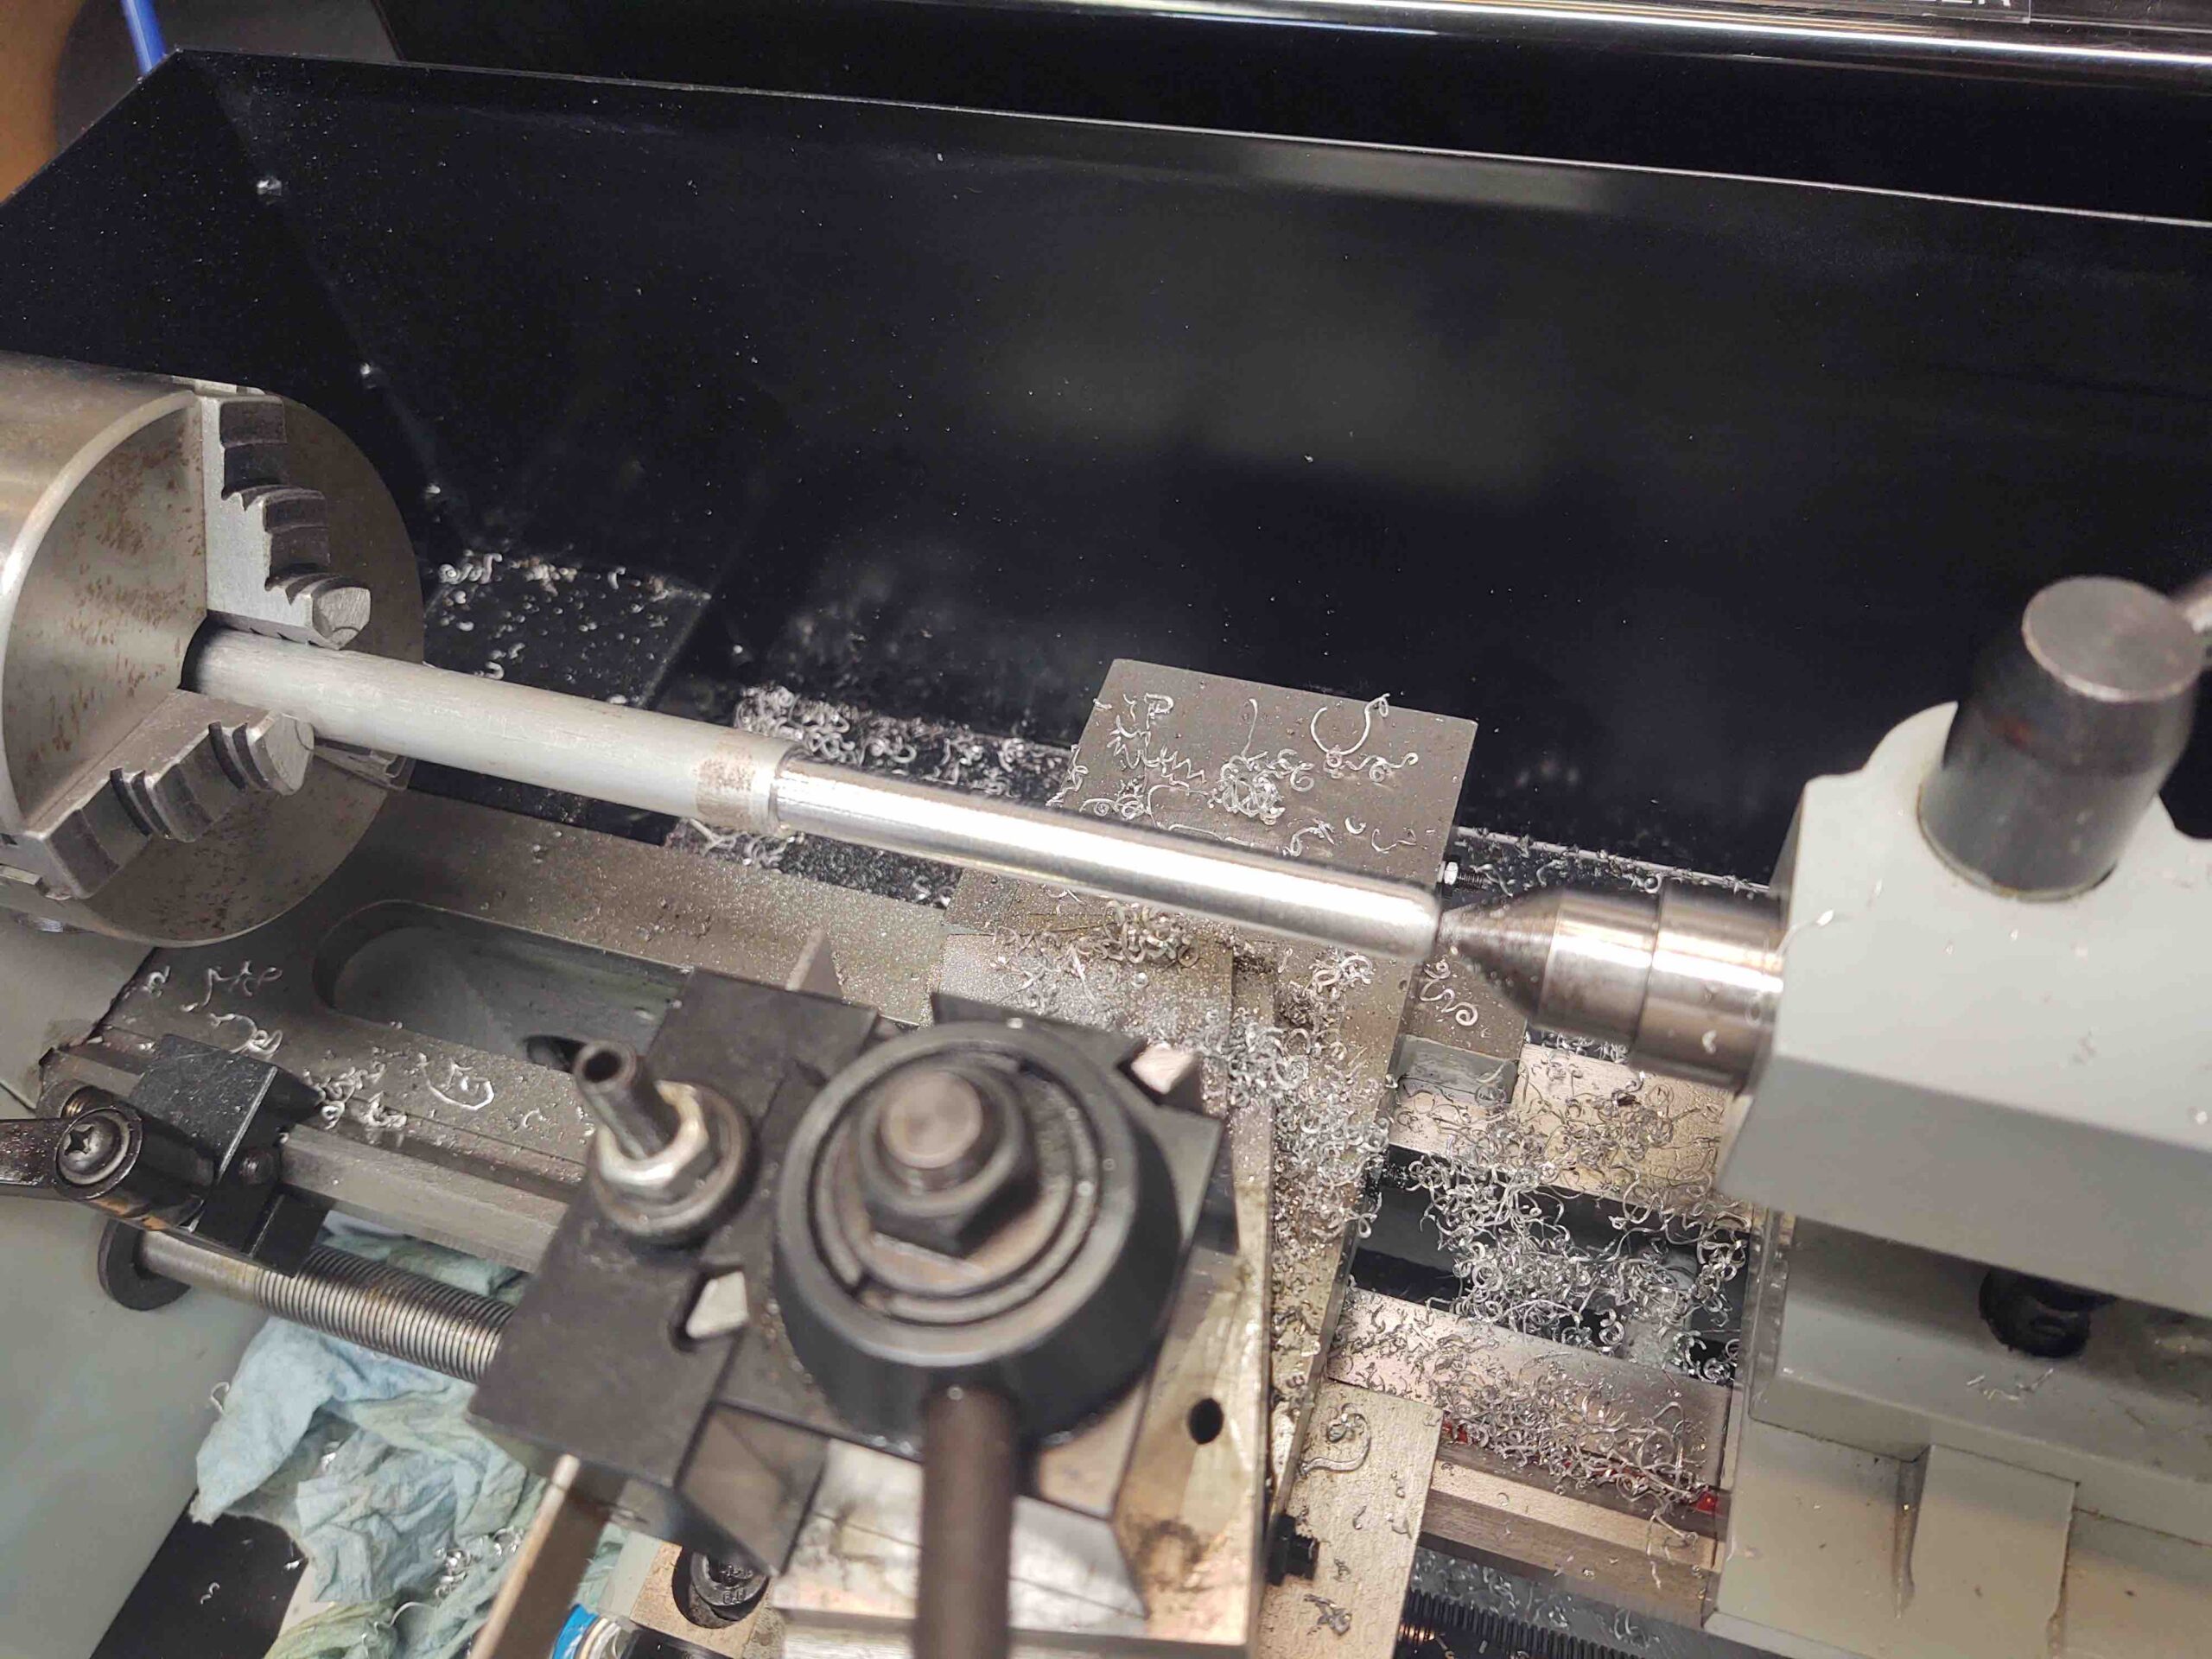
A bit later we have the finished (lathe-wise) canopy latch forward connecting rod.
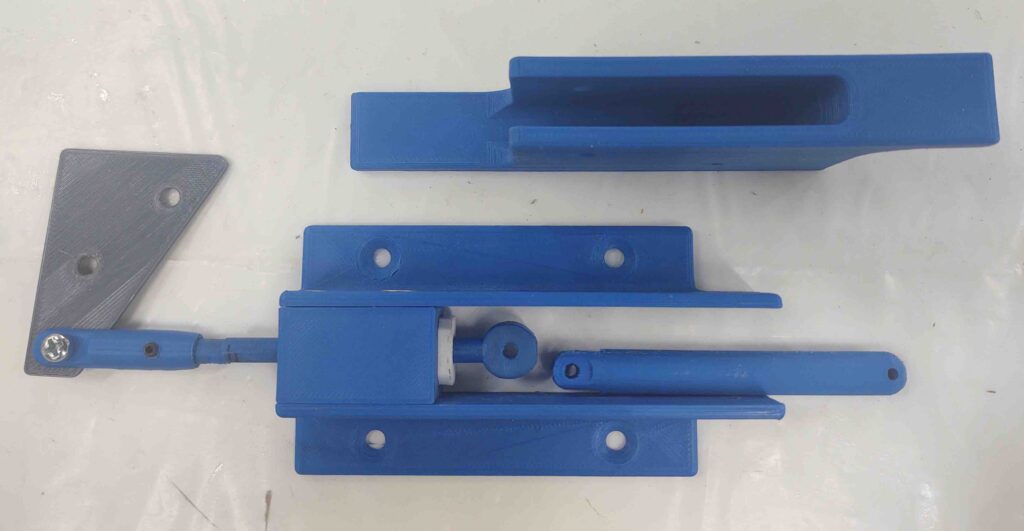
Here’s a shot of the 3D printed canopy latch handle broken down somewhat in its component parts.
After round 2 on the lathe I created the aft interlinking connecting rod that will actually attach to the triangular piece, which then connects to the canopy latch hook rods. I’ll finish “machining” these parts tomorrow.
Note: In my haste I had carbide cutting tools loaded up in my quick change tool holders, so I used them since I couldn’t quickly locate the HSS tools (yes, my missing stuff insanity apparently continues!). The finish was acceptable, but if you look at the bigger/wider diameter section of the aft connecting rod you can see a much better finish… this was lathed using a HSS tool insert (found ’em, in the wrong drawer).
This shows the new forward connecting rod piece tolerance fit inside the handle piece works a treat.
It was getting late, and I still needed to make and eat some dinner. Plenty of noise and aluminum chips to make tomorrow.
After another late dinner, I got back to work on the panel. I spent a good hour tracking down wires and making notes before I finally started re-populating the panel with the heavy hitters.
Here we have all the components back in place.
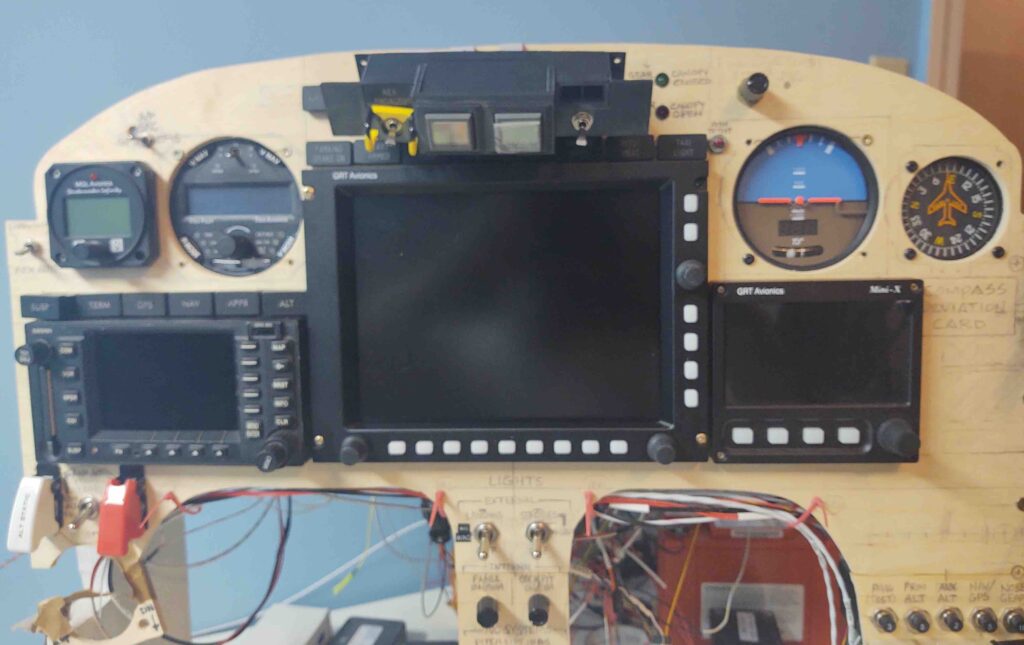
The first order of business was updating the EFIS & AHRS software on the GRT HXr and Mini-X EFISs. That went off without a hitch.
Although wired up, to stay sequential and minimize variables, I pulled the fuse on the Trig TY91 COM2 radio starting off. Note the empty right side of the HXr screen.
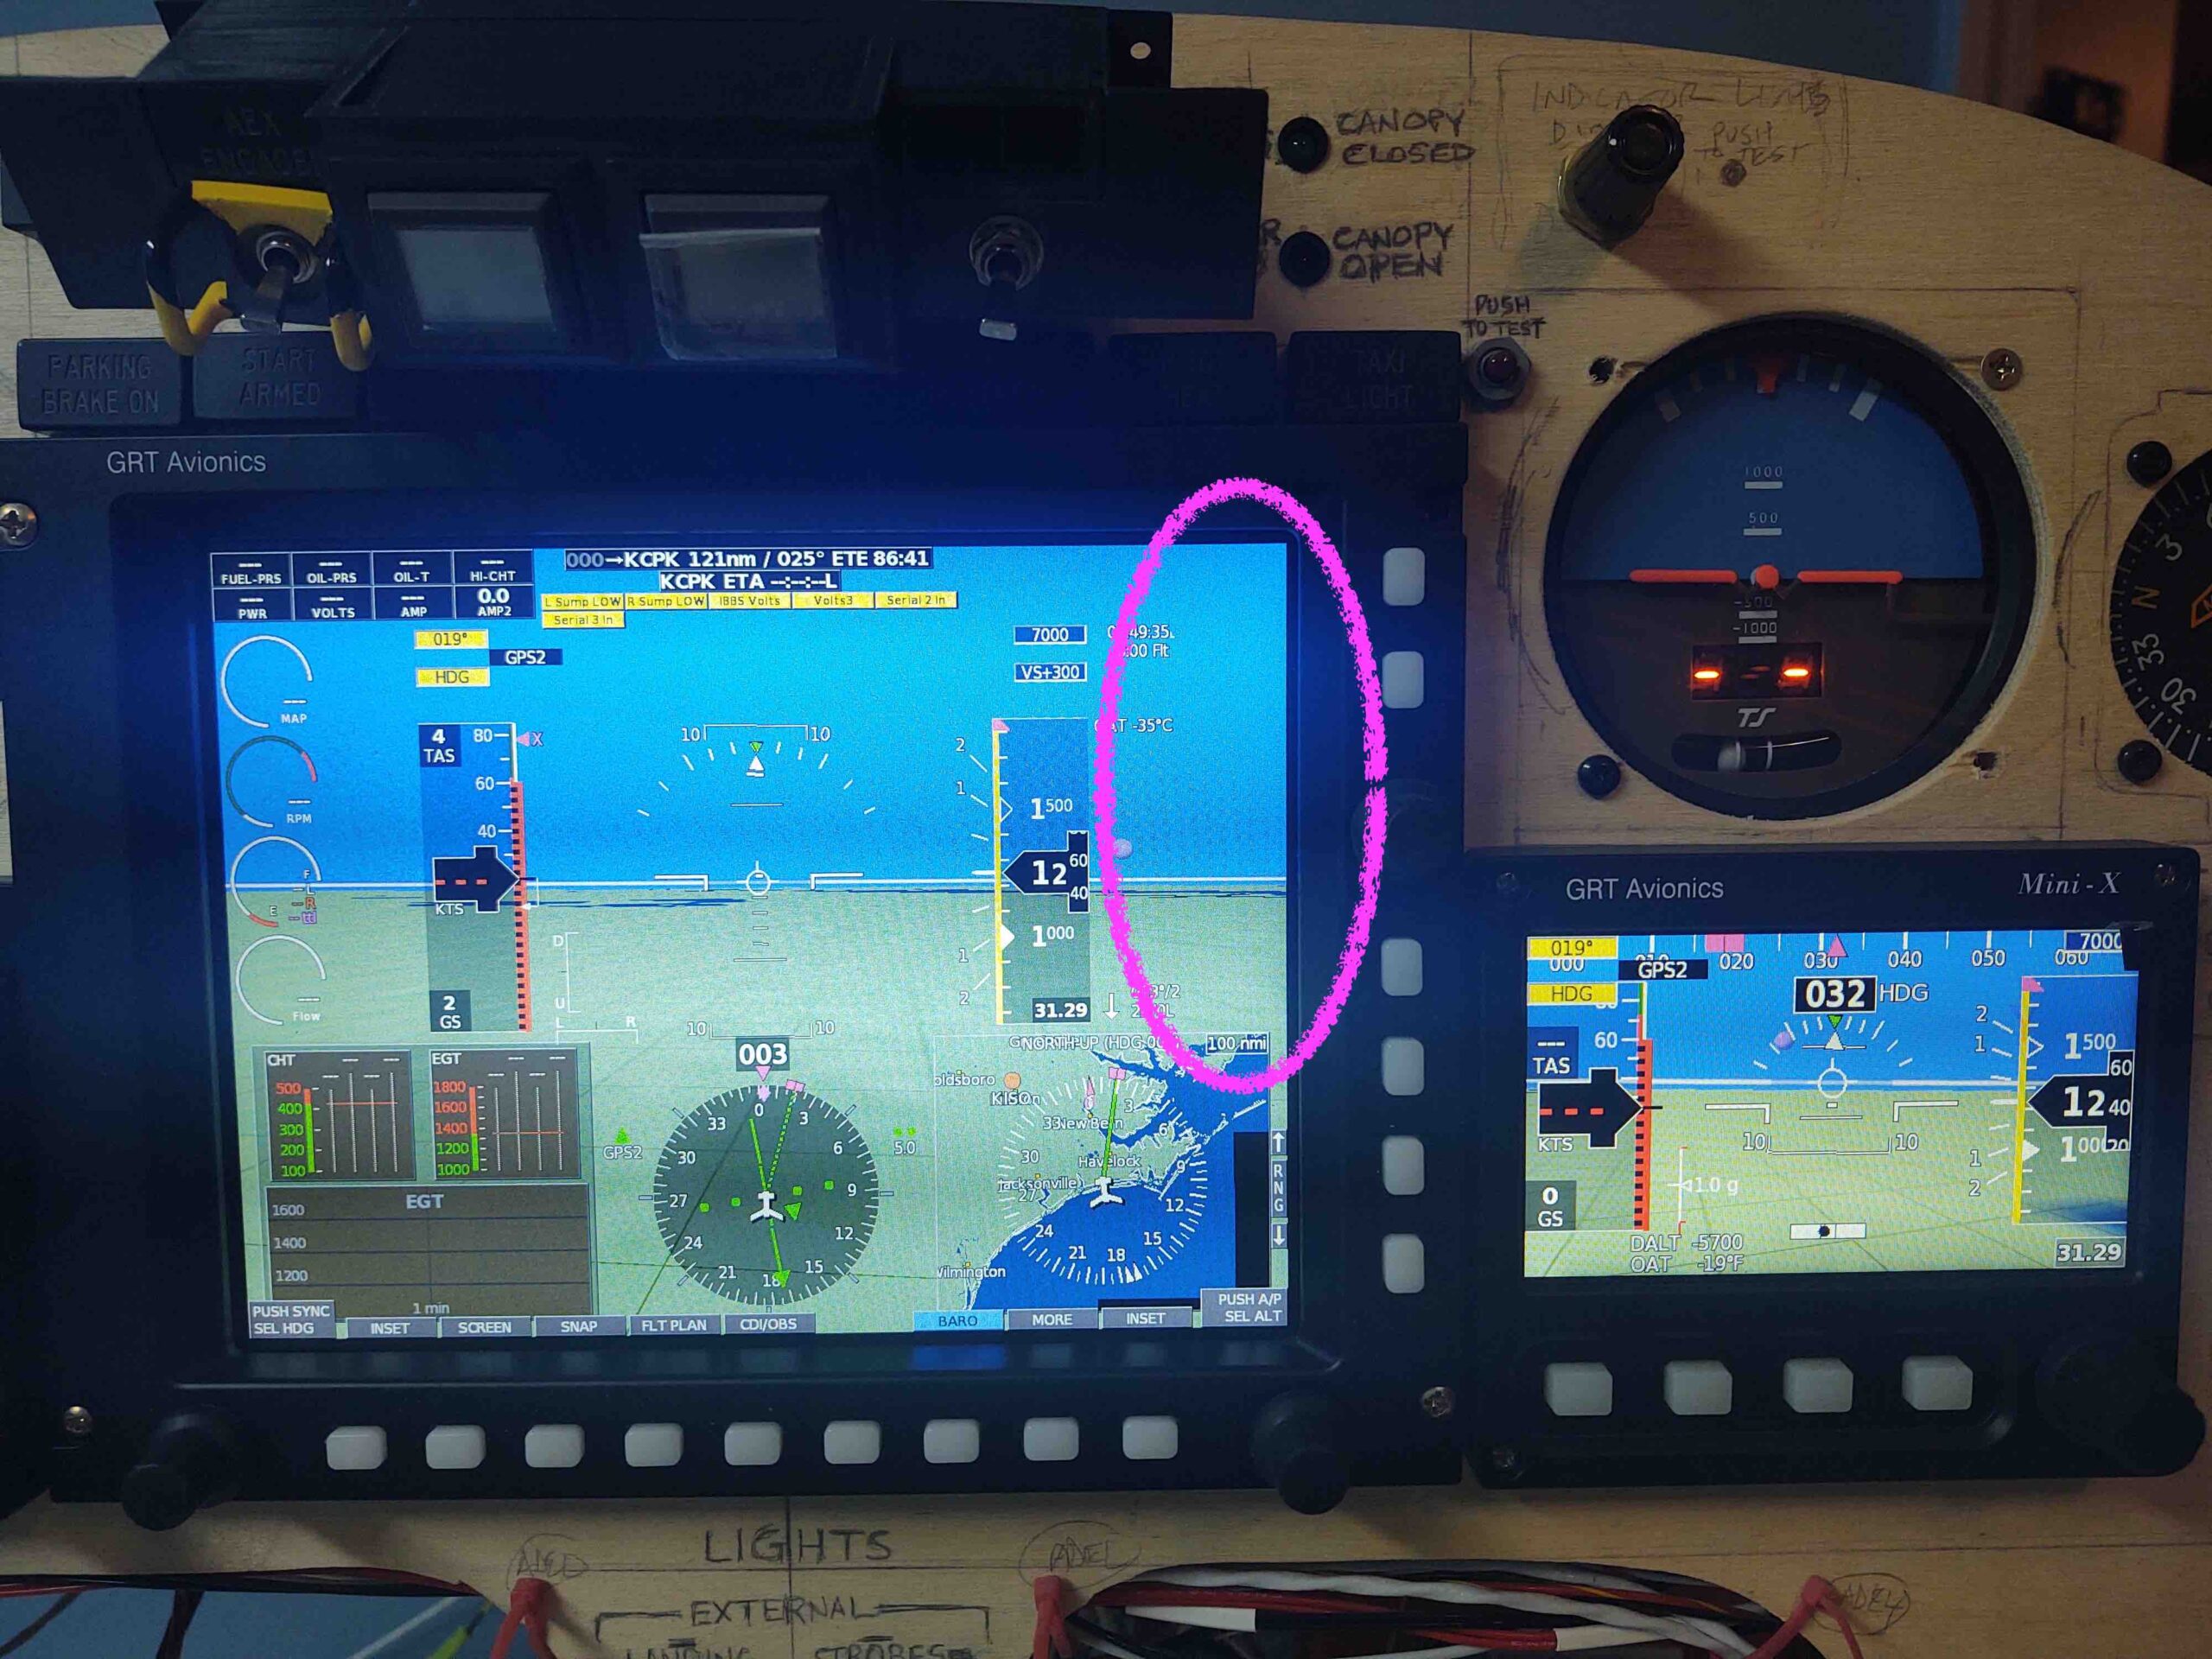
After the EFIS software was updated and units rebooted, I then replaced the fuse and added the Trig TY91 COM2 radio to the HXr EFIS configuration.
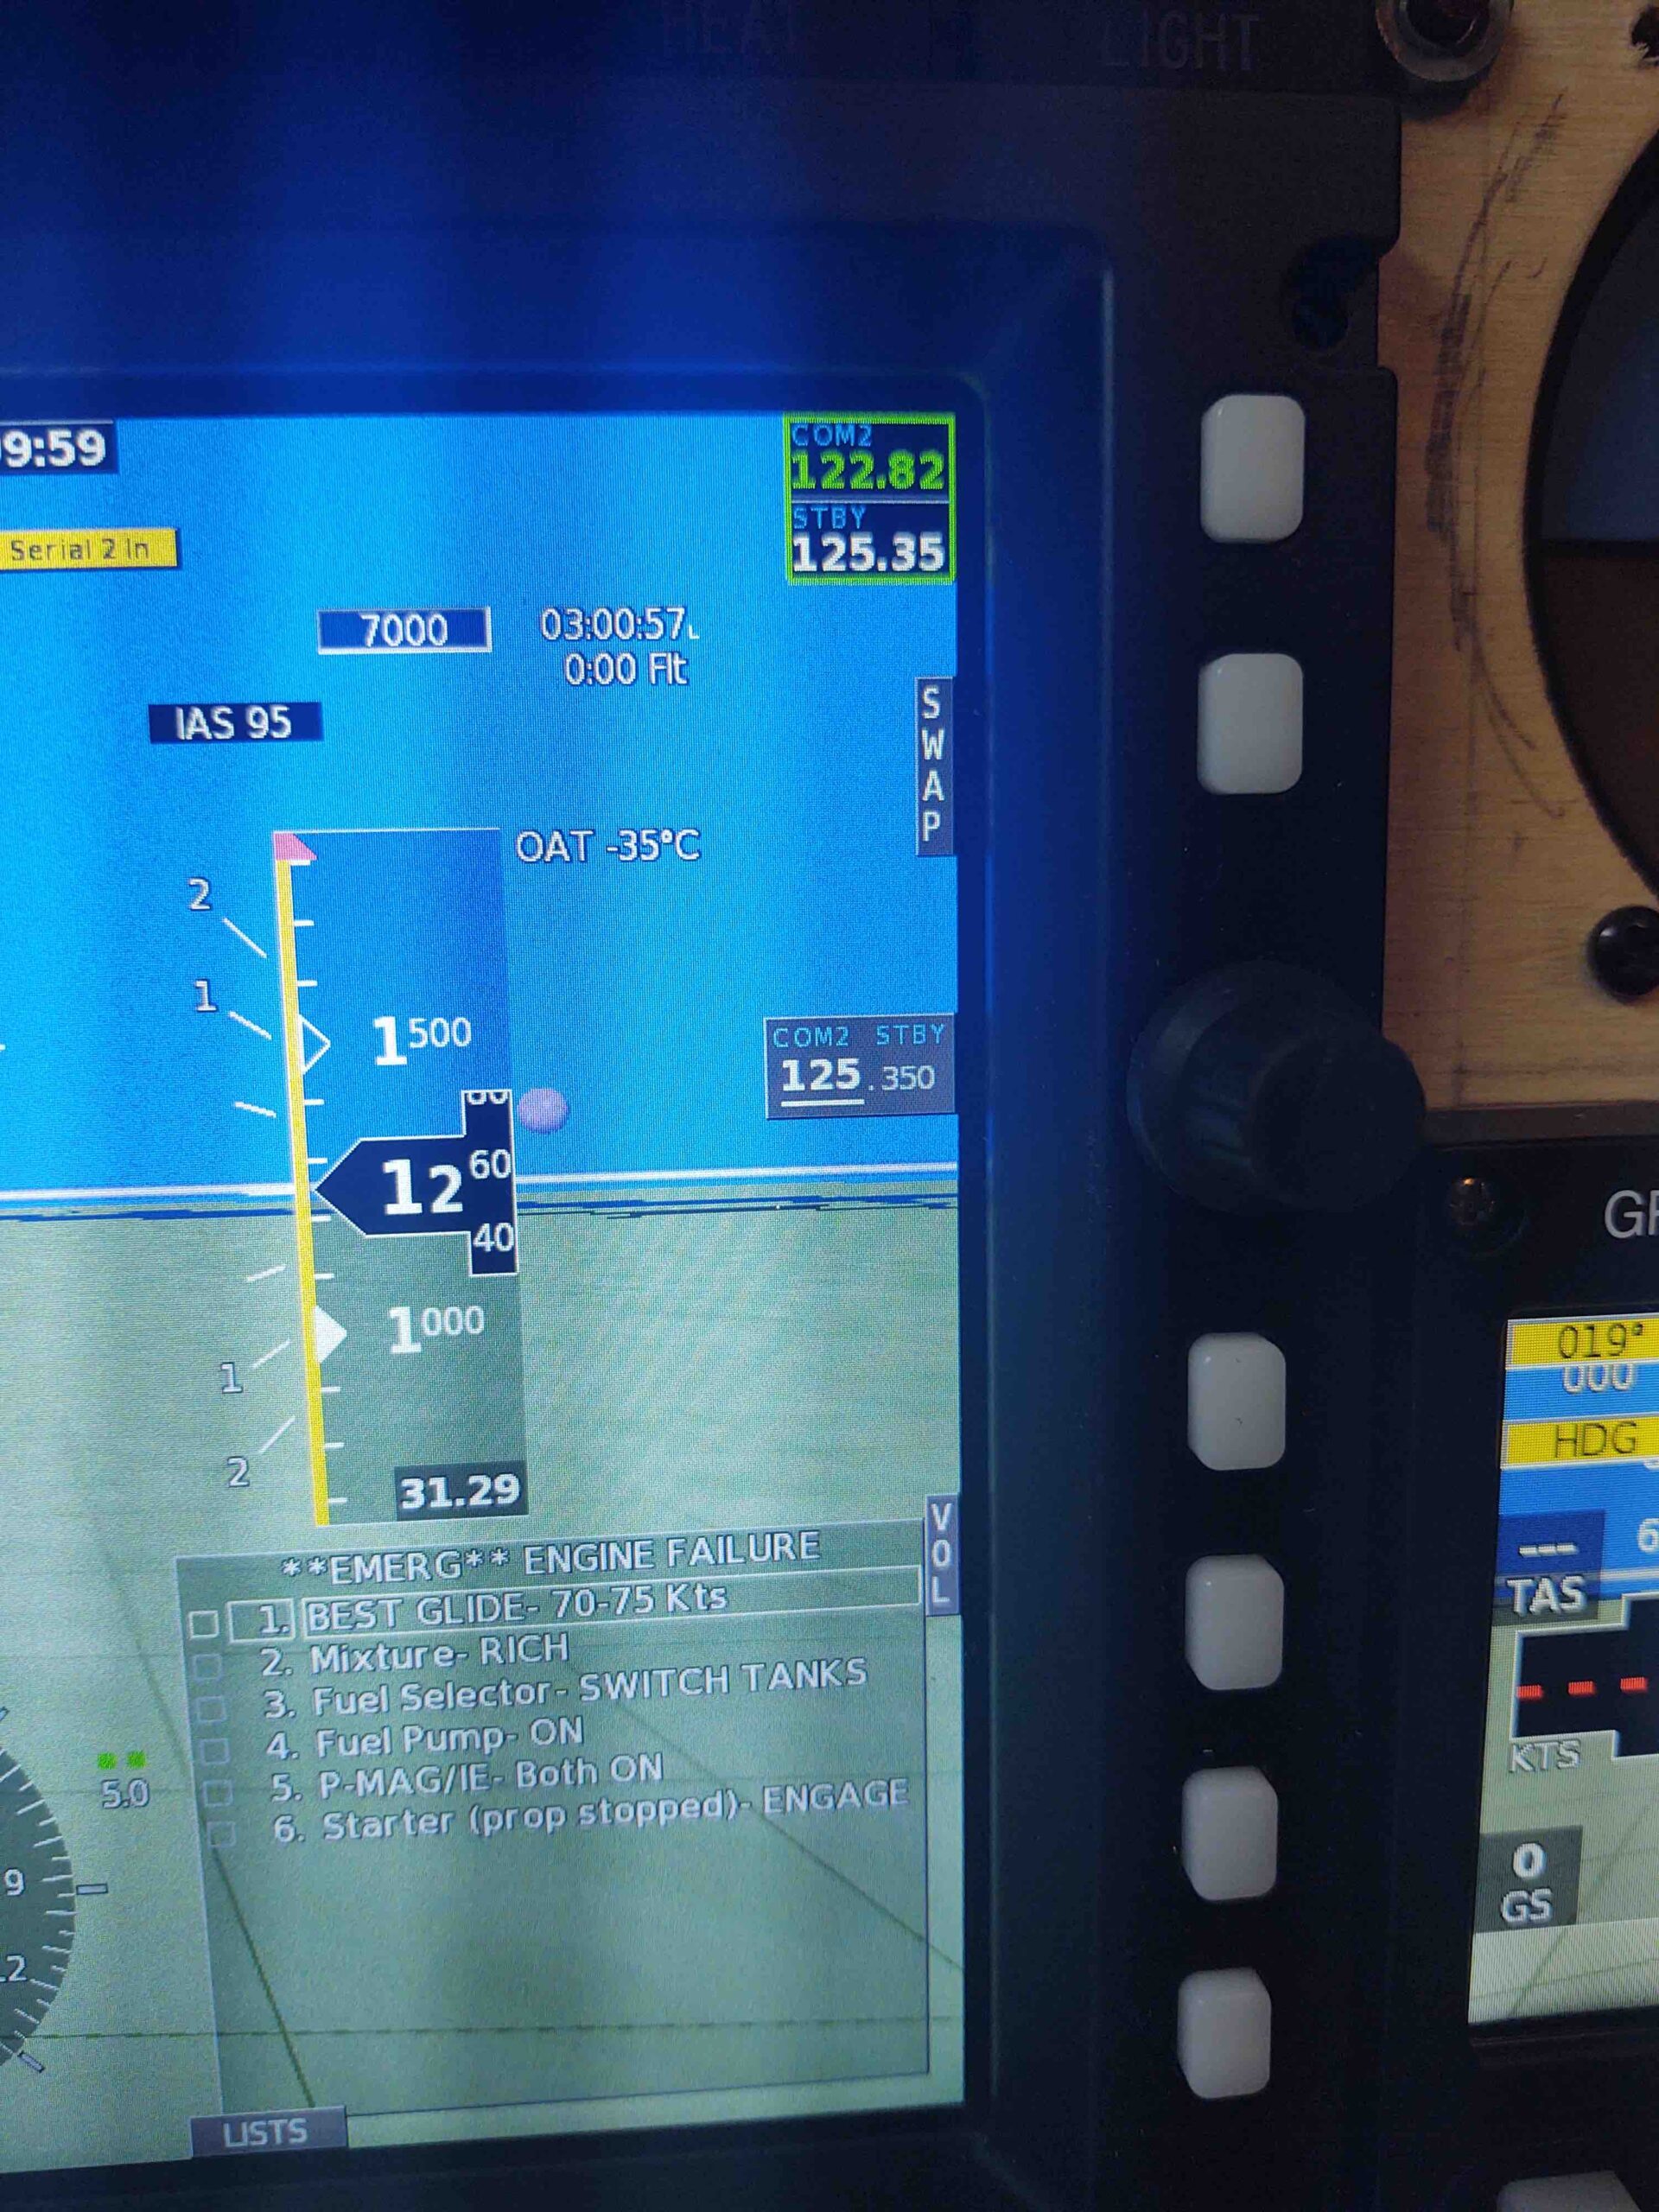
Now take a look at the HXr’s right side. First, note that this is appropriately labeled COM2 as the Garmin GNS-480 is COM1.
The knob mid-right side of the HXr is used here to dial in freqs, with the primary/STBY freq SWAP soft button also showing.
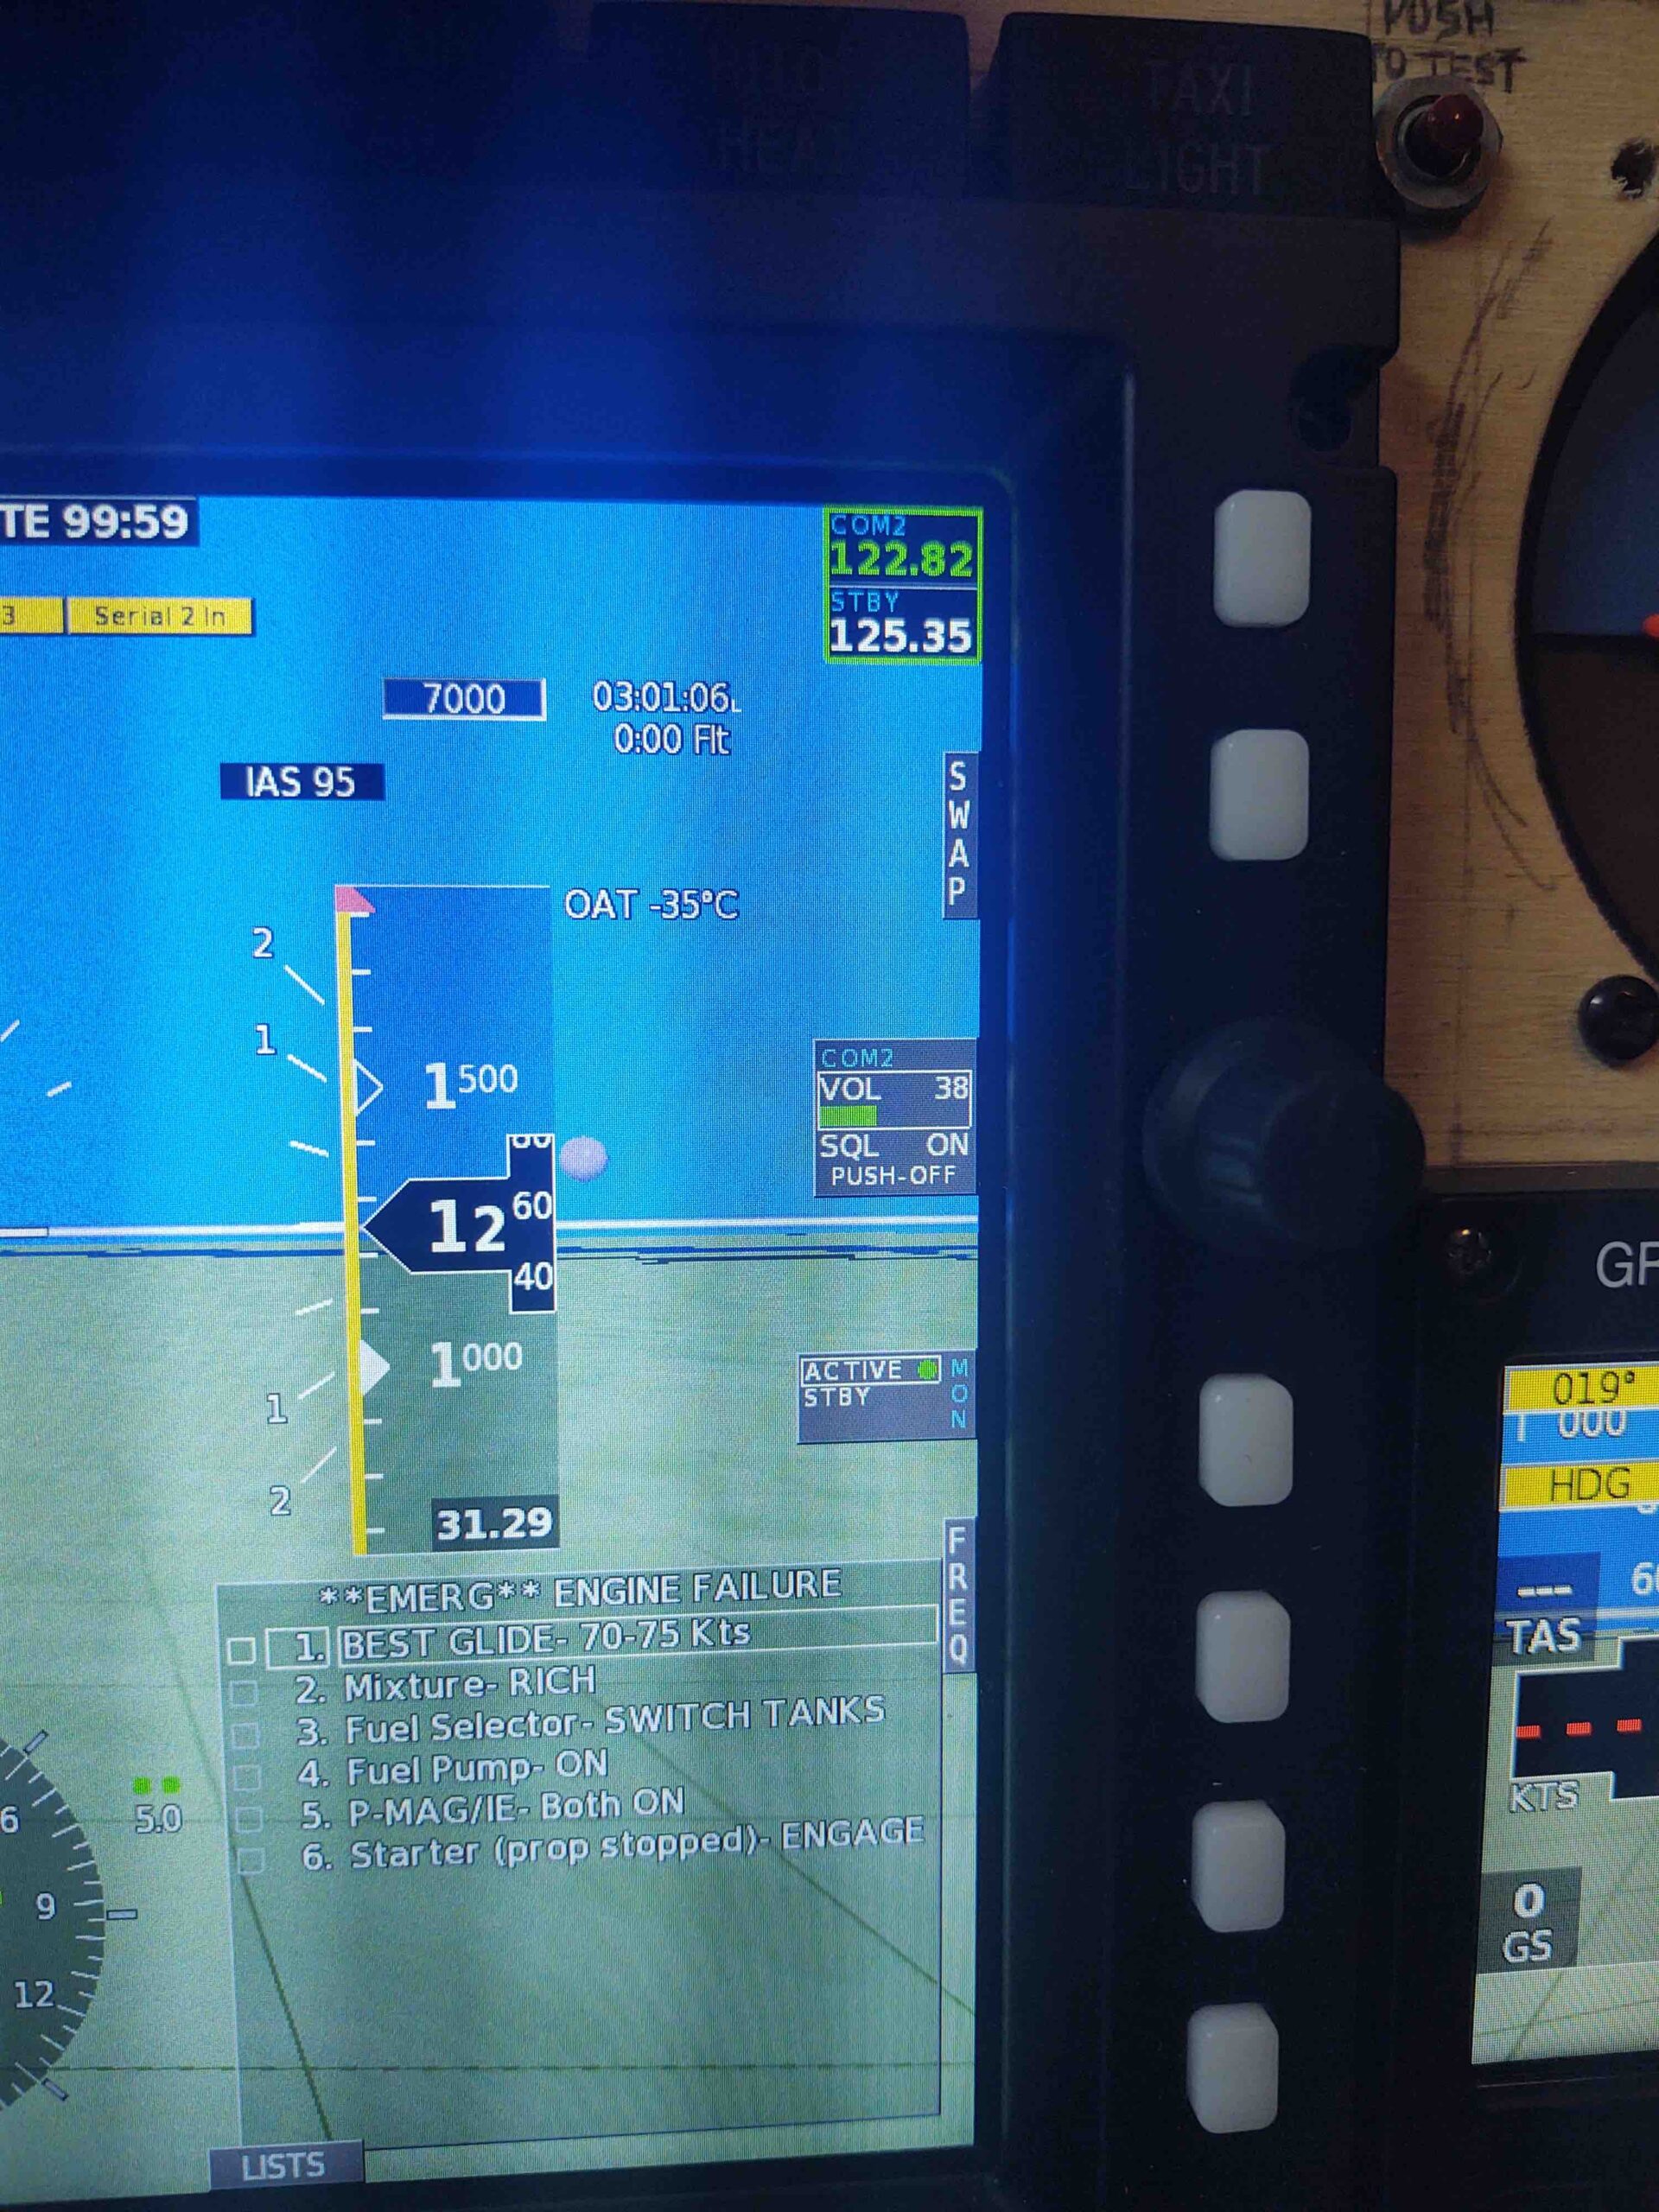
The VOL soft button can be seen towards the bottom, and when pressed . . .
We get these side bar controls here. Note the side knob here controls the VOLUME, while towards the bottom the VOL soft button has changed to the FREQ soft button to get back to the freq entry if required.
EZ-PZ.
So the COM2 radio is installed… woohoo! Another component off the list.
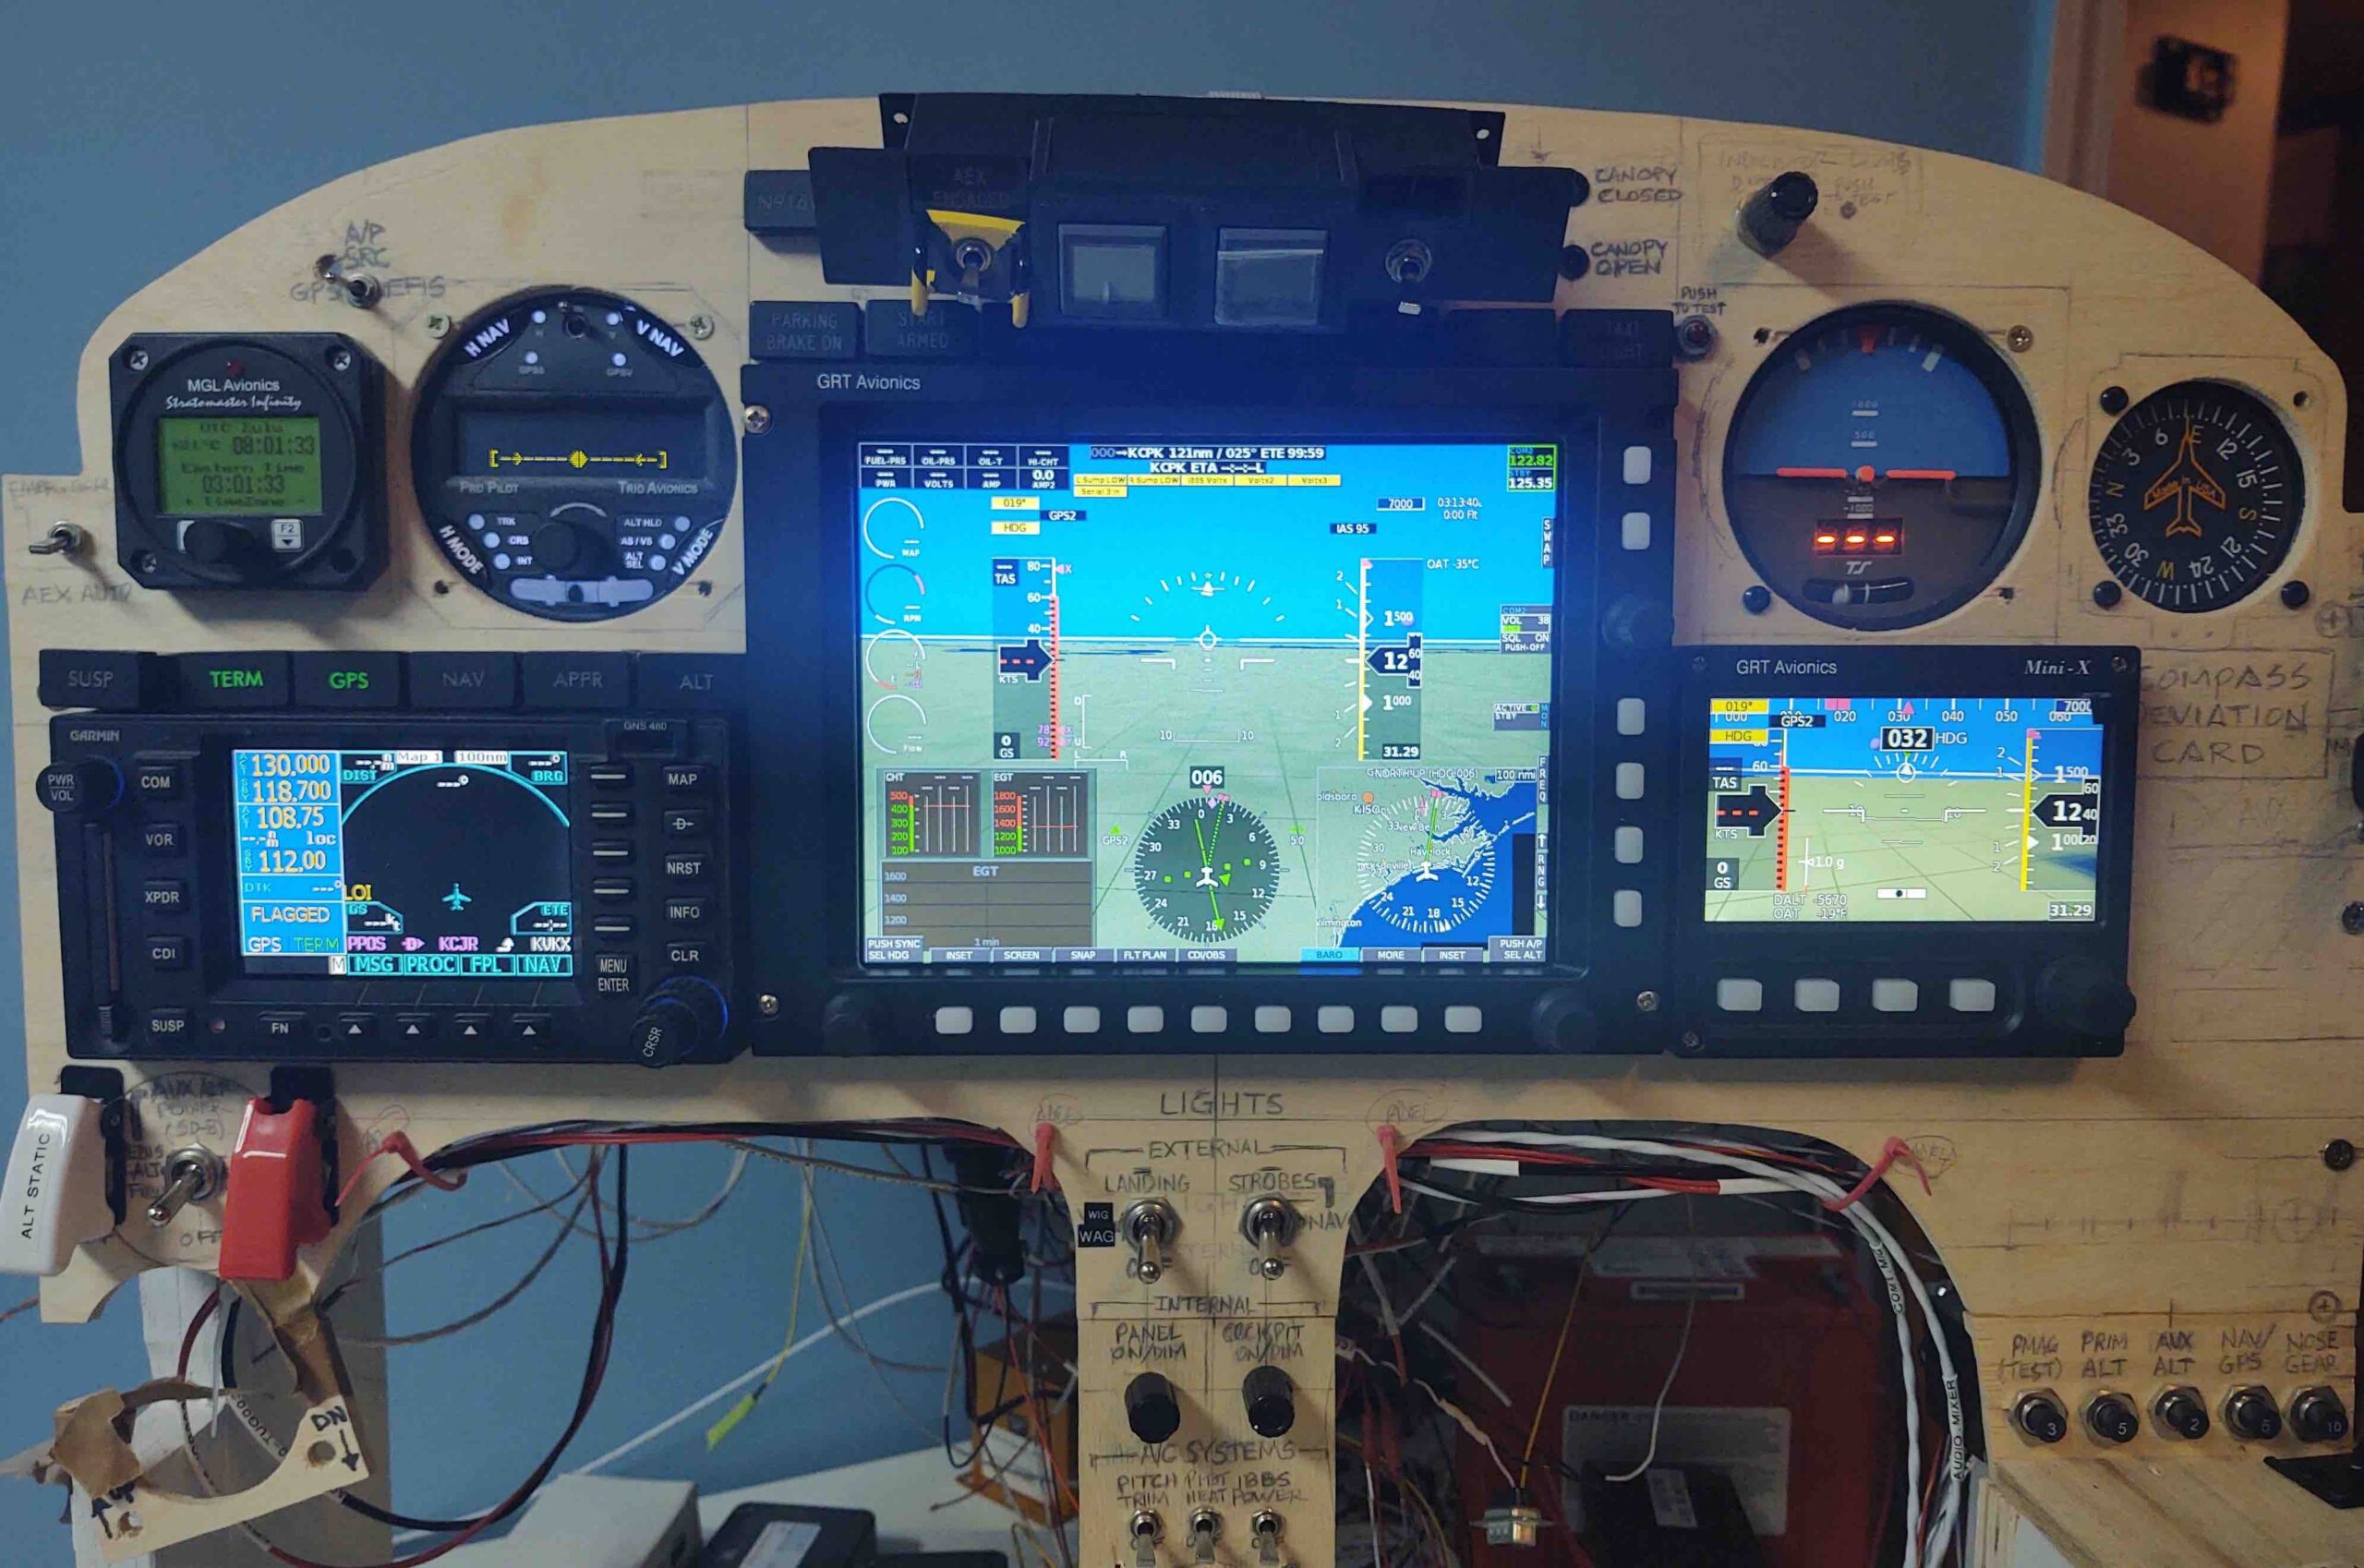
I played around with the EFIS screens for a bit, and have to say they make things SO EASY I just can’t wait to get this thing in the air and fly behind this panel… very cool!