
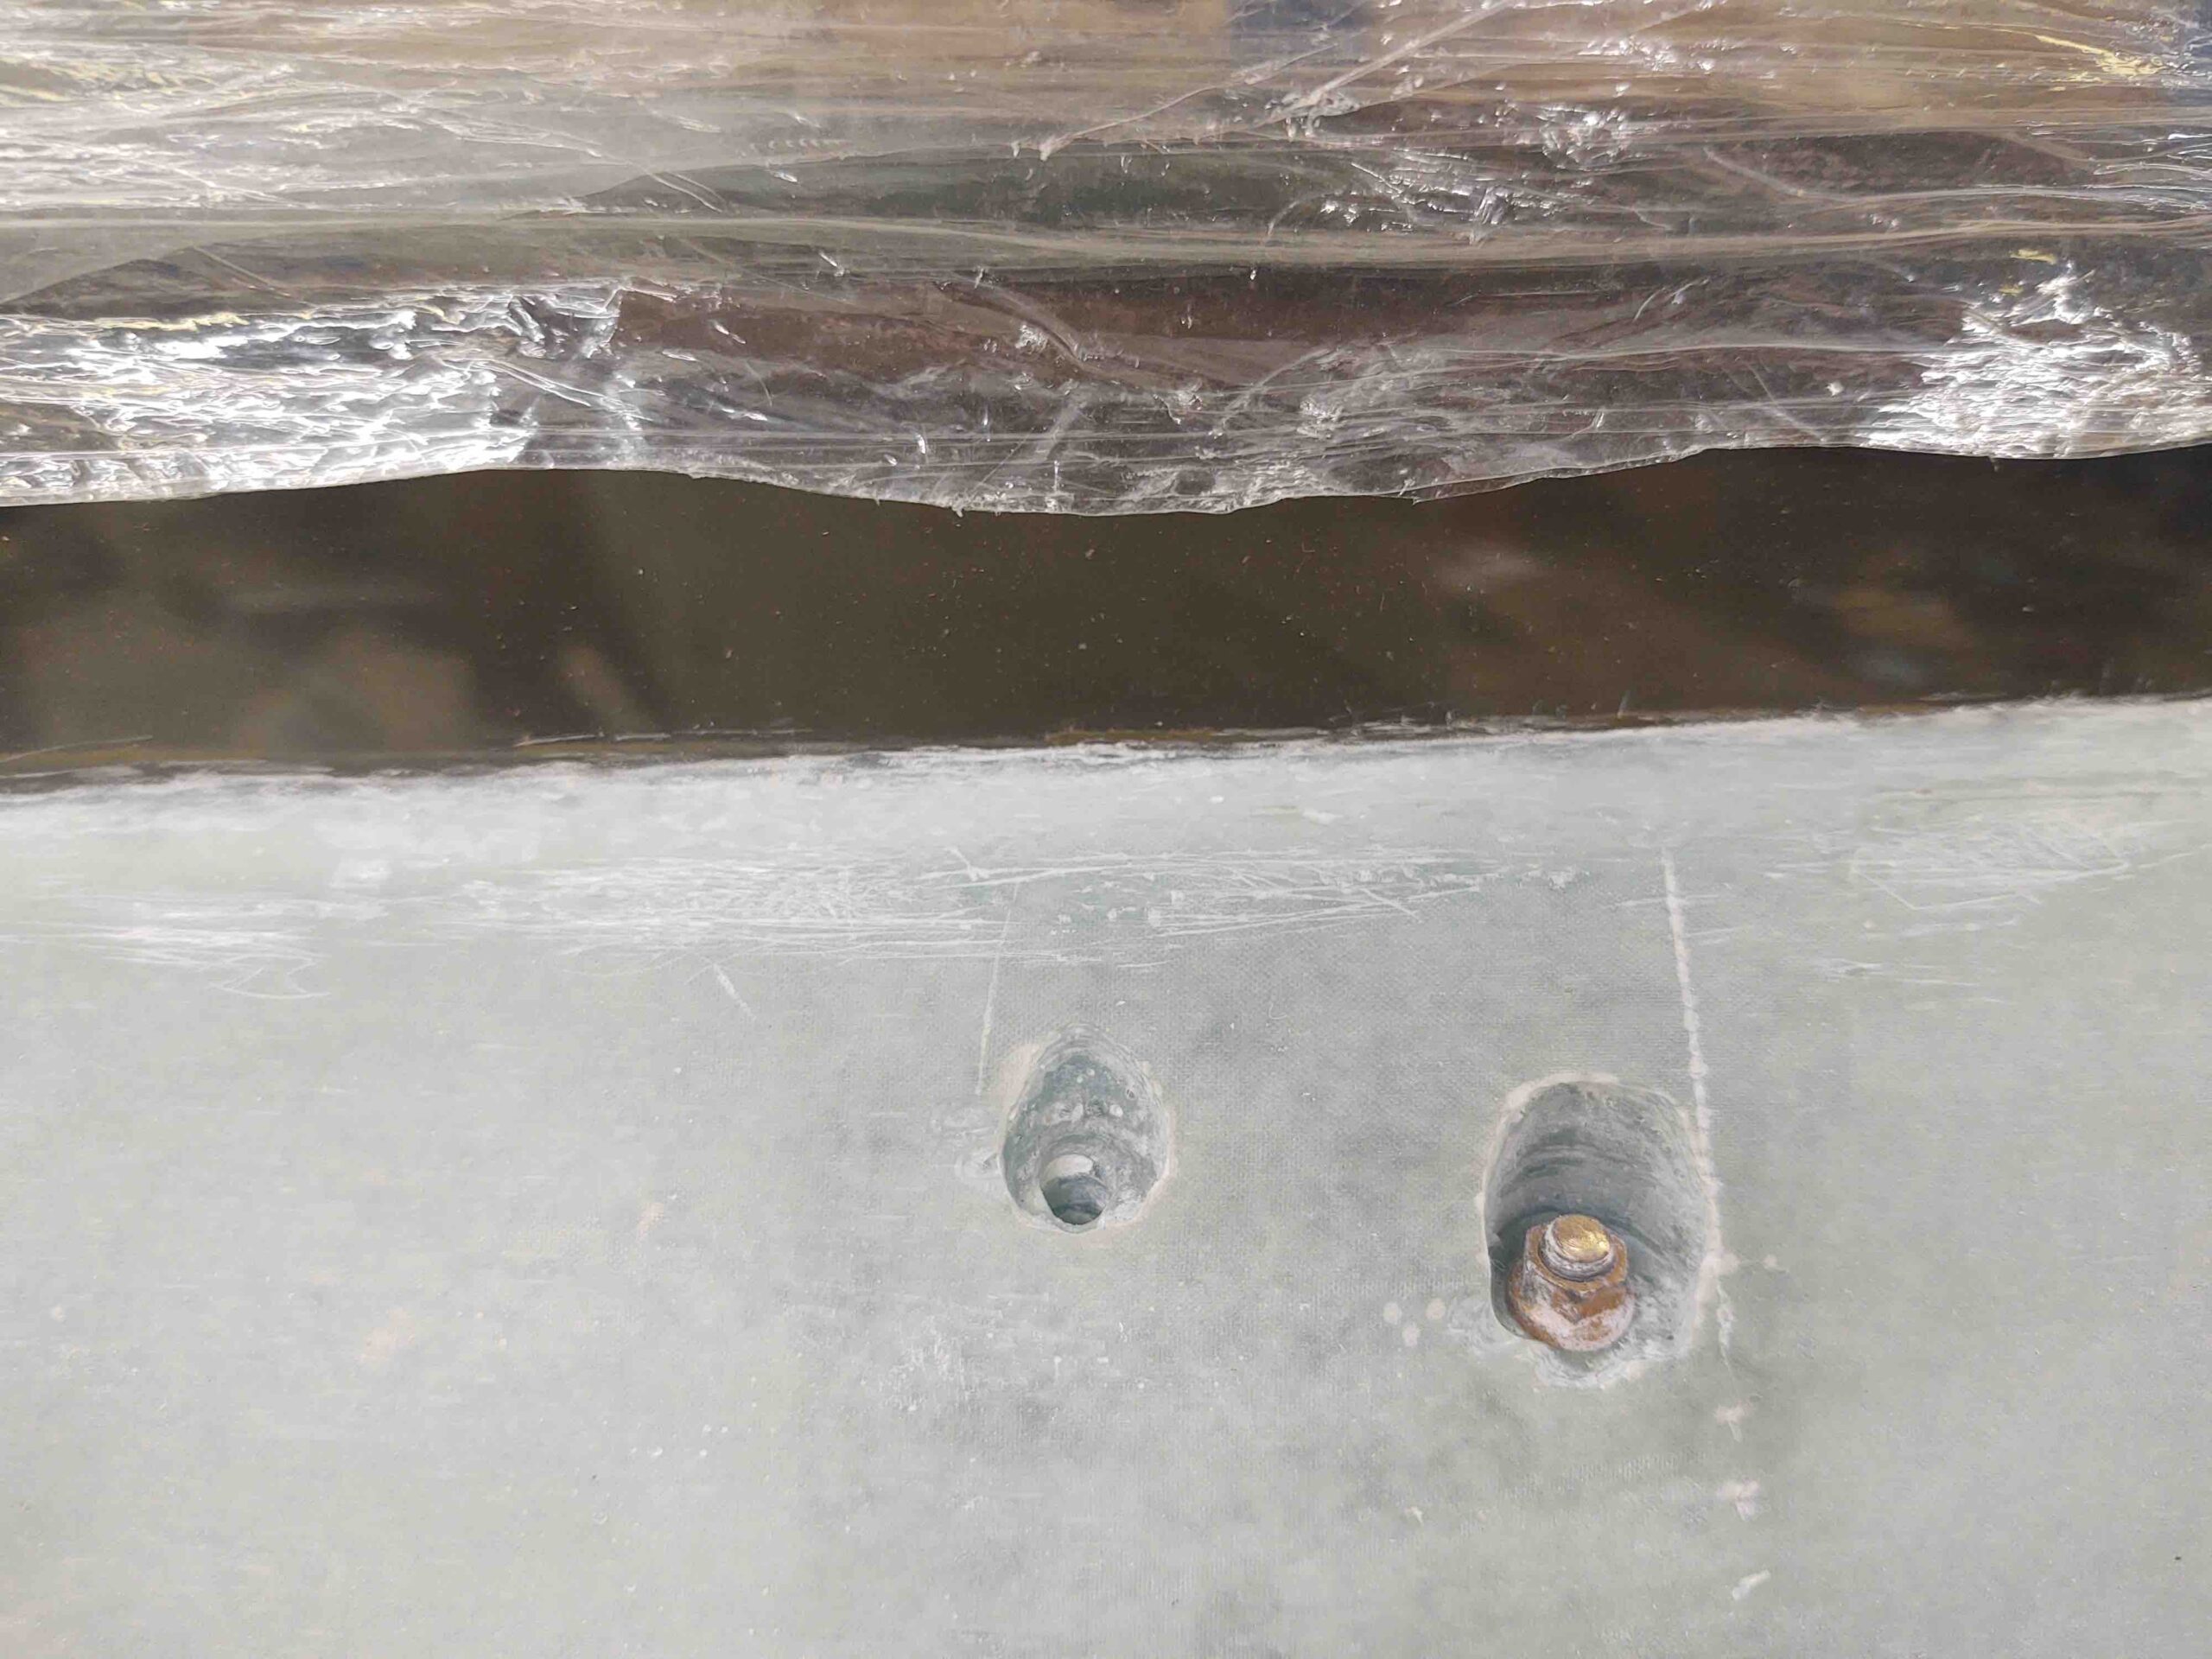
I started off today with a quick kill on (re)drilling out the ~1/4″ center hole in the 4-ply BID pad I added to the left wheel pant’s inboard mounting spacer.
I started off by marking the hole…
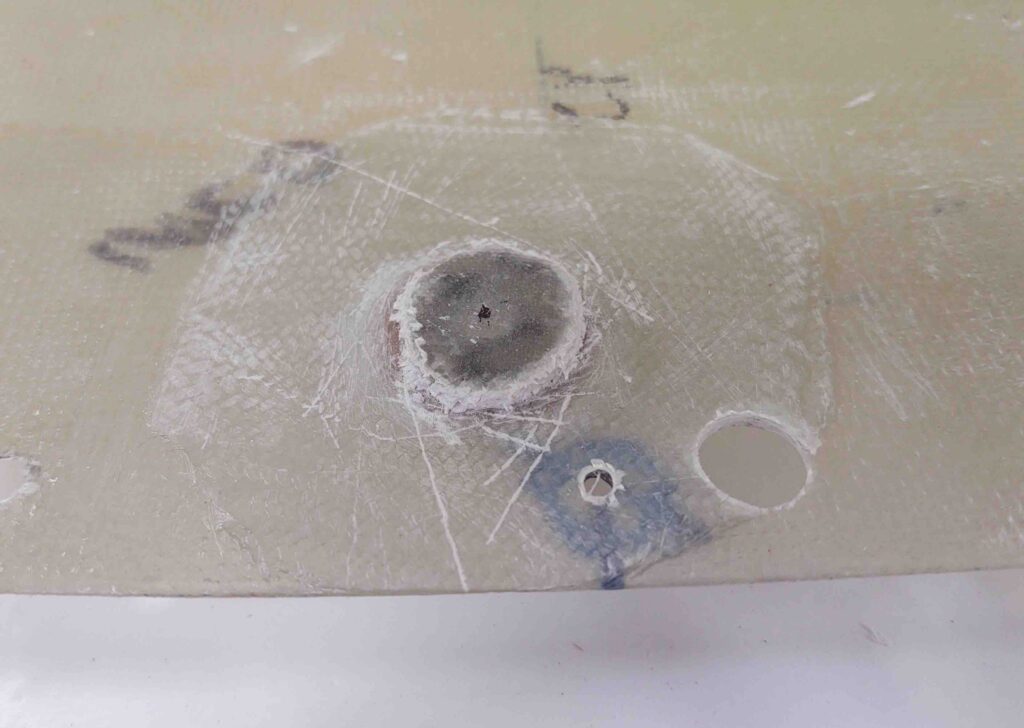
Then used progressively larger drill bits to keep the hole as clean as possible. I test fit the bolt (not shown) and it fit fine. Unless any added spacer plies of glass are needed, I’m placing the wheel pants in the completed column (to be finished and painted later).

I then pulled the peel ply on my Phase 1 canopy/turtledeck angle mitigation mission. The CF UNI layup looked really good and seams were fairly flat, with minimum bumpage.
I then masked and gloved up to sand down the edges of the CF UNI and re-rough up the ~5/16 strip of canopy that will get glass in Phase II. I used my small shop vac to suck up the CF dust as I sanded.
I then laid up a couple narrow strips (~ 1″ wide) of regular UNI, a strip of BID (~1.5″ wide) and then 3 larger pieces of scrap BID, all about 3-4″ wide x 12″ long, all half moon (“D”) shaped.
Out of curiosity I weighed all the glass before the layup and it totaled about an ounce in weight. I’m figuring this entire bunch of added glass/CF will cost me 3-5 oz in weight. My guess is a bit more than if I had used pour foam and a couple plies of BID, since I would still have used the filler CF UNI strips first. But this method is stronger IMO, with a lot less hassle (for me).
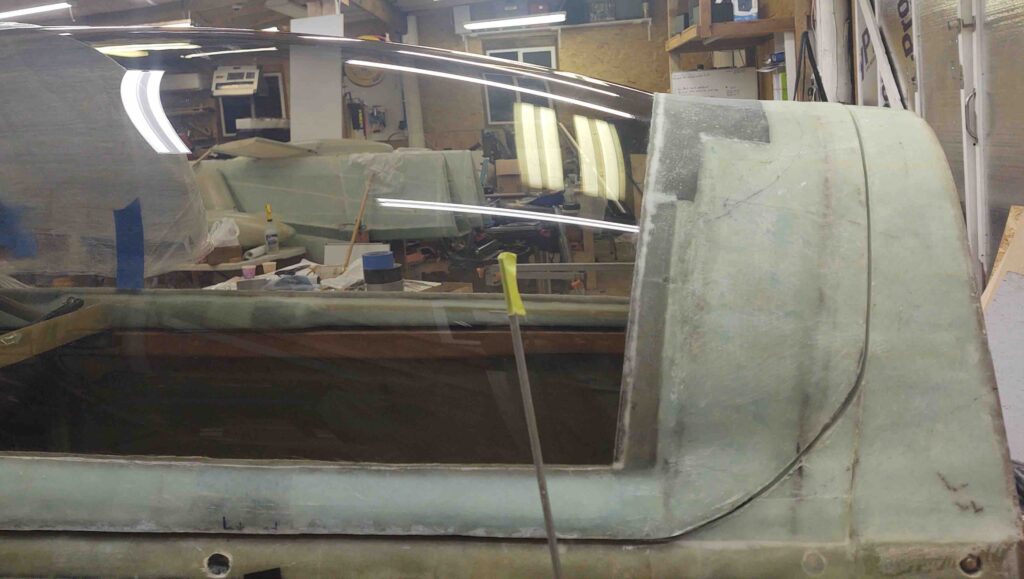
As the Phase II canopy/turtledeck glass cured, I got busy on even more canopy edge cleanup, specifically focusing on the front right area of the canopy.
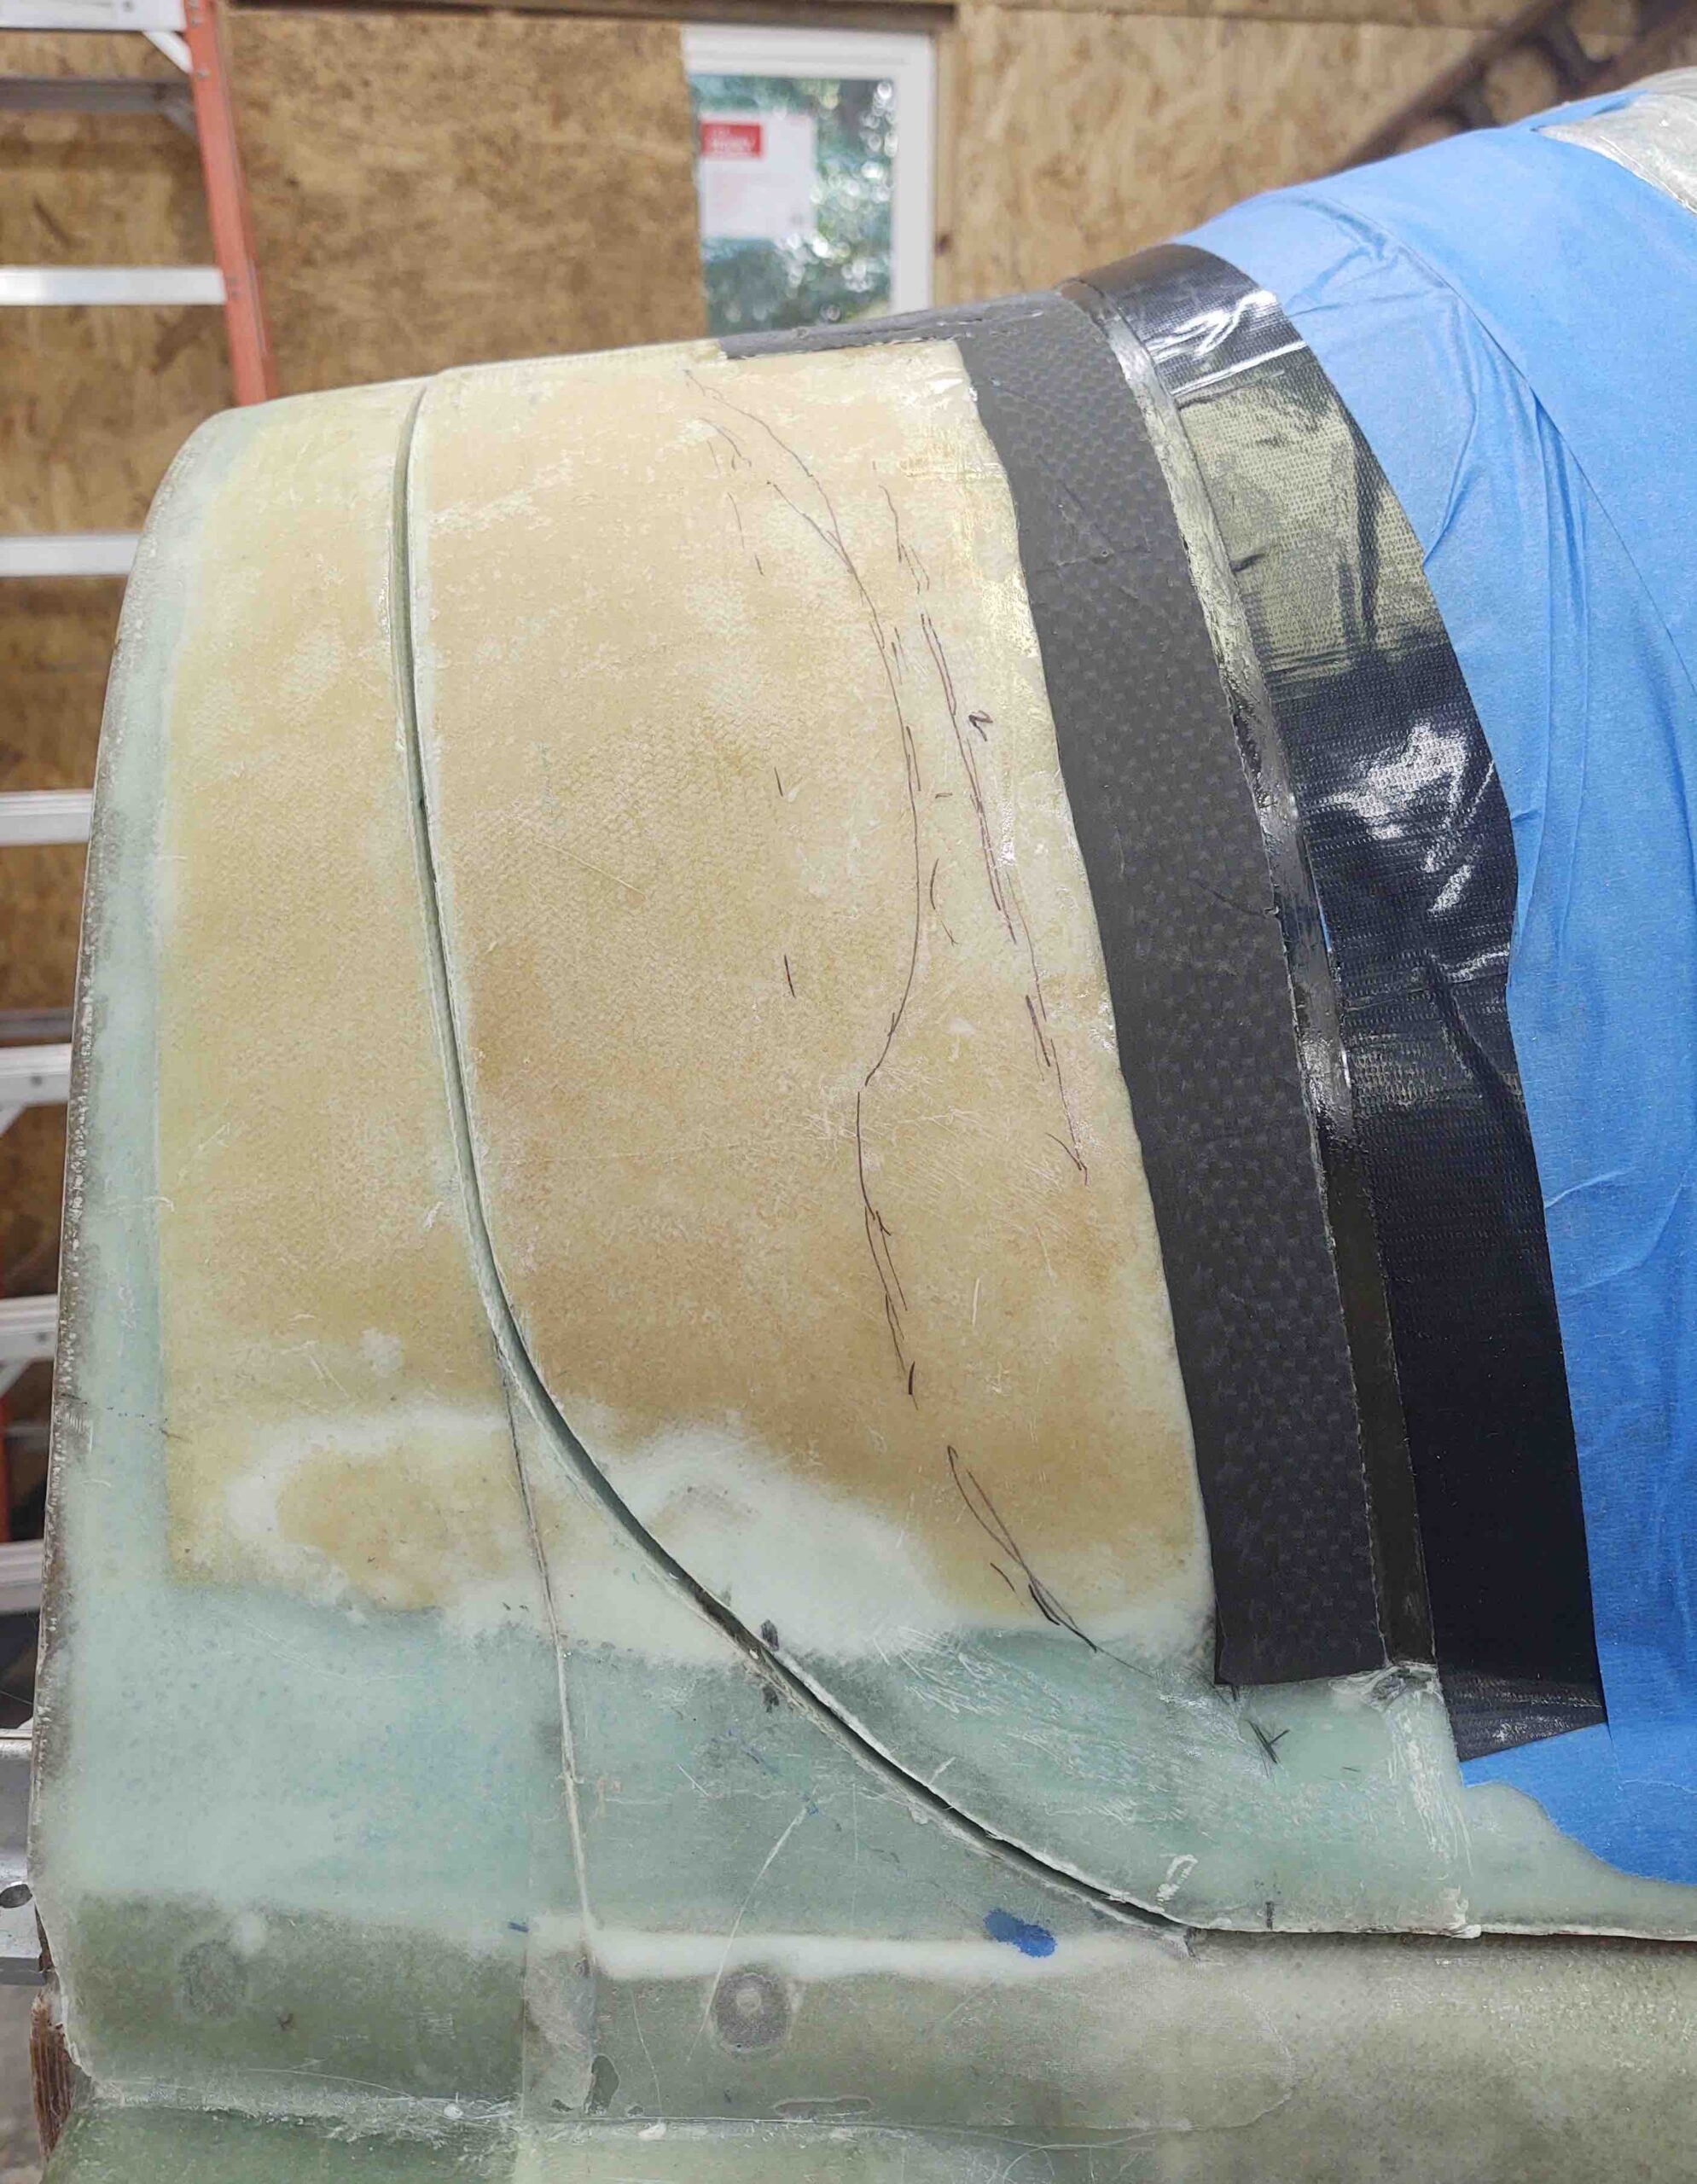
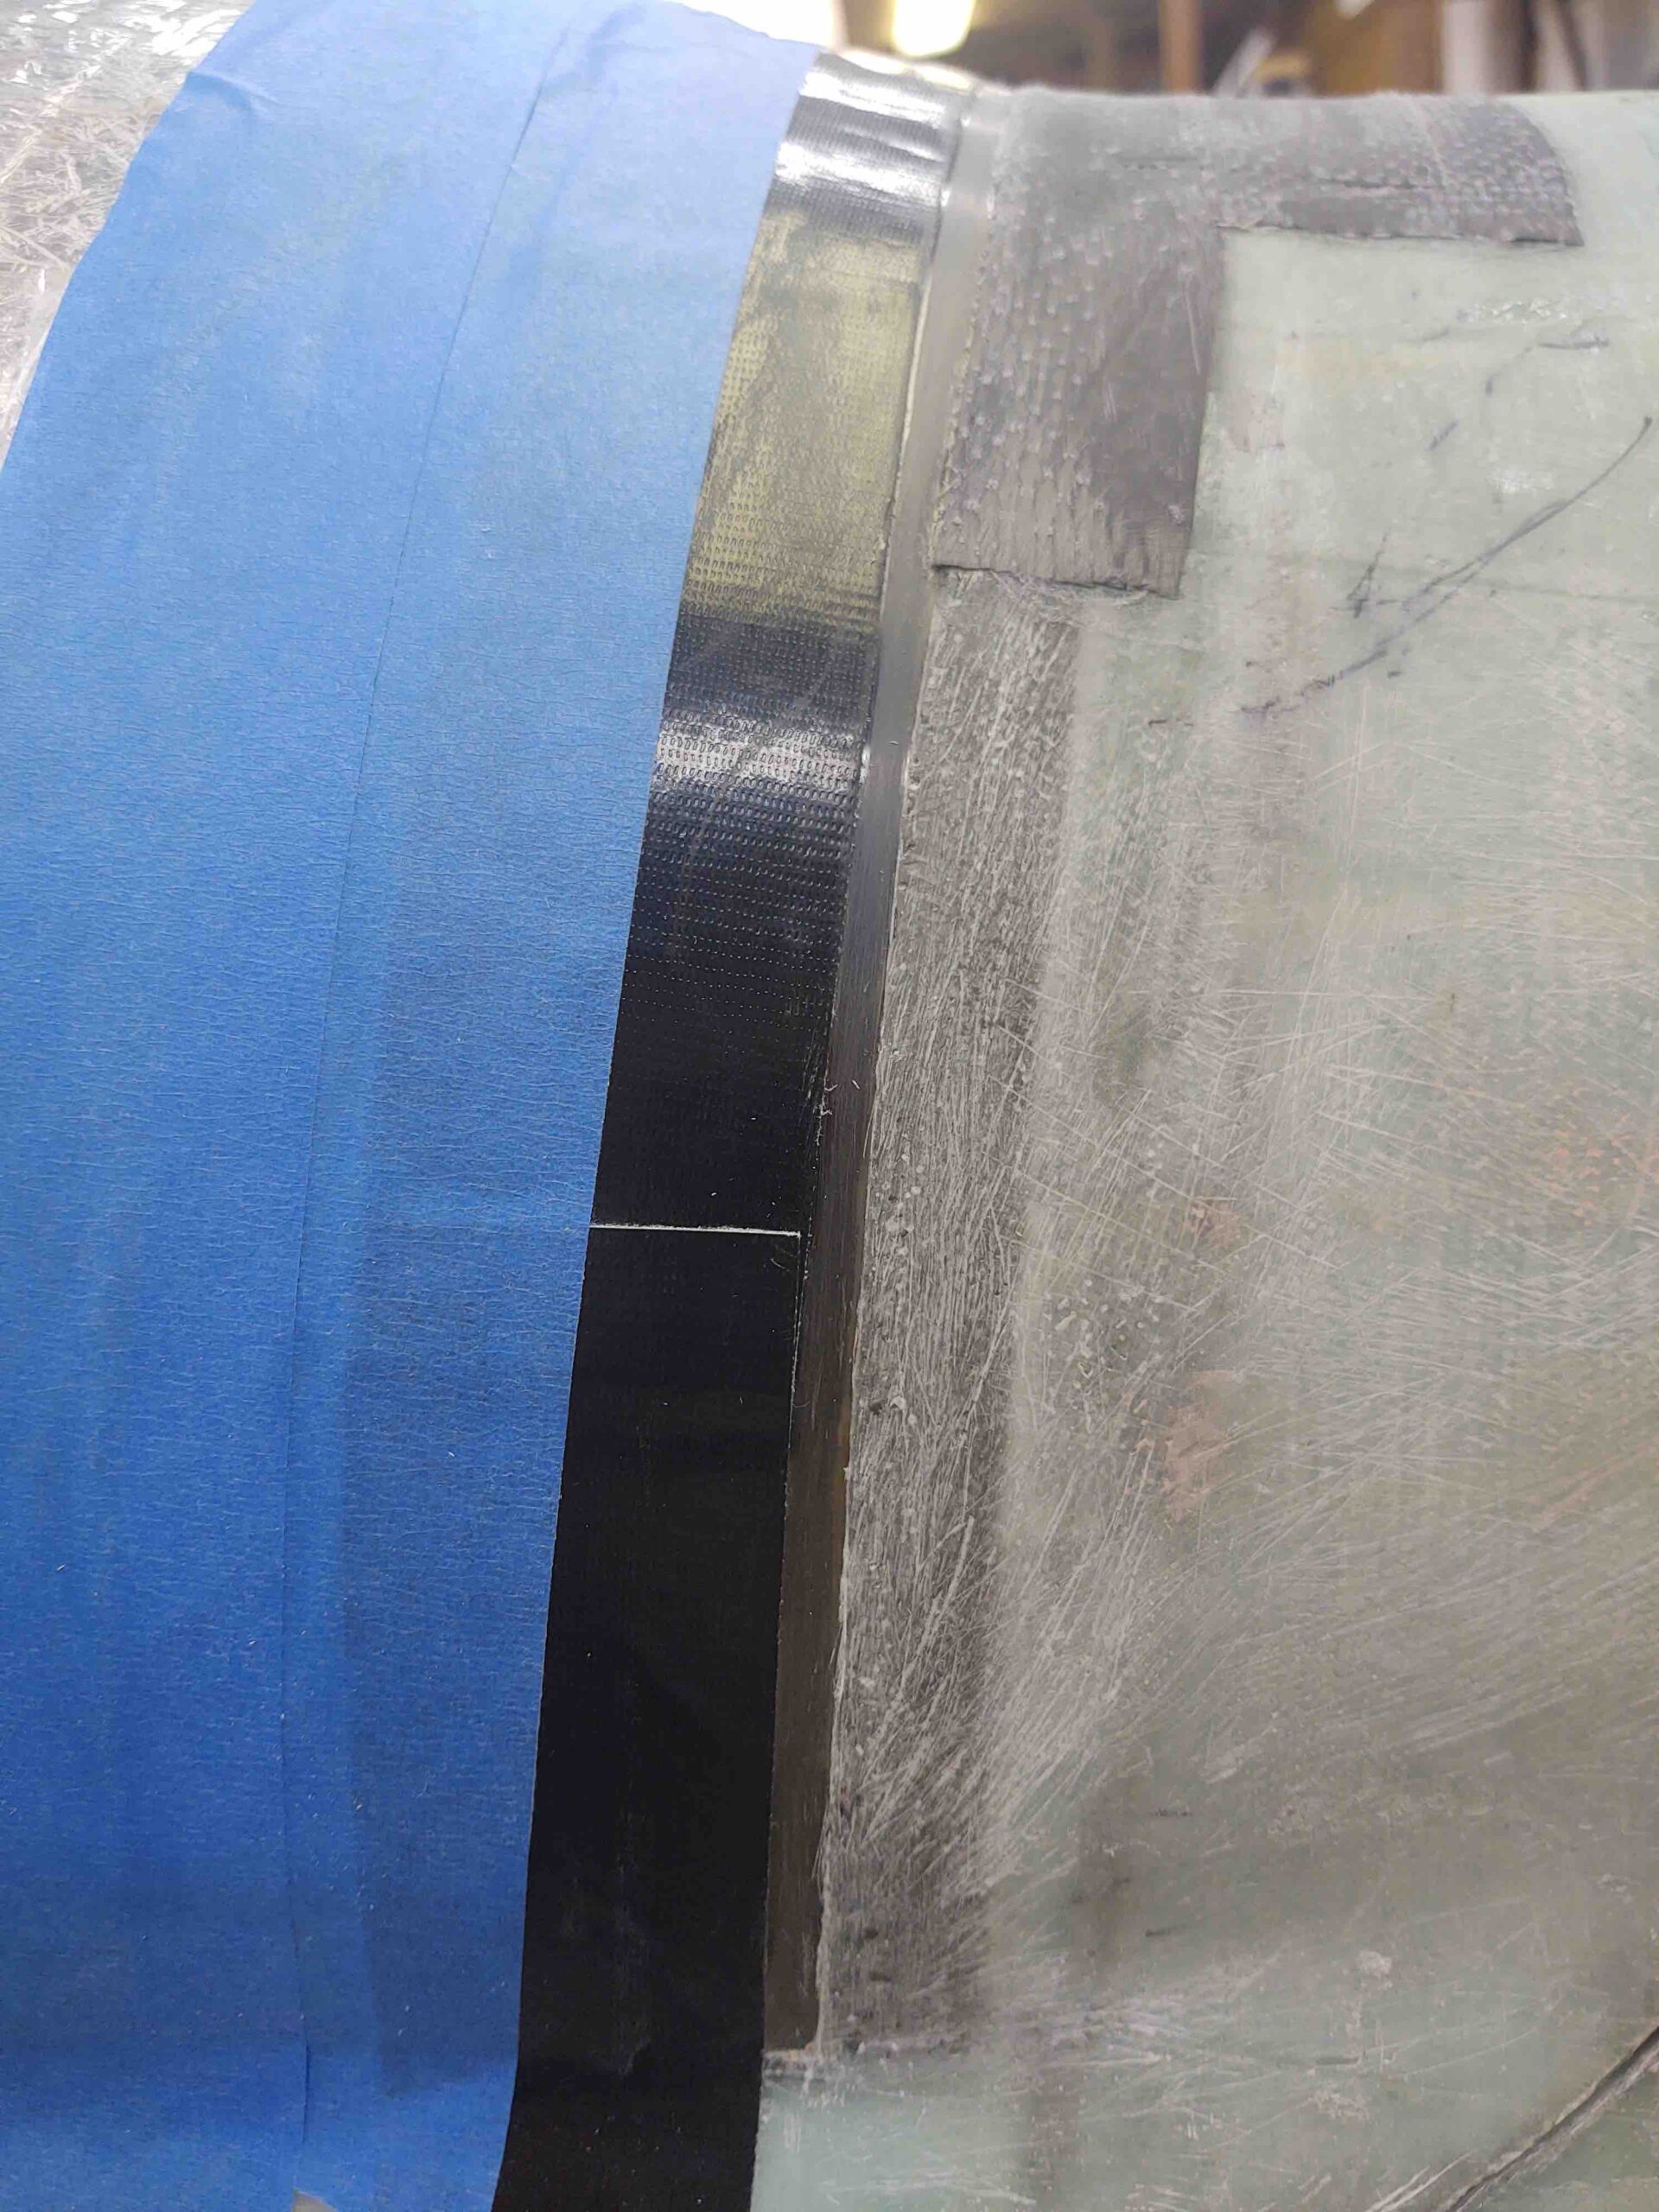
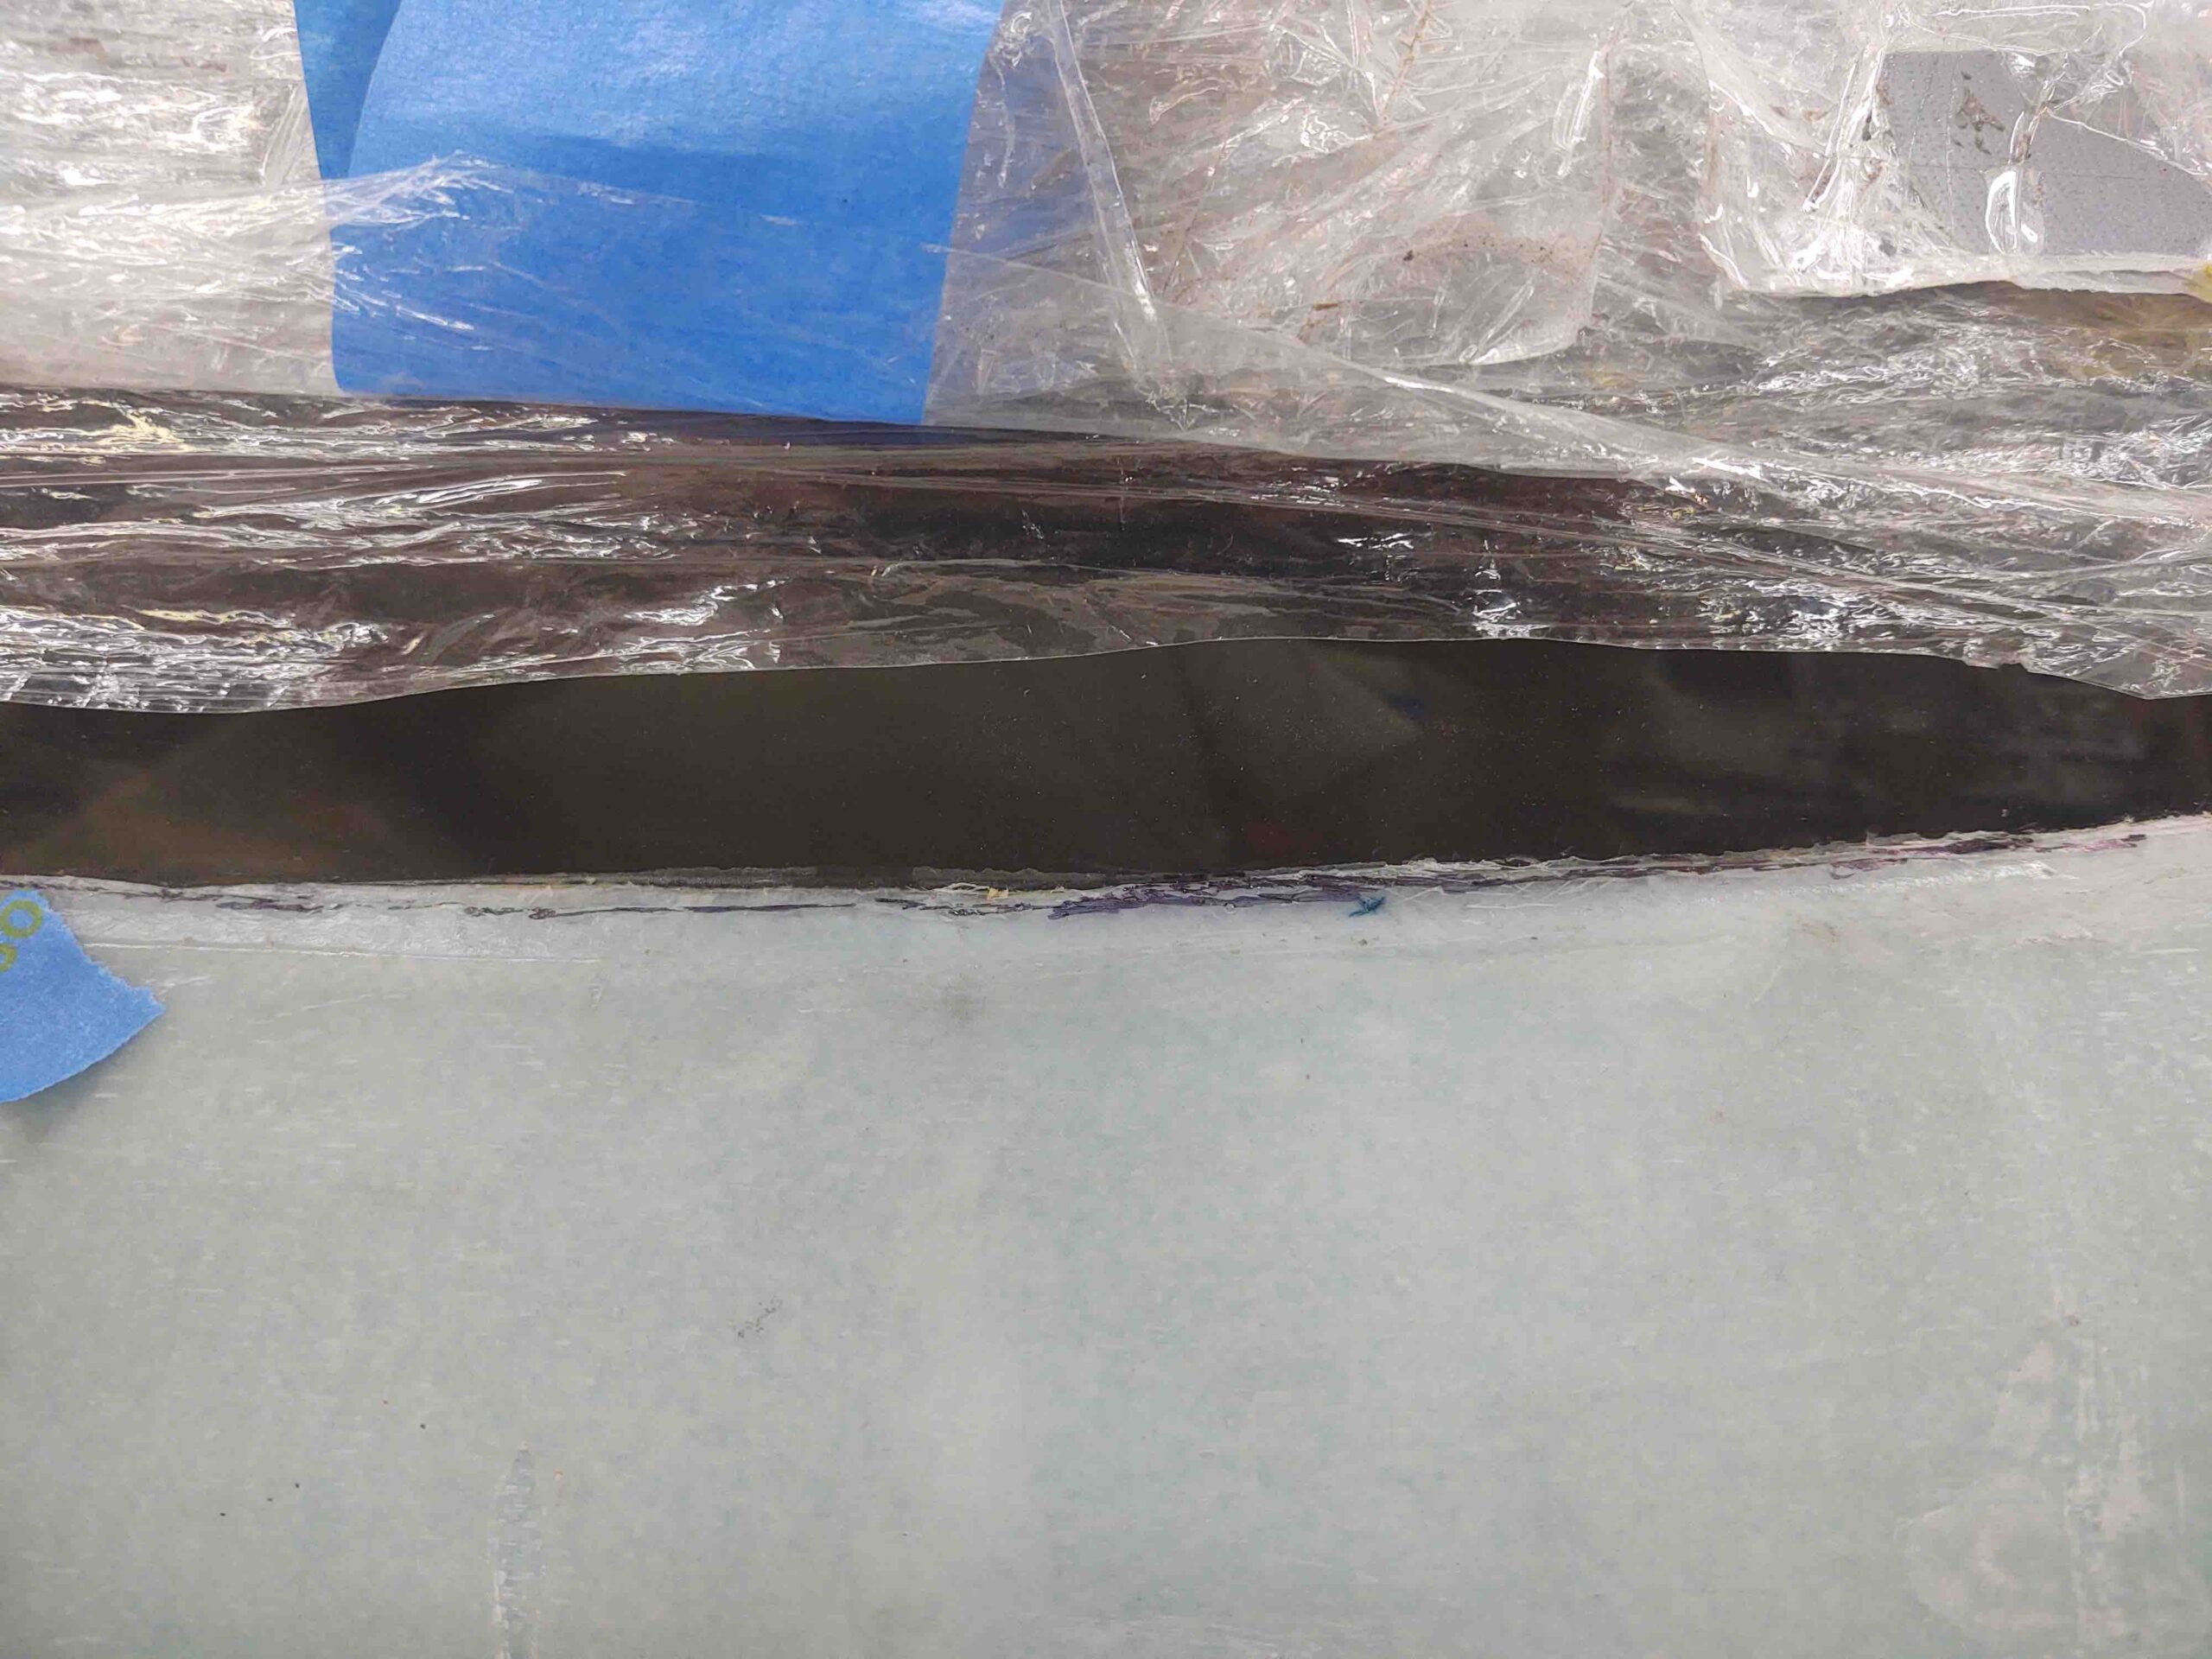
As you can see by my black Sharpie line, there is a raise edge where the canopy intersects the canopy frame. This edge needs to be removed if the eventual paint line is to be straight . . . so as nerve racking as it was, I taped off the canopy just above it with first blue painters tape, then a couple plies of duct tape to perform my Dremel Tool surgery: nastiunwantedglassodectomy.
And here’s the end result from the first area (whew, no scars on the canopy!):
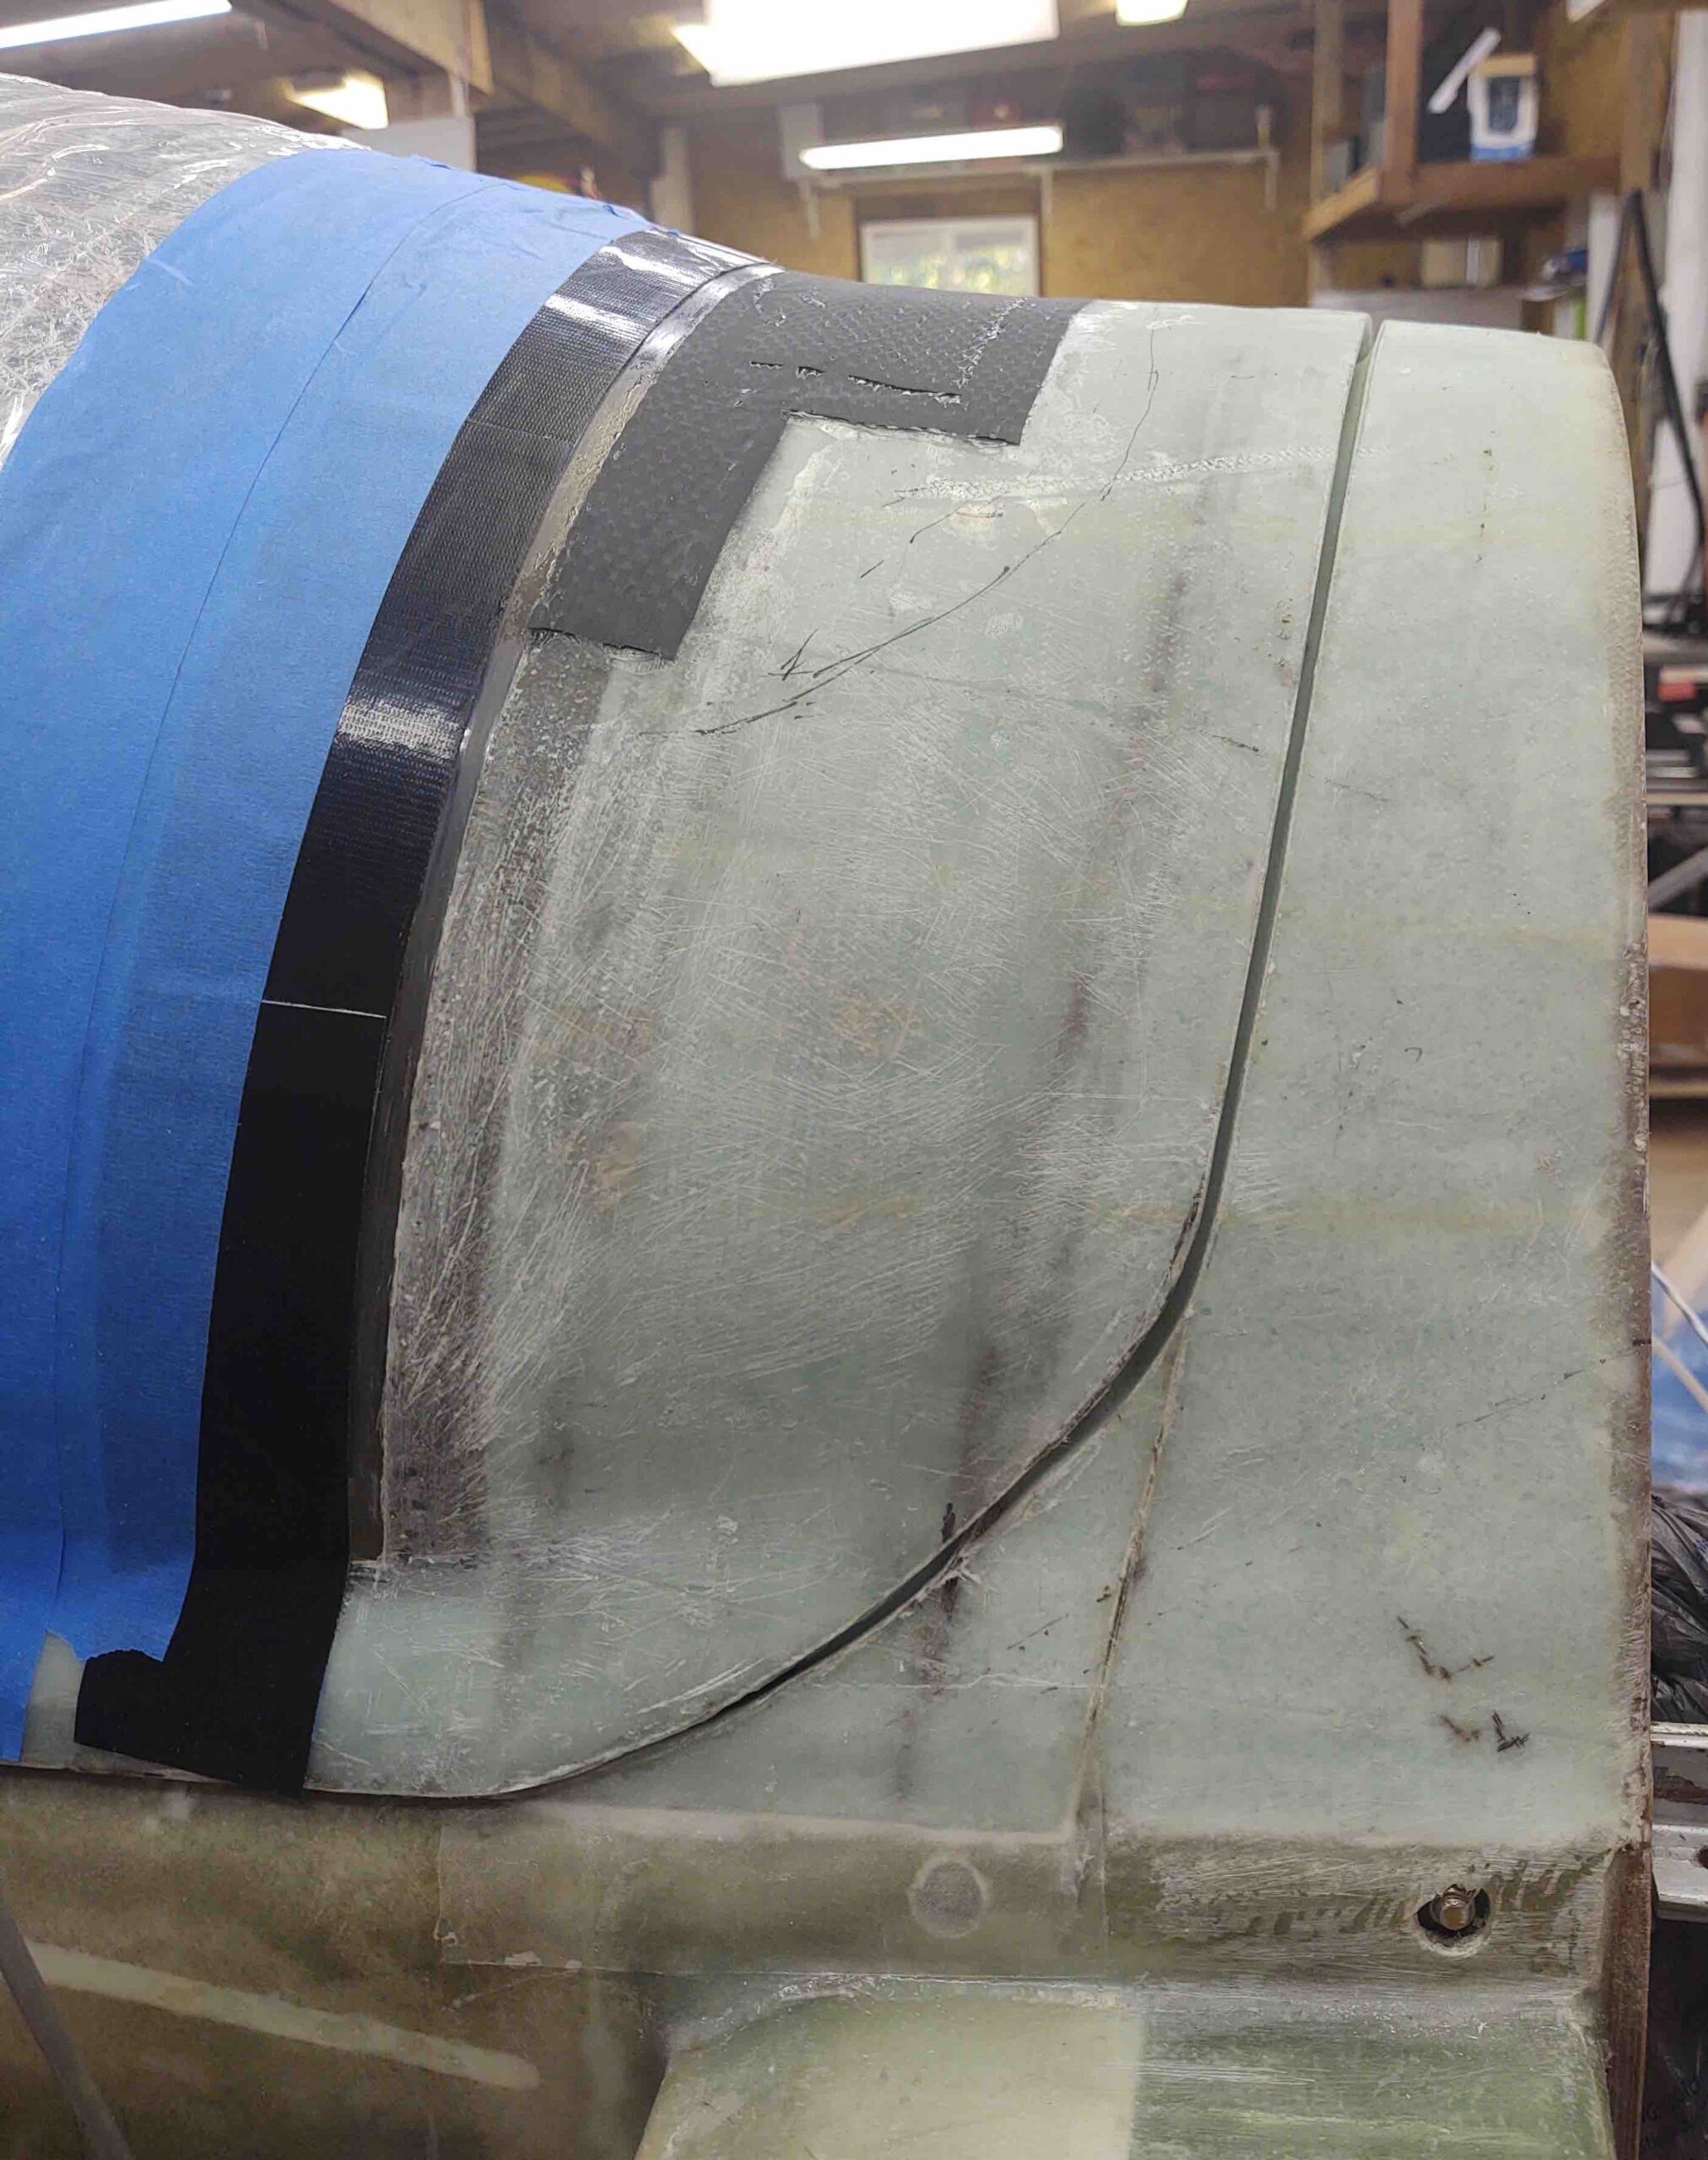
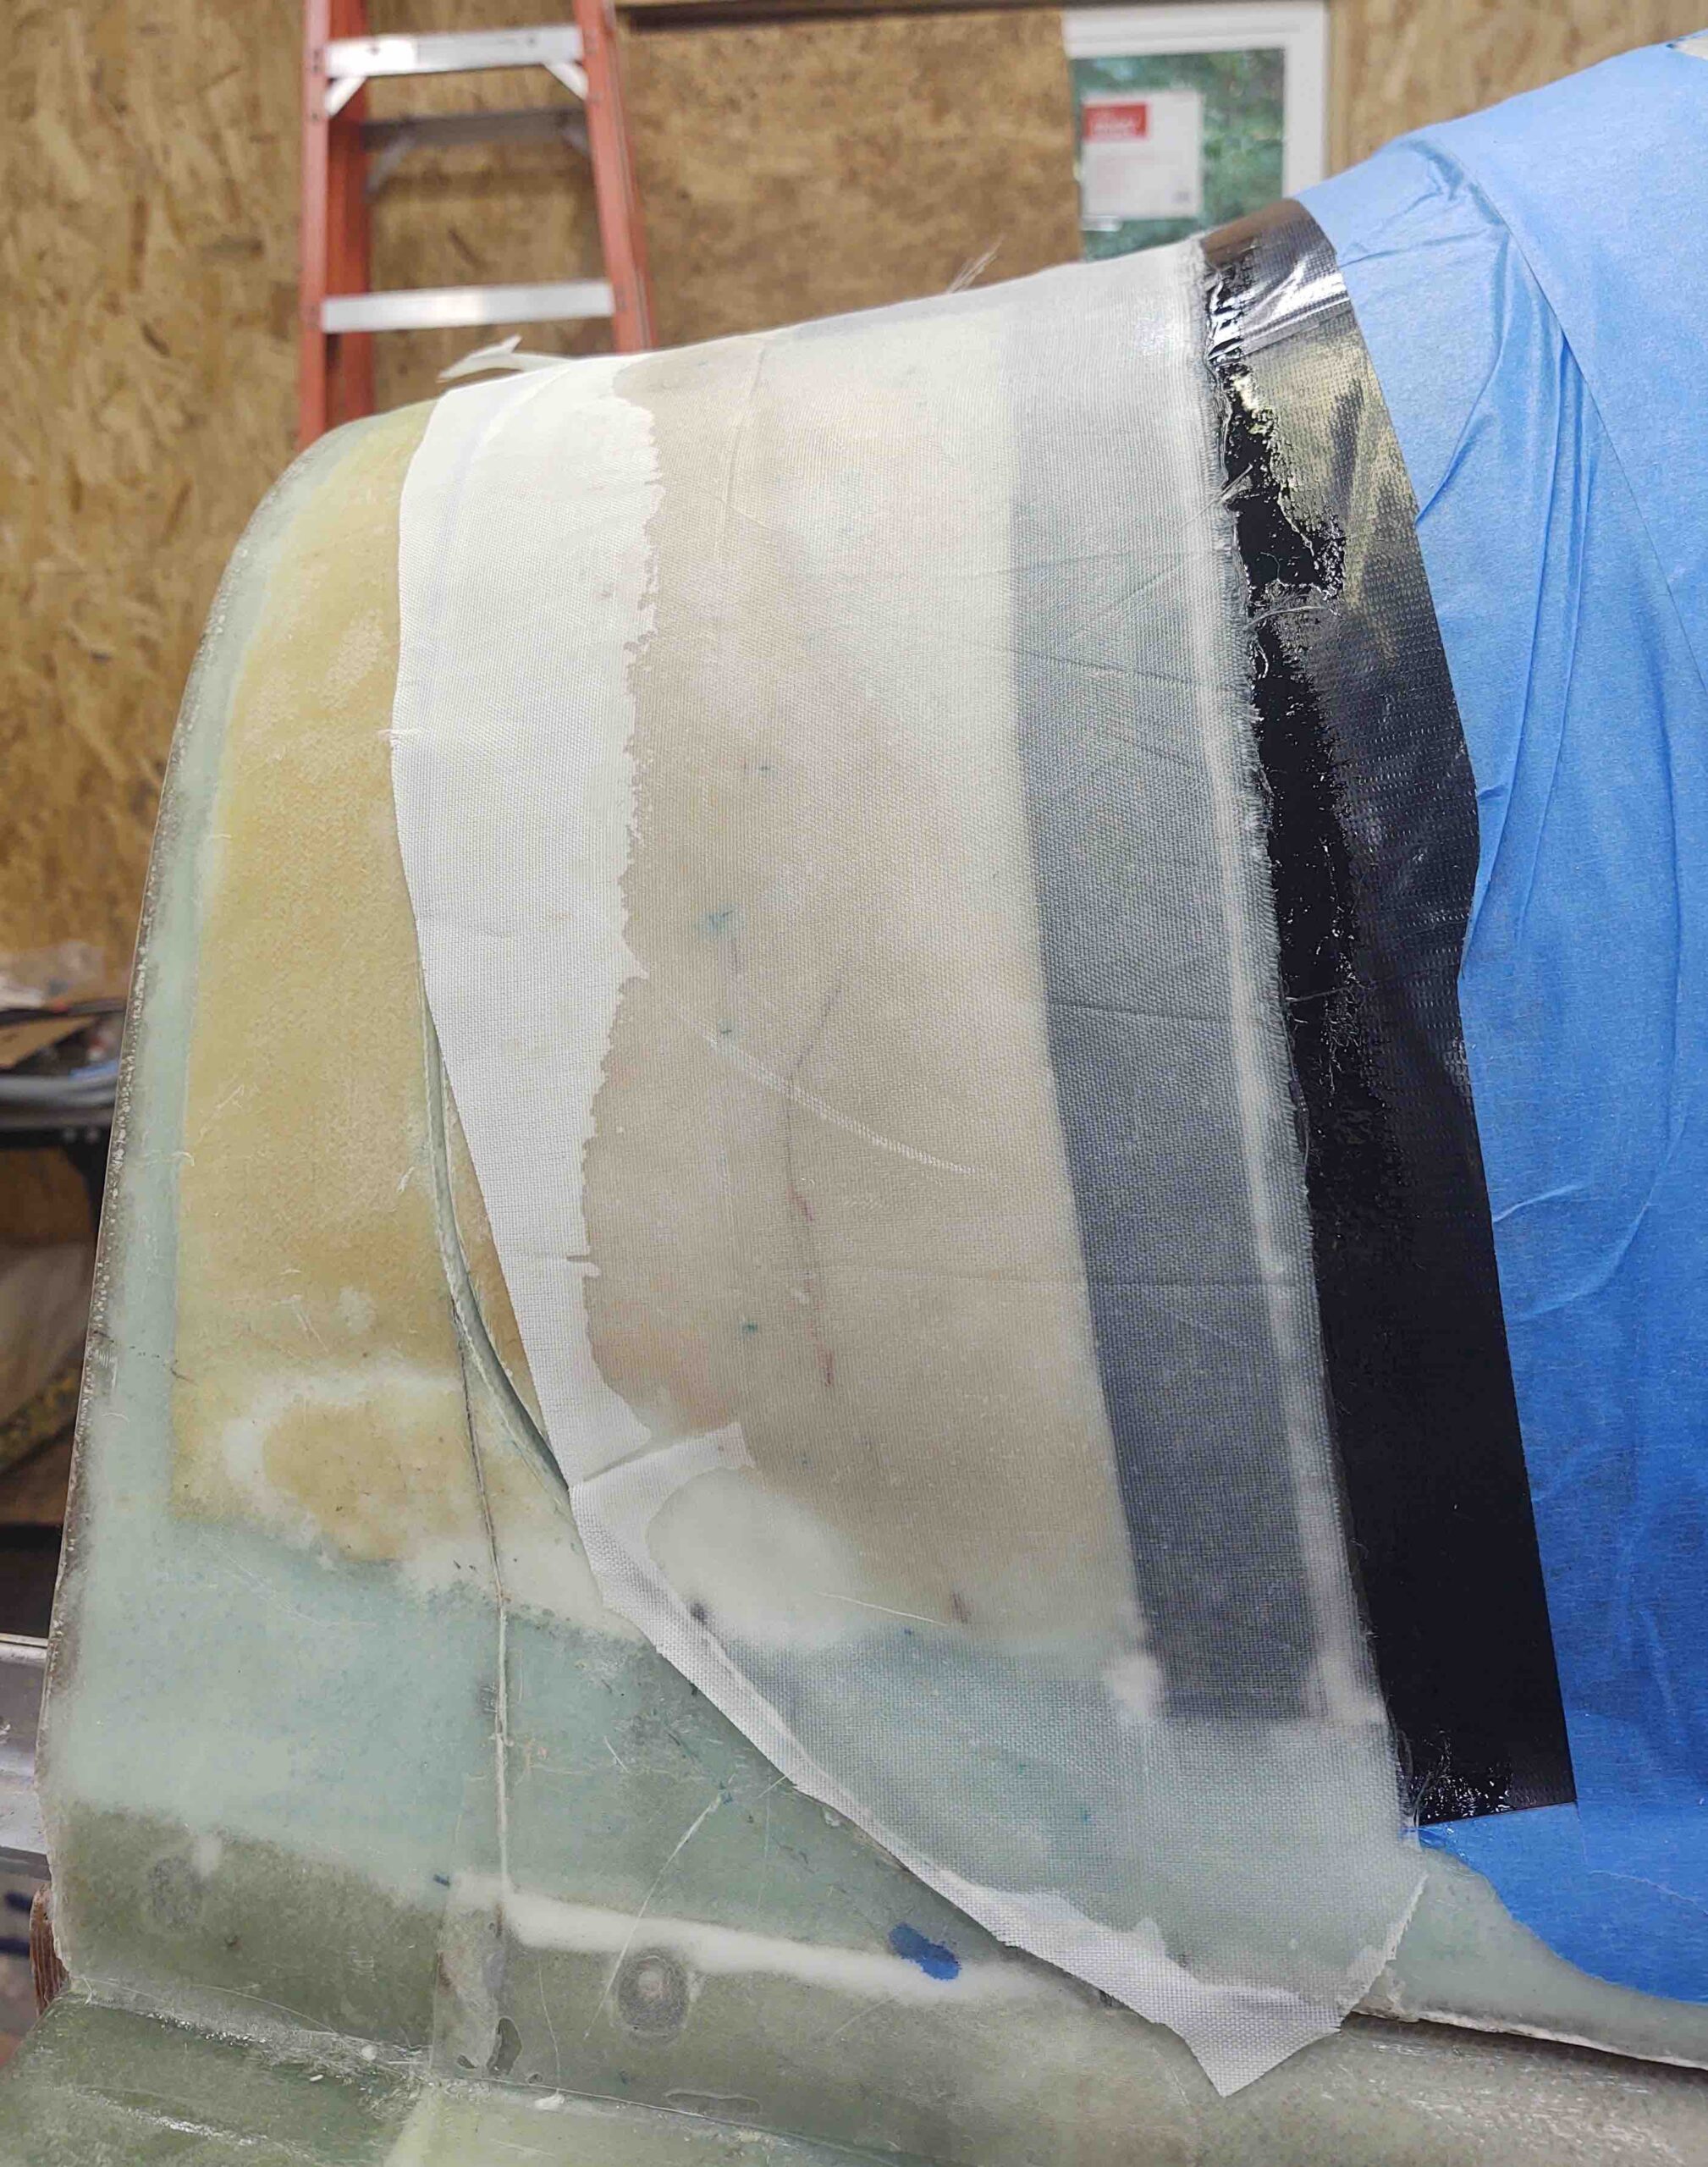
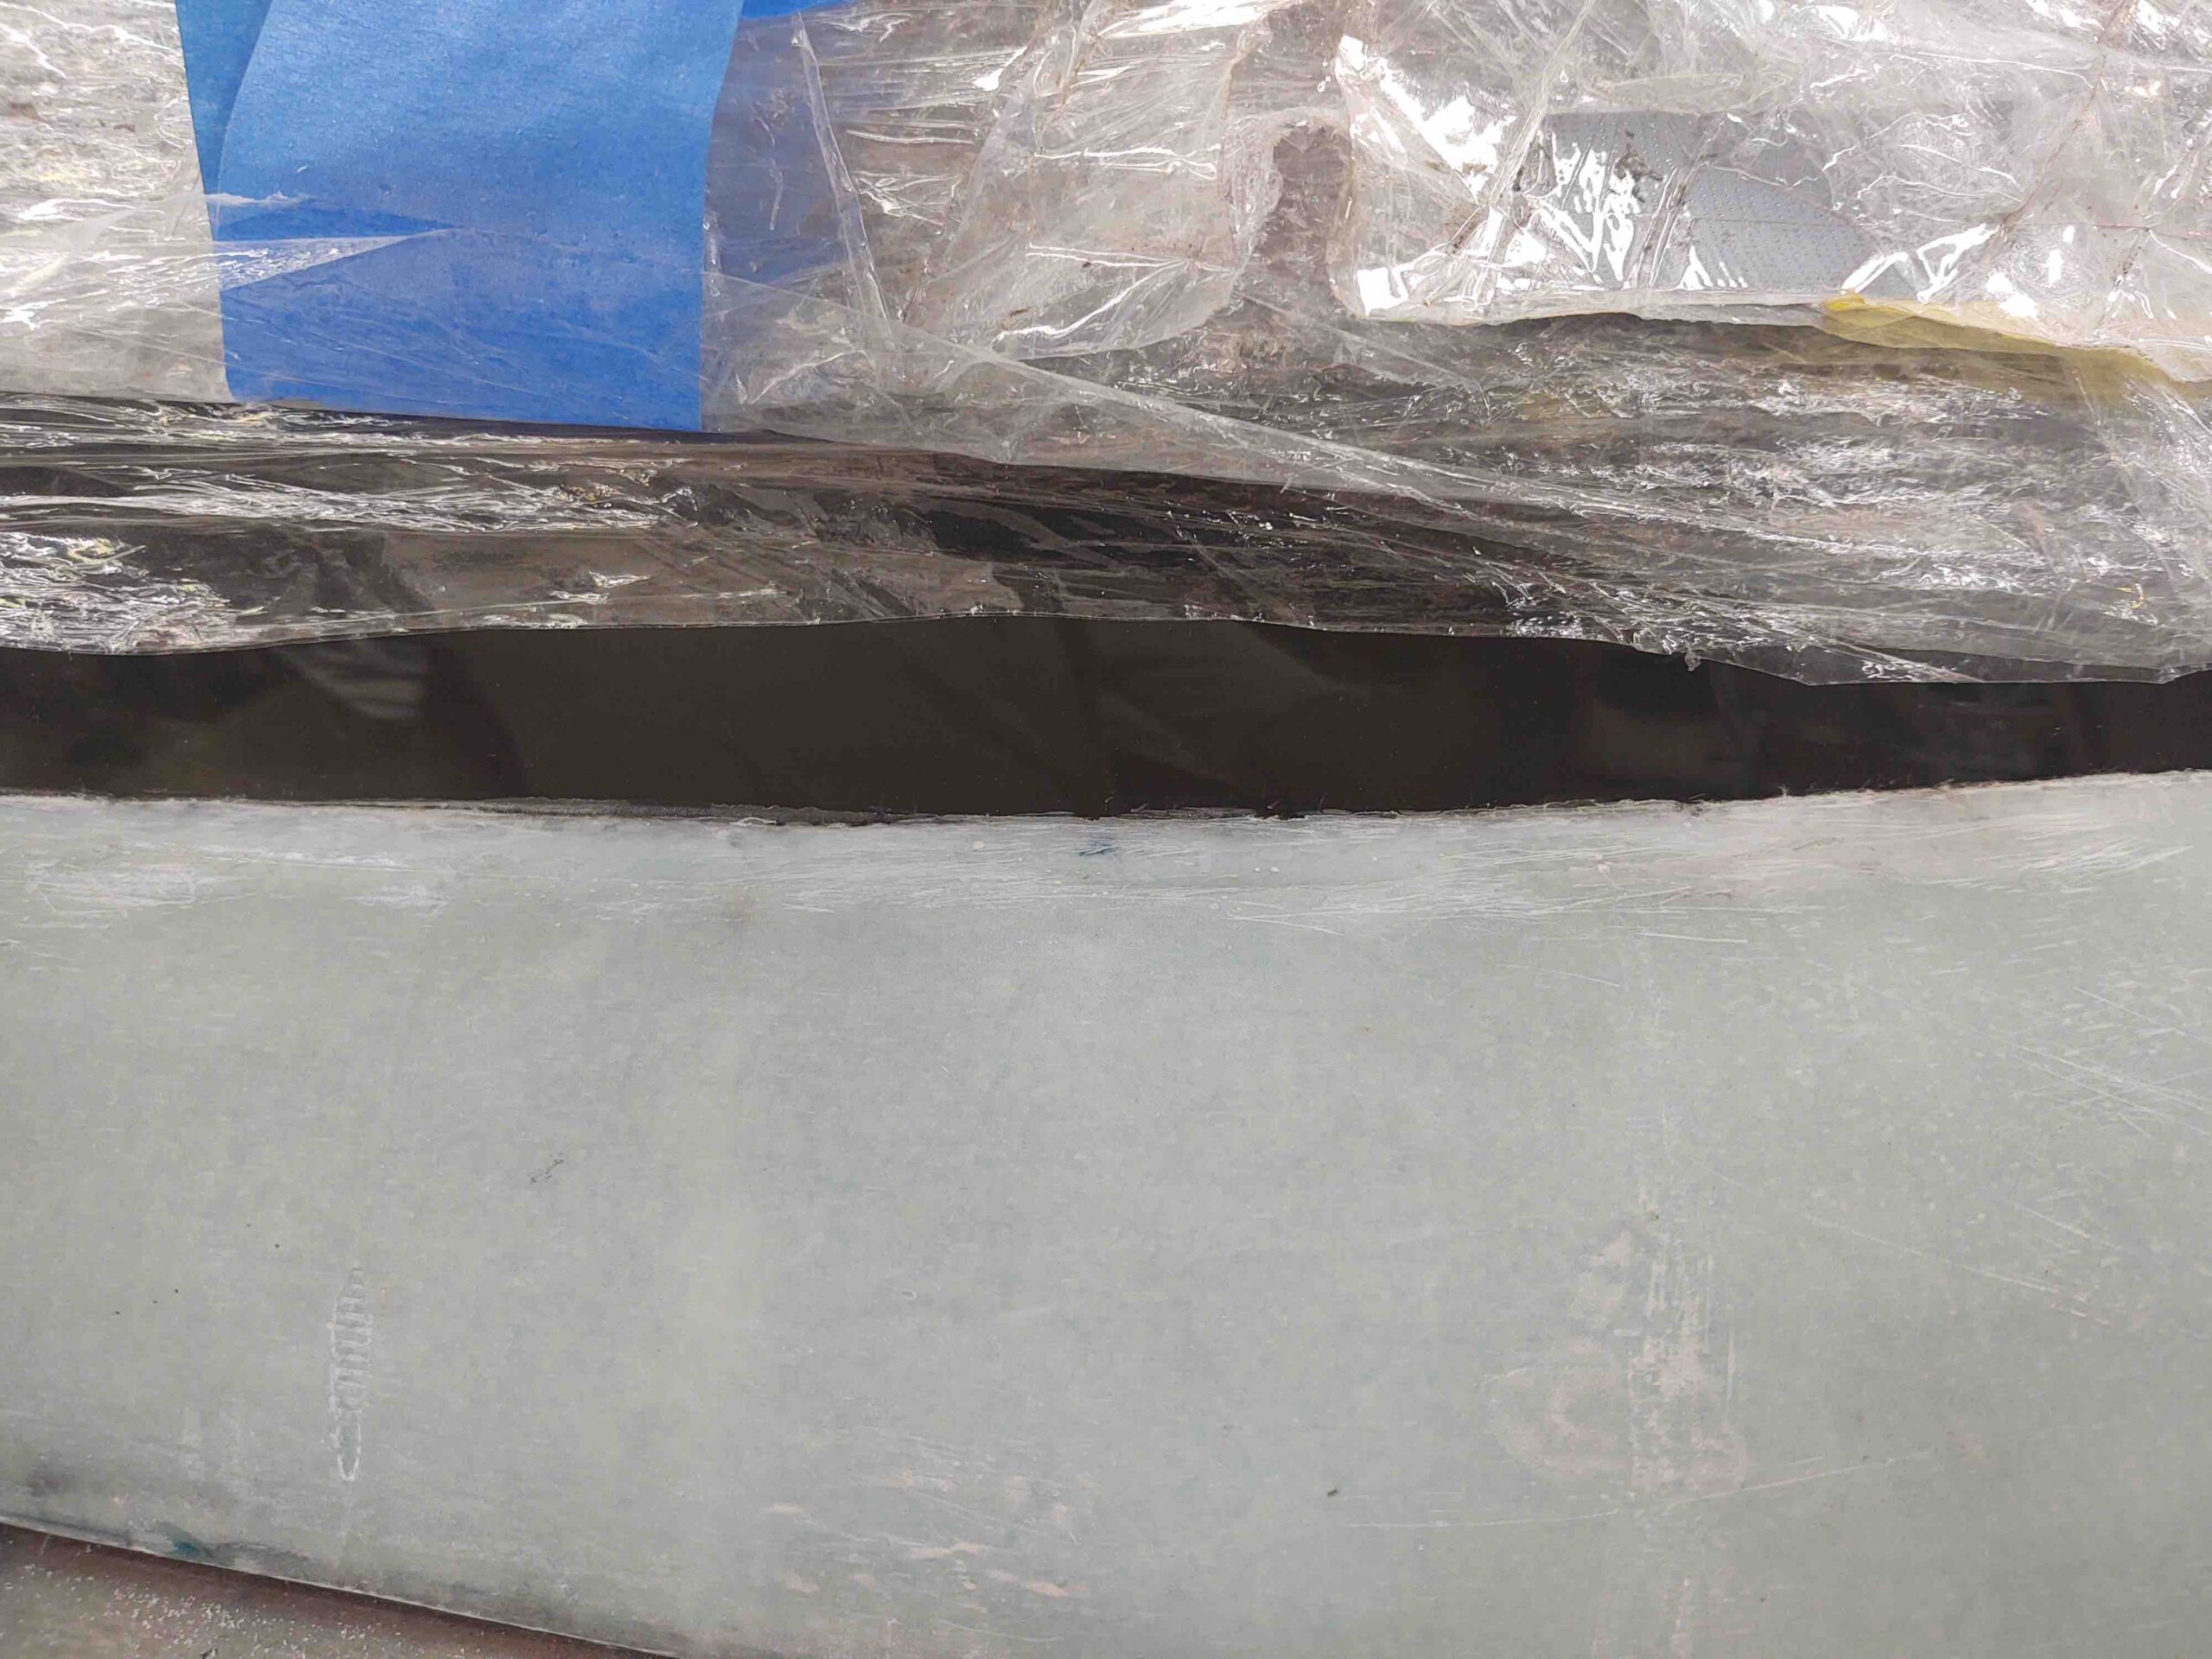
And here we have offending area #2 . . .
with the final results being pretty much the same. Thankfully no damage to the canopy, and now a clean paint line can be had by all! (well, ok, me!)
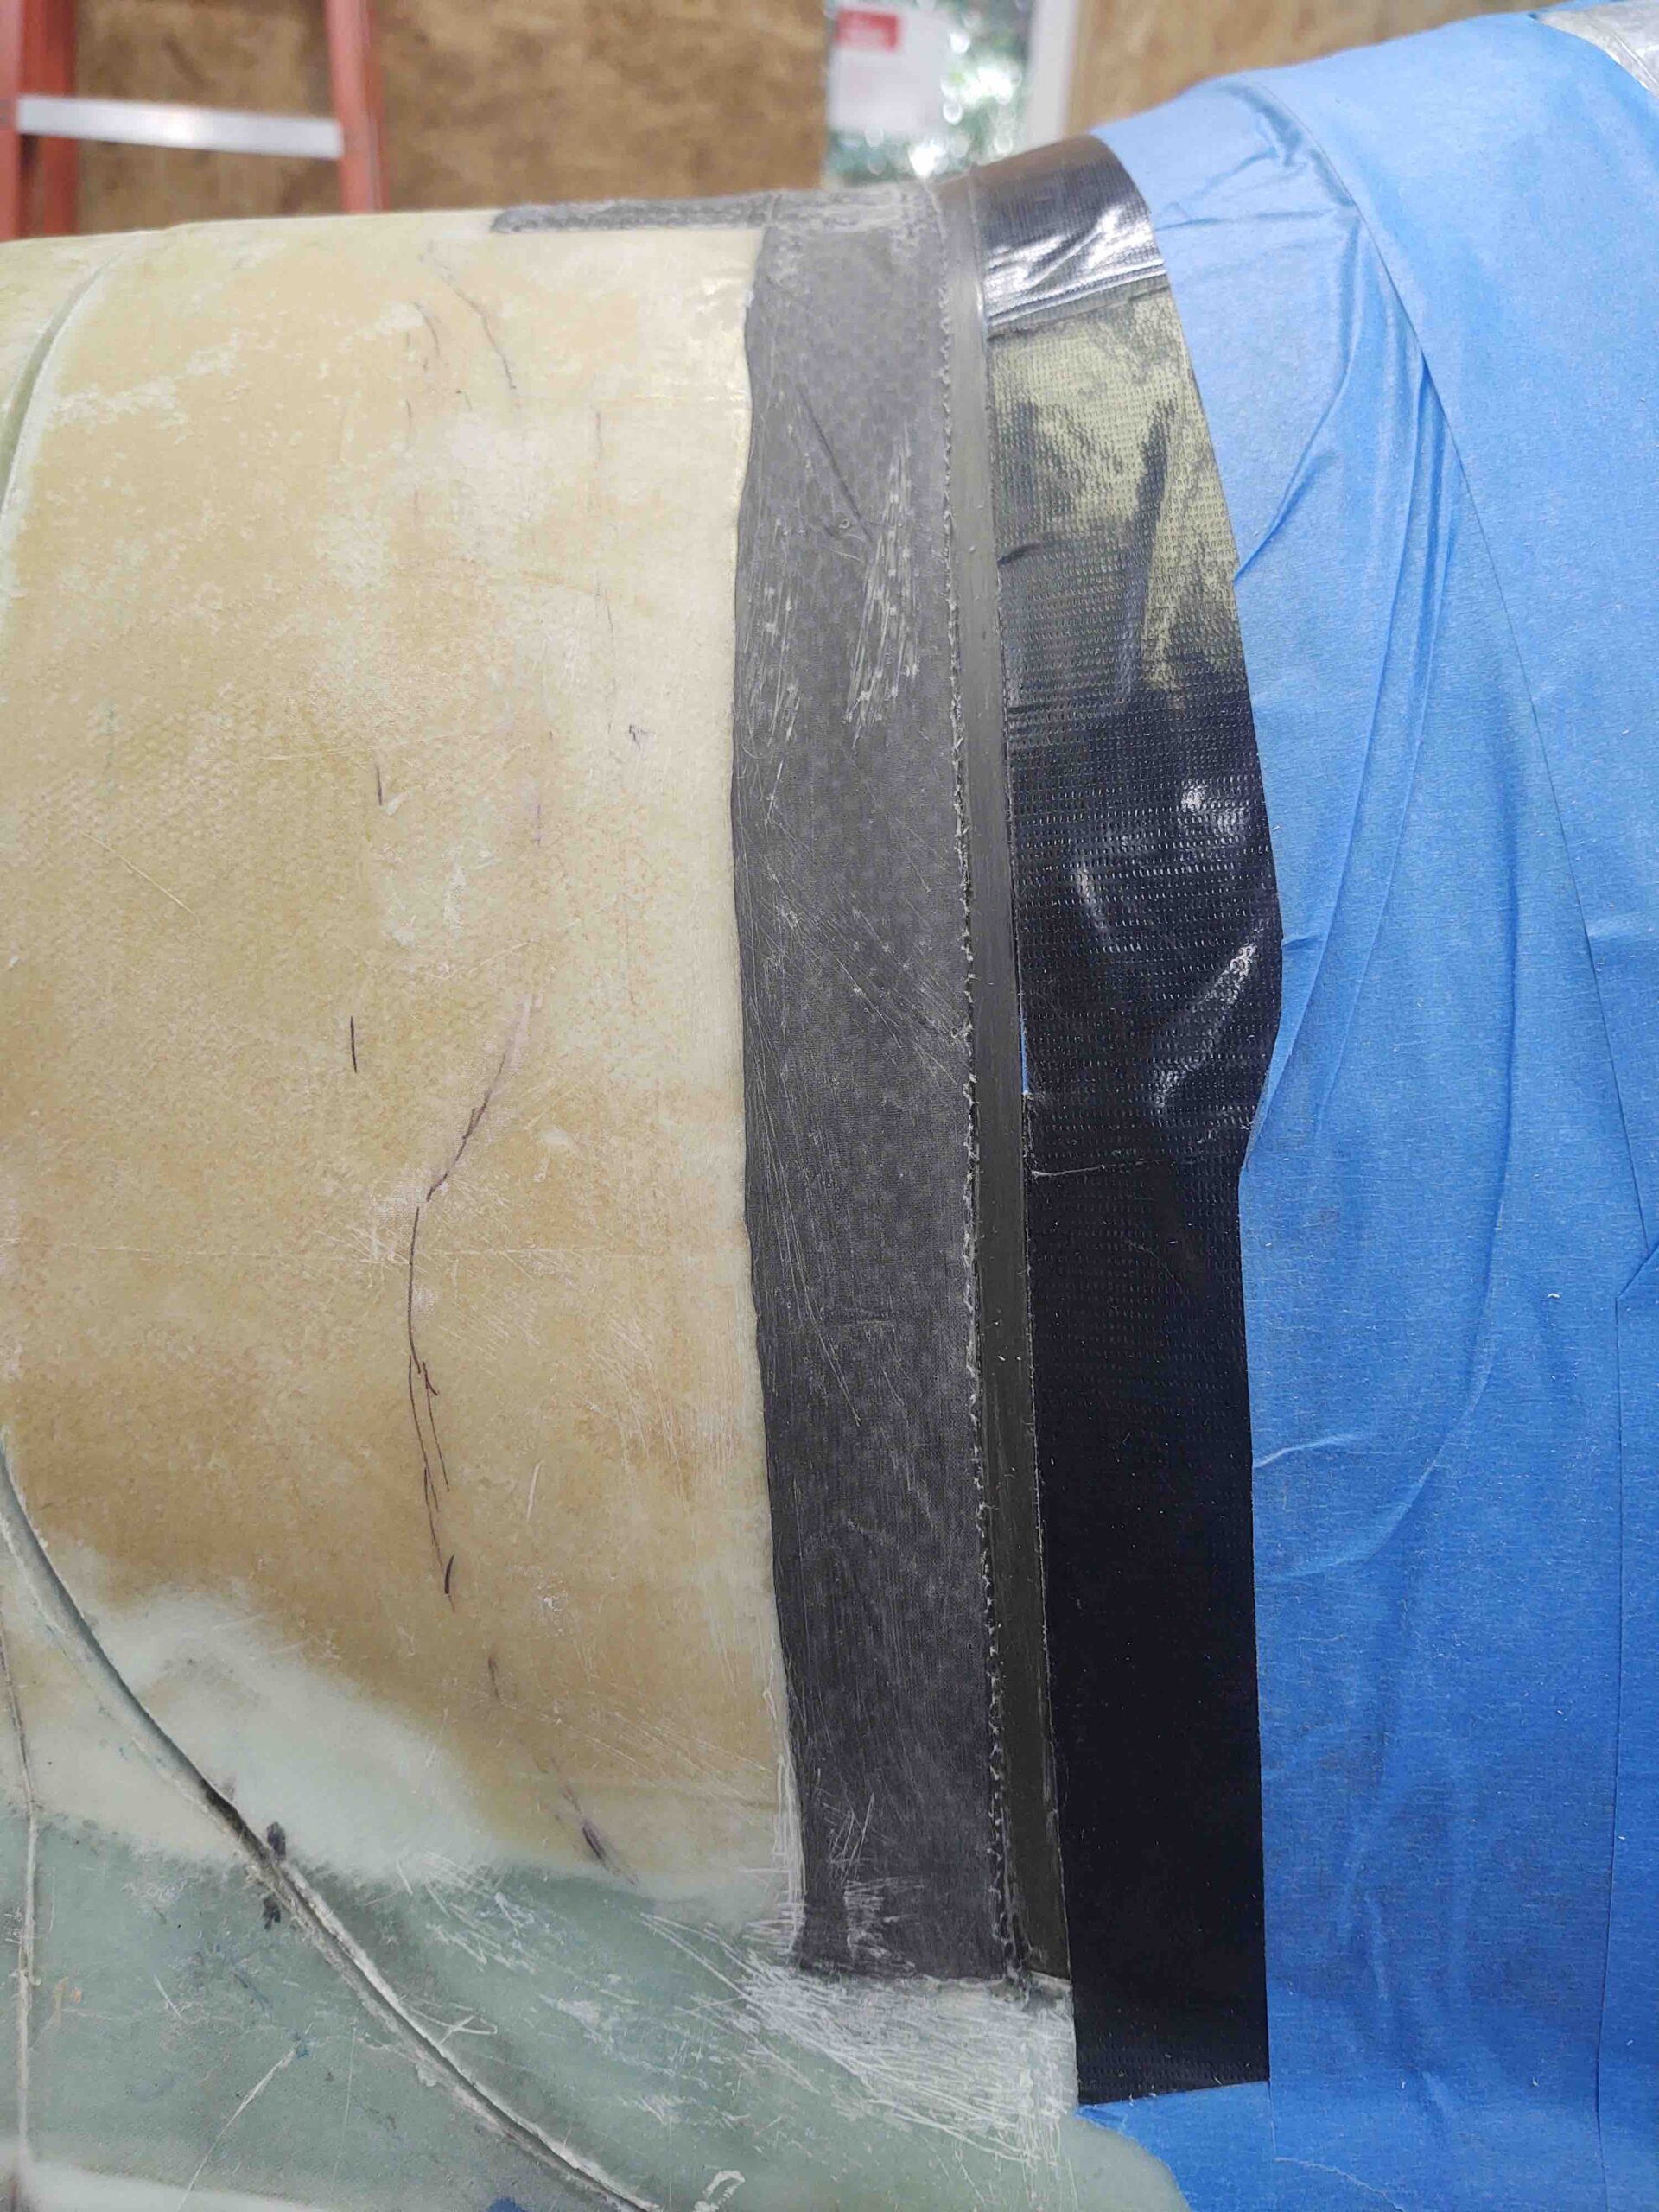
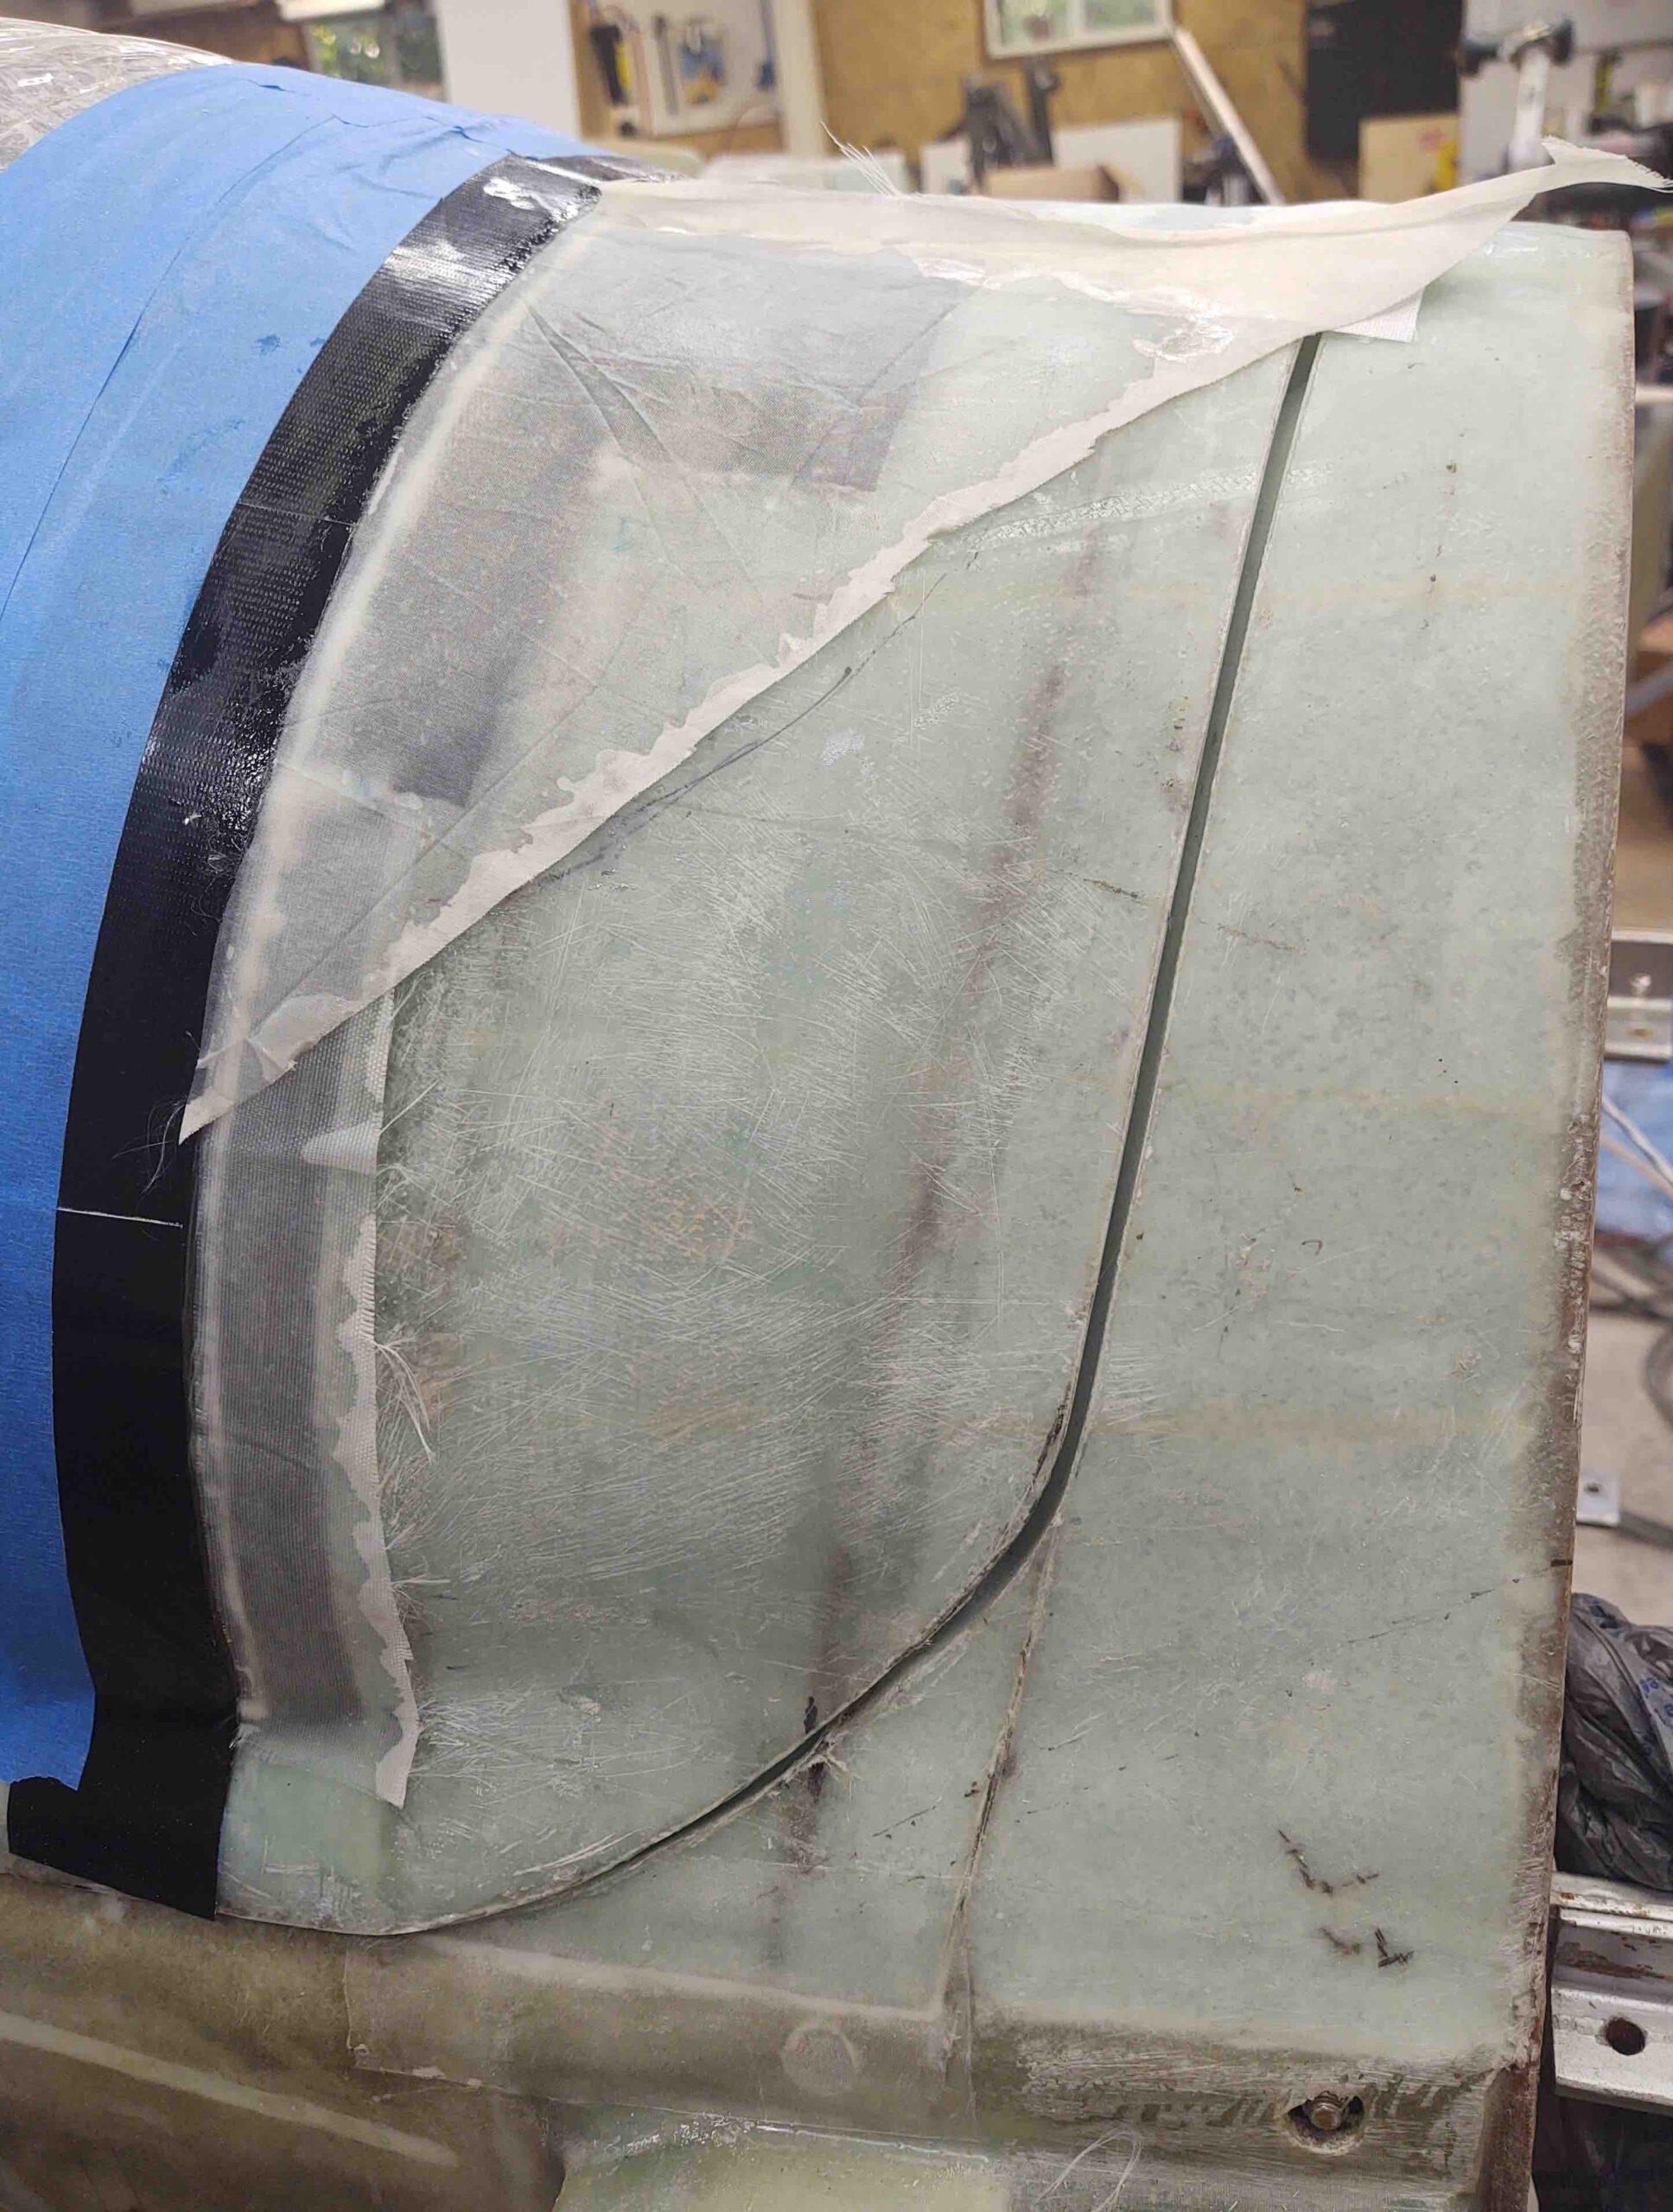
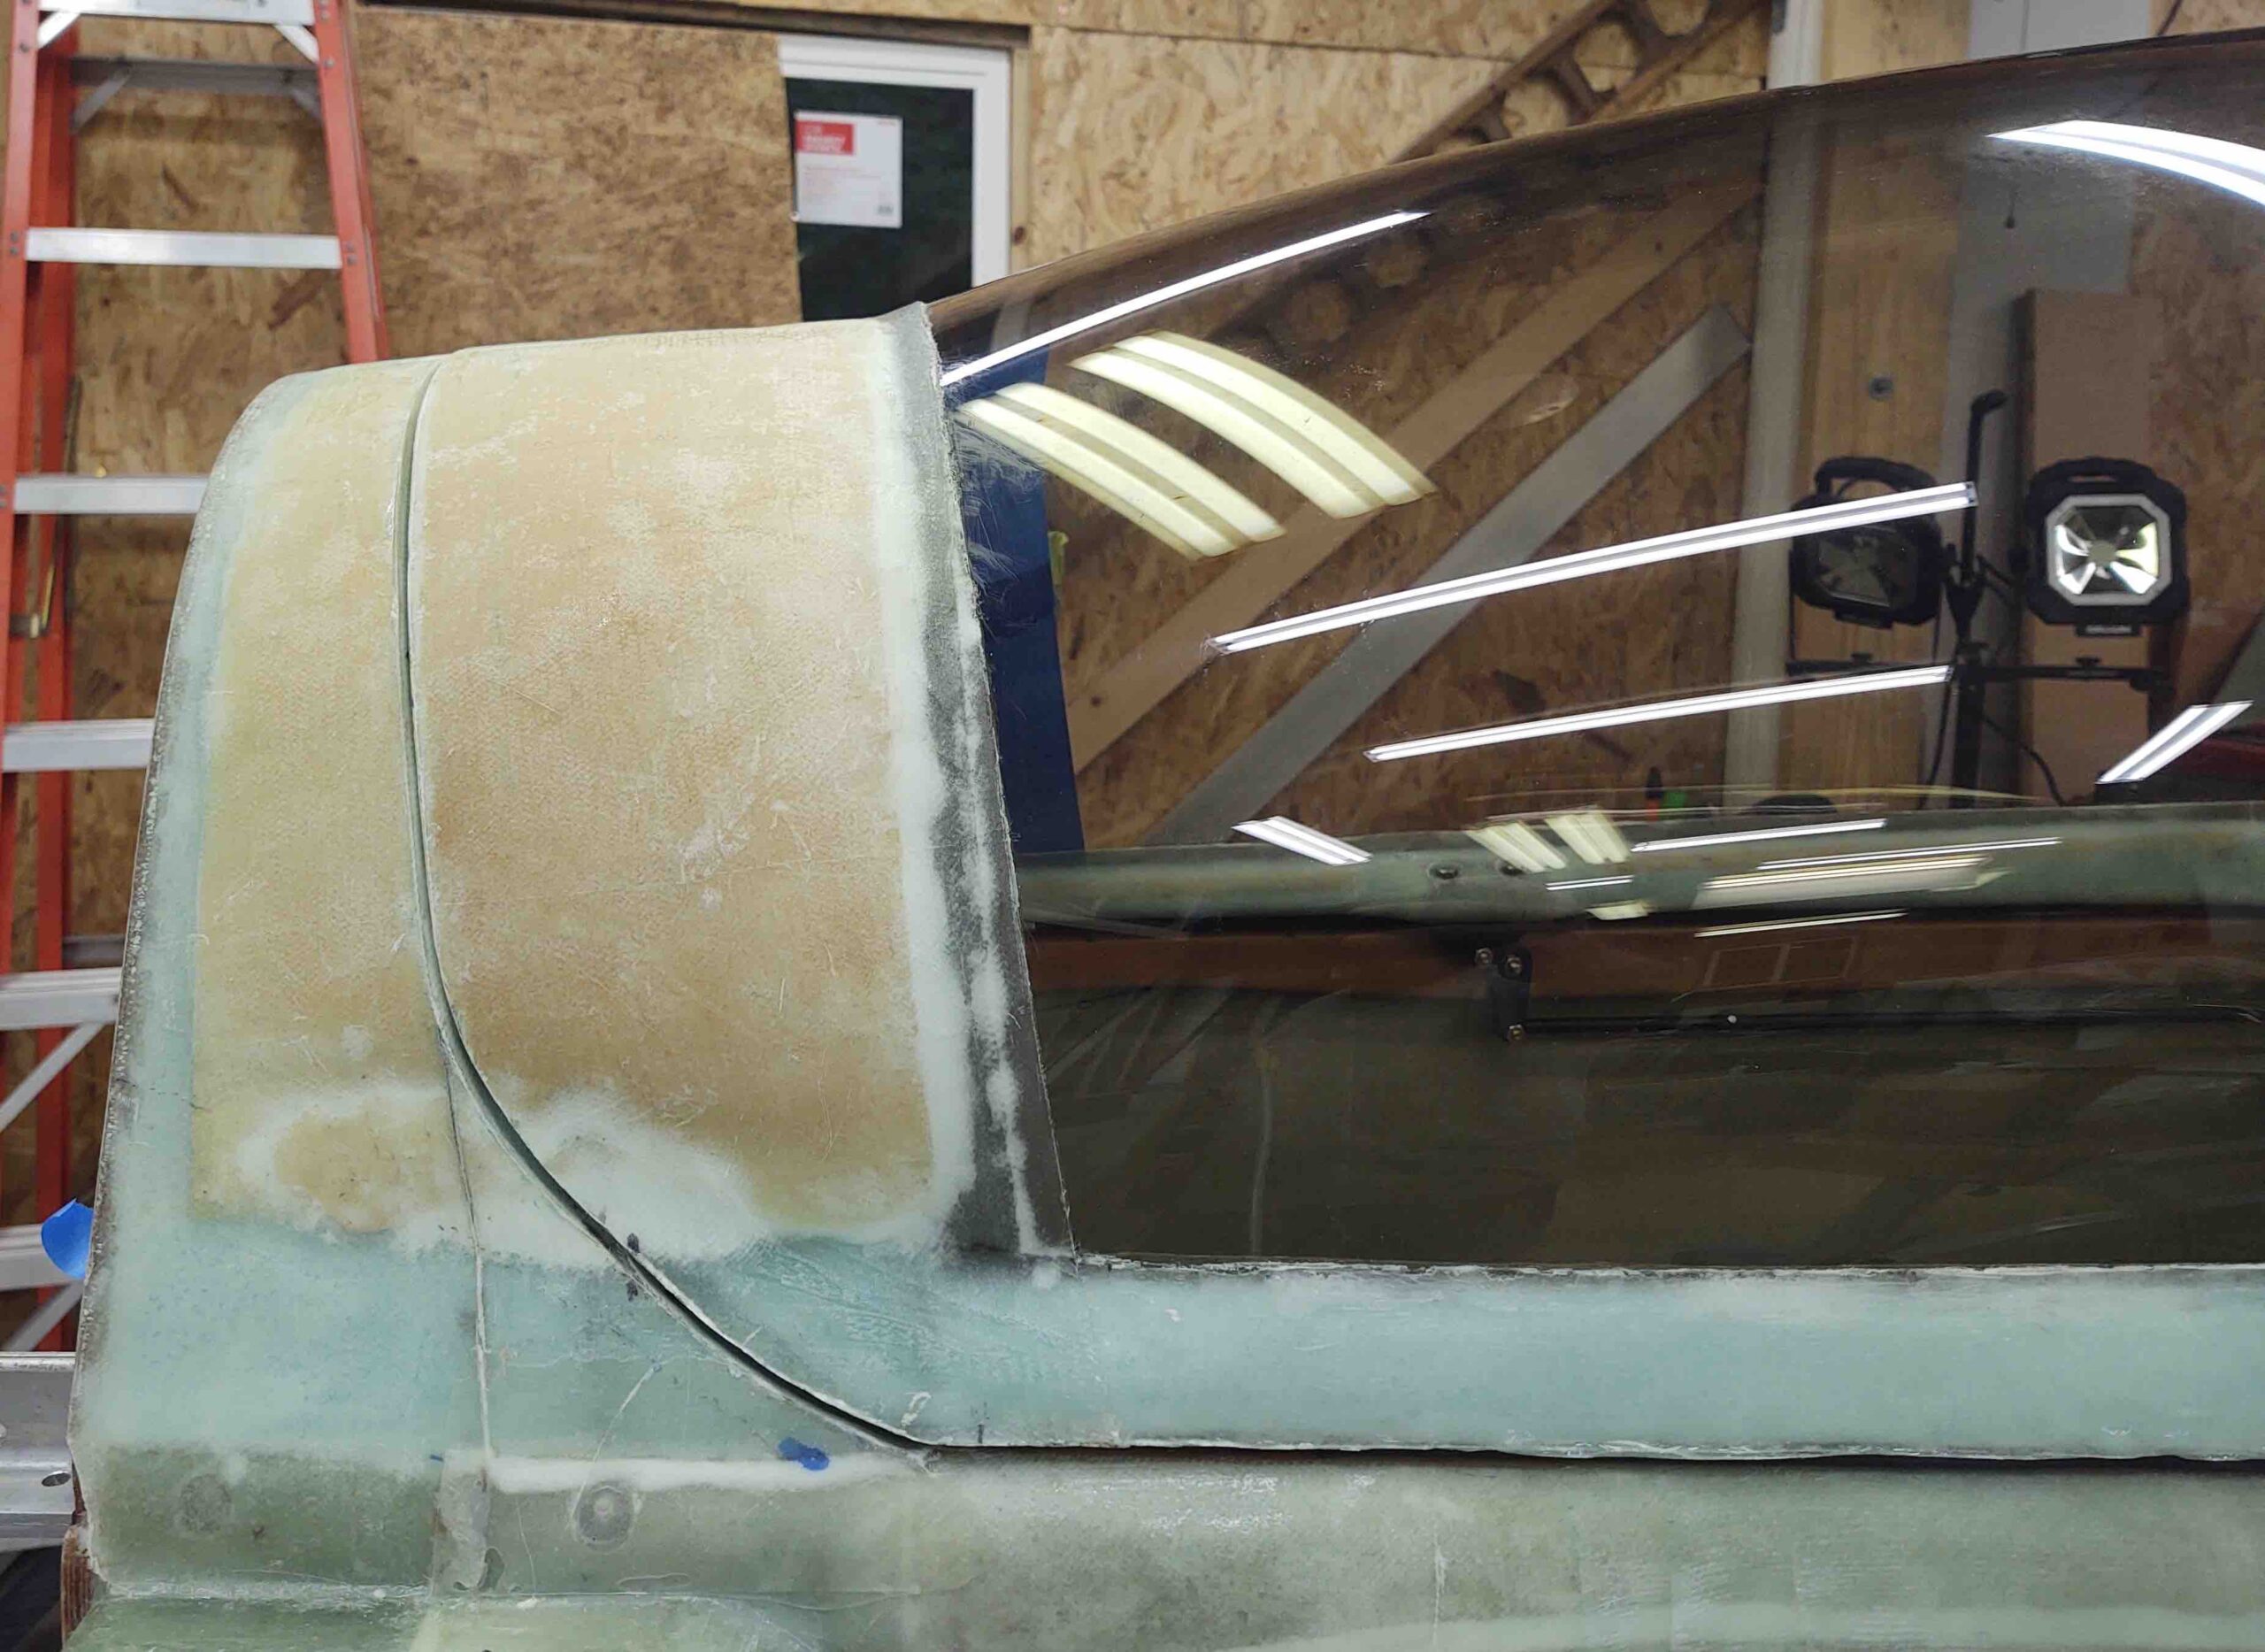
Quite a number of hours later (I used fast hardener) I pulled the peel ply and protective tape to reveal the new canopy/turtldeck interface angle. Not super dramatic, but noticeably a much better, cleaner transition than before.
AFTER:

BEFORE:
And the left side, AFTER:
BEFORE:

I’ll reiterate that once the micro fill finish goes on, it will only help to clean up this transition angle even more. I might even cheat and go another 1/8″ forward of the glass edge for my micro fill and lessen the angle just a smidge more.
But as I titled this post, this is about as good as this canopy/turtledeck angle is going to get… definitely no worse at this point. I did try to test the new angle with my beloved Bosch angle finder, but alas, at some point in the last 6 months the batteries corroded and apparently got to the electronics. In short, das ist kaput.
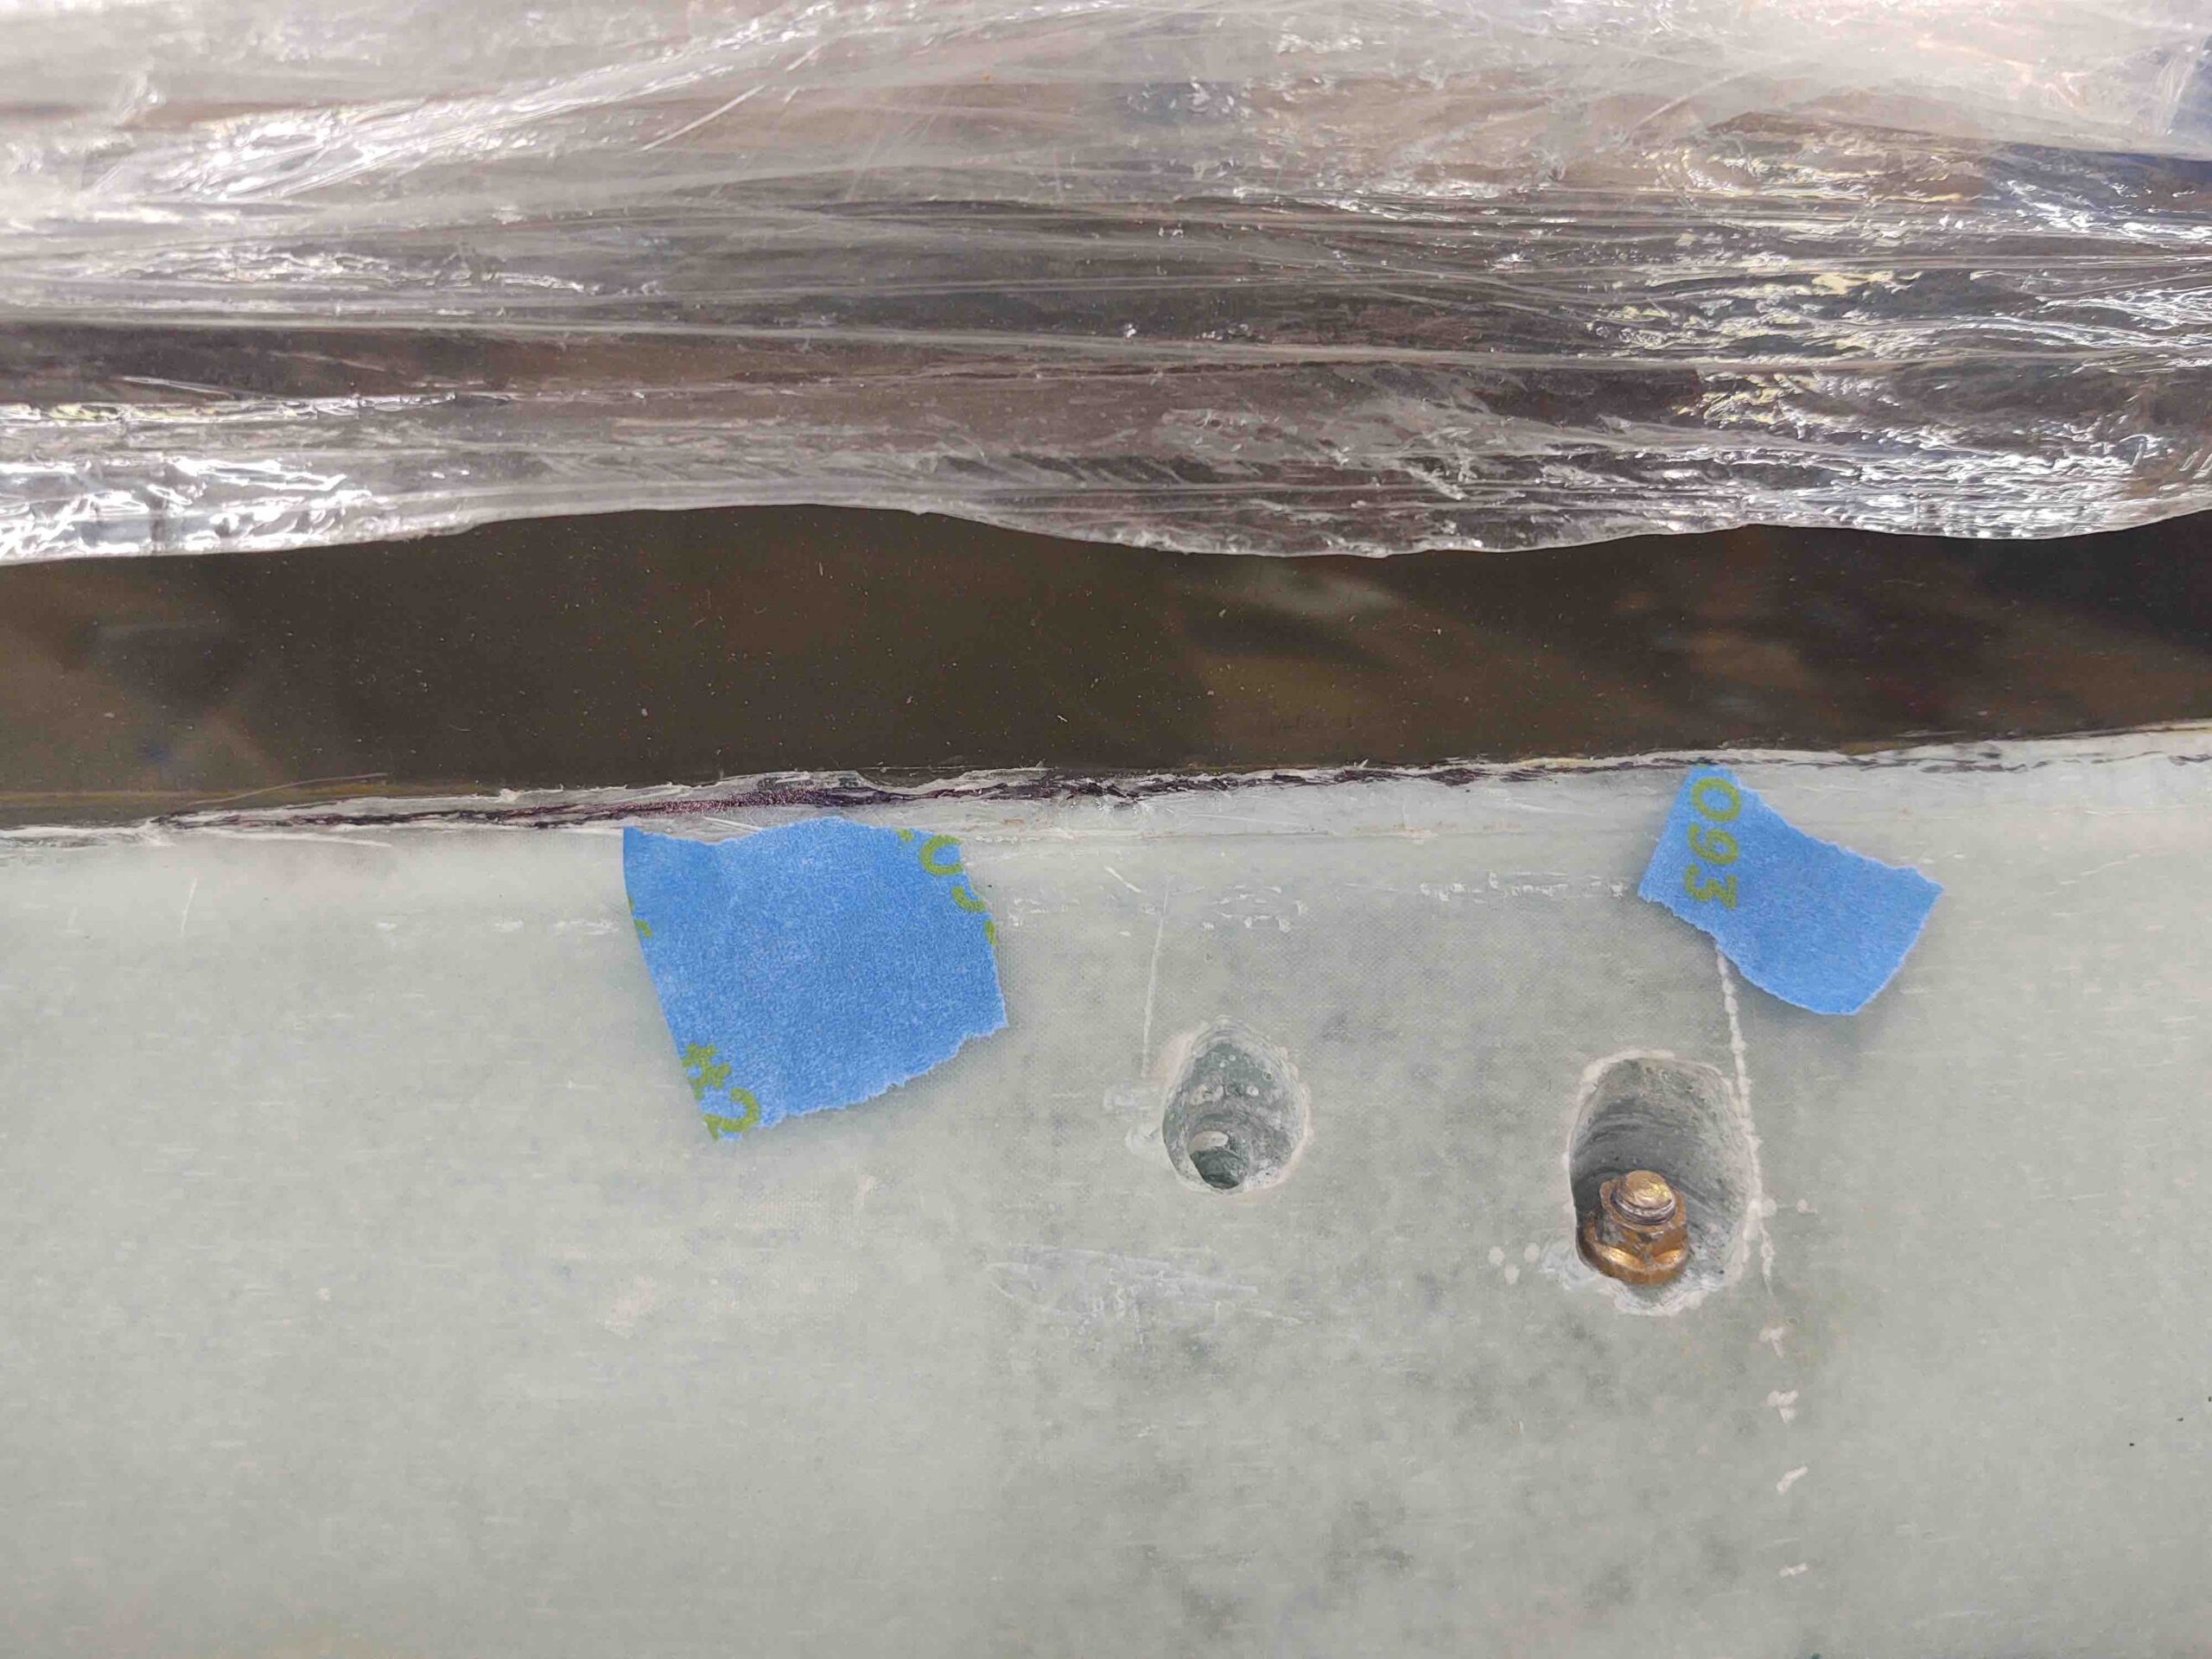
My evening ended with a good hour and a half effort on reassembling the puzzle that is my panel mockup. I’ll post pics once I get the panel mockup together and operational.