
No, not the aft canopy as in I have two canopies…. a fore and aft canopy! I mean the canopy’s aft frame was glassed! Ok, more on that later . . .
After running around doing some prep for my fuselage haul down to NC and picking up the trailer, my first shop task was to mark and trim the cured glass that makes up the turtleback seal flange.
[Note: I decided to wait on loading up the fuselage until I finish the canopy, so while fellow LEZ bubba Mike’s visit was great, it turned into a more of a social one since I really do need (or want!) to have the canopy installed before hauling the fuselage down to NC. Since I have the trailer for a week, another day or two to get out the door won’t hurt...].
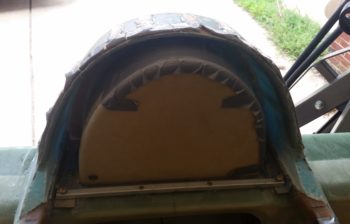
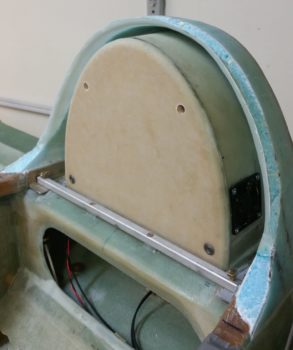
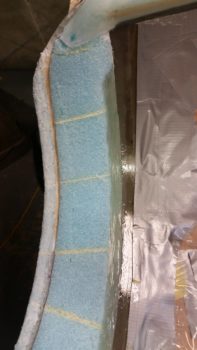
Here we have the numerous popsicle sticks with copious amounts of hot glue to keep them and the foam form pieces in place. Also you can somewhat see the trimmed turtleback seal flange.
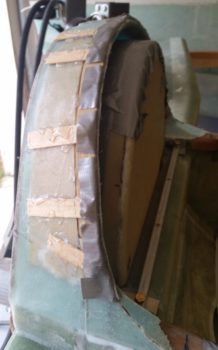
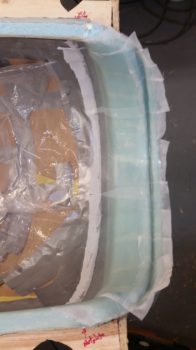
I then removed all the dried hot glue, popsicle sticks and foam & tape form pieces. I then pulled the peel ply from the top/inside of the seal flange and cleaned up the glass.
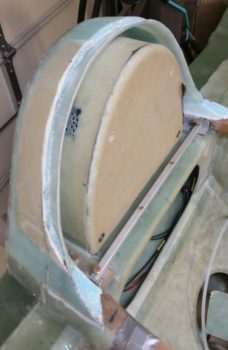
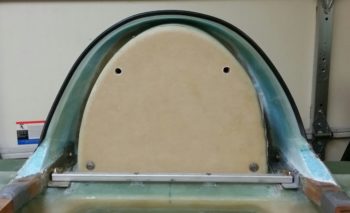
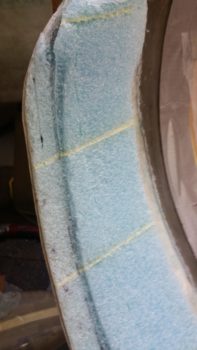
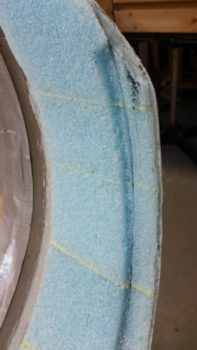
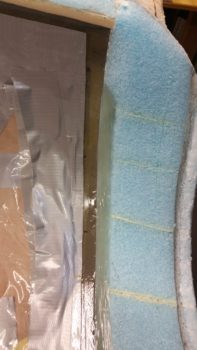
Here’s another shot of the turtleback’s new addition from the left side . . .
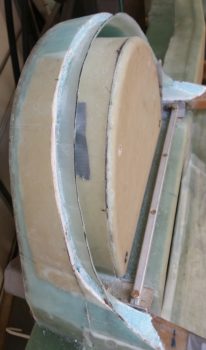
I then test fit a piece of the same black rubber trim that I’m also using on the glare shield edge. The trim here fit well and I’m good with using it for the seal trim back here.
To configure the aft interior end of the canopy to interface with all this that’s going on at the turtleback, I used some model paint to create a black edge on the seal flange. I then quickly mounted the canopy and pressed the canopy’s blue foam into the flange on the turtleback . . .
The result was both a black mark left by the seal flange’s painted edge, and a depression in the foam.
It took a couple of iterations to shape the canopy’s aft foam and dial in the interfacing aft canopy and turtleback, but it looked good and I was satisfied enough to start glassing the aft canopy frame.
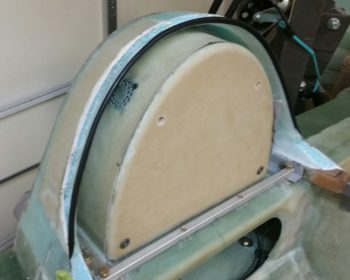
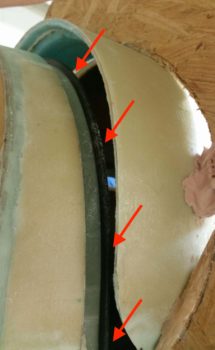
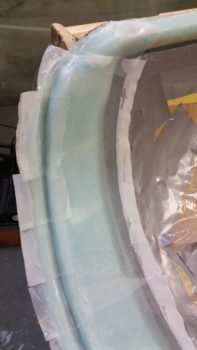
The pic above was taken with the black rubber trim (red arrows below) in place, at which point I then knew that the trim would fit underneath the aft canopy edge.
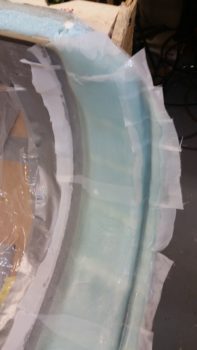
I then got to work glassing the canopy’s aft edge, side #3 of 4 sides. If you look closely in the pics below, you can see just aft of the canopy edge is a greenish line about 5/8″ in width that tapers back into the canopy for a termination point at each outboard end. That line is a 3″ UNI tape that I essentially pulled apart and made 4 separate 5/8″ wide plies stacked one on top of the other, with each respective/successive ply wet out as it was placed in this “mini-trough.” This will make a solid fiberglass bow connected to and just aft of the canopy edge. I then laid up a “normal” 3″ UNI tape that covered this stacked tape with the remaining tape glass positioned aft of the stacked 3″ UNI tape.
I’d like to reiterate that these extra 3″ UNI tape plies serve a twofold purpose:
- It reinforces the aft canopy to serve as an ad hoc roll bar for the GIB, and
- serves a vital role in keeping the aft canopy shape since I will have no cross structure (arrow stock) across the very aft canopy.
After the requisite minimum canopy layup work time of 3 hours, I finally finished glassing the very aft of the canopy frame. I then of course peel plied it.
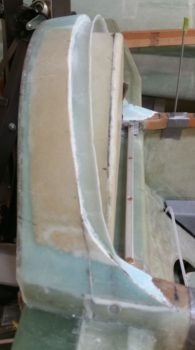
Here are the 2 sides of the aft canopy frame, glassed and peel plied.
Tomorrow I plan on finalizing the canopy construction by laying up the last round of glass on the frame: the left side. I will then prep as much as possible in order to get the canopy mounted to the fuselage via the hinges.