
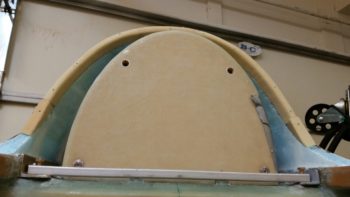
Today I started out by spending a good hour cleaning the internal turtleback 1-ply BID layup. I pulled the peel ply and dealt with the peel ply boogers. I also razor trimmed the glass . . . one nice thing about a 1-ply BID layup is that it doesn’t matter if the glass is cured or not, it’s EZ to razor trim!
I then got busy cutting up and shaping some scrap urethane foam to attach to the front edge of the turtleback, using both nails and hot glued popsicle sticks. I then sanded the interior edge of the urethane foam even with the interior surface of the turtleback.
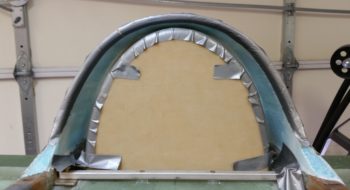
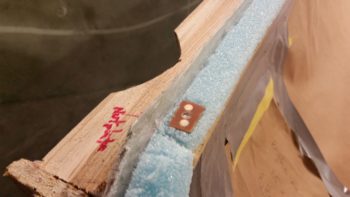
Here you can see the shaped urethane foam pieces held in place with nails and hot glued popsicle sticks. After I was certain that the foam was mounted fairly securely, I did a final shaping that included rounding over the bottom forward corner with about a 1/4″ radius.

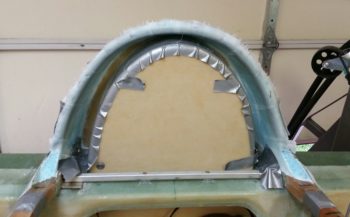
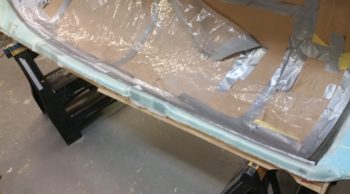
I then taped up just the bottom edge of the foam. This foam form is to create a lip akin to the what the glare shield up front has, and that will stop any water from leaking into the cabin. Moreover, it will also be used as a flange for the canopy seal to seat into.
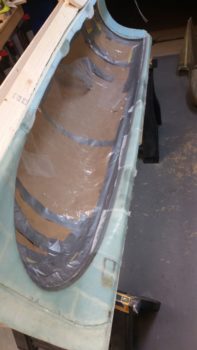
I then prepregged and laid up a 3-ply BID layup around the taped foam form, overlapping onto the interior turtleback glass by about an inch.
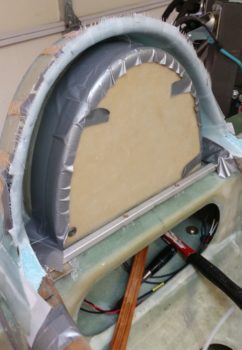
Here we have another couple shots of the 3-ply BID layup that will make up a flanged lip around the turtleback for the canopy to seat into. As you may be able to tell, I peel plied both the tape form before laying up the 3 plies of BID, and then peel plied on the outer surface of the 3-ply layup. This is to allow for me to pull the peel ply on the top of the flange and layup a ply of BID to both close out the front edge of the turtleback, but to then connect that to the lip flange, adding another securing ply from the top side.

While the turtleback seal layup cured, I then made up another #6 screw nutplate assembly to mount another 1/16″ thick aluminum plate to on the bottom edge of the aft canopy rail. I will then flox an associated 1/16″ thick plate onto the longeron top so that the two plates come in contact and rest against each other when the canopy is closed. These plates will ensure a 1/8″ gap to allow for proper compression of the rubber canopy seal.
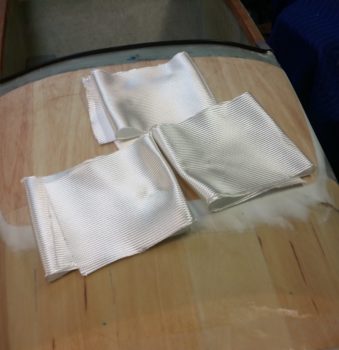
I then got busy cutting the UNI and BID required as per plans for the right side canopy frame rail layup.
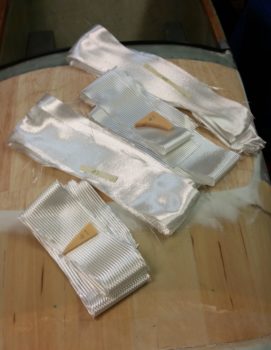
I then spent the next 3.5 hours glassing and peel plying the right side canopy frame rail.
Here’s another shot from the aft end of the right side canopy frame rail layup.
I also measured and cut the 3 plies of BID for the aft canopy frame layup that I will definitely try to squeeze in tomorrow.
Tomorrow fellow Long-EZ builder Mike Monsivaiz is coming over to help me load up the fuselage to haul it down to NC. Although I will have the fuselage on the trailer ready to haul down to NC, I may delay one day to finish up the canopy to the point I can mount it properly with the hinges and gas strut…. that way the fuselage can have the canopy mounted atop it –sans the frame!– as it travels down to NC. Time is TIGHT, but we’ll make it work!