
My goal for the day was to get both the turtleback interior glassed (which happened) and the aft canopy frame glassed (which didn’t happen). I didn’t glass the internal aft canopy frame due to a twofold reason: 1) I need the drip seal on the turtleback to be shaped first, and moreover, 2) there was just not enough hours in the day to get it all done!
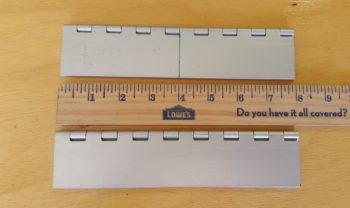
I started off today by cutting the set of canopy hinges from the 2 x12″ stock I had on hand.
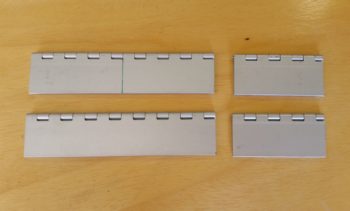
Although my hinges are much larger than plans (MS20001-12) –which I was clued in on by two of my fellow builders: Dave Berenholtz & Mike Beasley– I still cut them to the plan’s length of 8 inches.
I then test fitted a hinge on the front hinge hardpoint depression.

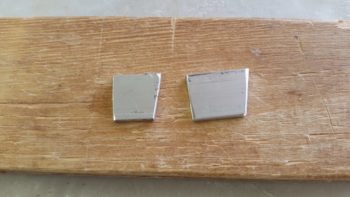
While I had my chop saw out to cut my hinges, I went ahead and lopped off the angled ends of my 1/8″ thick aluminum bars to make up 4 spacers to place at the front and aft end of each longeron. For now these little spacer nubs will mimic the 1/16″ spacers that will be mounted to both the longerons and the canopy frame, both front and back, that provide the proper gap for seal compression.
Here are 2 of the 1/8″ thick spacer nubs I cut . . .
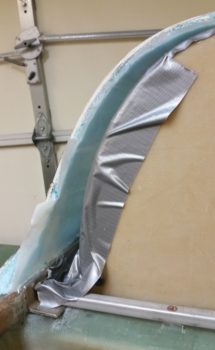
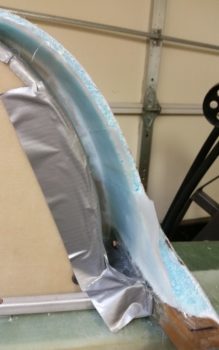
And here are a pair of spacer nubs taped in place at the front end of the longerons.
And a couple more 1/8″ thick spacer nubs at the back end of the longerons. This allows me to get rid of the long spacer bars that I used as the original 1/8″ spacers when constructing the canopy frame and up until today that I was using to maintain that gap whenever I placed the canopy on the fuselage.
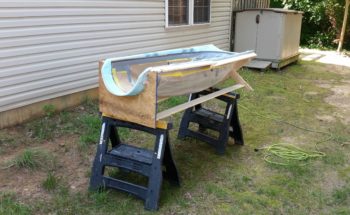
After covering a good portion of my shop in fiberglass dust from Dremelling out the front canopy hinge depression last night, I decided for the rest of my messy massive dust-producing canopy frame work that I would haul the canopy out to the side yard…. so that’s what I did!
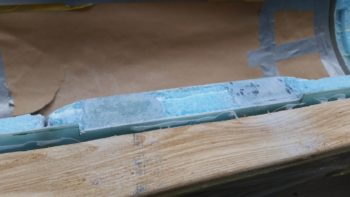
I then got to work on the canopy aft hinge depression. Again, I’m making these hinge depressions about 0.140″ deep since the hinges measure 0.270″ at the midpoint when closed. With the top hinge half buried 0.140″ into the canopy frame, this clearly leaves 0.130″ [very close to 1/8″] left for the other hinge half, and as a close-to-1/8″-spacer for the canopy seal.
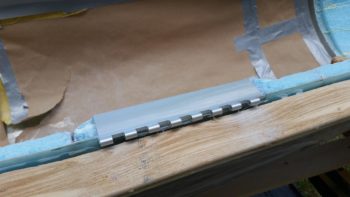
After creating the aft canopy hinge depression I test fitted the canopy hinge. Looks pretty good so far!
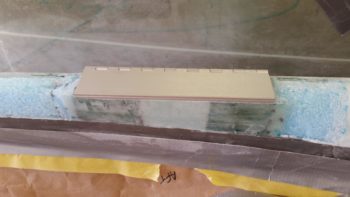
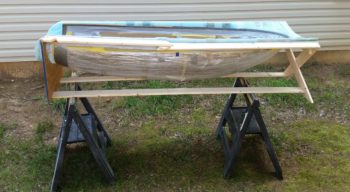
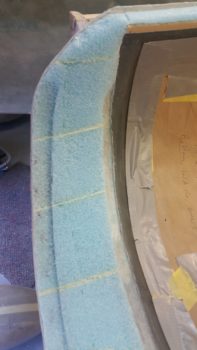
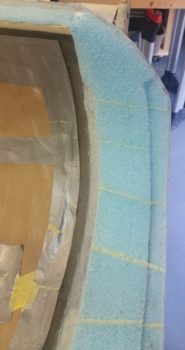
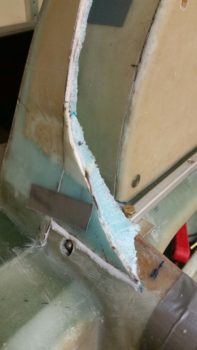
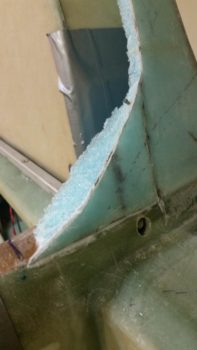
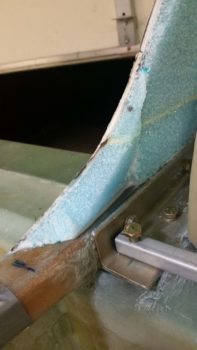
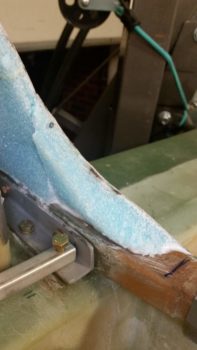
With the canopy outside I decided to knock out cleaning up the aft canopy frame foam and original layup to allow for a glass to glass joint back here . . . what I’m going to do is a bit detailed, so I’ll explain it when I do it. The main thing here is that I got the canopy’s aft frame shaped and ready for glass.
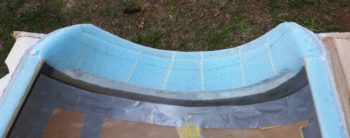
Here’s some closer up shots of the canopy’s aft frame ready for glass. The narrowed foam on the aft end is for the same type of seal that I’ll use along the canopy frame sides.
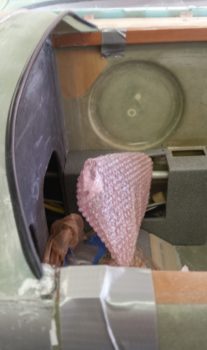
Again, before I can glass the aft canopy frame, I needed to get the interior turtleback glassed. I spent a bit of time finishing up getting all the dead micro removed from the front face of the firewall… due to a fair bit micro oozing onto the firewall when I set the foam blocks in place to create the turtleback.
After I cleaned up the firewall, I did a final shaping of the foam to get it locked in to the right dimensions.
The first step in glassing the internal turtleback really had nothing to do with the existing turtleback proper, but rather the additions of the 2 pieces that I lopped off of the aft lower corners of the canopy frame. As a reminder, this is to ensure clearance with the forward-projecting conical shaped “shoulders” that extend from the upper cowling.
I micro’d the foam and hit the glass to glass edges with a bit of flox. I then used some finishing nails to secure both sides in their respective places.
Here’s a shot of the interior turtleback additions. I didn’t trim the additions at this point because I wanted to do it with them mounted in place.
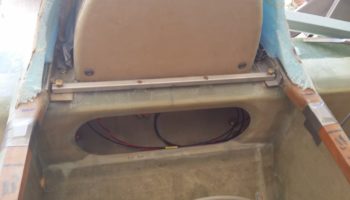
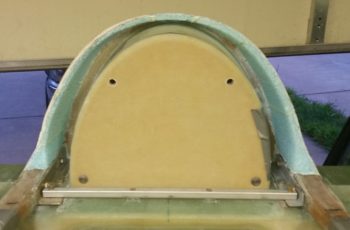
A little while later the turtleback additions were cured enough that I could proceed with laying up the 1 ply of BID that goes on the inside surface of the turtleback and overlaps onto the front face of the firewall, as per plans. I actually used 2 separate pieces of BID and just overlapped them a little at TDC. In addition, measuring and cutting the pieces of BID (from the scrap glass pile) was one of the things I did while waiting for the additions to cure a bit.

Here’s some closer shots of each inside turtleback surface on both the left and right sides.
It’s late so I wanted to finish this blog post and hit the sack in prep for tomorrow. My goal for tomorrow is to get turtleback drip seal edge glassed and the aft end of the canopy frame glassed, as a minimum. Since nearly all the prep work is done I should be able to get a fair amount of glassing completed tomorrow.