
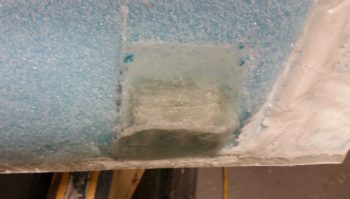
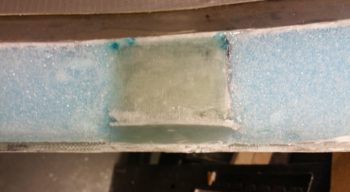
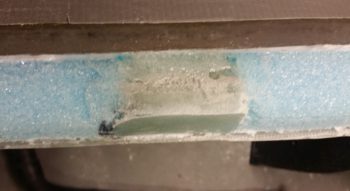
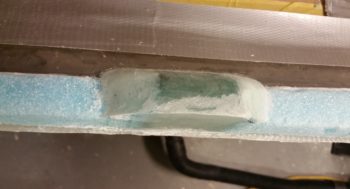
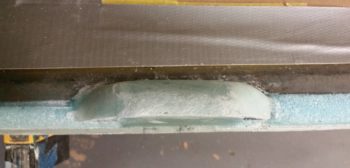
I started off today spending a good hour cleaning up all the overhanging glass, epoxy runs, stuck on tape, etc. before doing a near-final shaping of the canopy hard points with the Fein saw and hard sanding board.
Below, starting from the left front of the canopy, you have the following cleaned and shaped hard points: forward canopy latch, safety catch, #2 of 4 canopy latch, #3 of 4 canopy latch, and aft canopy latch.
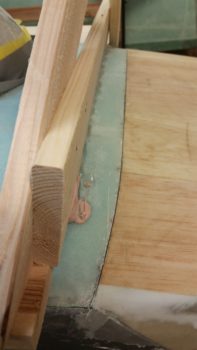
I then got busy making up a thick paper template for the canopy gas strut mounting tab that I decided quite a long time ago would get welded towards the bottom of the right roll bar support tube.
Another shot of my proposed canopy strut mounting tab. With the multiple angles of the roll bar support tube, it took a number of iterations to get the bottom mounting indentation correct.
This spot on the roll bar support tube sets the mounting tab correctly so that it will be the correct distance forward and parallel to the canopy cross strut, and also at the correct height above the longeron (2″ seems to be the accepted standard…. at least that’s what my buddy Dave B. told me!)

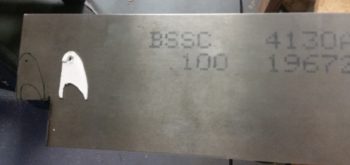
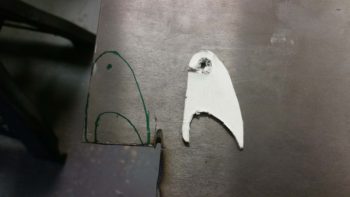
I wanted to ensure I had a good piece of metal stock to make this mounting tab out of, so I scrounged around and found a piece 0.1″ thick 4130 steel . . . perfect!
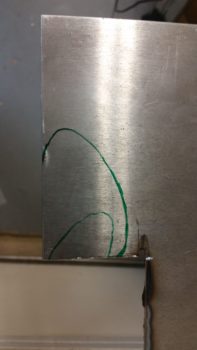
I then marked up the mounting tab outline onto the 4130 steel. At this point I just needed to confirm the shape would work and then cut it out!
After getting the canopy hardpoints glassed, according to the plans you place the canopy back onto the fuselage to check the fit, finish and clearances between canopy and fuselage.
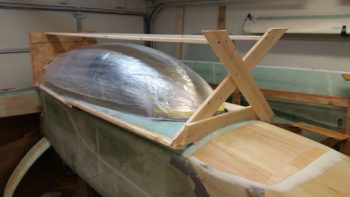
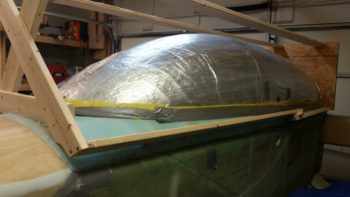
So far so good…. everything seems to fit well!

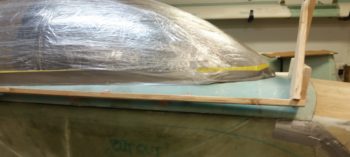
I’ll say again, I’m really happy so far with my canopy skirt to aft nose cover intersection.
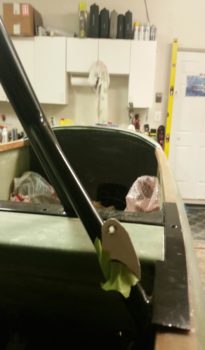
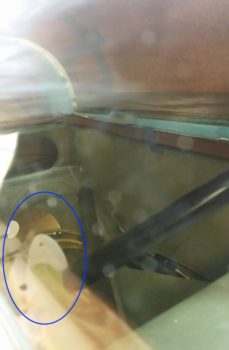
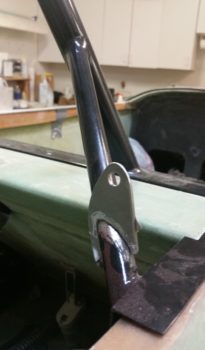
I then peeled pack a bit of the outer protective plastic to reveal the canopy strut mounting tab inside the canopy. (These pics are of the same thing…. just a slightly different perspective).
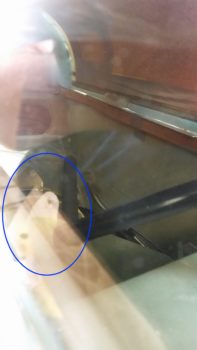
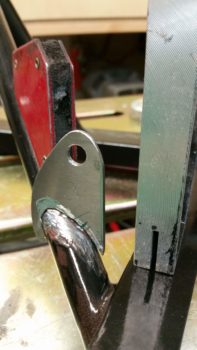
After seeing the amount of space available for my canopy strut mounting tab, I decided to shift the straighter edge from the inboard side to the outboard side, allowing me to move the canopy strut mounting hole outboard 0.5″… more towards the pivot location of the canopy hinges.
I was going to remove the canopy to swap out the original canopy strut mounting tab cutout with the newly shaped one, but then discovered that I could just carefully lift up the right side of the canopy. I wedged it open while I taped the new/modified canopy strut mounting tab in place.
I then grabbed a shot of the newly shaped canopy strut mounting tab through the canopy. I like this shape much better because it utilizes more available space.
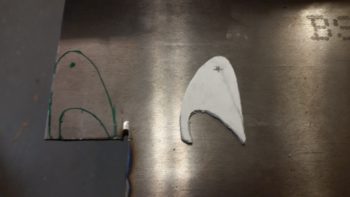
I then marked up the newly shaped canopy strut mounting tab onto the 4130 steel.
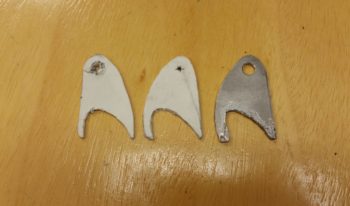
And then cut out the actual mounting tab from the 4130 steel plate. Here are the iterations of the canopy strut mounting tab design below.
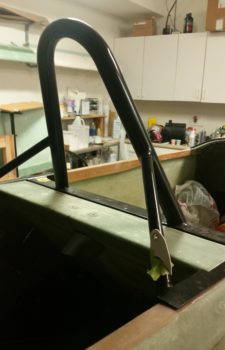
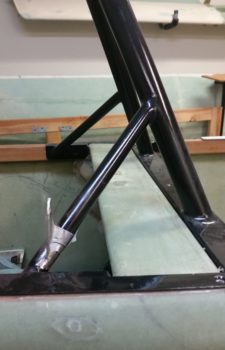
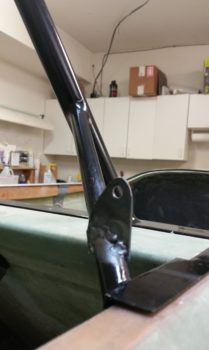
I then test fitted the freshly cut canopy strut mounting tab onto the rollbar support tube. You may also note that I removed the paint off of the support tube in prep for welding the tab into place.
I also ensured that with the lower shape of the mounting tab that I could get the tab parallel to the pilot’s seat back (which would be parallel to the canopy cross strut).
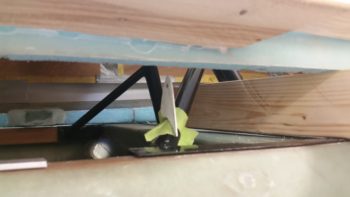
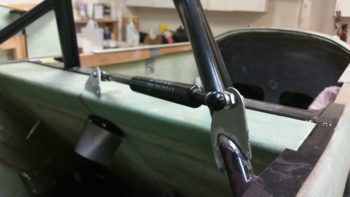
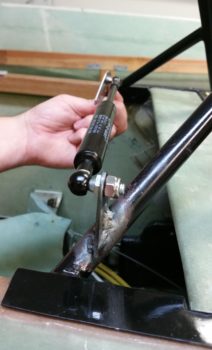
I then mocked up the canopy gas strut onto the mounting tab.
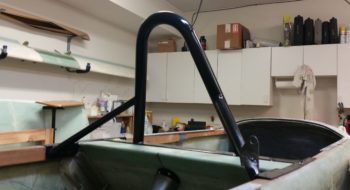
With everything looking good, I removed the roll bar from the fuselage and placed it onto my welding table. I of course had to pull out my welding kit and set it up as well.
A few more minor trims and I finally had the shape of the canopy strut mounting tab dialed in.
I then proceeded to lay down some hideous looking welds, although this tab is now attached to the roll bar like nobody’s business. Tonight was clearly not a great welding night, although I am out of practice on TIG, and I had a few minor issues. For one, I was welding a 0.1″ thick straight piece of metal to a 0.065″ thick tube. So I had to be careful of both getting a good flow of metal while not blowing out the side of the tube, which I did a couple of times but was able to quickly flow in some welding rod to fill the holes!
Also, I had initially just planned on tack welding this tab in place, but then decided to string the welds together which turned out to be just that: nothing more than a string of tack welds!
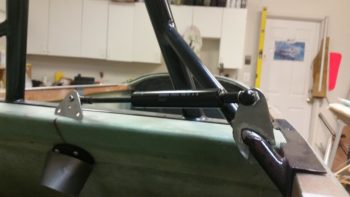
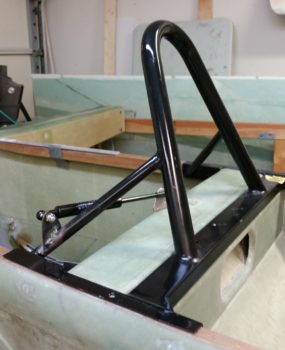
Another shot of the canopy strut mounting tab welded onto the roll bar.
Well, as I quite often respond when people ask me if I welded something…. “I’m not that great of a welder, but I’m a hell of a grinder!” So, I’ll grind down just a bit of the ugliness, slather up the weld with Bondo and then shoot it with paint a bit later. That should do the trick and hide my disgusting welds!
BTW, when I mocked up the tab while on the fuselage, I aligned it with the pilot’s seat back. Well, not thinking about my curved roll bar base –which follows the curve of the fuselage– when I had it on the welding table I aligned the mounting tab to the roll bar side. Thus the reason the tab angles in slightly on the inboard (left) side . . . Yep, an oops but it makes zero negative impact in the operation of the canopy gas support strut.

Here’s another shot of the canopy strut mounting tab.

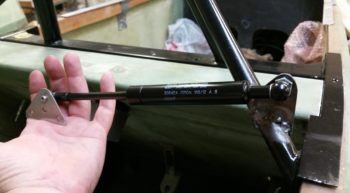
This time around I actually mounted the canopy gas strut by bolting it into place. So far so good!
And a final shot of my canopy strut mounting tab welded to my roll bar.
Tomorrow is pack out day and then another quick haul down to NC. Moreover, having just welded the canopy strut mounting tab into place on the roll bar knocks out the last of my immediate welding tasks on this airplane build which allows me to then pack up the last of my welders and my entire welding kit to haul down to NC.
In addition, I’m nearly out of epoxy and will order another gallon so that it will be on hand when I get back from NC. In the time I have after I return to prep the fuselage and canopy, I do plan on getting the interior canopy frame glassed before it goes on the trailer!