
I started out today by removing the bottom cowling and then pulling the peel ply on the left interior CF layup. I then cleaned up the peel ply boogers.
I then took the bottom cowling outside and marked up the interior skin on the right side for removing and cleaning out the old right inside surface of the bottom cowl.
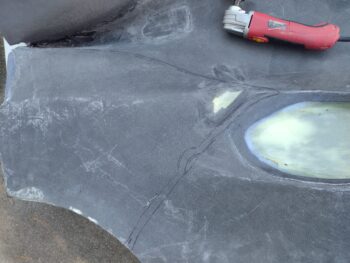
I then cut out the perimeter of the old skin and removed it, foam and tape.
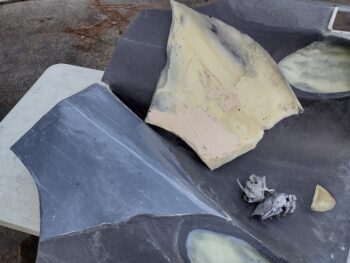
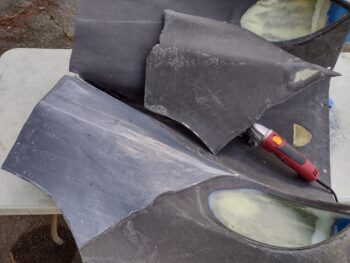
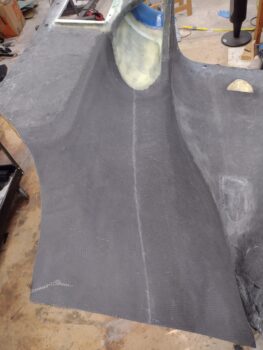
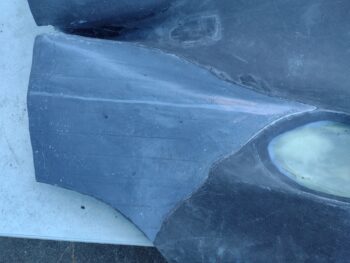
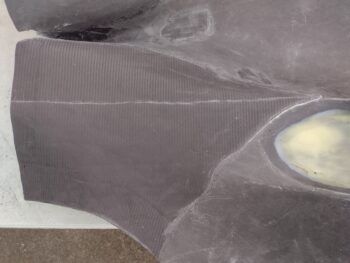
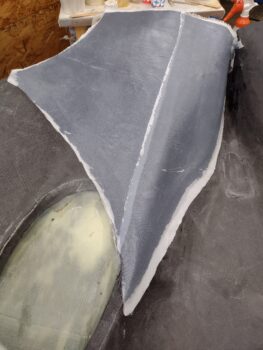
I then did a few more rounds of trimming the perimeter to remove the foam and tape and expose the edges of the peel ply (pic #1). I then pulled the peel ply (pic #2).
I then took the bottom cowl back into the shop.
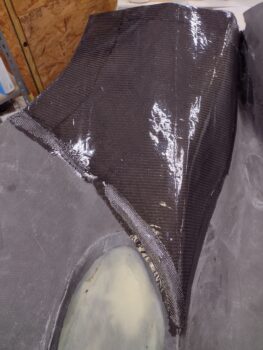
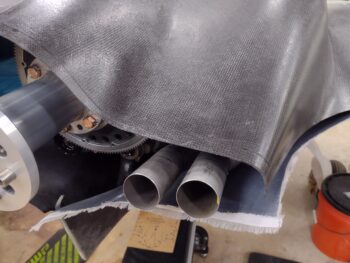
I started by adding some small flox fillets in some areas for the transition from old to new skin. I then laid up some perimeter reinforcement plies (pic #1) before laying up the single and final large ply of CF on the right interior of the bottom cowling (pic #2).
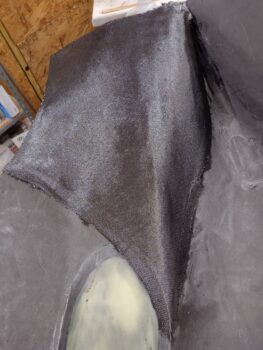
I then peel plied the CF layup.
This layup finalizes Phase II of the bottom cowl reconfiguration. Here’s a shot of the just laid up right interior CF layup and the cured left interior CF layup.

I then mounted the bottom cowling back on the plane to allow the bottom cowl right interior CF layup to cure in place.
Tomorrow will be a light build day as I’ll be getting ready to head out to Rough River.