
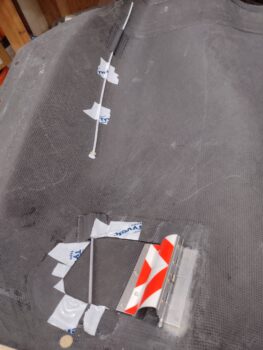
My main push for the day, besides prepping for going to Rough River, was to install (via layups) the “hidden” wire pull assembly on the top cowl for the oil check door.
After finalizing my design I spent a bit of time deciding where & how exactly the wire pull would run, and marking it up with tape on the side of the top cowling.
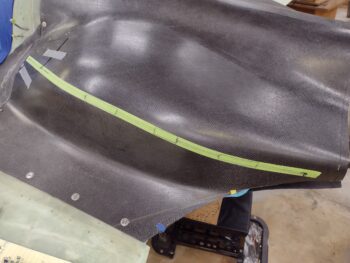
After some more head scratching and pondering, I got to work doing the initial layups: on the aft side I secured the 3/16″ Nyla-flow tubing with a couple small plies of CF and some flox fillets around the tubing edges & gaps with the top cowl inside surface.
On the forward end I have a small length of brass tubing on both the front and aft side of the oil check door opening. My design for the wire securing the oil check door is to have it secure the door at 2 points: the aft outboard (away from hinge) corner and then also a bit towards the mid-point on the front edge of the door (against the oncoming air).
On the door itself I’m using 1/8″ Nyla-flow and securing it with flox fillets and CF as well.
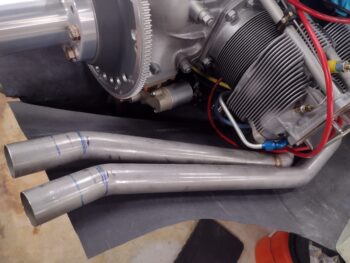
While the above layups were curing (I used MGS with fast hardener), I installed the 45° steel fitting into the front port (as it is installed) of the oil cooler. I then constructed the oil return hose and installed it… yes, it is quite the loop! But this configuration really was the only way I could both provide strain relief (via flexibility) and avoid other pieces parts (second oil hose, MAP hose, and left “shark tube” rudder cable guide). Moreover, by using this loop/arch I was able to avoid using a 90° steel fitting, resulting in much better oil flow.
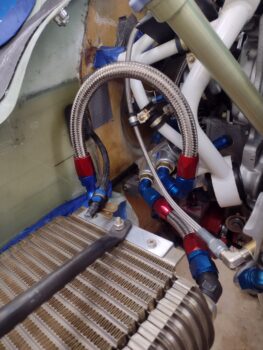
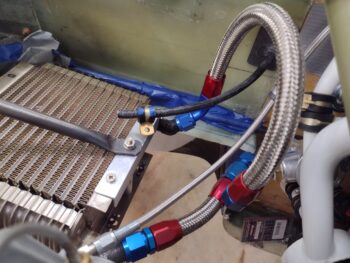
Here’s another shot of the just built and installed oil cooler oil return hose.
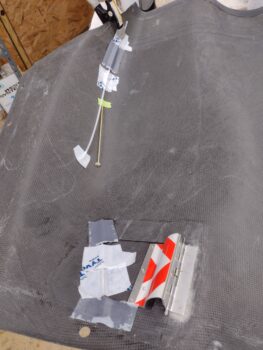
My last task while the initial oil check door wire conduit layups cured was to pull the peel ply off the right interior layup of the bottom cowling. I also trimmed the aft and side edges.
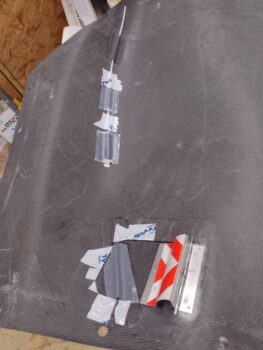
After the first round of layups were cured enough to press forward, I prepped the oil check door cable conduit for the final layups: the middle and forward CF securing patches on the aft 3/16″ Nyla-flow conduit.
It’s hard to see, but a point of note that I floxed in a very small 1/16″ thick G10 phenolic tab at the front edge of the 3/16″ Nyla-flow… this will serve as a hard stop as I will have either an E-clip (circlip), wire loop, zip tie, or even welded pin/blob to keep the wire from exiting aft. Thus the 6″ gap between the front face of this small G10 tab to the forward cluster of brass/Nyla-flow tubes around & on the oil check door.
On the front side I prepped the approximately 4″ length of 1/8″ Nyla-flow to be attached to the oil check door with CF.
I then completed these layups and peel plied them. I then left them to cure overnight.
Again, tomorrow I’ll be heading out to Rough River so there will obviously be a break in the build for a few days. I’m sure after hanging out in RR for a few days I’ll get a huge boost in motivation to get this bird finished and in the air!