
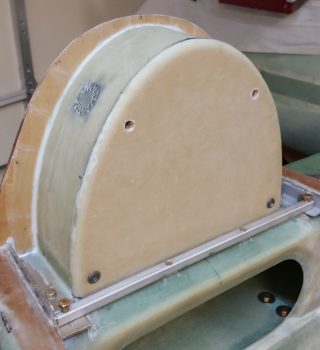
Today I started out by pulling the peel ply and cleaning up the layups securing the GIB headrest to the fuselage, specifically to the front side of the firewall and sitting atop the CS Spar. Rest assured this was no quick effort, and took well over an hour to complete.
I then attached the headrest cover in place with the lower 2 CAMLOCs (Late last night I figured out the stud lengths I need to acquire for the top set) and was quite pleased at the fit and finish of the cover.
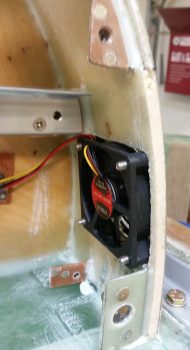
As I was trimming the internal headrest layups, I mounted stuff to make sure it all fit. Here I test mounted the cooling fan after removing a decent sized piece of glass overhanging the bottom edge of the fan notch in the sidewall. I also took the opportunity to test out the length of the new SS CS mounting screws I picked up for its installation.
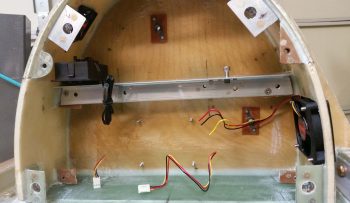
With both fans installed, I also took the opportunity to reallocate some wire from the smaller exhaust cooling fan to the larger intake cooling fan to allow the latter’s wires to reach the right-side mounted fan controller.
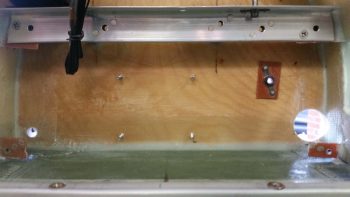
I then spent a bit of time doing some final assessments and measuring before I pulled the trigger and drilled the firewall pass-thrus in the lower outboard corners of the GIB headrest.
I had some errands to run and a few personal things to get done, so while I was out I picked up some more hardware for the headrest components. When I returned I installed just about everything in the headrest for the first time all together.
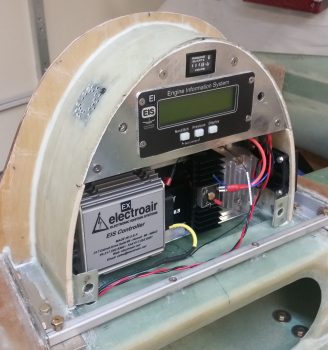
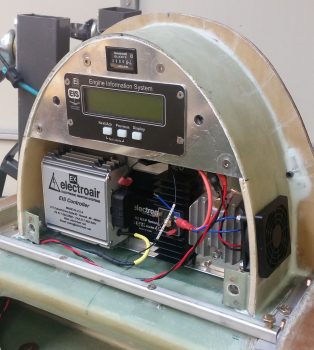
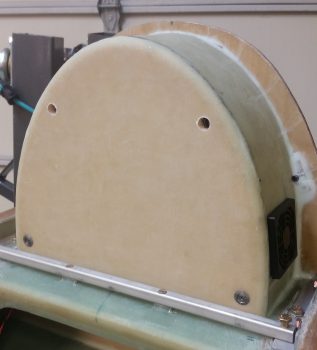
I then test fitted the front cover with ALL the components inside… still fit like a champ!
I wasn’t able to fit the set of the fuel probe control heads into the GIB headrest structure… yet. Simply due to lack of space.
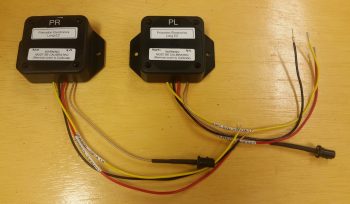
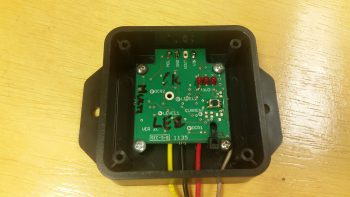
However, looking inside the fuel probe control boxes I noted that the control board is fairly small compared to the actual box its mounted inside. I’m thinking I may remount the control board in a smaller form factor that would allow these units to be mounted inside the GIB headrest…. since it really would make for easier wiring, integration, etc.
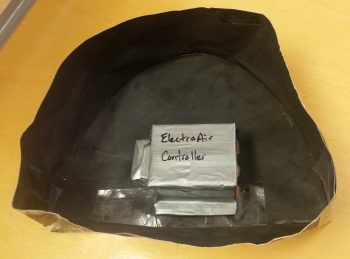
Since the GIB headrest is pretty much finished I had to say goodbye to some old friends that have been hanging around since 2012. I made these guys up to check fitting and configuration on the GIB headrest internals long before I really had anything other than the basic airframe components on hand. These guys sure have been useful over the years, but I certainly don’t have a need for them anymore since the real versions are on hand and installed in the fuselage!
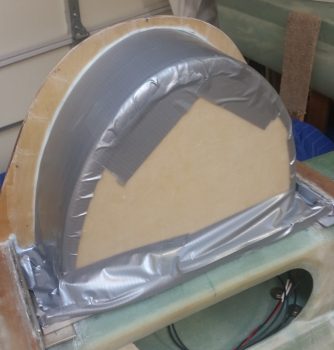
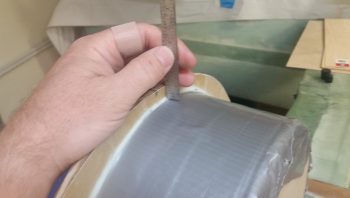
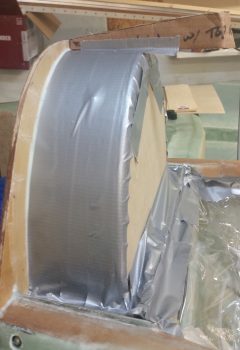
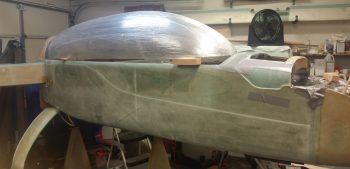
I then taped up the GIB headrest and immediate surrounding area in prep for canopy installation/construction/glassing.
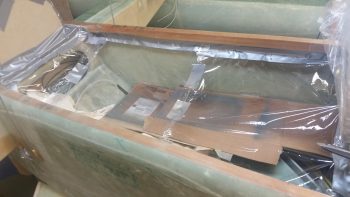
As I did on the front fuselage side, I also covered up the back seat area with clear plastic to minimize any canopy build nasties getting on anything.
I then noted that I forgot all about the top cowling angle template that I had made up out of cardboard. Now that the GIB headrest was in place I could no longer set the top cowling angle template in place.
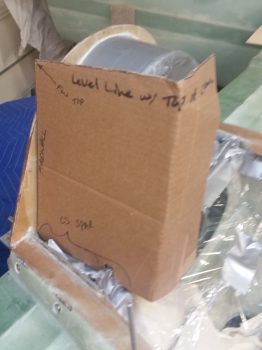
I decided on a simple fix to remedy my oversight, and started by measuring the distance from the top of the headrest to the top edge of the firewall: 0.5″.
I then transferred that dimension over to the cardboard template and cut it at a right angle to match the top line of the GIB headrest which is 90° perpendicular to the firewall. Voila! Now I have my top cowling angle denoted for the canopy build once again.
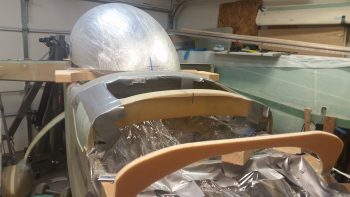
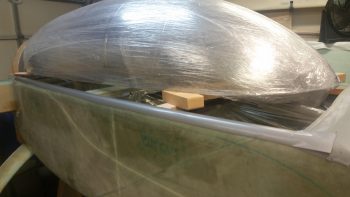
I then spent the next couple of hours just getting a feel for the canopy and how it sat free form on the top of the fuselage. I took a myriad of measurements, checked height, checked width, checked length, and checked clearances forward and aft . . . all to get a good understanding of how the canopy would best fit onto the fuselage. BTW, I included both pics below since they’re at different angles.
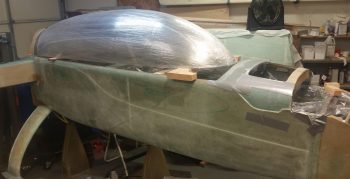
I then grabbed a quick shot from the front.
Then, after finalizing a few decisions, I did the initial taping of both the right and left longerons.

Tomorrow will be all canopy and nose from this point forward. There is a ton of stuff to do to be sure to get both the nose and canopy constructed over next week, but I think I can get most if not all of ‘er done!