
I hate to say it but I spent about 4 hours today on troubleshooting the plasma cutting table and sending the data into Langmuir Systems.
Then, after a bit of inventory, I pulled the trigger on some more West epoxy, hardener and sandpaper for the final finish of the plane.
I then got busy on the canopy.
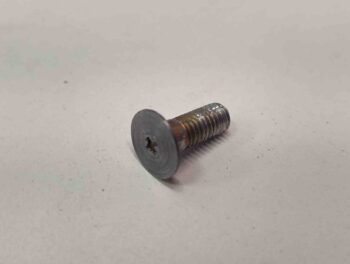
First up was to replace C2-L #1’s latch screw (that the longeron-mounted hook catches) since I noted it was just barely clipping the inboard longeron edge and gumming it up. I had the screw all the way in so I either had to do some sanding on the longeron or make a new flatter, shorter hook screw (previous pic from initial install).
I’ve done a few of these now so it only took about 5 min to trim it up in the lathe. It fit a treat.
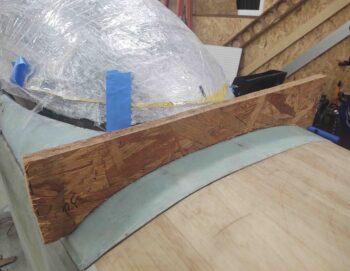
I thought I had the front lower plate for my canopy frame on hand but after sorting through my pile of canopy frame lumber realized I didn’t… so I spent about 20 minutes making up a template to allow me to cut this new front plate out of OSB.
Again, in another day or two I plan on taking the canopy off to do some work on the hinges and prep the left side mating rail to allow for a better squish of the “B” seal… there’s few gaps that I can see unless the canopy is closed really tight. And I don’t think I’m going to get that tight of a closure with my canopy latch.
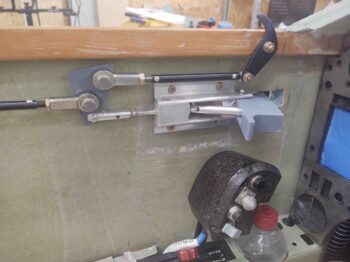
Speaking of canopy latch, after playing with it for a while I realized the throw on the actuating rod was a bit too long. So I marked and trimmed 0.2″ off the end, as you can see it on the left side of the pic (just prior to cutting).

I needed to connect up the front canopy hook (C2-L) and its attachment rod to the aft 3 hooks (via the handle’s triangular interconnecting plate). This required deciding how long the connecting rod needed to be, cutting it, then tapping it for 1/4-28 threads, and finally drilling the freshly inserted threaded piece and connecting rod for a rivet.
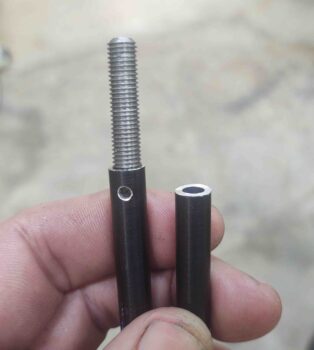
Which you can see here. I then added a HM4 connector (I’d prefer to use lighter clevis-type connectors, but their connecting threads are 10-32, so some special adapters will have to be made before I use those).

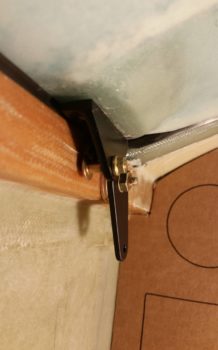
I then mounted the #1 C2-L and its connecting rod to finally have the entire canopy latch system together for the first time.
Here it is in the canopy closed/locked position.

And in the canopy open/unlocked position.
I was sitting the plane, about ready to leave and call it a night, when I figured, “What the heck?” … let’s make a video to show you all what is going on with this thing.
So here it is:
I plan on knocking out a fair bit on the canopy tomorrow as well. I was set back a good bit this week with troubleshooting on the 3D printer and the plasma cutting table, as well as some self-induced taskers on the milling machine. I hope to get back on track and have the canopy pretty much done by the end of next week.