
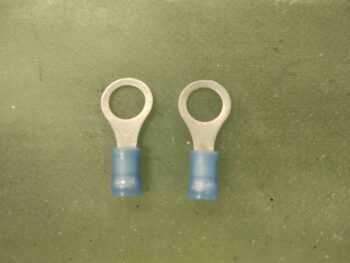
Today I knocked out the final tasks on the fuel tank grounding wires. I started by grabbing a couple of ring terminals and modifying them by snipping off the actual ring portion.
I then slid just the leftover clamp part of the ring terminal onto the pair of ground wire leads in the left fuel tank….
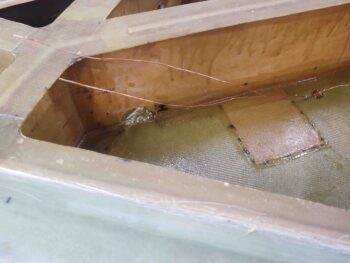
Here’s a closer shot.

I then crimped the 2 ground wire leads together, removed the blue plastic coating on the modified terminal, and snipped the shortest of the 2 leads.
I then coiled up the fuel tank ground wire and set it in position so that when I mount the top skin and eventually cut the hole for the fuel tank filler cap, the ground wire will be right there ready to be connected to.
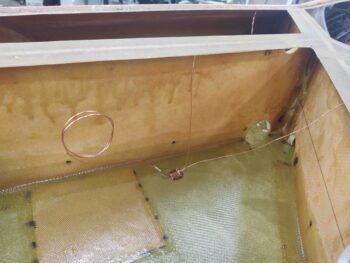
I then repeated the process for the right fuel tank.
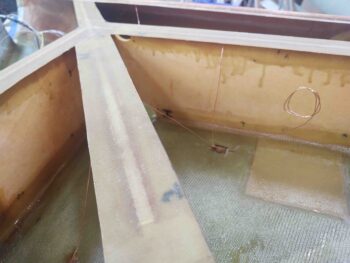
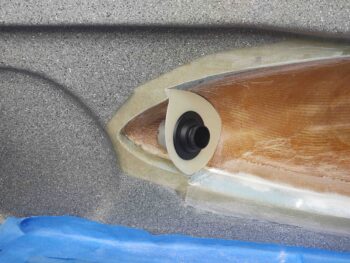
I then spent a bit more time dialing in the aft plate for the right strake root pilot air vent. After getting the shape and position determined, I cut the plate out of 1/16″ thick G10.
From my test fit below I think this air vent configuration looks really promising and I’m excited to see it all come together.
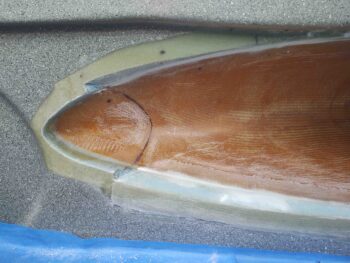
My next task was to finally layup the inside glass BID on the very front of the right strake opening. I didn’t overlap the glass onto the inside sidewall face on the very front sharp curve, and opted for a flox corner/edge on the inboard edge instead.
In addition, I laid up a ply of BID to the remaining top edge that had about 7″ left to do after my previous layup.
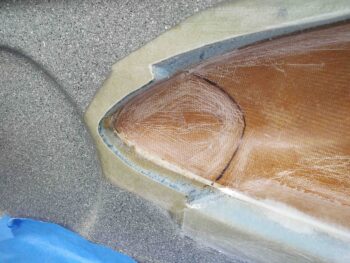
After my two layups on the front right interior strake opening, I peel plied certain areas of these layups.
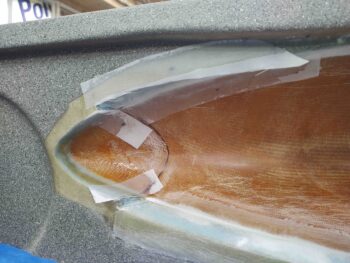
A few hours later, after pulling the peel ply and a quick cleanup, this is what it looked like.
I also spent quite a bit of time today on the right wing aileron trough. About 2 hours all told. This shot is after I put the wings back in the shop from outside.
I was able to get the initial foam dug out from the inboard edge . . .
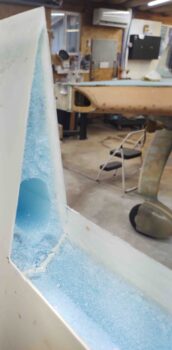
And all the peel ply removed from the top edge.
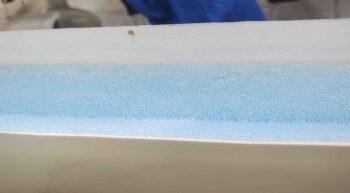
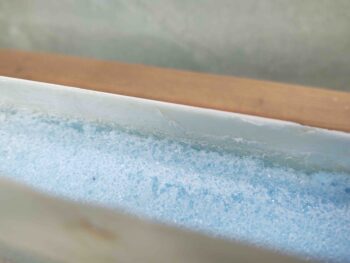
I got a good bit of foam removed and edges cleaned up on the outboard edge as well.
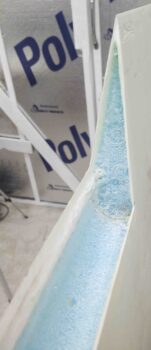
But still have to remove the very stubborn peel ply from the bottom edge. I suspect I’ll be spending at least another hour to get this task completed, at which point I’ll do a final prep and then layup the 3-ply + aileron trough sheer web on the right wing.
Then I’ll get to work on the left wing as I also knock out the right strake pilot vent and the final installation of the aft nose/avionics cover.