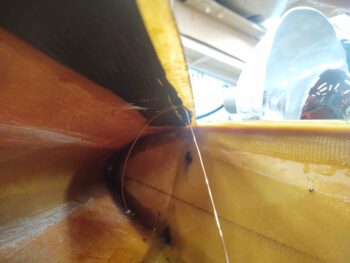
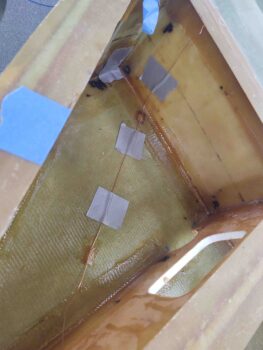
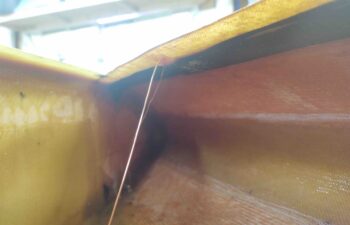
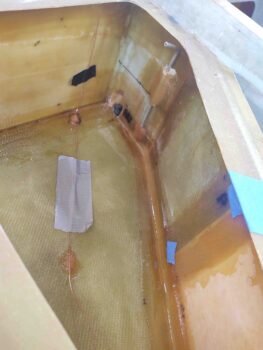
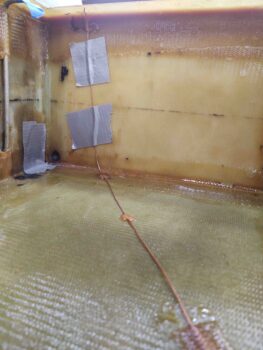
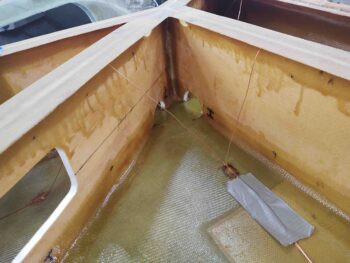
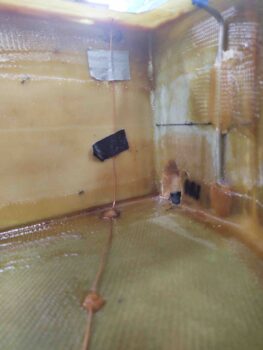
Today I started out on the second round of securing the fuel tanks’ ground wires to create an up and down roller-coaster style pattern so that the ground wire breaks the surface of the fuel to better remove pesky electrons loitering thereabouts.
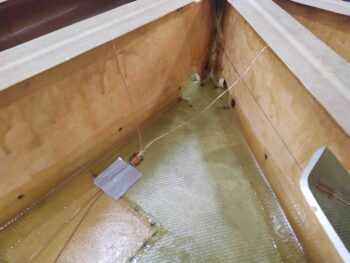
I started on the left side and tacked the ground wire to the underside of the strake leading edge with a dab of flox and small patch of BID.
In addition, I decided to run another ground wire lead to the aft inboard corner. I figured fuel in these birds obviously follows the slope of the CS spar to drain back in this aft corner, so if I have only very little fuel in the tanks before refueling I still want it grounded.
[I understand that these birds almost always get refueled in some variant of the grazing position…. but in the off chance I go from very little fuel to refueling to full tanks for say, a long cross country trip, I want every scenario covered. It’s just too easy to do at this point not to fairly quickly add in another ground lead].
I then did the same on the right side, tacking the ground lead to the underside of the strake leading edge.
And then running ground lead #2 to the aft corner. As with the left side, this lead runs along the bottom of the tank and then turns vertical in the very aft corner up to the bottom of the top tank lip.
I had a somewhat surprising issue during the strake build when it came time to remove the wings –after my wing bolt mod where I had captured all the wing bolts inside the CS spar and had the bolts sticking out… all facing aft. Let’s just say that the ensuing effort to get the wings off with this mod in place, was, well, challenging to say the least.
With all 3 bolts sticking straight aft, the amount of wiggling and rocking to get those wings off was not overly comforting. There was a bit of manipulation to get the wings ON, but nothing compared to removing them. Especially with the thought of the strakes being completed and here the wings have to be fought with to be removed: fool me once shame on you, fool me twice shame on me . . . Right?
I had made a decision immediately following the first not-stellar experience of version 1 of the wing bolt mod to reverse the inboard bolts so that only the outboard 2 bolts were protruding aft. This eliminated the 2′ or so arm that clearly impacted the alignment of these bolts if they were not all exactly parallel with each other. With just the slightest angular offset, at that big of an arm —in my thinking at least— it was creating the friction that jammed up getting the wings off without hassle and malcontent.
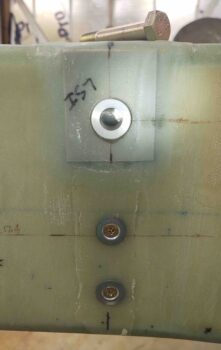
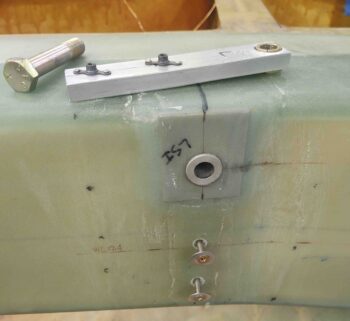
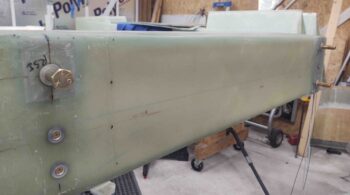
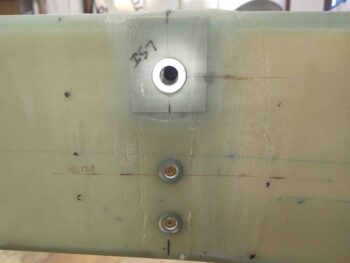
My first task was removing the inboard wing bolts and then remounting the securing bracket on the inside of the CS spar. Here’s the left side.
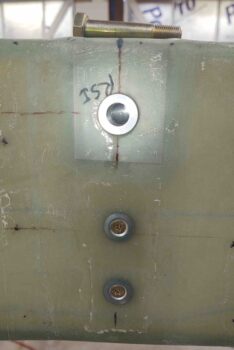
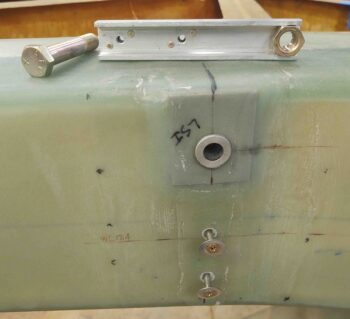
And the right side. I then marked the center point of inboard wing bolt hole on the bracket using a 1/2″ drill bit… very carefully.
One issue was how to secure the nut to the bracket. Securing a bolt is easy since it goes through the hole and that captures it in the up/down position. The bracket then secures it in the left/right and forward/aft positions.
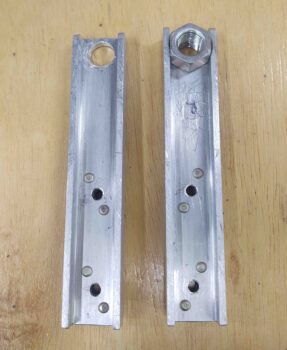
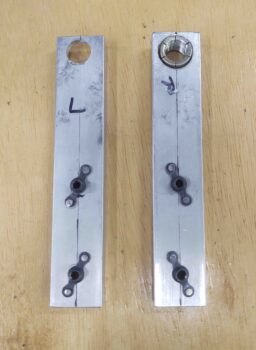
Well, in a somewhat odd and rare experience on this build, I discovered that capturing the nut was actually going to be very simple. Since it has a hex portion and then a significantly smaller round portion on the part furthest from the bolt head. So I drilled out top of each bracket to allow for this round part to be press-fitted into the bracket.
And voila! Once the bracket was secured in place the nut would be captured so as not to slide out of position.
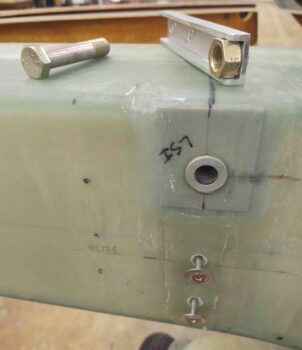
Here’s a few shots of the press-fitted inboard wing nut into the bracket.
Again, the hex portion is captured by the edges of the bracket, in the “U” channel.
My method for dialing in the position for the actual bolt getting mounted in repeated fashion into the nut was to mount the nut in the CS spar contained by the bracket, but not tighten it fully. I then threaded the bolt in place and as I progressively tightened the bolt, I progressively secured the bracket screws until fully tightened. By the end of this process I could remove the inboard wing bolt and replace it, tighten and remove again with the nut positioned in the exact spot it needed to be to engage trouble-free with the bolt.
This mod of a mod allows me to reclaim the more traditional method of mounting and removing the wings by sliding the wings onto the outboard bolts, and then aligning and securing the inboard bolt. All still without having to climb under the wing or get inside the plane —rather person #2 inside the plane— with arm up inside the CS spar.
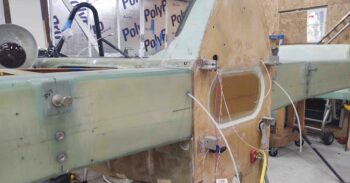
Here’s a final shot of the nut captured inside the CS spar, aligned and ready to receive the inboard wing bolt.
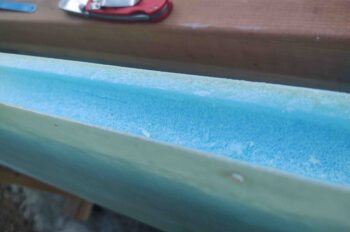
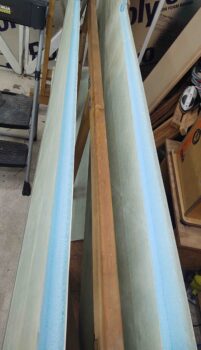
Before it got dark I decided to kick off the first real effort of removing the excess foam inside the wings’ aileron channels. I pulled the wing dolly outside and started cutting and hacking away at the wing aileron channels. This is to remove the foam that is there when the wing cores are hot wired, and provides support during wing glassing, but then needs to be removed prior to glassing in the aileron channel sheer web.
I then brought the wings back into the shop, vacuumed out the blue foam bits and dust and then did another couple of rounds of cleaning up the channel. I’ll refine it more over the next couple of days and get it prepped for the 3 plies of sheer web BID that goes in.
One specific task that won’t be fun and will most likely take a bit of time is removing the peel ply that I ran under the foam that was just removed, along the top and bottom edges of the wing aileron trough.
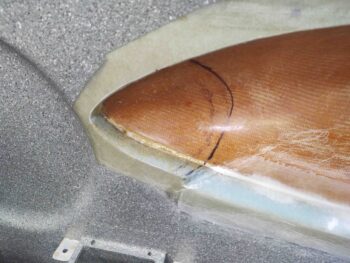
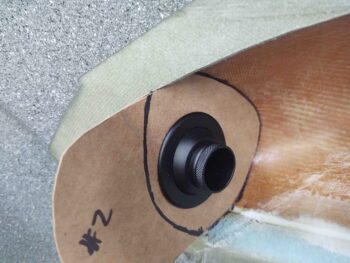
It was getting a little later in the evening, so I decided to play around a bit with the right strake root pilot air vent that I’ll create/glass/install. It took a number of machinations to figure out the angle, size, fit, configuration, etc. for the vent.
I’ve been mulling this vent around in my mind for over a month now, even before Marco and Chris came down here a few weeks ago. I say this because what I’m doing with these separate (not connected to the RAM pressurized heating/air duct system) strake vents for both pilot and GIB are heavily influenced by what Mike Toomey did on the Long-EZ that he built and Chris eventually bought.
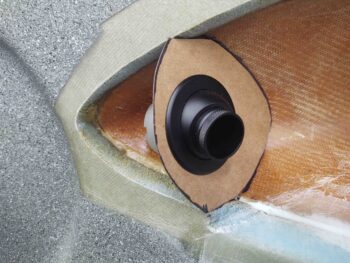
Within the past week I decided to go with the same type of eyeball vent that I’m using on my panel, the Aveo. In fact, I’m not just using the same type, I’m actually using the exact one since I’m stealing the black one off the panel and will replace it with a silver/aluminum colored one for contrast with the black panel.
This type clearly does not have the flange and 4 corner screws as some other common types do… this is where my design is slightly different than Mike’s. However, for maintenance, and to allow for some type of filter screen replacement and cleaning, I will be mounting this onto a plate that will subsequently be secured to the vent structure via 3 screws.
Notice that due to the angle of the strake and required position of the vent that it will protrude out slightly from the sidewall, with a noticeable but non-intrusive bump.
It was fairly late in the evening at this point, so I stopped with my initial rounds on the wings and pilot air vent and got one last round of fuel tank ground wire securing under my belt. Actually this is the last round since all that needs to be done once this flox and glass cures is to terminate the 2 ground leads together and lop off the shortest of the 2 leads.
I started again on the left side. I ran the forward and aft ground wire leads together and floxed/glassed secured them to the tank floor, just off to the inboard side of where the tank fuel cap will be located.
In the left aft tank corner I secured the end and top of the ground wire to the top corner edge of the tank, again using a dollop of flox and small patch of BID. I also secured the middle of the wire on the tank floor to eliminate any type of vibration action going on.
I then did the same thing in the right tank. First with combining and securing the 2 ground leads together.
And then securing the aft corner ground wire lead.
With my myriad of disparate tasks done for the day, I called it a night.

