
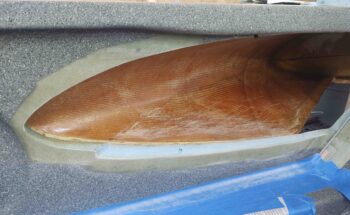
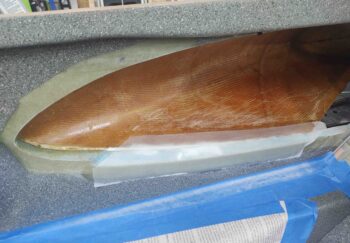
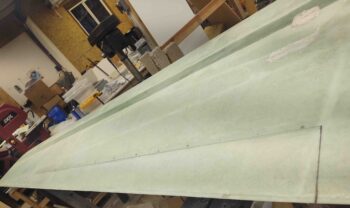
Today I finished glassing the last of the interior strake skins: the bottom right skin.
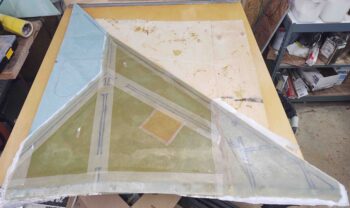
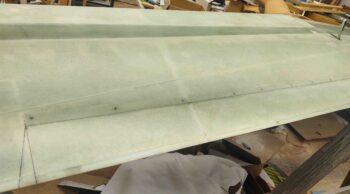
But first I pulled the peel ply, razor trimmed and cleaned up the layup on the bottom left strake skin.
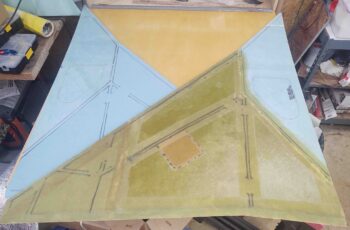
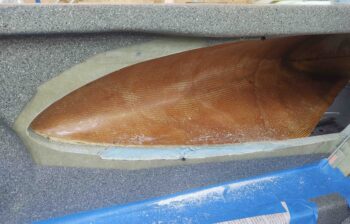
I then glassed the bottom right interior strake skin… the fuel tank floor. Including, again, with what I consider a requisite patch of Kevlar to ward off any errant fuel nozzles trying to damage the bottom of my fuel tank.
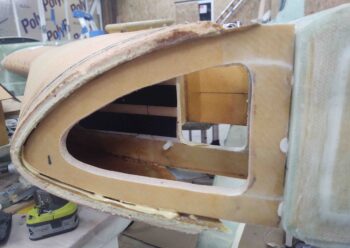
I then got to work on a segment of the forward right strake where it enters the fuselage in the front seat area. Not only is contouring the sidewall to match the entry angle of the strake a bit of challenging work, but I also plan to put a vent at the strake leading edge-to-fuselage sidewall junction. I’m not sure how this will look on the inside, so I’ll eat this elephant one bite at a time.
Here’s the before shot as I started. Note the stop hash mark I made on the bottom edge towards the LE side of the strake opening.
I then finished marking my initial cut line.
And took the Fein saw to the sidewall.
I finally removed the screw and finished my contouring.
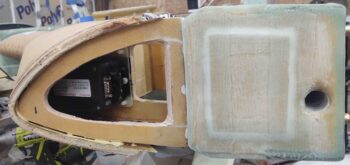
And then glassed it with 1 ply of BID, using MGS epoxy. I then peel plied the layup.
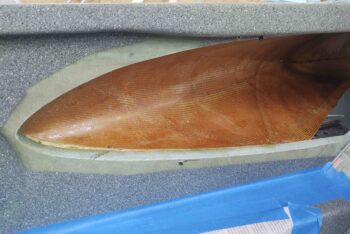
While the layup above cured, I then prepped to pull the wings off the plane. However, first I marked the top outline of the aileron on each wing. Here’s the outboard section of the left wing aileron. I’ll go into detail on my aileron configuration when I cut them out.
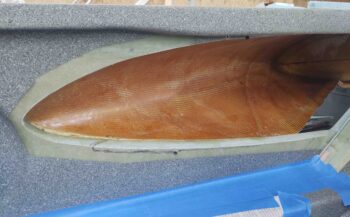
And here’s the inboard side of left wing aileron that I marked off.
After I removed the wings [will discuss this later as well… the 3 wing bolts sticking out of the spar made the left wing pretty darn difficult to get off. The right wing was still a pain, but significantly easier than the left… more to follow] I tried installing the stacked GRT magnetometers into their position inside the strake.
Uh… a giant no-go at this point. The angle required just would not allow the bracket-mounted-magnetometers to fit.

Clearly I needed to trim the outboard rib to allow the magnetometers to fit. So here’s the before pic of the outboard rib, pre-trim.
And a shot after some “judicious” trimming on the rib. Note the bracket-mounted magnetometers fit just fine now. I’ll take that as a win!
I’ve been pretty much building ad nauseam for the past few months, so now that I have the wings off I’ll take some time in between some smaller outboard rib layups to get stuff organized and give the shop a good, much-needed cleaning. I’ll also get some good shots then off the strakes –sans wings– at that point.