
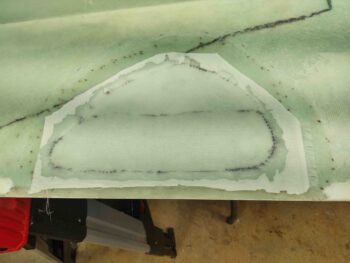
I started off today adding another 2 plies of BID to the right wing bottom outboard delam repair. Yes, the crater is still a bit more depressed than I want (or the plans call for) so I decided to slowly add to the thickness and re-evaluate. I laid up one full ply inside the depression and then another “half”-sized ply towards the trailing edge. I then peel plied the layup.
I really want to get all things on the bottom of the plane completed and not have to mess with them once the plane is back upright. Part of this is the interior paint (first) on the landing brake. I have some ideas on what I want to do, but first I had to get the landing brake off the plane….
Wow, talk about sins of the past coming back to bite us. I guess I didn’t ever think this landing brake would need to be removed, so it was a bear getting it off… about an hour of pain and sweat!
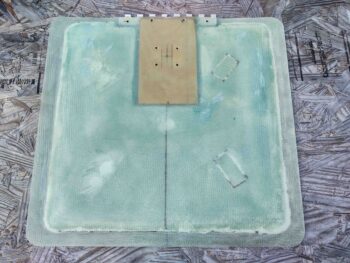
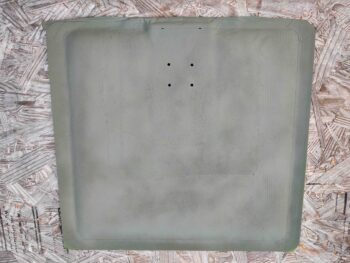
Obviously I finally got it removed. I sanded it to rough up the surface then gave it a good wash with Simple Green. I then used some Metal Glaze to fill a number of small holes in the surface of the landing brake (pic #1).
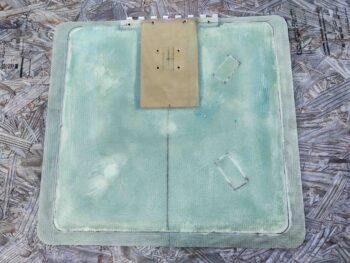
I then measured and marked the perimeter border of the landing brake (pic #2).
I then taped off the perimeter border with painter’s tape.
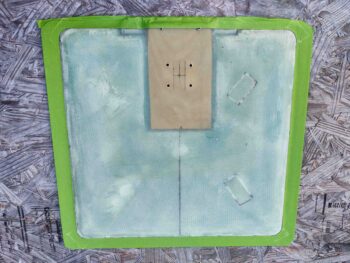
I hit the interior area with a few coats of primer.
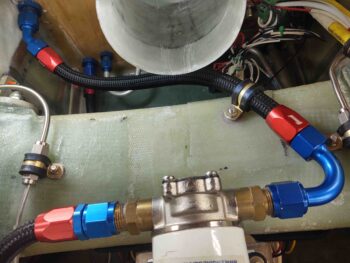
In between the coats of primer on the landing brake, I constructed the final oil heat line hose to connect the oil heat pump feed from the firewall fitting, that is itself connected on the other side to the engine oil sump.
Moreover, to secure this newly added hose I floxed and glassed a clickbond on the bottom of the gear strut to then mount an Adel clamp. Here it is quite a few hours later after the clickbond glass had cured.
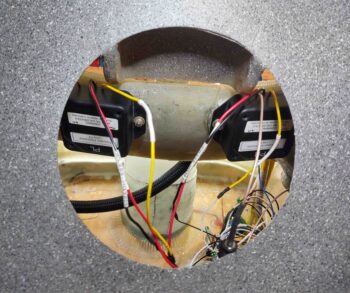
I then spent a couple of hours installing the fuel tank probe control heads into the hell hole. I started by finalizing the wiring configuration and labeling, then soldering the wires into the hell hole.
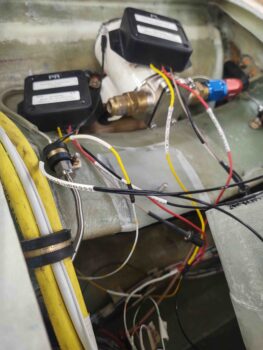
After connecting and wiring up the fuel tank probe control heads, I then physically mounted them into the hell hole on their respective mounting pads.
It was getting late, but I wanted to get a couple more tasks knocked out.
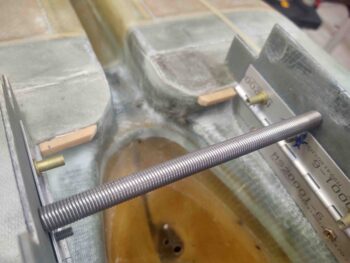
First I cut and 5-min glued a pair of foam tabs onto the front wall of the nose wheel well. These tabs, once secured via glass, will provide a hard stop for the front edge of the gear doors. Not the current front edge mind you, but in fact will allow me to trim off that first tab jutting out very conspicuously… reducing the number of “steps” from 3 to 2. I think this will drastically improve the appearance of these gear doors.
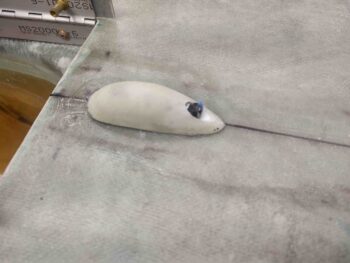
Finally, I spent a few minutes sanding and filing the inside of the micro’d hole on the aft side of the bottom centerline video camera mount housing. I then cut a slot on the forward bottom (as situated) to run the camera and cable up into the housing. After a few test fit iterations, with subsequent rounds of sanding, I was able to get the video camera slid up into the mount housing. Again, I’ll secure both camera and the cable inside the nose wheel well once I hook the system up and position the camera view correctly.
I expect to have maybe one more day of working these prerequisite bottom-fuselage tasks before the priority will shift to sanding/micro’ing/finishing the bottom surfaces of the plane and working these tasks in-between the micro applications during the curing times.