
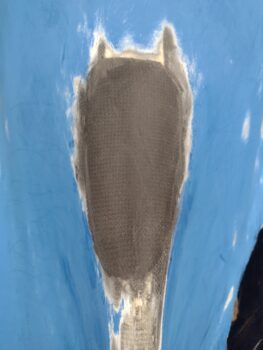
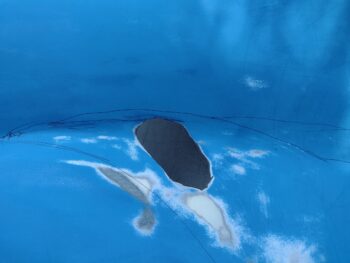
I started off this very long build day by ripping the peel ply off the bottom of the lower cowling where I had laid up 1 ply of CF to create more clearance and a “soft spot” for the CF air induction tube.
I then cleaned up just a bit around the edges.
I had used Gorilla duct tape inside the bottom cowling as a dam for the pour foam that allowed me to glass the CF layup above.
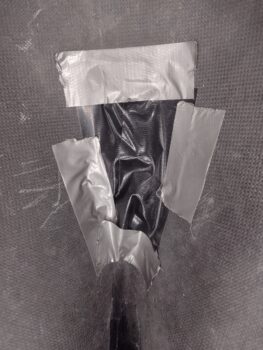
After removing the tape dam, I then removed all the foam to reveal the clear packing tape I had put over the foam… I then removed the packing tape which revealed the peel ply.

Finally, I removed the peel ply and cleaned up the edges of this relief layup.
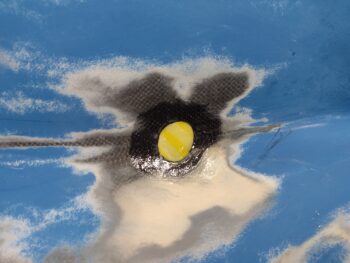
I then took the bottom cowling outside to do some work on it. First up was using a round sanding wheel to make a round shaped divot into the left corner of the cowling to add a bit more clearance for the aft left cold air intake tube.
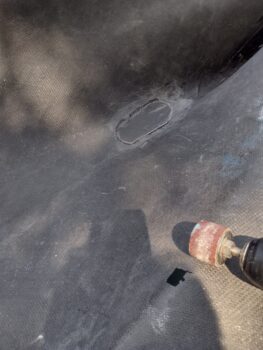
Here it is after I used the sanding wheel… more of a round shape to match the cold air intake tube. It’s even angled close to how the tube flows.
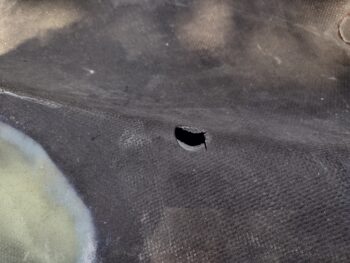
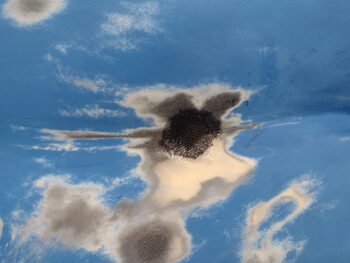
Here’s the same thing on the outside of the cowling. I also trimmed just a hair more out of the hole on the right side for the aft cold air intake tube on that side as well.
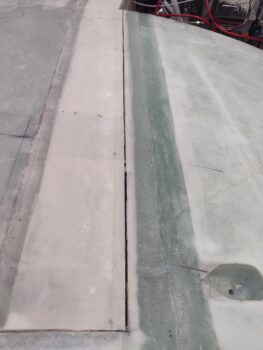
I then did about 10 minutes of sanding on the bottom cowling to start removing a bunch of the paint for some major upcoming cowling contour rework.
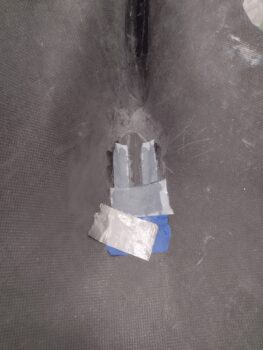
Back inside, I made a small cardboard disk “saddle” mold (or plug) for the small left side cold air intake tube clearance divot. Before I taped it in place I added a layer of peel ply.

As you can see, I did yet another round of aggressive sanding on the lower cowling, specifically in the areas that would be getting layups.
I then wet out the peel ply over the “saddle” plug and the surrounding lower cowling, and then laid up 1 ply of carbon fiber.
I then peel plied the CF layup.
At the same time I did the layup above, I also laid up some narrow tapes of perimeter CF and a decent-sized patch on the forward end to secure the CF air induction tube relief layup in place. I also peel plied that (the tape is due to one corner of the peel ply being stubborn and not laying down).
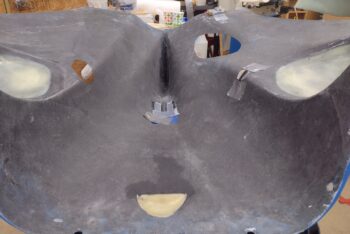
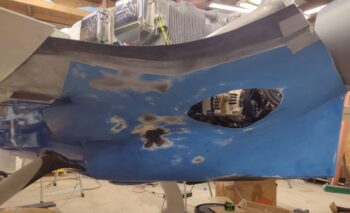
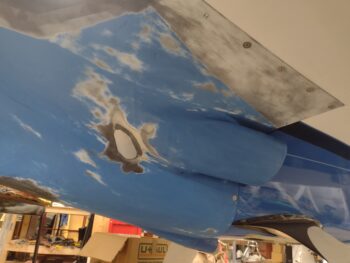
I grabbed a wide-angle shot not only to show the 2 lower cowling clearance layups, but also to show the very different left and right sides of the bottom cowling. I understand this is forced in many respects due to needing clearance for the alternator, but the cowling is very unsymmetrical with the left side (right side of pic) much lower than the other side.
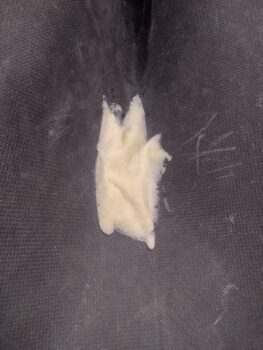
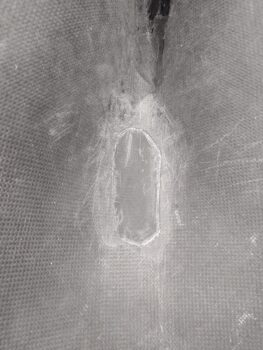
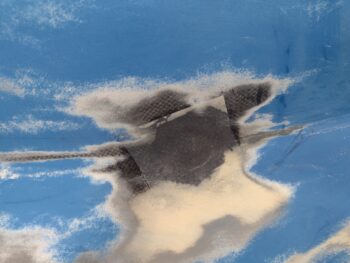
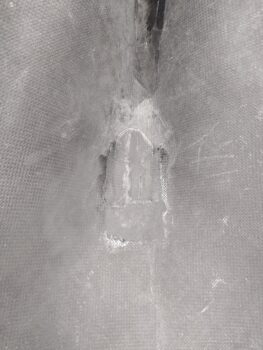
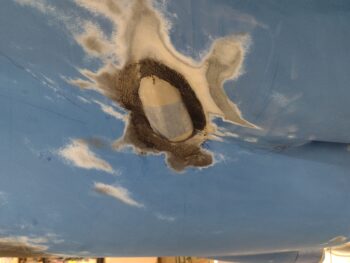
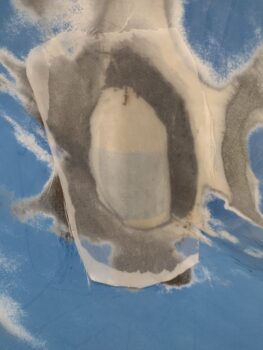
Jumping ahead a number of hours, here’s that same layup after it cured and I pulled both the peel ply and the cardboard mold off the cowling.
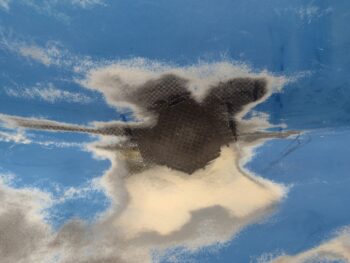
I of course pulled the tape and peel ply off the CF air induction tube layup and cleaned it up as well.
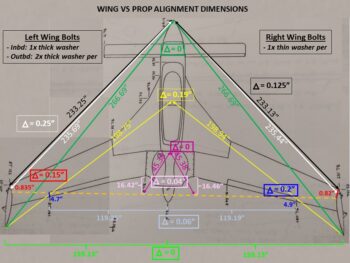
Last night I added and swapped washers on the left wing, obviously requiring removing the left wing to get those on. Subsequently, today, I removed the left wing again to add/ reconfigure the washers while also removing the right wing TWICE as well to finalize the washer configuration between left and right wings!
Besides refining my wing removal and mounting processes, I can now say definitively that I’m very pleased that I decided to go through this exercise. A friend of mine recently started flying a new canard and had to really tweak one wing into place vs its previous “final” position —something we all pray doesn’t happen to our birds! The resulting pivot to get the plane to fly straight left about a 1/4″ gap between the strake and wing on the leading edge. Clearly, in part my effort here is to be diligent, with the goal to have a straight flying Long-EZ (ok…. and NO large gaps, if I’m being honest!).
I actually had a brain fart last night on the left wing washers when I simply added in a thin washer (~0.032″) at the inboard bolt and swapped out thin washers outboard for thicker washers (~0.065″). It definitely made an in improvement and helped close the ~1″ difference between left and right wing position identifiers (outboard forward aileron corner and point on winglet-to-LE corner) by over 5/16″, but it didn’t result in any pivot or rotation of the wing, which I was actually after.
Today, after I left the thin washers in position on the outboard side of the right wing, and put a thick washer in the inboard spot, I noted that the numbers didn’t change much (other than right at the wing root and a small bit between measurements to the nose). Why did the left wing washer reconfiguration seem to have more impact than the right? Ahh, (face palm) because I simply moved the entire wing aft 1/32″ (no pivot).
My errant fix action on the left wing last night was actually serendipitous in that it made me realize that simply moving the wing aft (or forward) appeared to have significantly more impact on my numbers than pivoting the wing (with the washers at least).
After some more hard thinking (for me), I put the right wing bolts back to all single thin washers. On the left I swapped the thin washer inboard for a thick washer, and then doubled the thick washers on each bolt (total 2 ea) on the outboard bolts. This negatively affected my nose to winglet/wingtip measurements a bit (~1/8″) between the 2 sides, but it just about hit the bullseye on making my wing alignment fore & aft (and sweep) spot on.
In addition, here’s some fuselage-strake-prop measurements for FYI . . . From the front of F28 to front edge of the “prop” measured 136.75″ on both left and right sides [Note: I measured 23″ out from A/C-engine CL both directions and marked these points on my “prop”… all prop-face measurements were to these respective points].
However, from the front of F28 each side to the aft edge of the CS spar measured 38.75″ left and 38.56″ right. Interestingly, from the nose to aft CS spar edge they swap longest lengths with the left 98.5″ and the right 98.63″. This actually makes sense since I had to do some significant machinations to get my nose dead center on the front of a wonky fuselage!
I of course wanted to ensure to get the wing sweep/fore-aft alignments completed before micro-finishing the topside strakes and wings ⇒ especially the intersections. As you can imagine, the thick washers on the left wing kicked it out a decent bit. No worries of course since none of it has been micro-finished and can be tweaked to get the line back narrower.
On the right side my total change was adding a thin washer to the inboard bolt, which I believe I had when the plane was upside down (not sure why I didn’t have them this time around?). The impact to the right wing-to-strake seam was of course pretty much nill.
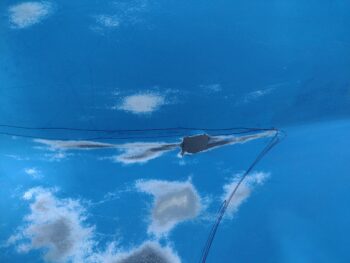
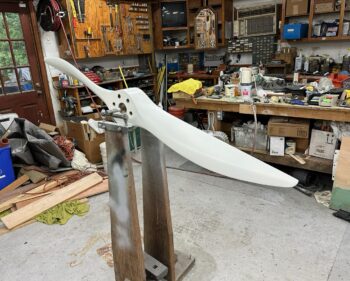
Now, since I’ve been using props with quotations for the last couple of blog posts, let me segue that into letting ya’ll know how excited I am to report that I snagged a backup Hertzler Silver Bullet prop —same dimensions as my primary SB prop (66 x 75)— from Nick Ugolini. This is the pic he just sent me showing me that the balancing and painting is complete!
Moreover, I plan on visiting Nick in the next few weeks to not only pick up the prop, but to also do a little transition training in his Cozy IV. Woo-hoo!
Next came a big test: did my wing bolt washer shenanigans totally throw off the fit of the lower cowling?? Thankfully NO! Apparently there’s enough flex in the cowling that although a couple of the forward Cam-locs felt tighter, they still went right in.
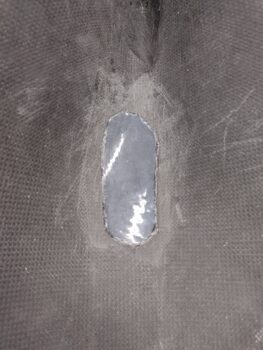
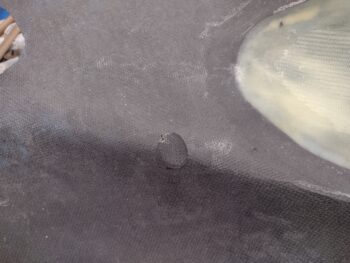
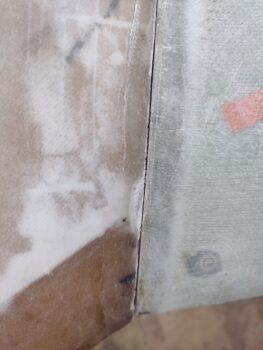
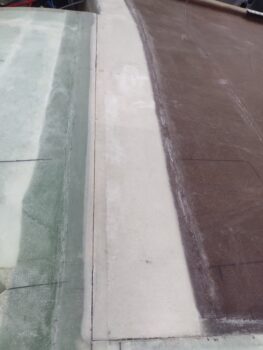
With the lower cowling in place, I took a minute to grab a shot of the left side divot I made to allow a bit more clearance for the left aft cold air intake tube.

I then wrapped up the right side aft cold air intake tube with a couple plies of cardboard, then some clear packing tape.
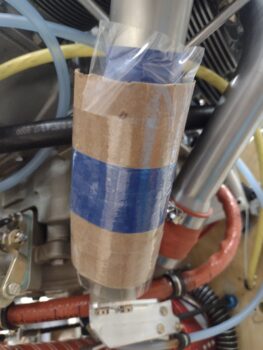
And taped a piece of peel ply to this cardboard form in place underneath the opening in the cowling.
It was very late and I didn’t want to haul down and unwrap the CF roll at this point for such a small, singly-ply layup… so I just used a scrap of BID (pretty much all of this layup will be covered by pour foam). I wet out the peel ply and the surrounding surface of the lower cowling first, then I laid up the ply of BID.
And then I peel plied the BID layup.
And with that, I very much had a glass of red and called it a night!