
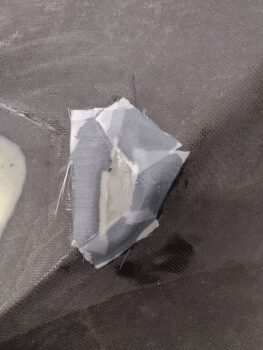
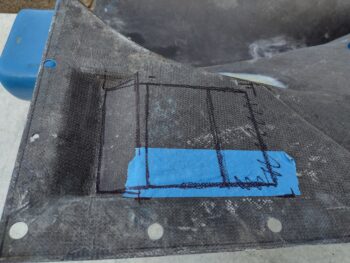
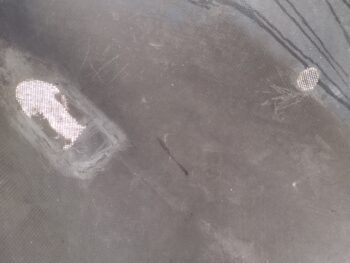
Starting off this morning I pulled the peel ply from the external side of the right side layup on the bottom cowling indention (inside… bump external) that provides clearance for the aft right cold air intake pipe. I then cleaned up and sanded the edges of the interior side of the layup.
I then laid up strips of CF around the perimeter and peel plied the layups. Only the edges need to hold since the entire layup will be covered in foam to shape the external side of the right cowling.
A few hours later I pulled the peel ply and cleaned up the perimeter layups.
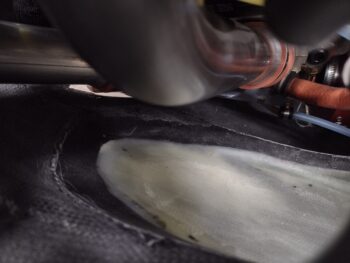
I then remounted the cowling.
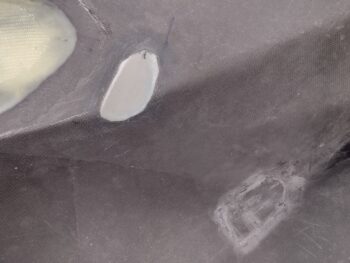
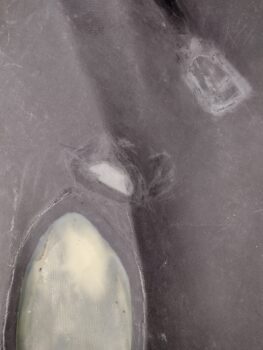
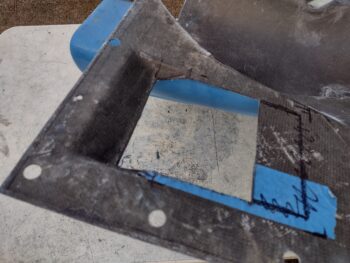
Here we have the best pics I could get showing the clearance provided by this protrusion. The first pic is from the aft side, while the second is from the front side.

I then removed the cowling to outside the shop for some cutting and sanding, and on my way out of the shop to knock out my tasks I had this hitchhiker plop down on my shoulder. I grabbed a pic of the friendly creature for my little buddy since she loves just about any animal and insect alive.

I also marked off the initial area to be cut out for the oil cooler. I’ll fine tune it as I start the oil cooler install onto/above the lower cowling.
Here’s that area cut out. I had to go back and look at pics to see how Mike Melvill had his oil cooler installed, thus the redraw on the cut line. Again, I’ll dial it in during install depending on clearance, mounting fit, etc.
I then did a round of sanding on the lower cowling. I bought a couple of sanders on sale (my DA sander is inop at the moment) at Harbor Freight, and am using up the included sandpaper before I go buy more.
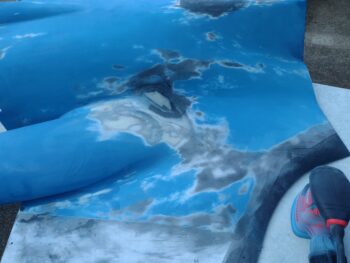
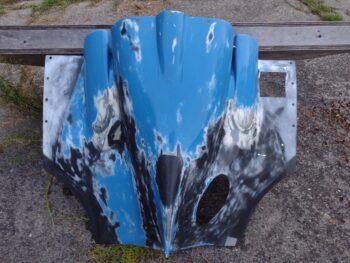
After the first 45 minute round of sanding, I washed off the bottom cowling and set it in the sun to dry. When I returned an hour later with the sun much lower in the sky, I noted how you could see right through the single plies of carbon fiber. This supports my theory of a single ply acting as a “soft spot” (softer at least) for the CF air induction tube just in case there is contact.
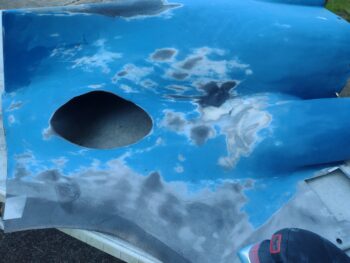
A bit later I did another good round of sanding before again washing off all the sanding dust. Clearly a good bit of the blue is coming off and I’m a day or two out from slathering up pour foam on the aft half of this thing and reworking the contour.
To be honest I really like the crazy look of this, but I guess “grunge” isn’t in style for Long-EZs… and since I’m the compliant type (ha!) I guess I’ll bend to peer pressure and paint this thing proper!
It was yet again a very hot day, and I was drenched with sweat from head to toe… but with the weather not getting any cooler at the moment I went ahead and soldiered on. I plan to start the upper cowling install too and work the final cowling installs in tandem to ensure I get the upper and lower clearances and spacing as symmetrical as possible.
With that, I headed into the house to take a well deserved shower and then did some much needed grocery shopping!
Pressing forward.