
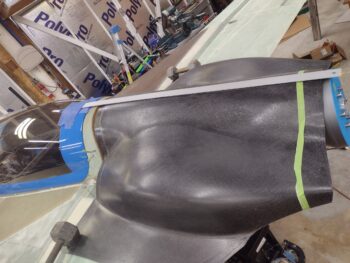
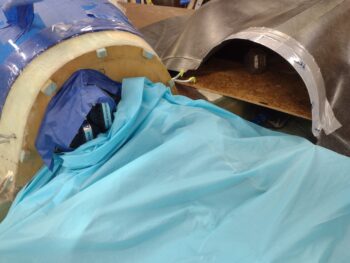
I started out today by setting the canopy in place on top of the fuselage. I had thought about actually remounting it with the hinges in place, etc. but the amount of time and effort to actually re-install it wasn’t worth it… I know it sits a good 1/8″ to 3/16″ high without having the seals compressed and it being locked shut.
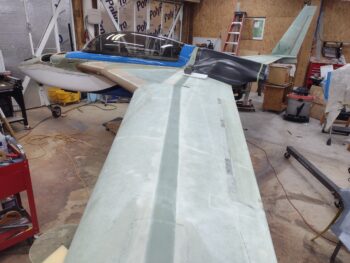
It still worked well enough for my purpose here, and that’s to check the angle between the canopy aft structure, the D-deck/Turtledeck and the upper cowling.
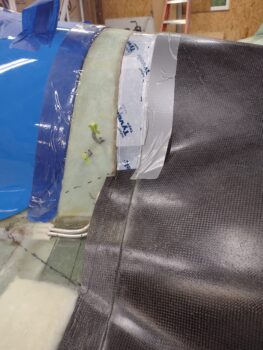
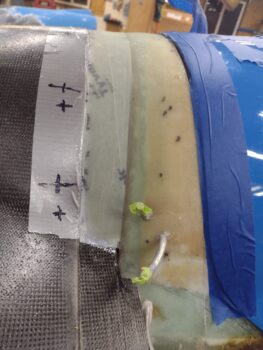
It may be hard to tell from these sides shots, which I guess is a good thing, but I have a 48″ aluminum measuring stick taped down to the aft canopy structure to assess the top cowling install angle.
Overall I think the top cowl angle is in line with the canopy aft structure and D-deck, but I do think my top cowl angle definitely drops down more sharply going aft than the standard that I see on other Long-EZs.
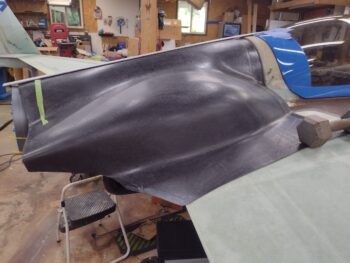
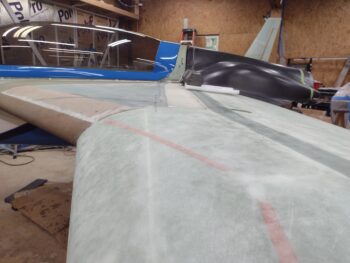
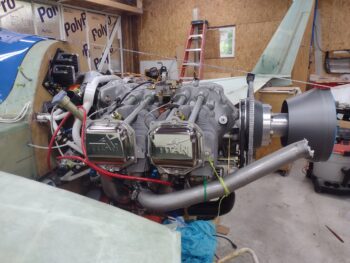
The plans say to have a minimum of 0.4″ clearance between the top cowling and the flywheel. I have an inch. I asked Marco to measure his gap and it’s 2″. I may increase mine just a hair more, since even after I glass this D-deck flange I have some slight wiggle room in setting the top cowling angle.
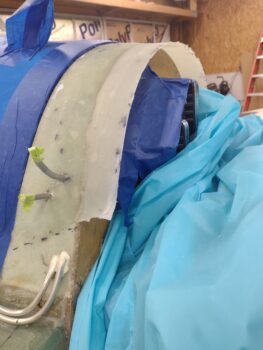
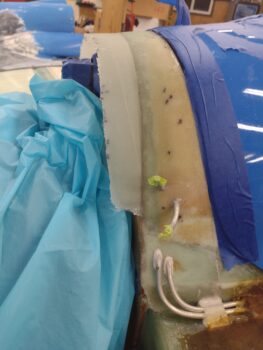
Keep in mind in the pic below that the canopy aft structure is a hair higher than it would normally be closed, and that the Melvill cowling dips/slopes down slightly for a few inches going forward right as it nears this intersection (not sure why).
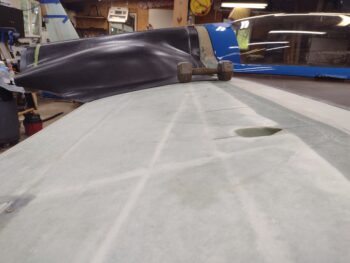
I then marked up the front edge of the cowling and did a few rounds of trimming to get it pressed up against the firewall evenly all the way around while still keeping my centering tick marks between top cowl aft edge and spinner flow guide aligned.
I hot glued 5 PVC foam tabs onto the firewall since I could then sand them at both proper angles to match the inside cowl surface and just a hair beneath the surface to allow for the thickness of the cowling… so that the D-Deck and cowling surfaces are even.
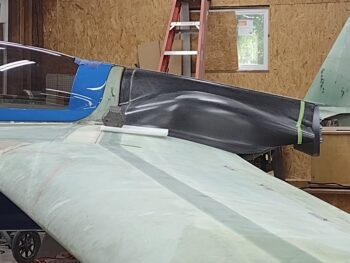
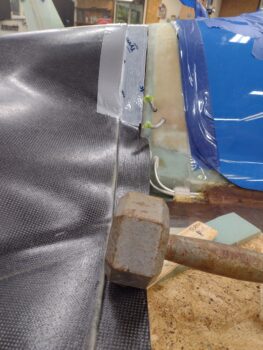
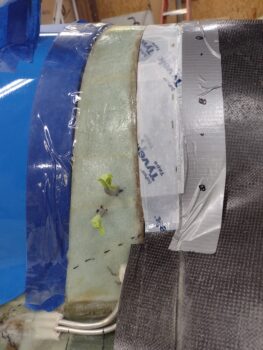
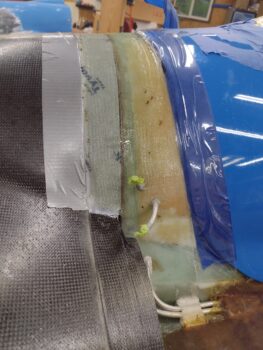
I also taped up the front lip of the cowling in prep for glassing this flange.
After a few quick dry runs and minor tweaks to the foam tabs, I then hot glued the top cowling to the tabs. I actually added support underneath the outboard cowling edges before weighing them down as to not distort the middle portion of the cowling.
I’ll note that like I did on the bottom cowling, I’m installing the top cowling by glassing sections at a time. Some builders, like my buddy Dave B., glass all these tabs in one go.
I’ll also remind ya’ll the deal with the Melvill cowlings: since he modified his flying airplane’s cowlings from standard plans —where the cowling front edge joggle fit underneath the fuselage-side lip to be secured with screws— to having the front of the cowling simply lay on top of the fuselage-side flange (no joggle) to be secured with CAMLOCs… to install his cowlings you have to follow in his footsteps by first installing the stock lip to then add the flange to allow the use of CAMLOCs.
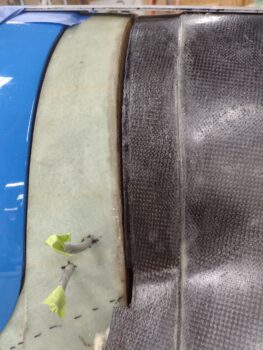
The plans call for 5 plies of BID, but I’m only using 4 here. The actual flange that secures the cowling front lip will get 5 plies. In addition, I stepped the plies by 0.2″ to 0.3″ each ply to allow for a more gradual contour on the D-deck vs a 4-ply abrupt edge that would require more micro to fill.
I then prepregged the 4-ply BID layup.
I started the layup by adding peel ply to just the taped (white) flange area and wetting it out along with the D-deck surface receiving glass.
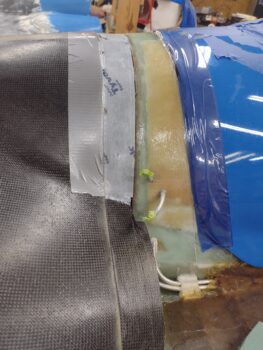
I then wetted out the 4-ply BID prepregged layup and set it in place around the D-deck/top cowl flange seam.
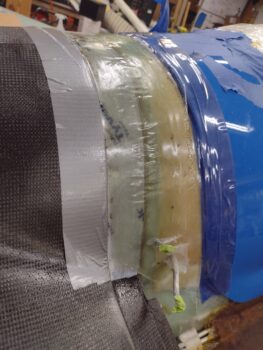
I’ll reiterate that, yes, both my fuselage and subsequently the canopy that sits on top of it are slightly “D” shaped (right side straighter than the left which has a hair more curve to it)… so the left side of the canopy/D-deck comes into this seam at a more distinct angle than on the right side, which is a few degrees shallower (aka flatter).
[#sins of the past]
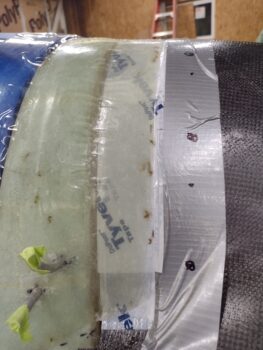
I then pulled the prepreg plastic and worked the glass into place.
I then peel plied the layup . . . I’ll specifically note here that I both stippled the heck (as I normally do) out of this layup —especially when the peel ply goes on— as well as squeegeed it as well.
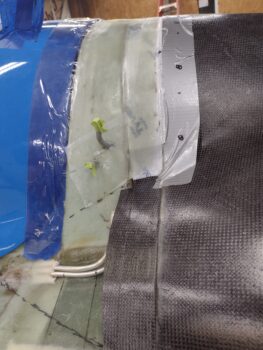
I say the above because I went out to dinner with Jess immediately following this layup, and when I returned I had a few small air pockets that were not there when I departed. Jess’s work schedule can be a bit crazy, so I wasn’t sure if I would see her after dinner so I used fast hardener to possibly set up for another, subsequent layup tonight. I note this because these few small air pockets may be the result of the quicker curing epoxy? (not sure….)
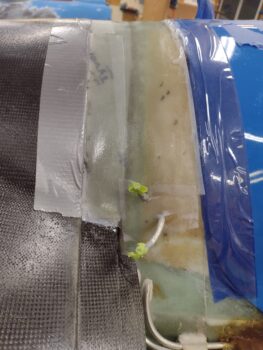
Anyhoo… with the layup cured enough to allow for easier removal of the peel ply I then decided it was probably better to remove the cowling at this point than with a full cure overnight. I rapped the cowling on each lower side of the layup just aft of the D-deck and was able to wiggle it free in short order.
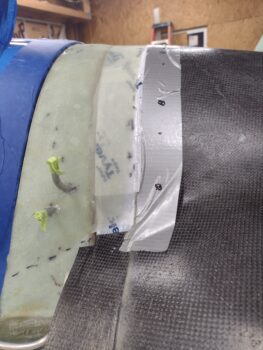
Here is the resulting flange.
I’ll assess both the interface and a bit more on the cowling angle tomorrow before I go final with trimming the flange off the top cowling and glassing the D-deck mounting lip for the top cowling.
Baby steps.