
A little Star Wars & Long-EZ wing foam double reference there! … although I don’t think there was actually a Blue Wing whilst the Rebels attacked the Death Star . . .
But, again, I digress.
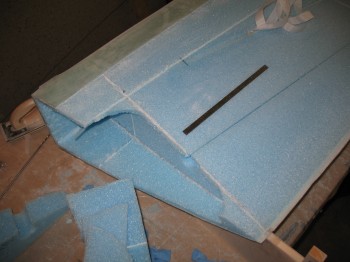
Today I removed the peel ply and surrounding tape from the spar cap. Since I had finished so late last night, I crashed without thinking about the ramifications of letting the epoxy fully cure (Read: mistake) with the protective tape & plastic still attached. I guess that’s why God invented Dremel tools huh?! To remove strips of duct tape that remain ensconced along the edges of the spar cap.
I removed the FC1 dam that was bondo’d on, and proceeded to chisel off large chunks of bondo, wood & epoxy. After I got most of the big pieces off, I sanded down & even Dremelled a little bit of the crud left behind from the dam in the entire area where the dam had once been.
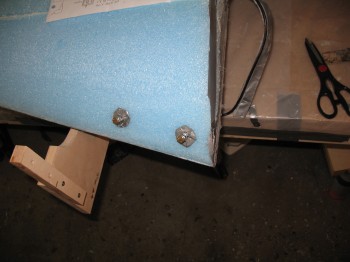
I went ahead and floxed in the threaded hardpoints for the baggage pods. Obviously, I didn’t flox in the 4 hardpoints on the bottom of the wing & will wait until I actually install the baggage pods for those. I’ll do the 2 on the top of the wing since they are much more visible, and I’d like the holes to be as clean as possible. For the measurements, I came back 1.75″ from the LE & set them 4″ apart.
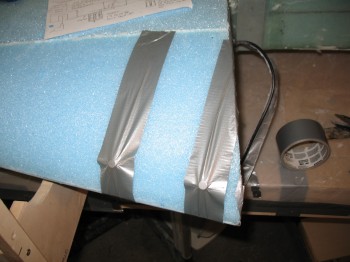 After I got the threaded hardpoints for the baggage pods floxed in, I cut the ends of the spar cap flush with each end of the wing.
I then grabbed my trusty Dremel & went to work on the sides of the spar caps once again to rid the wing of dead micro & epoxy.
 I used the orbital sander to clean up the top of the spar cap. Now, unlike the pic above, where I was using the Dremel Tool on micro, when I sanded the spar caps I wore long sleeves and was all buttoned up (S-glass itches!!).
I removed some more, but not all, of the TE peel ply strip.
I then–again, in fine Wade fashion–as I was trying to remove the block of foam from the Inboard wing end…. well, let’s just say it came out, but it wasn’t about to come out alone! Not without an actual piece of the wing! Ugh!
So . . . I’ll micro the piece back in tomorrow before I glass the upper wing.
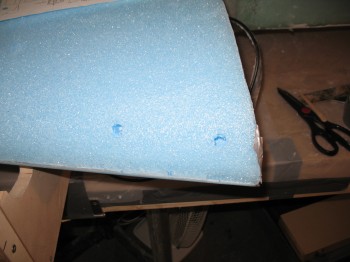
I then used the Dremel to router the channel for the rudder cable Nylaflo. I followed the measurements as laid out in the plans, but got just a hair too close to the hollow aileron cavity on the Outboard upper corner and left a decent size channel for a few inches. So I spent a little bit of time cleaning that up & prepping the repair. I’ll actually micro in a foam repair piece tomorrow as well.