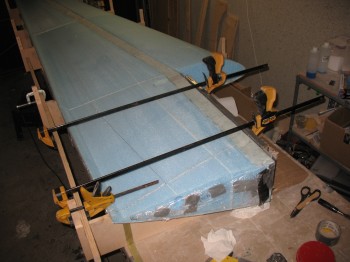
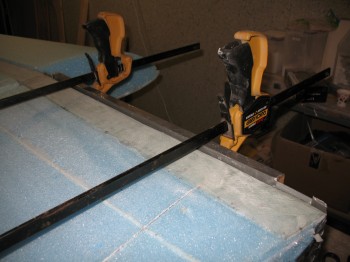
Today I started by dry microing the wing TE channel.
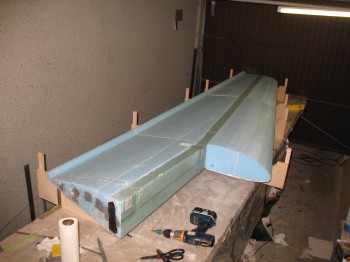
I put the jig tops (technically bottoms) back on the wing surface & bondo’d into place. After the bondo cured I flipped the wing front edge up & cleaned the table.
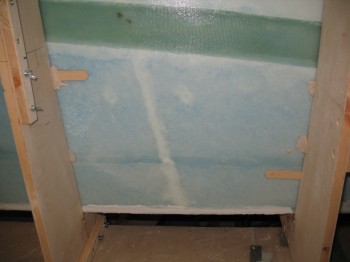
Here below are the two holes I drilled to fix the separated wing sections… now filled, micro’d and glassed. Clearly, the ability to affect repairs is a great advantage to working with foam, glass & epoxy!
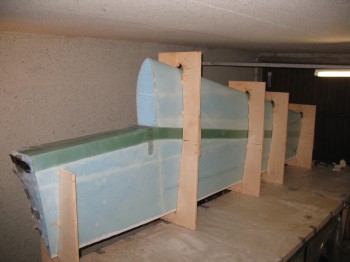
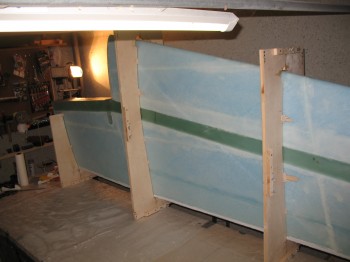
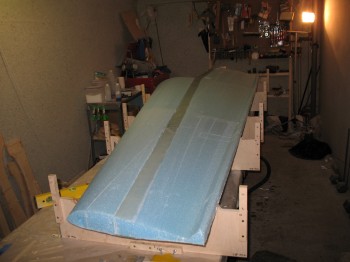
I then flipped the wing top side up and spent a bit of time leveling the jigs & wing.
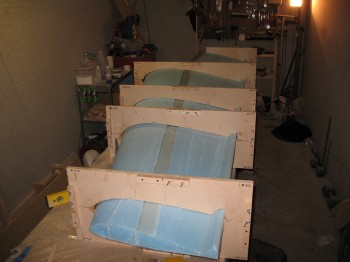
After I leveled the wing/jigs, I mounted the jigs to the table with L-brackets.
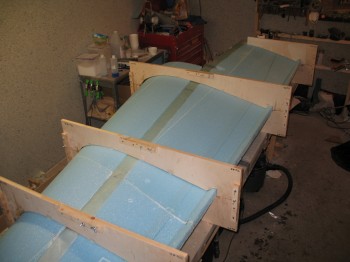
I sanded the shear web/spar cap with the orbital sander & a hard sanding block. And then vacuumed the entire wing surface.
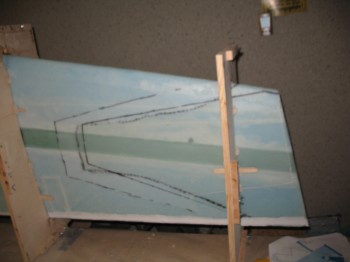
I then bondo’d the dam in place for the spar cap layup.